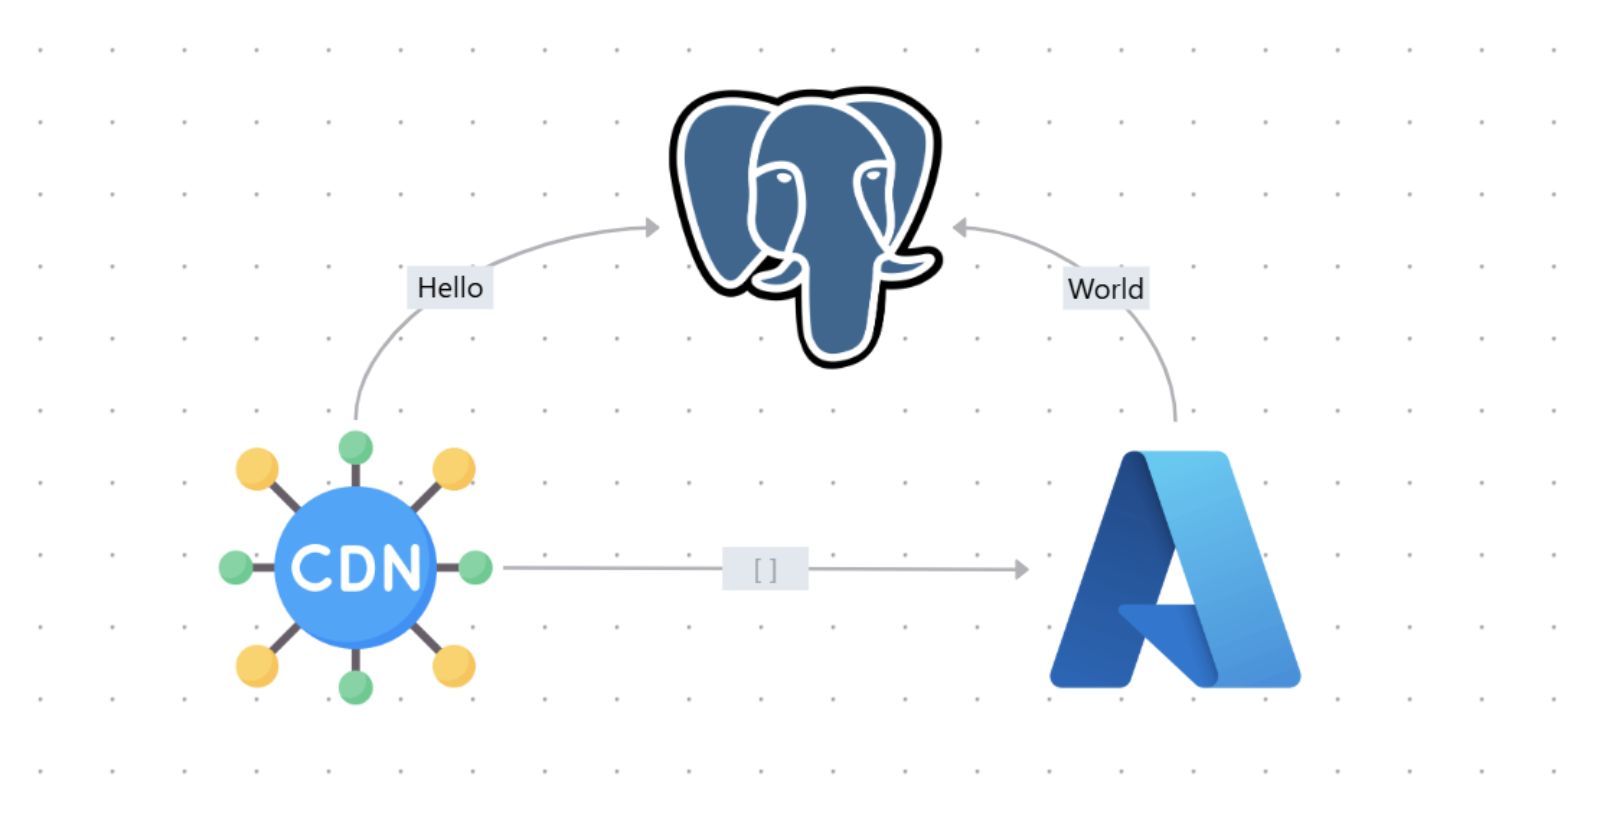
Adding Custom Labeled Edges in React Flow: A Quick Guide
 Prithwish Hati
When building flowcharts with React Flow, you might need edges with editable labels that appear by default when connecting nodes. Here's how to implement this functionality.
The Challenge
By default, React Flow's edges don't provide an easy way to:
Add editable labels to edges
Show these labels immediately when connecting nodes
Style the labels consistently
Solution
We'll create a custom edge component that renders an editable input field as the label. Here's the implementation:
1. Create the Custom Edge Component
// components/edges/LabelledEdge.tsx
import React, { useRef, useEffect } from "react";
import {
  BaseEdge,
  EdgeLabelRenderer,
  EdgeProps,
  getBezierPath,
  getStraightPath,
  useReactFlow,
} from "@xyflow/react";

const pathMap = {
  default: getBezierPath,
  straight: getStraightPath,
};

export default function LabelledEdge({
  id,
  pathOptions,
  sourceX,
  sourceY,
  targetX,
  targetY,
  label,
  sourcePosition,
  targetPosition,
  style = {},
  markerEnd,
}: EdgeProps) {
  const { setEdges } = useReactFlow();
  const [edgeLabel, setEdgeLabel] = React.useState(
    typeof label === "string" ? label : ""
  );
  const inputRef = useRef<HTMLInputElement>(null);

  const getPath = pathMap[pathOptions] || pathMap.default;
  const [edgePath, labelX, labelY] = getPath({
    sourceX,
    sourceY,
    sourcePosition,
    targetX,
    targetY,
    targetPosition,
  });

  // Update edge label in React Flow's state
  const updateEdgeLabel = () => {
    setEdges((edges) =>
      edges.map((edge) => ({
        ...edge,
        label: edge.id === id ? edgeLabel : edge.label,
      }))
    );
  };

  // Auto-resize input field based on content
  useEffect(() => {
    if (inputRef.current) {
      inputRef.current.style.width = `${Math.max(
        inputRef.current.value.length * 0.28,
        1.5
      )}rem`;
    }
  }, [edgeLabel]);

  return (
    <>
      <BaseEdge path={edgePath} markerEnd={markerEnd} style={style} />
      <EdgeLabelRenderer>
        <div
          style={{
            position: "absolute",
            transform: `translate(-50%, -50%) translate(${labelX}px,${labelY}px)`,
            fontSize: ".5rem",
            pointerEvents: "all",
          }}
          className="nodrag nopan"
        >
          <input
            ref={inputRef}
            value={edgeLabel}
            onChange={(e) => setEdgeLabel(e.target.value)}
            onBlur={updateEdgeLabel}
            placeholder="[ ]"
            className="bg-[#e2e8f0] text-center min-w-3"
            type="text"
          />
        </div>
      </EdgeLabelRenderer>
    </>
  );
}
2. Register the Custom Edge Type
// components/edges/index.tsx
import type { EdgeTypes } from "@xyflow/react";
import LabelledEdge from "./LabelledEdge";

export const edgeTypes = {
  labelled: LabelledEdge,
} satisfies EdgeTypes;
3. Use the Custom Edge in Your Flow Component
const onConnect: OnConnect = useCallback(
  (connection) =>
    setEdges((edges) =>
      addEdge(
        {
          ...connection,
          type: "labelled",
          markerEnd: {
            type: MarkerType.ArrowClosed,
          },
        },
        edges
      )
    ),
  [setEdges]
);

return (
  <ReactFlow
    edges={edges}
    onConnect={onConnect}
    edgeTypes={edgeTypes}
    // ... other props
  />
);
Key Features
Auto-sizing Input: The input field automatically resizes based on the label content
Immediate Editing: Labels can be edited as soon as edges are created
Persistent Labels: Edge labels are saved in React Flow's state
Styling: Simple, clean styling with background color and centered text
Usage Tips
Use the
edgeTypesprop to register your custom edgeSet
type: "labelled"in theonConnectcallbackAdd
markerEndfor arrow styling if needed
Subscribe to my newsletter
Read articles from Prithwish Hati directly inside your inbox. Subscribe to the newsletter, and don't miss out.
Written by
