From Code to Live: How I Launched My NodeJs App in Minutes with Railway.app
 Sober Summy
Backstory (feel free to skip) -
As someone who’s totally clueless when it comes to infra-admin tech stuff, setting up environments for my personal projects has always been a total mess. I mean, I’ve tried dabbling with Google Cloud and AWS (shoutout to EC2 and Elastic Beanstalk), but the whole time I was just sitting there like, “Did I configure this right?” and “Is some sneaky service running that’s gonna leave me with a bill bigger than my rent?” Most days, I was neck-deep in docs, tutorials, and spamming ChatGPT with desperate questions. Then one day, like a happy accident in a cooking show, I stumbled upon this gem: Railway.app.
What You’ll Need:
• A static site project: React, Angular, Vue, or even good ol’ bare-bones HTML/CSS/JS—anything that gets the job done will work.
• A Node.js project: Just a boilerplate will do; we’re here to experiment, not reinvent the wheel.
Pro Tip: Railway.app hooks you up with a free $5 trial plan that renews every month (bless them!). If you’re feeling fancy and want to scale up, the Hobby Plan is just $5/month—cheaper than your daily coffee habit. 💸
Deploying Your Static Site (Made Easy!)
[IMPORTANT PRE-REQ ALERT]
Before we dive in, let’s get a couple of things straight. You’ve got a folder with your static site files—HTML, CSS, and maybe a sprinkle of JavaScript. Cool! But we’ll need something to actually serve those files. The easy way? Say hello to the serve npm package. It spins up a Node.js server in no time, and you don’t even have to write a single line of code. Lazy? Efficient? Both? Yes. 😎
Here’s what you do:
1. Initialize your project
In your project root, run:
npm init
(If you haven’t already) and just follow the prompts. It’s a quick Q&A session.
2. Install serve
npm i -s serve
Boom. It’s installed. 🎉
3. Update package.json
Add this to your scripts section:
"scripts": {
    "start": "serve -s dist -l 8080"
}
(Replace dist with the folder containing your static files, if it’s different.)
4. Test it out
Fire up the server by running:
npm run start
It’ll launch a Node.js server on port 8080. Don’t worry, we’ll need this later.
5. Push your changes
Push your shiny updated package.json to your repository. 🛠️✨
Now, head over to Railway.app, log in, and let’s get this baby live! 🚀
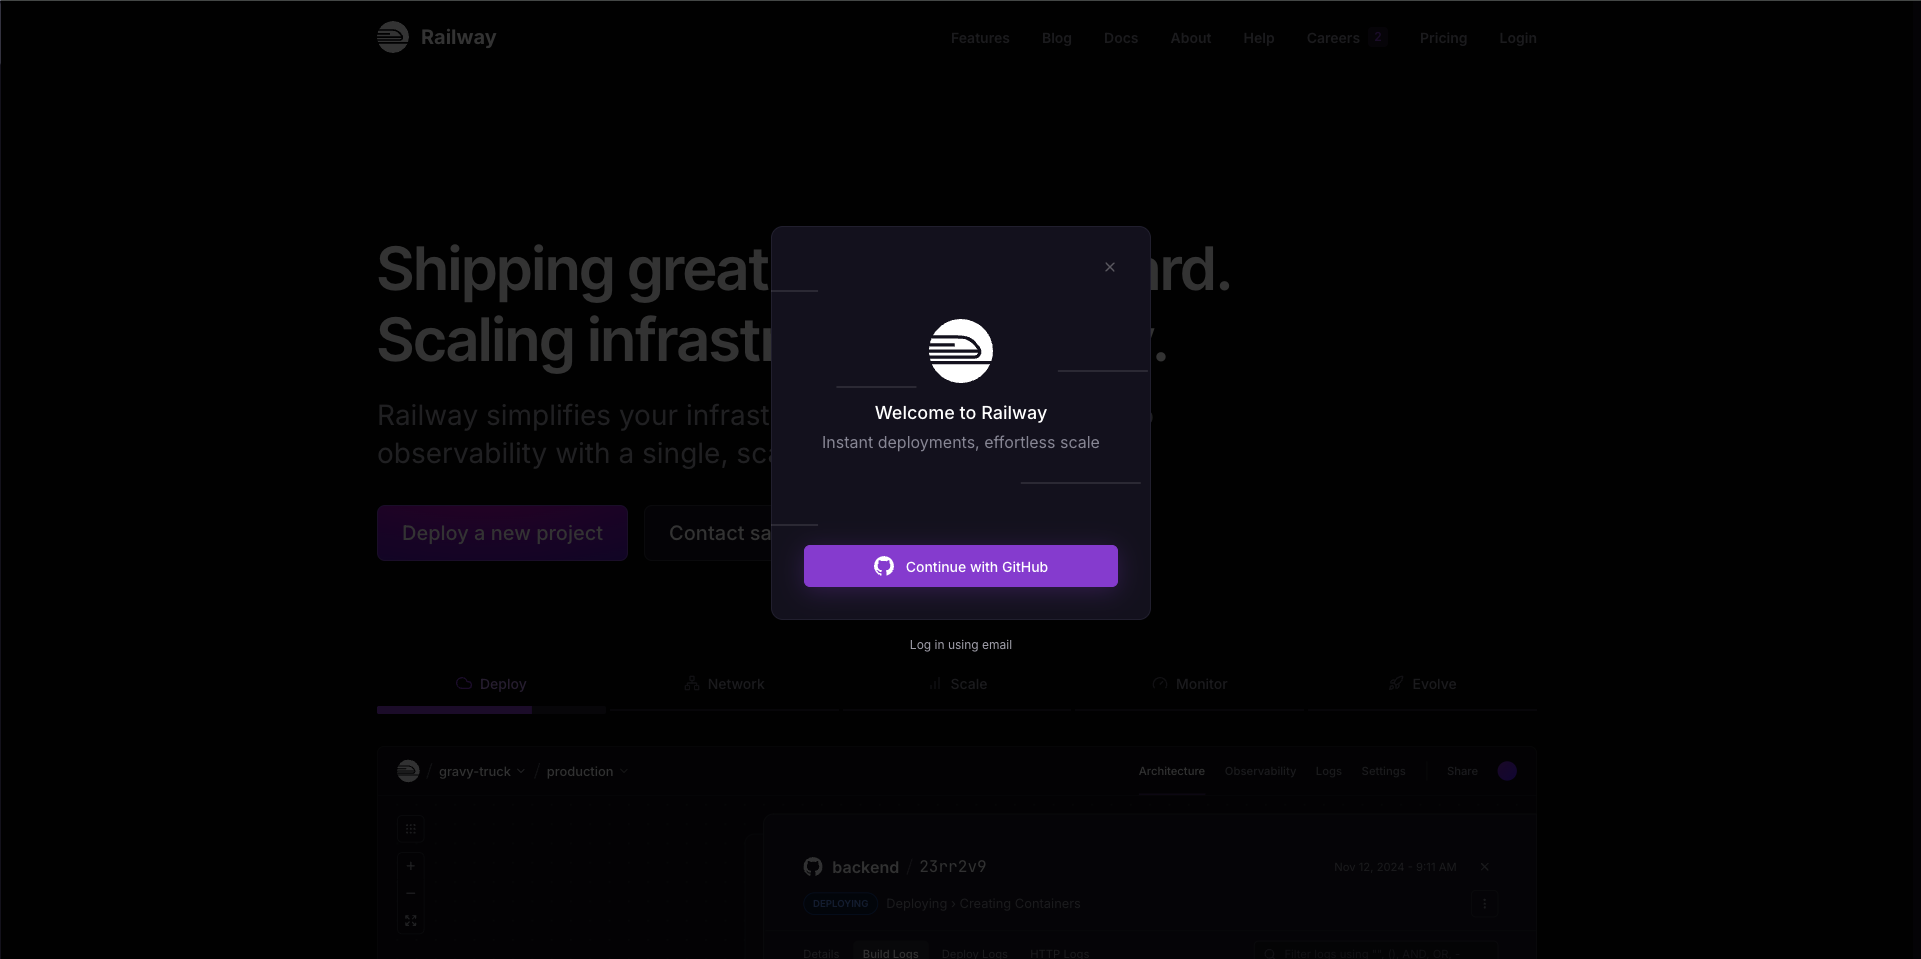
Keep Going with GitHub 🚀
1. Hit “Continue with GitHub”
Log in like a pro and connect your GitHub account.
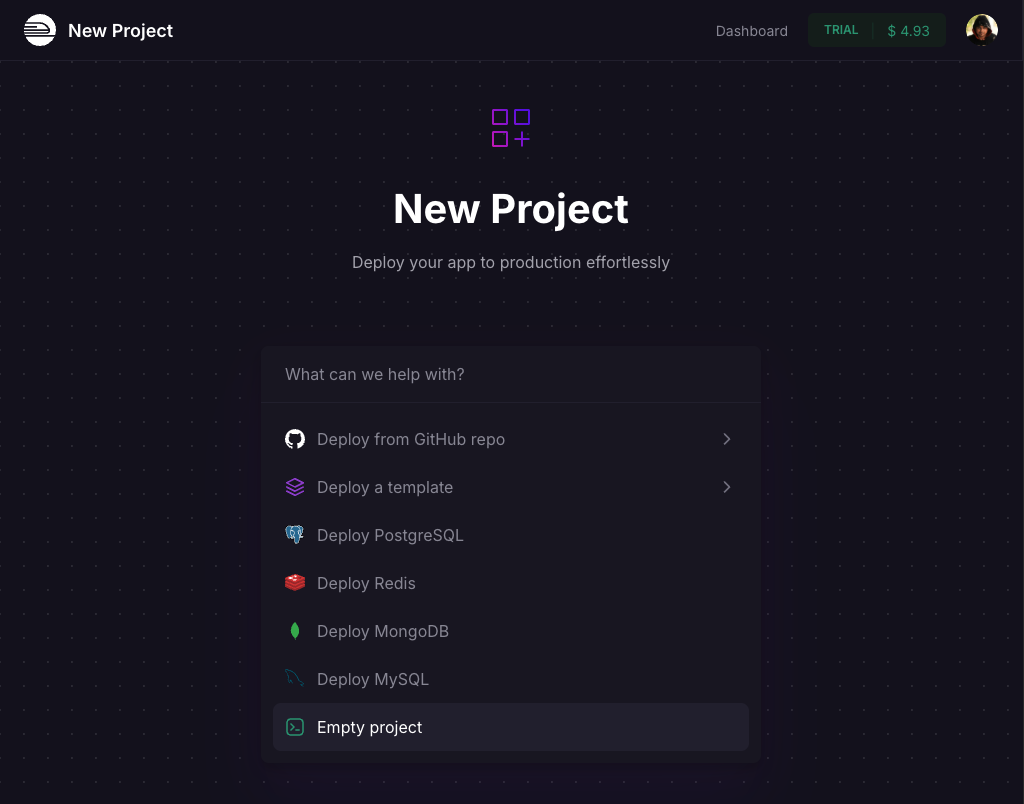
2. Create a New Project
Click that shiny + New button and set up an empty project. Boom, you’re halfway there! 🎉
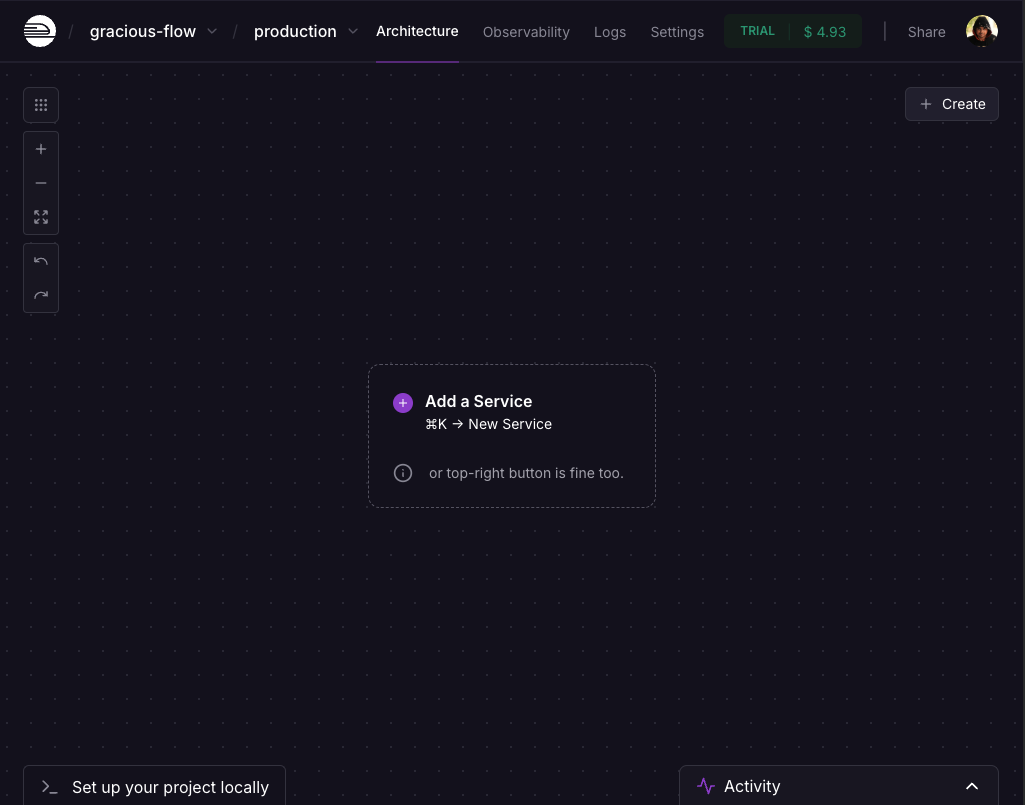
Add a Service 🚀
1. Click “Add a Service”
Easy peasy.
2. Connect Your GitHub Account
Link it up and grant access to the repository you’re about to deploy. Don’t worry, it’s just Railway doing its magic! ✨
Select Your Repository 🚀
Once you’ve picked your repository, Railway will greet you with its everything-is-a-service vibes. Think of it as your app’s personal butler, ready to serve! 🛠️✨
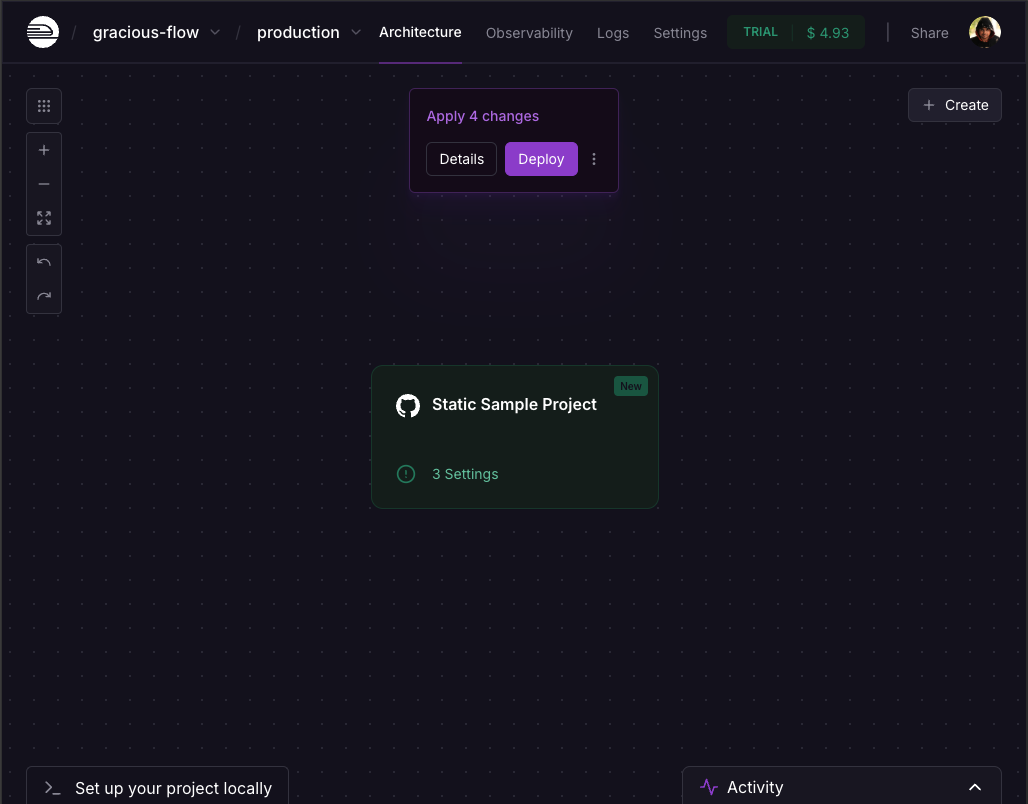
Hit Deploy and Watch the Magic Happen! 🚀
Click that shiny Deploy button, sit back, and let Railway do its thing. In no time, your app will be live—like watching a movie, but faster and way cooler. 🎉✨
Your App is Deployed! 🎉
Congrats, your app is live on Railway! 🚀 Now, we’re just one step away from making it public and sharing it with the world. Let’s wrap this up! 🌍✨
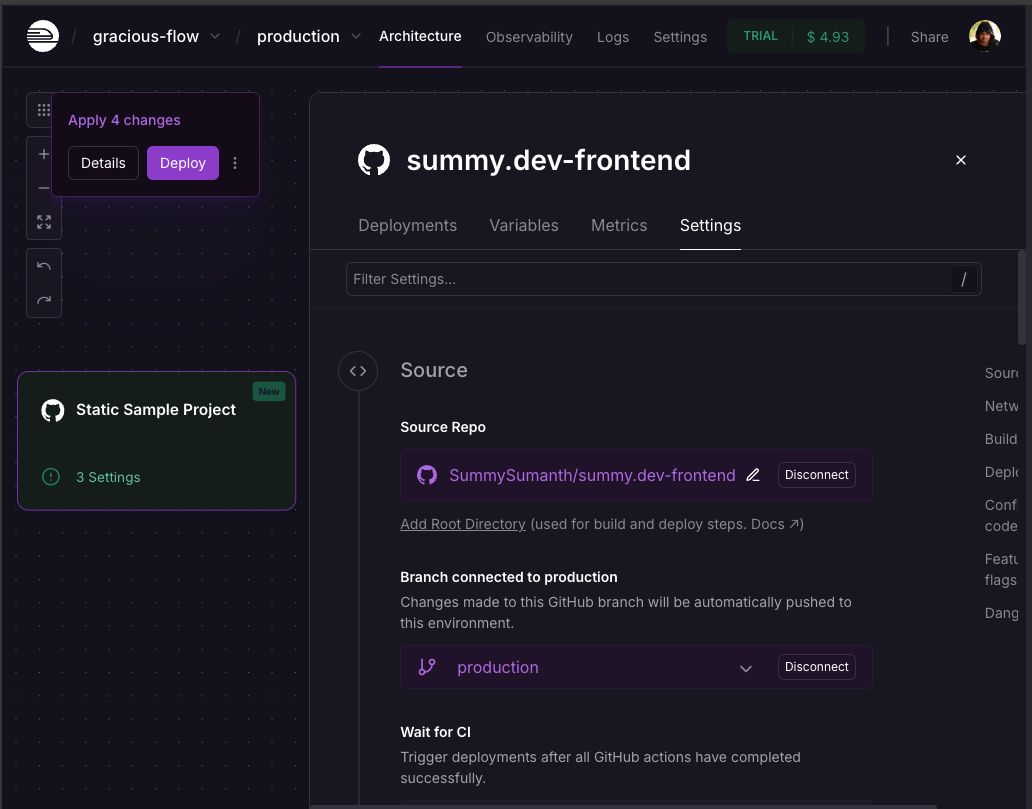
Finishing Touches to Make Your App Public 🎉
Go to Your Service
Click on your service (e.g., Static Sample Project), and you’ll land on its page. Head over to the Settings tab—this is where all the magic happens. 🛠️
Key Sections in Settings:
Source
• Connect the Branch: Link your branch here, and every time you push a new commit, it’ll trigger an automatic deployment. Zero manual effort—just vibes. ✨
Network
• Custom Domain:
• Want to use your own domain? Connect it here.
• Update the DNS records with your domain registrar or whoever’s holding your nameservers hostage.
• Generated Domain: No custom domain? No worries—Railway can whip one up for you in seconds. 🌐
Build & Deploy
• Custom Build Commands: Got any special build commands? Add them here under the build section.
• Deploy Command: By default, this will use the npm run start command we set up with the serve package. If you customized it, just make sure it’s updated here.
Deploying a Node.js Server 🚀
It’s the same drill as above—skip the pre-requisite for static files, and you’re good to go.
And Voila! ✨
That’s it—you’re live! 🎉 Your app is now ready for the world to see. Time to celebrate and share the link! 🚀🌍
Summary 🚀
End Note
Subscribe to my newsletter
Read articles from Sober Summy directly inside your inbox. Subscribe to the newsletter, and don't miss out.
Written by

Sober Summy
Sober Summy
I'm a Frontend Dev and UX Enthusiast From Bengaluru, India. I love quirky designs, minimalistic interfaces, and clean code. I've have been working in the industry for over 6 years now. Currently working at Smallcase as a Web Developer. Apart from work, I love to take photos and make video contents, That's where my first love for designing and building things started I believe.