Deploying a DartFrog Backend App Using Globe
 Jamiu Okanlawon
As backend developers, we often start by building and testing our APIs locally. Everything works perfectly on our machine until we want to make the APIs accessible to everyone on the internet.
While numerous deployment platforms exist, finding one that works seamlessly with Dart can be challenging. Globe offers a straightforward path to deploying our Dart backends.
In this article, we will walk through deploying a simple todo API built with Dart Frog on Globe. With that in mind, you’ll get the most out of this article if you:
Have worked with Dart in any capacity, either as a Flutter developer or just with Dart
Are interested in exploring what's new in deployment platforms
Are curious about the latest and greatest ways of getting your Dart backend APIs accessible to everyone
Are looking to learn something new about modern backend deployment
Why choose Globe for deployment?
Globe is purpose-built to streamline backend hosting for Dart and Flutter developers. Here's why it was the platform of choice for this deployment:
Tailored for Dart and Flutter: Globe seamlessly integrates with frameworks like DartFrog, offering a native experience for Dart developers.
Intuitive and developer-friendly: With clear documentation and simple CLI tools, Globe makes it easy to set up and deploy your application.
Efficient deployment workflow: It provides essential features like environment variable management, GitHub integration, and a straightforward path to production.
By leveraging Globe, you can save time and focus more on building your application rather than managing deployment complexities.
Setting up the application locally
For this guide, we’ll deploy a simple Todo API built with DartFrog, a lightweight and efficient framework for Dart developers. The project demonstrates the basics of managing Todos with an in-memory storage setup, keeping things straightforward for this tutorial. The source code is publicly available, so you can follow along. You can find the project repository here: GitHub Repo.
Before diving into deployment, let’s first verify the app runs correctly on your local machine.
Clone the Repository:
git clone git@github.com:developerjamiu/todo_backend.gitOpen the Project: Open the cloned folder in your preferred IDE.
Fetch Dependencies: Run the following command to retrieve the necessary dependencies:
flutter pub get
Testing the backend app locally
Now that you’ve cloned the project, let’s run the DartFrog project to ensure everything works as expected:
Install DartFrog CLI: Install the DartFrog CLI using the following command:
dart pub global activate dart_frog_cliQuick Tip: If you run into issues with dart_frog dev not being recognised, check your Dart SDK configuration. You can use the SDK that comes with Flutter (usually found in bin/cache/dart-sdk) if needed.
Start the Development Server: Launch the server with:
dart_frog devYou should see:
Running on http://localhost:8080By default, DartFrog uses port 8080. The backend app exposes the following endpoints:
GET /todos– Retrieves all TodosPOST /todos– Adds a new TodoGET /todos/:id– Retrieves a specific Todo by IDPUT /todos/:id– Updates a specific Todo by IDDELETE /todos/:id– Deletes a specific Todo by ID
Test the Endpoints:
Let’s test these endpoints using curl.
Get All Todos (GET)
Run the following in your terminal to fetch all the Todos (which should be empty initially):
curl --request GET --url http://localhost:8080/todosAdd a Todo (POST)
Add a new Todo with the following command:
curl --request POST --url http://localhost:8080/todos --data '{"name": "Task 1"}'You should see the added Todo in the response.
Verify the Added Todo
Now, verify the Todo was added successfully by fetching all Todos again:
curl --request GET --url http://localhost:8080/todosUpdate a Todo (PUT)
Use the PUT method to update an existing Todo. Replace
1with the ID of the Todo you want to update.curl --request PUT --url http://localhost:8080/todos/1 --data '{"name": "Updated Task", "completed": true}'Get One Todo (GET by ID)
To fetch a specific Todo by its ID. Replace
1with the ID of the Todo you want to update.curl --request GET --url http://localhost:8080/todos/1Delete a Todo (DELETE)
To delete a specific Todo by ID. Replace
1with the ID of the Todo you want to update.curl --request DELETE --url http://localhost:8080/todos/1
Deploying the application using Globe
With the backend app functioning locally, let's deploy it using Globe.
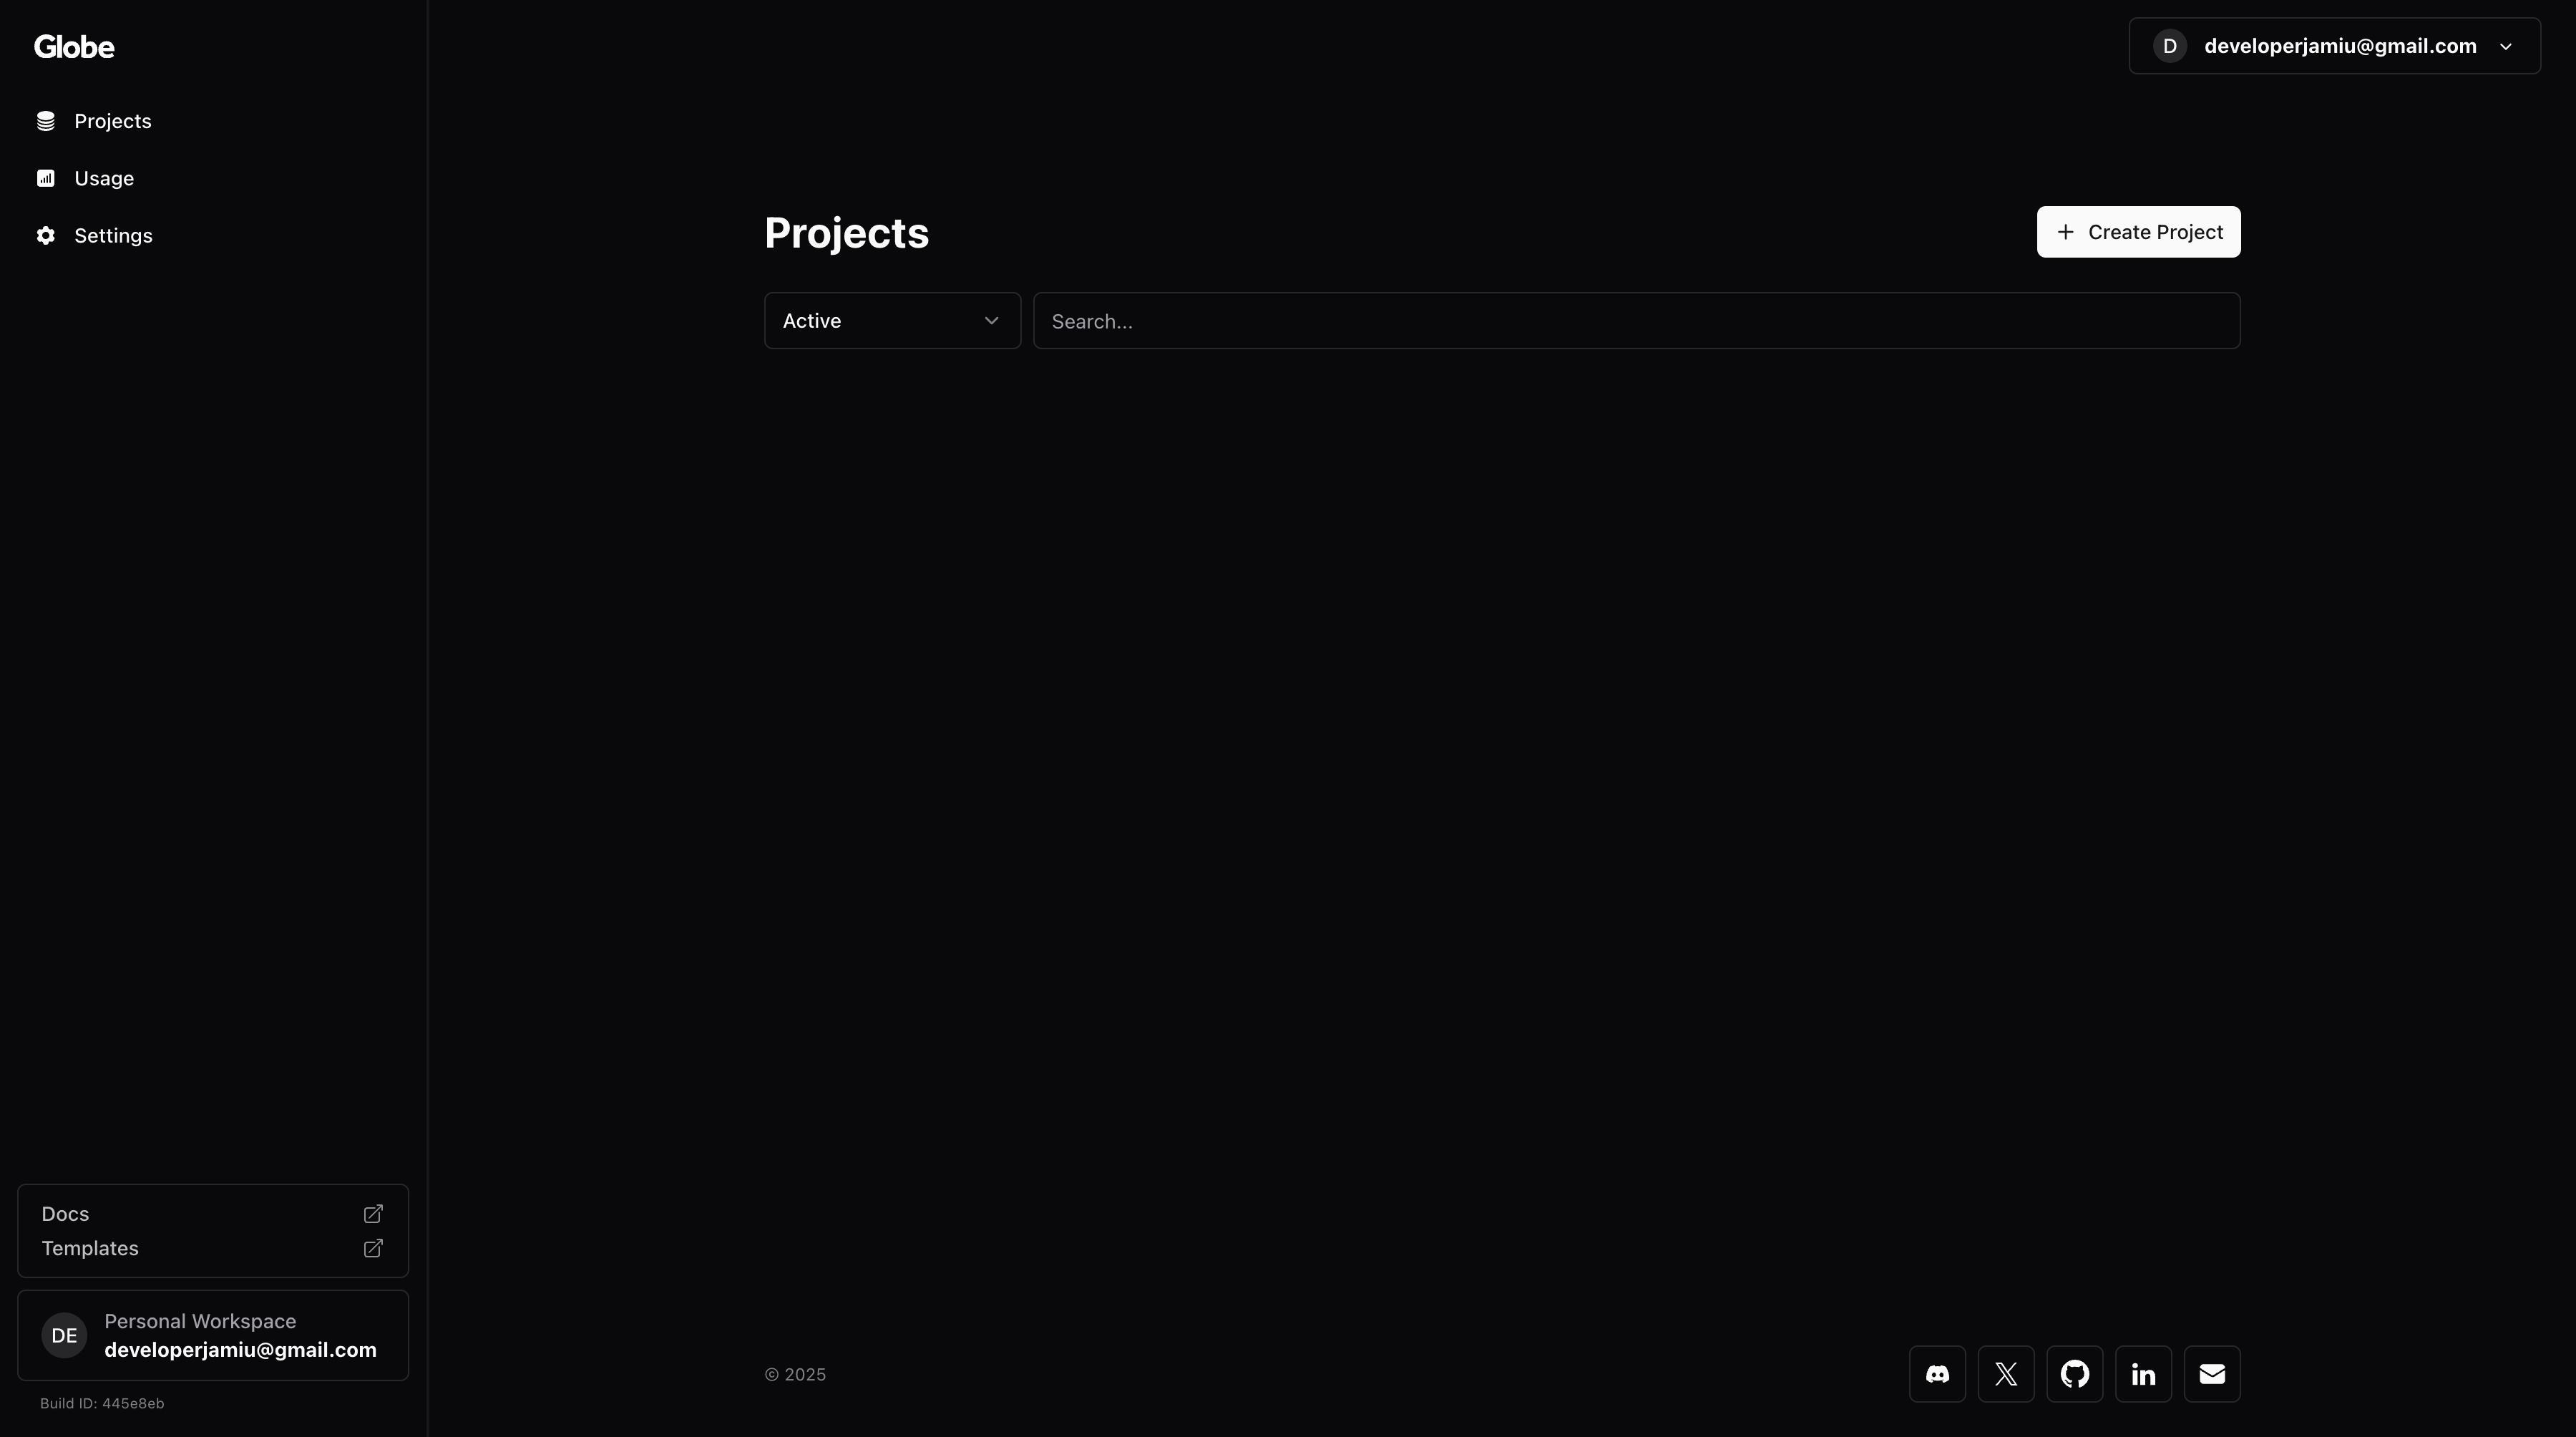
Create a Globe Account: Visit Globe.dev and sign up for a free account. Once logged in, you'll access the Globe dashboard.

Login via Globe CLI: In your terminal, execute:
globe loginFollow the prompts to authenticate your account.
Deploy the Application: Navigate to your project directory and run:
globe deployRespond to the prompts or accept the default values. After deployment, your project will appear in the Globe dashboard.
Troubleshooting
Here are common issues and their solutions:
Validation Error: You might encounter the following validation error:
Globe API Error: Entrypoint must be a valid Dart file.Solution: Re-run
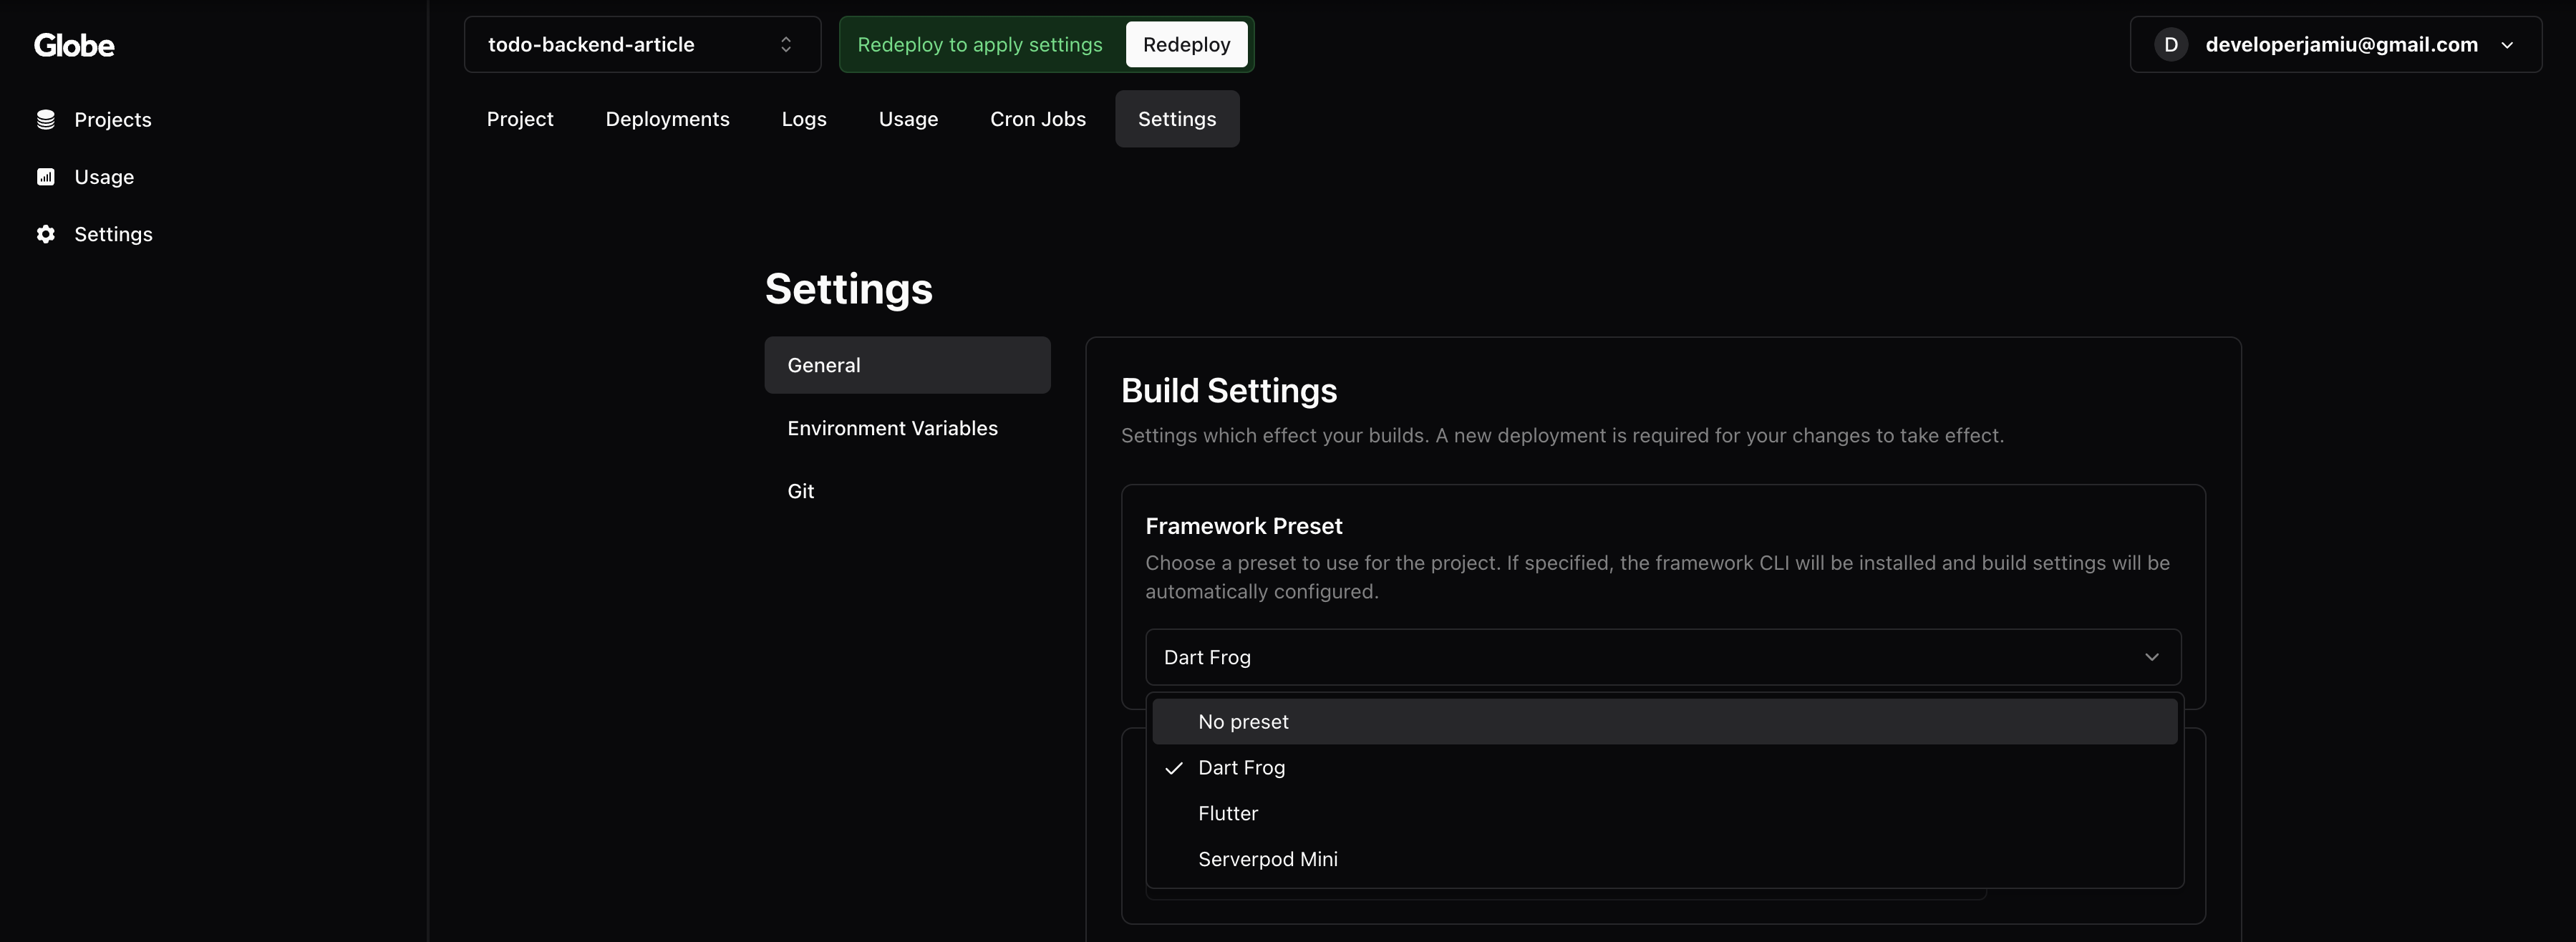
globe deployand select the initial project name to link the project properly.Deployment Failed: If deployment fails, access the Globe dashboard, navigate to your project settings, and:
Change the Framework Preset to DartFrog.

Save the settings. Then re-run:
globe deploy
Testing the deployed backend app
Upon successful deployment, you'll receive a deployment URL. Replace localhost:8080 in your previous curl commands with this URL to verify the endpoints.
To make a production deployment, execute:
globe deploy --prod
A production URL will be generated for sharing.
Additional features in Globe
Explore Globe's features, including:
Setting up environment variables.
Connecting your GitHub repository for automatic deployments on code changes.
For comprehensive information, visit the Globe Documentation.
Final thoughts
If you're new to backend development, consider starting with foundational concepts before diving into DartFrog. Refer to the DartFrog documentation for guidance.
Deploying a DartFrog application using Globe is straightforward, and I hope this guide assists you in your deployment journey. For a practical example, check out my implementation on GitHub.
Subscribe to my newsletter
Read articles from Jamiu Okanlawon directly inside your inbox. Subscribe to the newsletter, and don't miss out.
Written by

Jamiu Okanlawon
Jamiu Okanlawon
Jamiu is a Flutter Google Developer Expert (GDE) and Mobile Engineer with over 6 years of experience building high-quality mobile apps. He founded the FlutterBytes Community to empower developers and actively contribute to the Flutter ecosystem worldwide.