EC2 Instance-Launch and Connect Windows based Instance.
 Revan Mudnal
Table of Contents
EC2 Instance
Launch Instance Configuration
Steps to Launch Instance
Elastic Compute Cloud (Amazon EC2)
Amazon Elastic Compute Cloud (Amazon EC2) is a web service that provides secure, resizable, compute capacity in the cloud. It is designed to make web-scale cloud computing easier for the users. Charge for instance - Instance should be running to be charged based on instance type t2.micro and on AMI free tier enable. For Windows based instance - windows server AMI and allowing RDP type traffic from anywhere/myip. Keypair and Security group can be created while launching the instance or before launching the instance.
Launch Instance Configuration
Give a Name & Tag
Select AMI (OS & Application Software)
Instance Type (Configuration of CPU, Memory, Storage, & Networking)
Keypair (Login Information)
Network Setting (select network & subnetwork, select/create Security group)
Configure Storage (default - 1 root volume based on AMI)
Advance Setting
Steps to Launch Instance
Step-1: Login into AWS Management Console
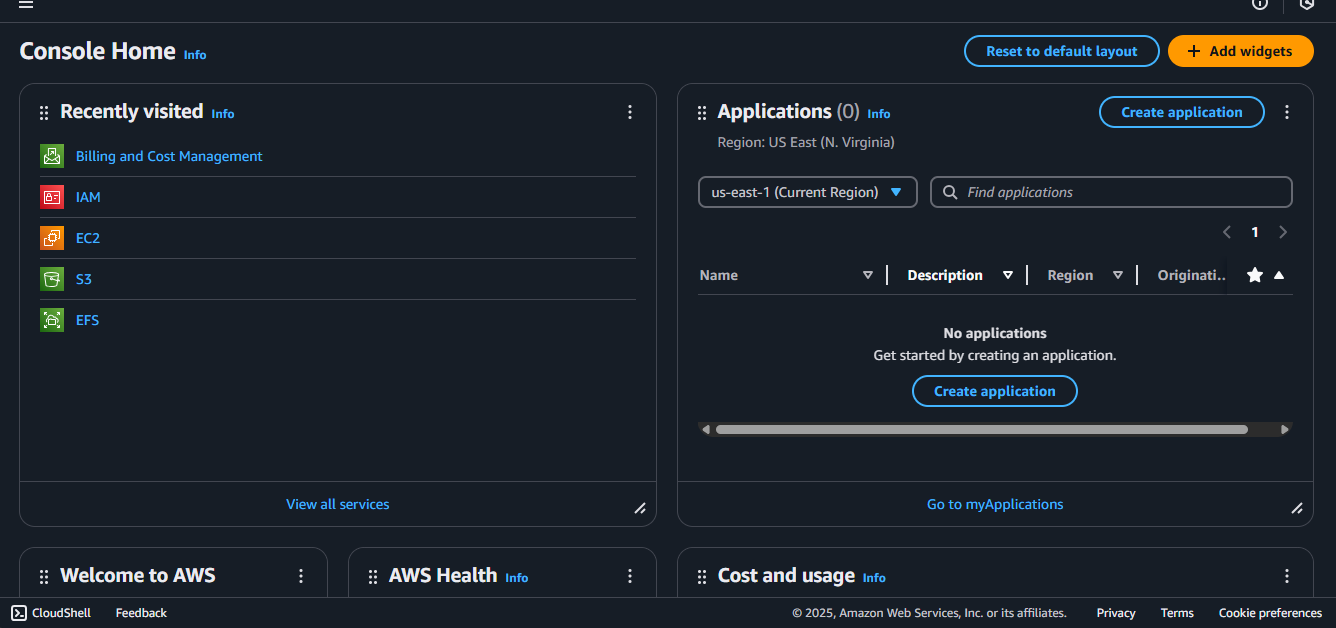
Step-2: Search & open EC2 Service page, click on Instances link in left navigation panel & click on Launch Instance button at top right.
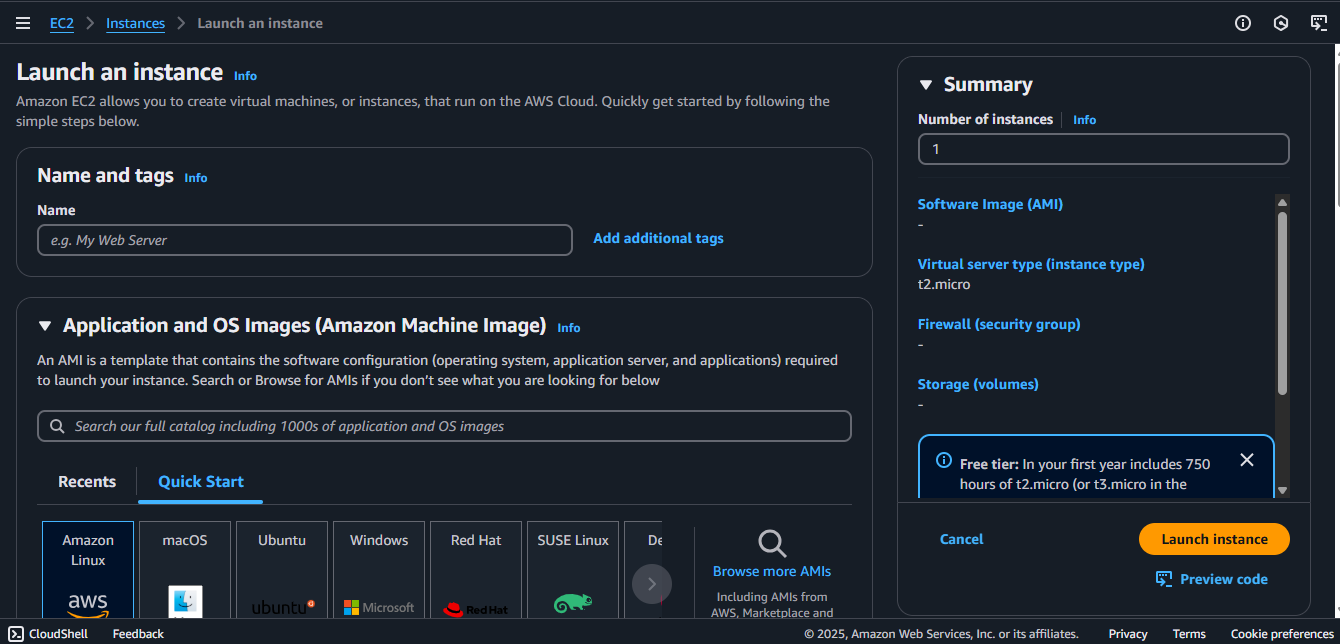
Step-3: Now provide 7 configurations according to your need which are Launch Instance Configuration. Image shows interference after launching the instance.
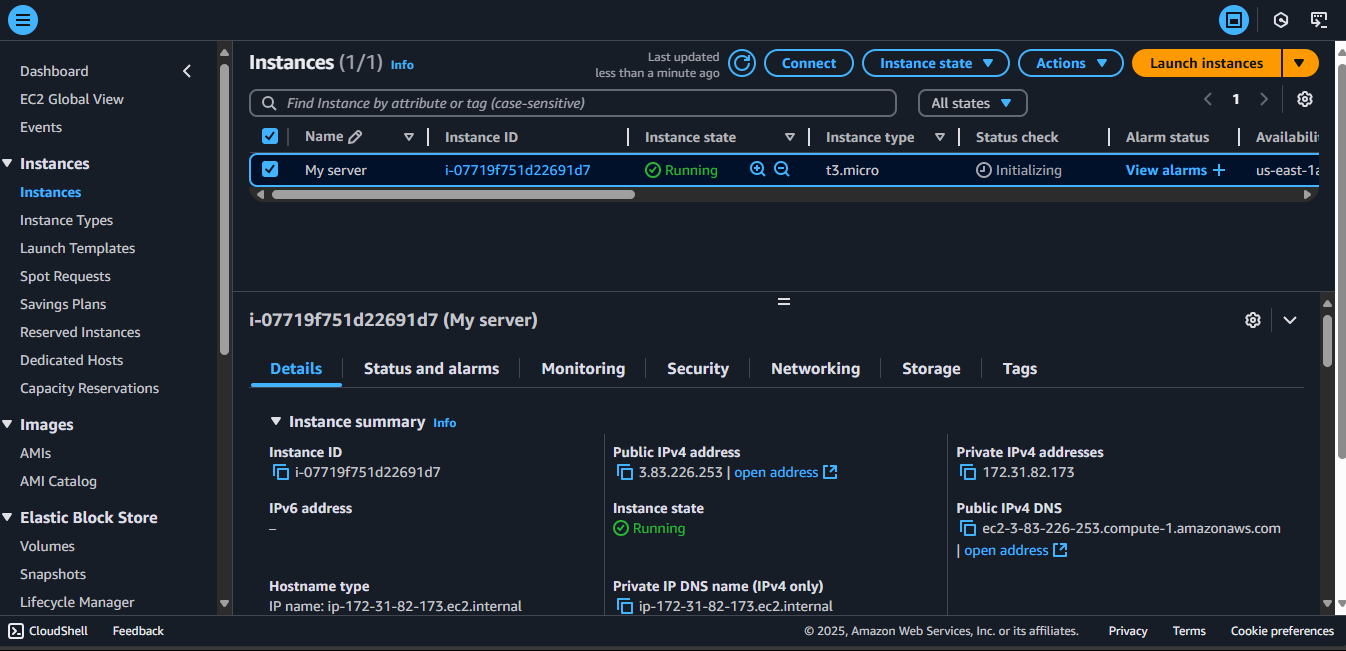
Step-4: Connecting Windows Instance using RDP Client
Click on start button on your desktop search for “remote desktop connection” it will open remote desktop connection app, an RDP client.
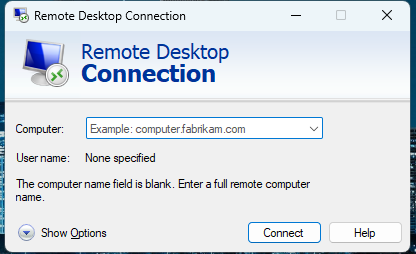
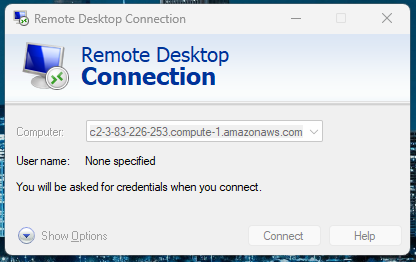
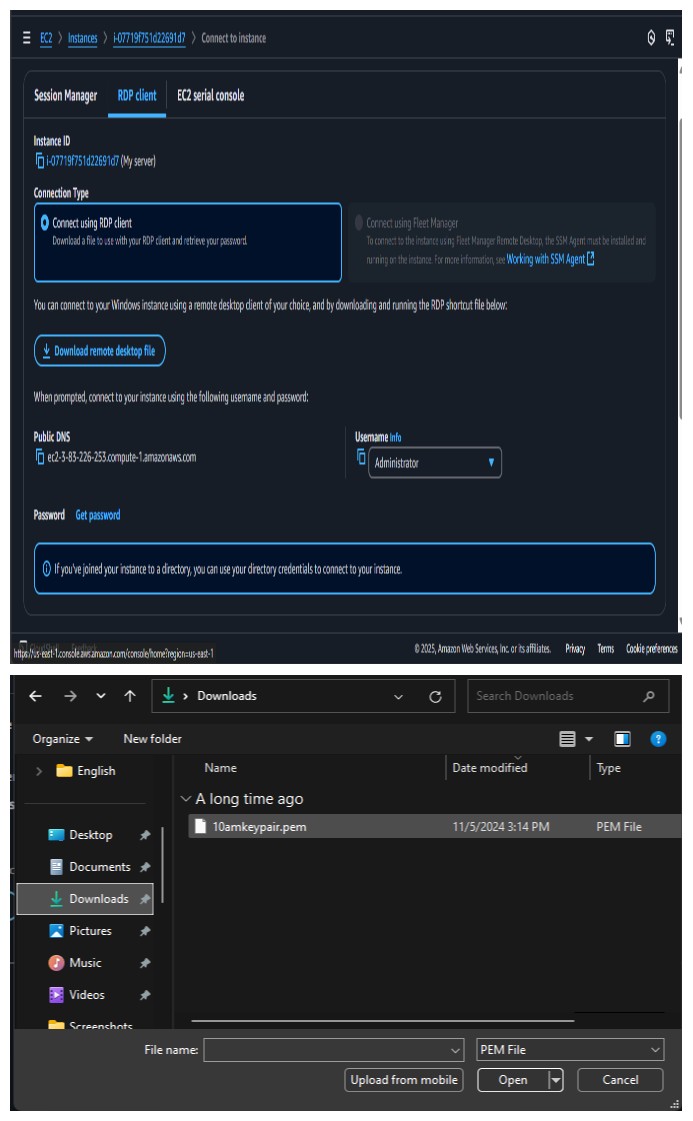
Step-5: On instances page in AWS console, select the instance and click on connect button. In next page, go to RDP Client tab. It will have the public DNS for the instance. Copy the public DNS and paste it in the remote desktop connection.
Step-6: After connecting it will ask username & password. To generate password click on Get password which is below the public DNS. In the next window, click on Upload private key file button, navigate to the folder which has the key pair file, select it and click on open. Click on Decrypt password button to get the password. Now it will generate the password. Copy paste username & password and click on ok button.
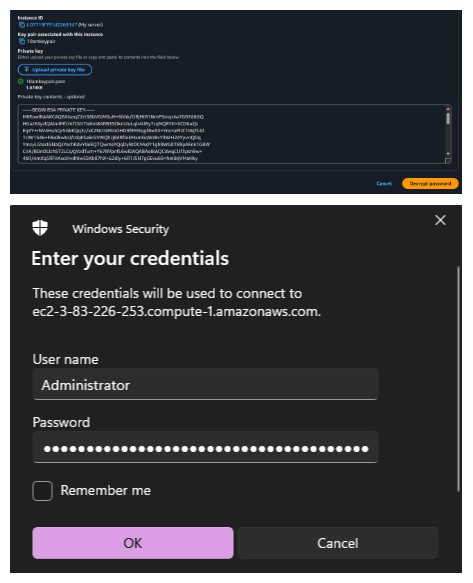
Step-7: Next, it will ask for confirmation, Click on Yes button. It will start the connection and the new window will start loading the Windows Server instance. Finally the Windows Server instance’s desktop will be loaded. It has to be noted that instance details will be displayed on the top left corner in the Desktop.
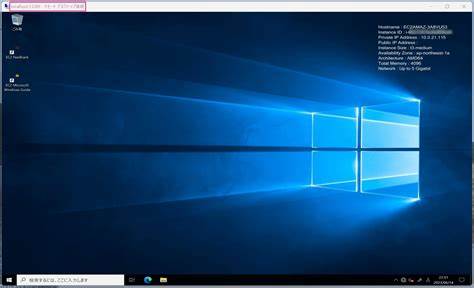
You can host a website, database, etc in it. To end the window instance click on close button on the top. These are the simple steps to launch and connect to windows based instance. My next topic will be about launch and connecting to linux based instance by using two different tools putty and gitbash. Go check it out…
It will be fun learning this technology which is easy in a way. This will be the among early journey of learning Devops technology. Thank you for giving your time to take a look at it. Hope this helps you in your way.
Subscribe to my newsletter
Read articles from Revan Mudnal directly inside your inbox. Subscribe to the newsletter, and don't miss out.
Written by
