Spin up a Remote Development Server for free
 Vishnu M
Short Intro:
Hey there! I am Vishnu. I am a ML Engineer. Learning and documenting my journey.
Situation:
I am working on a project that requires running multiple containers in docker.
My laptop cannot handle that workload and will lag a lot if i run it.
I cannot buy a laptop immediately.
So I decided to rent a VM and use it as development server.
Solution I used:
So I searched internet for a cheap cloud service provider for VM. I decided to go with DigitalOcean.
But unfortunately I could not create an account because I had an issue with connecting my bank account with it.
Then I recalled that Google has a free trail on GCP. If you have an google account (like everyone else), then you have an GCP account with $300 worth of credits for a free trail period of 90 days.
So I decided I am going to utilize that.
Visit Google Cloud Console and you will see a notification on top notifying you about the free trial. you can start the free trail and you will have the credits available on your account.
Now, create a project in the GCP, (you need and project to access their services) and then select the project.
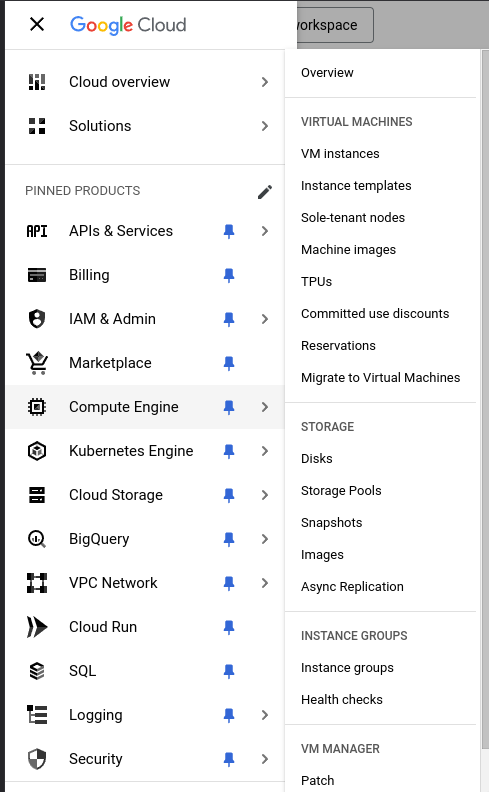
Now go to the left sidebar, select VM instances under Compute Engine
Click “Create Instance”, Give your instance a name like “remote-dev”
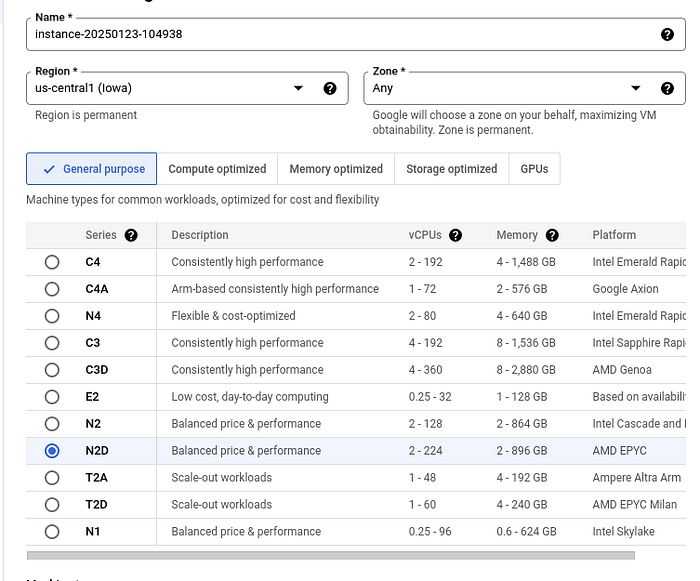
Choose the type of VM, I chose N2D after a short chat with gemini for my use case.
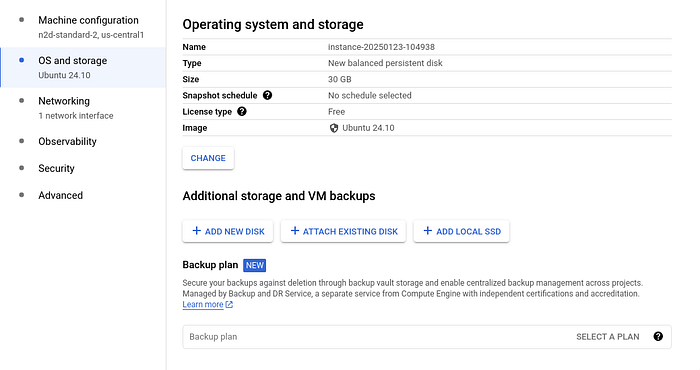
Next click the “OS and Storage” on the left side, Click change and choose an OS (Linux obviously), I chose Ubuntu 24.10. choose the amount of storage u need too.
Now comes the important part
Creating an SSH key and adding it to the VM
If you have access to an Unix terminal, type the following to create a SSH key pair
ssh-keygen -t ed25519
It will ask for the location to save the ssh key files, default location will be /home/user/.ssh/id_ed25519 . if you already have a file in this name you can change the path to where you want to save it
It will ask for a passphrase, you can give one if you want more security or you can just press enter and leave it empty
now there will be two files in the names id_ed25519 and id_25519.pub on the location specified.
If you are in windows, install git bash and run the same command it should work
Now open the .pub file, and copy the contents of the file.
Now go to the Security section on the GCP platform
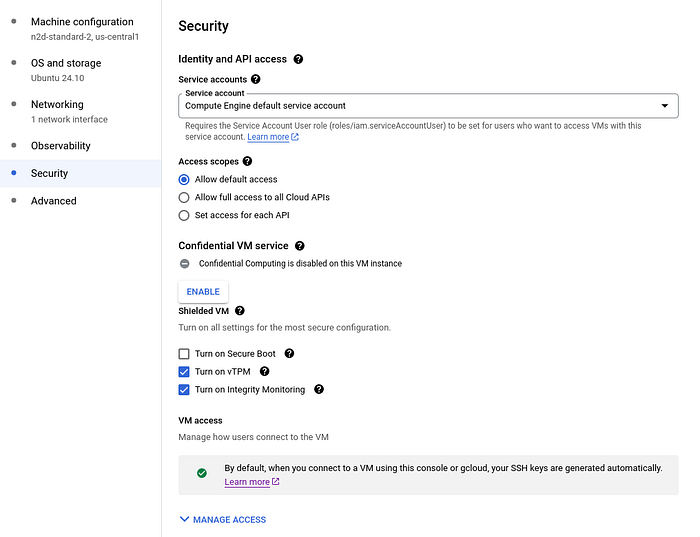
Click on the manage access on the bottom of the page.
You will get a option like this
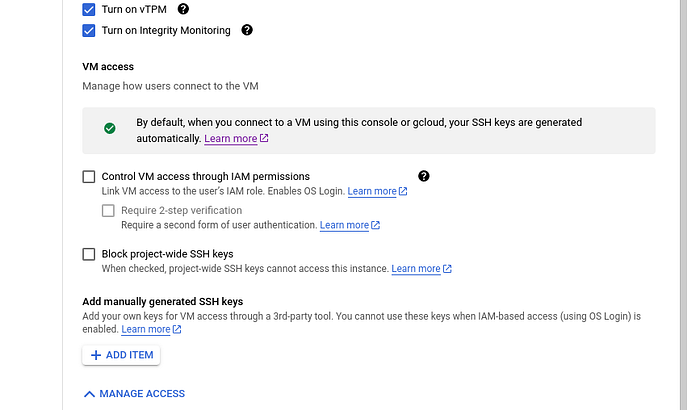
Click on “Add Item” under manually generated SSH Keys and paste the contents copied in it
Now click on “Create” button on the bottom left
Your VM will be starting up now.
Now once the instance is up and running, Click on the SSH button under the Connect column, authorise the browser to ssh into the VM,
run the command sudo nano /etc/ssh/ssd_config
go to the line where it says
#PubKeyAuthentication yes
delete the # and save the file (press Ctrl+O and Ctrl+X)[writing and quitting in nano editor]
run sudo systemctl restart ssh
now exit the browser window
Copy the External IP of the VM on the instances table
Open your VS Code in your laptop
Press Ctrl+Shift+P,
Select Remote-SSH: connect to Host
Select Add new SSH Host
Type ssh -i ~/.ssh/id_25519 username@externalip , press enter
Press continue.
Now you are connected to a Remote Development server form your local PC.
You can install extensions, create files and run programs like your local computer.
Now you can start building….
Follow for more tech articles
Until then Bye Bye.
Subscribe to my newsletter
Read articles from Vishnu M directly inside your inbox. Subscribe to the newsletter, and don't miss out.
Written by
Vishnu M
Vishnu M
I am a Developer from India. working on Web development and Machine Learning.