Exploring a SaaS API Platform
 Scott Spendolini
If you followed my last post, you should have integrated Jira Cloud & APEX so that you can see projects, issues and comments from the APEX side. As you may have inferred, building that application did take some time, most of which was spent on learning about the Jira API, how it works and which endpoints to call to get what I wanted.
As I’ve said before, if you’ve learned how to work with one platform’s API, you’ve learned just that - a single platform’s API. Unfortunately, they are all different, and there’s no real shortcut that you can take here. You simply have to put in the work.
API Documentation
Finding the API documentation page should be your first step. In most cases, large SaaS platforms will have plenty of resources regarding their API, what it does, how to connect, etc. Jira Cloud is no exception. Their API page is loaded with good information and can be found here: https://developer.atlassian.com/cloud/jira/platform/rest/v3/intro/#about
Taking a look at their page, it’s broken out into a number of sections. Let’s walk through most of them, since regardless of the platform, these are the main things you’ll need to consider.
Version
APIs, like most software, have versions. Each version will add or remove parameters, results or both. Typically, the version of the API is included in the URL. Jira takes this approach, and in their documentation note the difference between version 2 & 3. For our purposes, either should work.
Authentication & Authorization
This can be one of the trickier parts of calling an API, as there’s a number of ways to handle authentication (authN) and authorization (authZ). It is important to understand how your SaaS provider does this, and ensure that you adhere to their guidelines and best practices.
For our purposes, we’re going to stick with the Ad-hoc API calls option. This is the simplest of the batch, and uses Basic Authentication, or a username and password combination.
Permissions
Jira manages permissions at the user level. Thus, if your user has a specific permission mapped to them, they will be able to call APIs that require that permission. In the example APEX application, the Jira user was an administrator, and thus could call pretty much any API. In a real-world scenario, different users would have different permissions, and you would need to account for which API they would be able to call at the APEX level - likely by querying an API to determine which permissions they had and using APEX authorization schemes to hide & show corresponding APEX components.
Expansion
For efficiency, Jira APIs use “resource expansion”. All this means is that if you call the plain API, you’ll get a small number of values returned in the JSON file. If you specify values in the “expand” option, you’ll get additional values in the JSON. Thus, if you don’t need lots of data, don’t specify values in the “expand” option and vice versa.
Pagination
Perhaps the most important part of the Jira API is pagination, as it provides some of the core mechanical support for how APEX navigates data found in reports.
When you build a report on a local table or view, APEX can handle all of the pagination services natively, as it knows how to augment the local SQL query to determine how many rows there are, which set it’s looking at currently, and all of the other parameters required to allow users to paginate through the results. This is native, no-code functionality of APEX and has been present since essentially day one.
However, when you put the data sources behind a web service, APEX becomes “blind”, since it can no longer get pagination values by augmenting SQL calls. Additionally - and perhaps one of the most important concepts - is that web services will only send back a portion of the full dataset per request. Imagine asking for a million rows of data. It’s just not practical to send all million rows over in a JSON file, as it would take too long to transmit and then parse that file all at once.
Thus, web services typically send results in much smaller chunks, typically 25 or 50 rows of data. As users click “next set”, the web service is called again, and the next set of rows are sent back and displayed. But in order for APEX - or any client - to know where it is in the dataset, there needs to be a way to manage the pagination.
Thus, web services typically provide a mechanism as to how they manage pagination. They do this by providing bits of information as part of the JSON document that they send back. These results can be anywhere in the result set - it varies by web service.
For example, the Jira API gives the following example of how they handle pagination:
{
    "startAt" : 0,
    "maxResults" : 10,
    "total": 200,
    "isLast": false,
    "values": [
        { /* result 0 */ },
        { /* result 1 */ },
        { /* result 2 */ }
    ]
}
Each parameter is also defined on their site. Here’s those definitions:
startAtis the index of the first item returned in the page.maxResultsis the maximum number of items that a page can return. Each operation can have a different limit for the number of items returned, and these limits may change without notice. To find the maximum number of items that an operation could return, setmaxResultsto a large number—for example, over 1000—and if the returned value ofmaxResultsis less than the requested value, the returned value is the maximum.totalis the total number of items contained in all pages. This number may change as the client requests the subsequent pages, therefore the client should always assume that the requested page can be empty. Note that this property is not returned for all operations.isLastindicates whether the page returned is the last one. Note that this property is not returned for all operations.
By reading these values, developers can augment their code so that they can request data from a web service, keep track of where they are, and then request the next or even previous set of rows and display those to the user. Developers will also want to know when they reach the end of a result set; hence the isLast parameter. When that is true, developers will need to disable or hide the “next set” button, since there is no such thing.
If building this from scratch, there’s a fair amount of work required to consume, manage and react to the pagination metadata. Fortunately for us, when using APEX’s REST data sources, we don’t have to write any code at all to manage pagination. All we need to do is provide some guidance to APEX by way of pagination details and it will handle the rest. This benefit alone - APEX being able to automatically handle pagination of data received from a web service - cannot be understated.
Now that we know how Jira handles pagination, we can adjust one of our REST data sources accordingly. Below is what the pagination section of the Projects REST data source looks like:
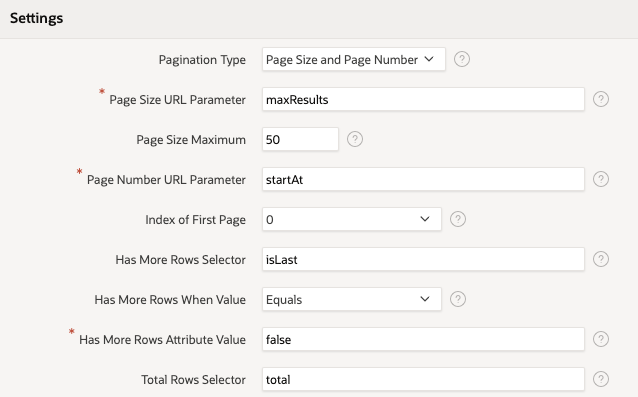
We’ll dive into the specifics of these setting in a future post. For now, you should be able to see the values specified in the Jira API mapped to their corresponding attributes in APEX.
Ordering
Another important concept is ordering the results. Again, consider that million-row dataset. If we wanted to sort by Issue Number, and only have 50 rows, we simply can’t. Thus, most web services will do their sorting on the server and send back pre-sorted data.
Jira allows us to pass a column name to the URL parameter orderBy to perform sorting. It will then sort the data accordingly and return the dataset in a pre-sorted format. Adding a + or - before the column name will sort the data ascending or descending, respectively.
Timestamps
When working with APIs, dates are sent as strings, typically in a timestamp format. There is no “date” datatype, as it’s all just text. Many web services - including Jira - will use the ISO 8601 format for timestamps. And in Jira’s case, the timezone used is the one mapped to the user’s account that the API key is associated with.
API Endpoints
Now that we have a good idea as to the basics of how Jira’s APIs work, let’s dig into some of the specifics of what it actually does. Most SaaS APIs will provide not only documentation on each endpoint, but also either a Postman Collection, an OpenAPI specification or both. Jira provides both, and they can be found at the top-right of this page: https://developer.atlassian.com/cloud/jira/platform/rest/v3/intro/#about
Postman Collection
Postman is a popular API development tool that many organizations use. It basically allows you to set up a test harness and make RESTful calls to API endpoints. I’m not going to get into the specifics on how to use it here; have a look at their site to get started if it’s new to you.
Using Postman to explore and become familiar with an API is almost always the best first step. Use the APIs documentation & samples to get a jump on how to use it, paying specific attention to how to paginate, sort and pass parameters to it, as well as the requisite security attributes.
Using Postman to do this allows me to focus on the parameters and functionality of the APIs in an easy to use tool. I find this approach a lot easier and faster than wrapping these calls in SQL or PL/SQL. Postman also provides a fair bit of debug information if and when you get stuck.
Let’s fire up Postman and hit our first endpoint!
Navigate to the Jira Cloud API page here: https://developer.atlassian.com/cloud/jira/platform/rest/v3/intro/#about
Click the icon labeled Postman Collection and save the file to your desktop.
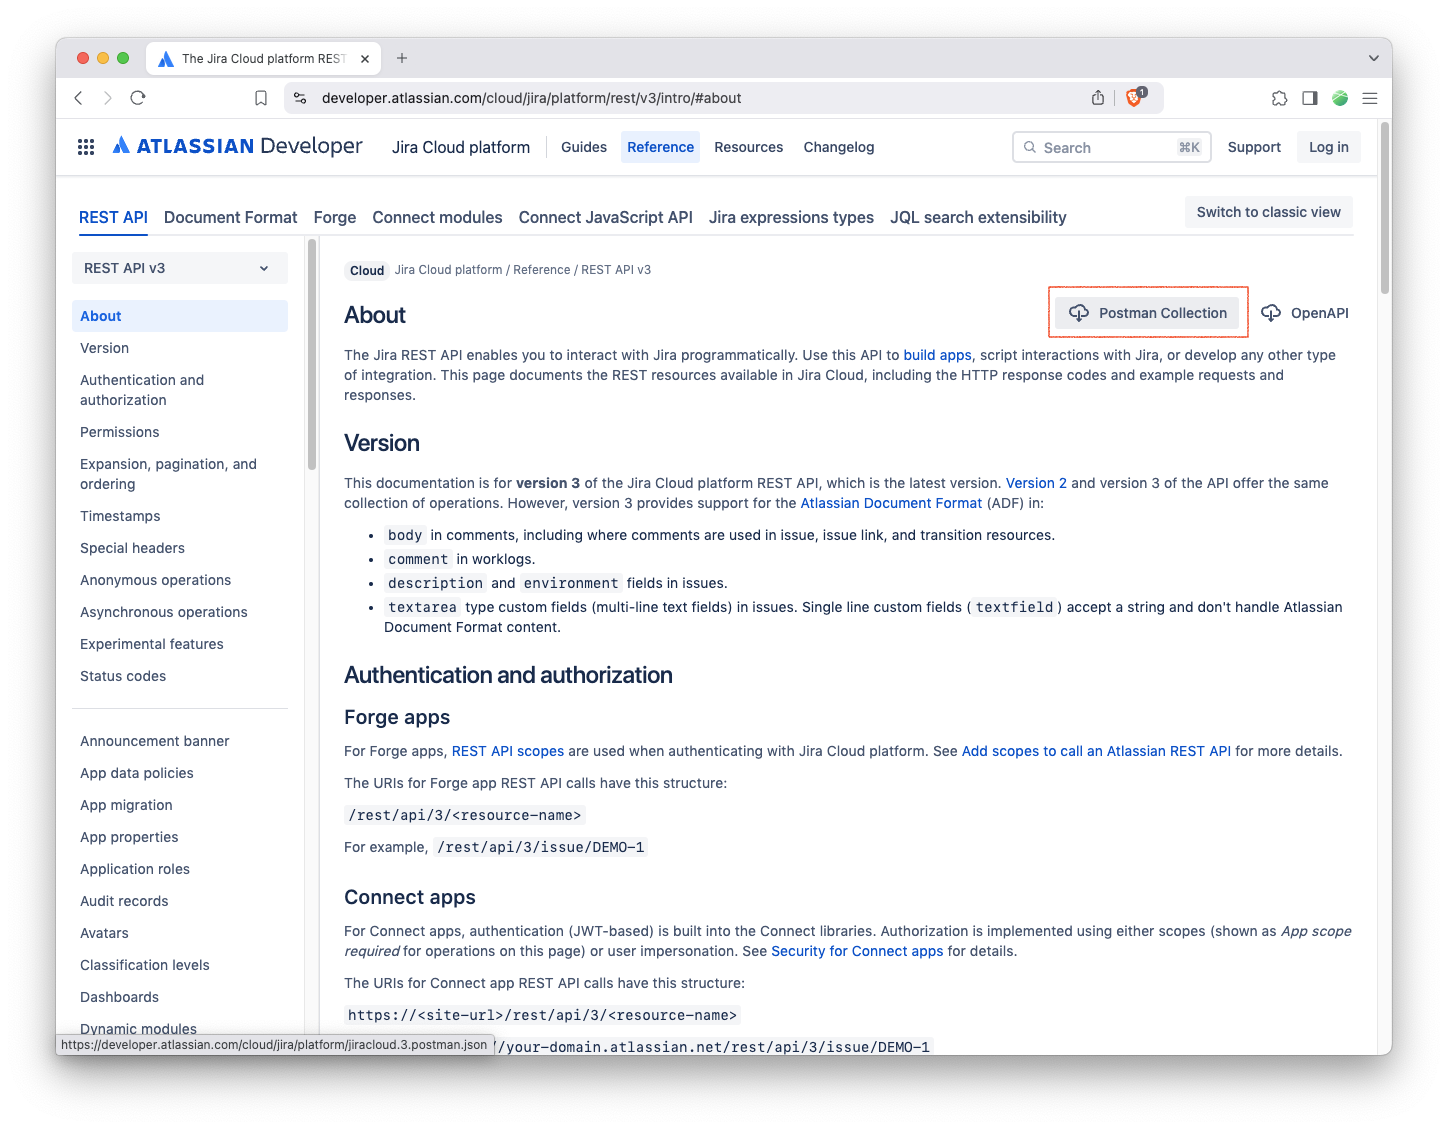
In Postman, click Import.
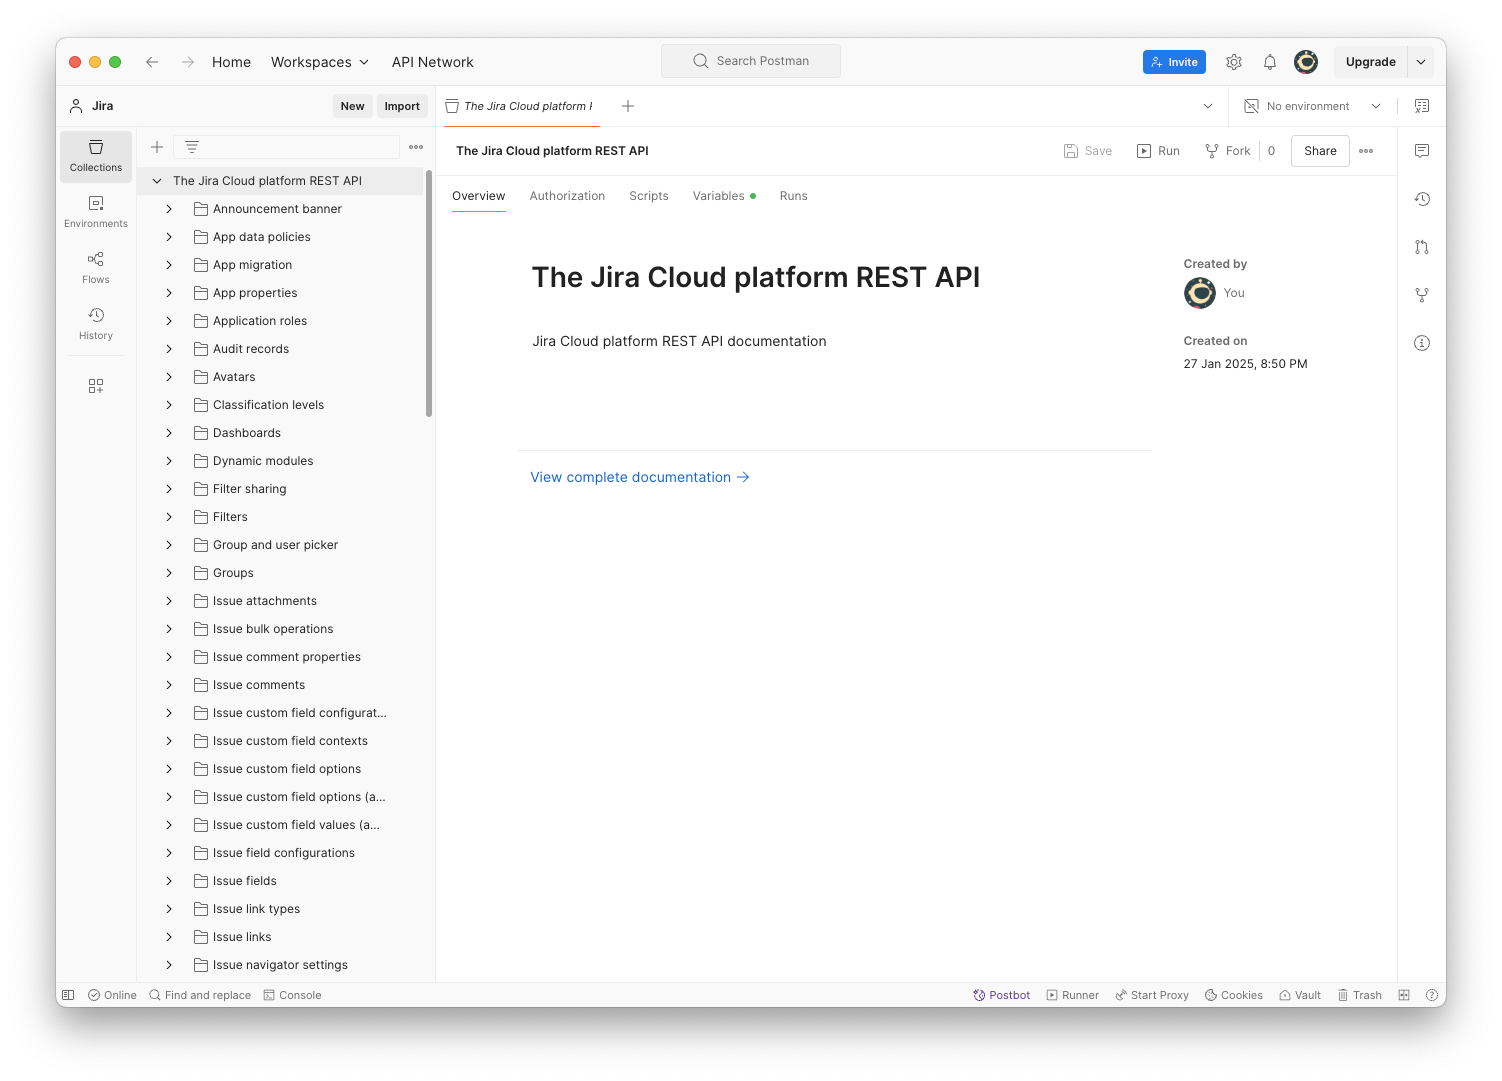
Locate the collection file that you just downloaded and drag it to the Postman window.
The collection should automatically load and you’ll see the following screen:
Now that we have a collection, let’s create an environment. An environment is a set of variables that are automatically passed to a collection. It’s used when you have different sets of APIs across different servers - such as dev, test, QA & production. While not required, it’s a lot easier to use environments to set and store variables, as they will impact any endpoint that makes use of the variable syntax in Postman.
To create an environment:
Click on the Environment tab in the left side of the page.
Click the “+” icon to crate a new environment.
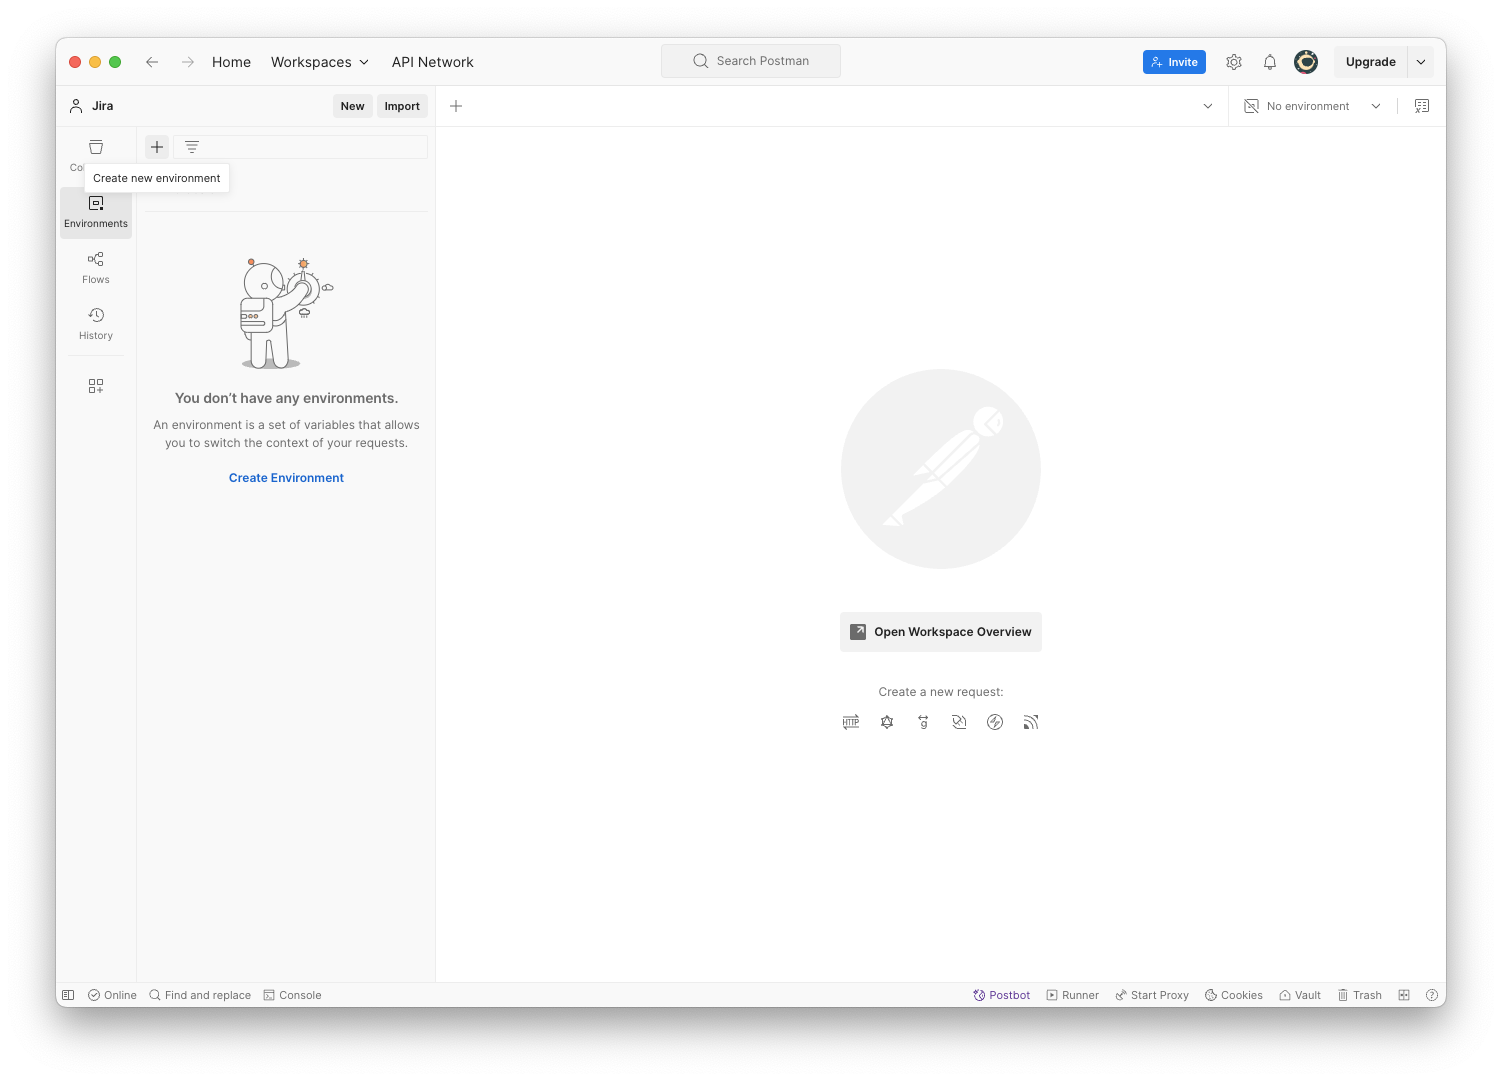
- Rename your environment to something descriptive. I’ll use
spendoliniblogfor mine.
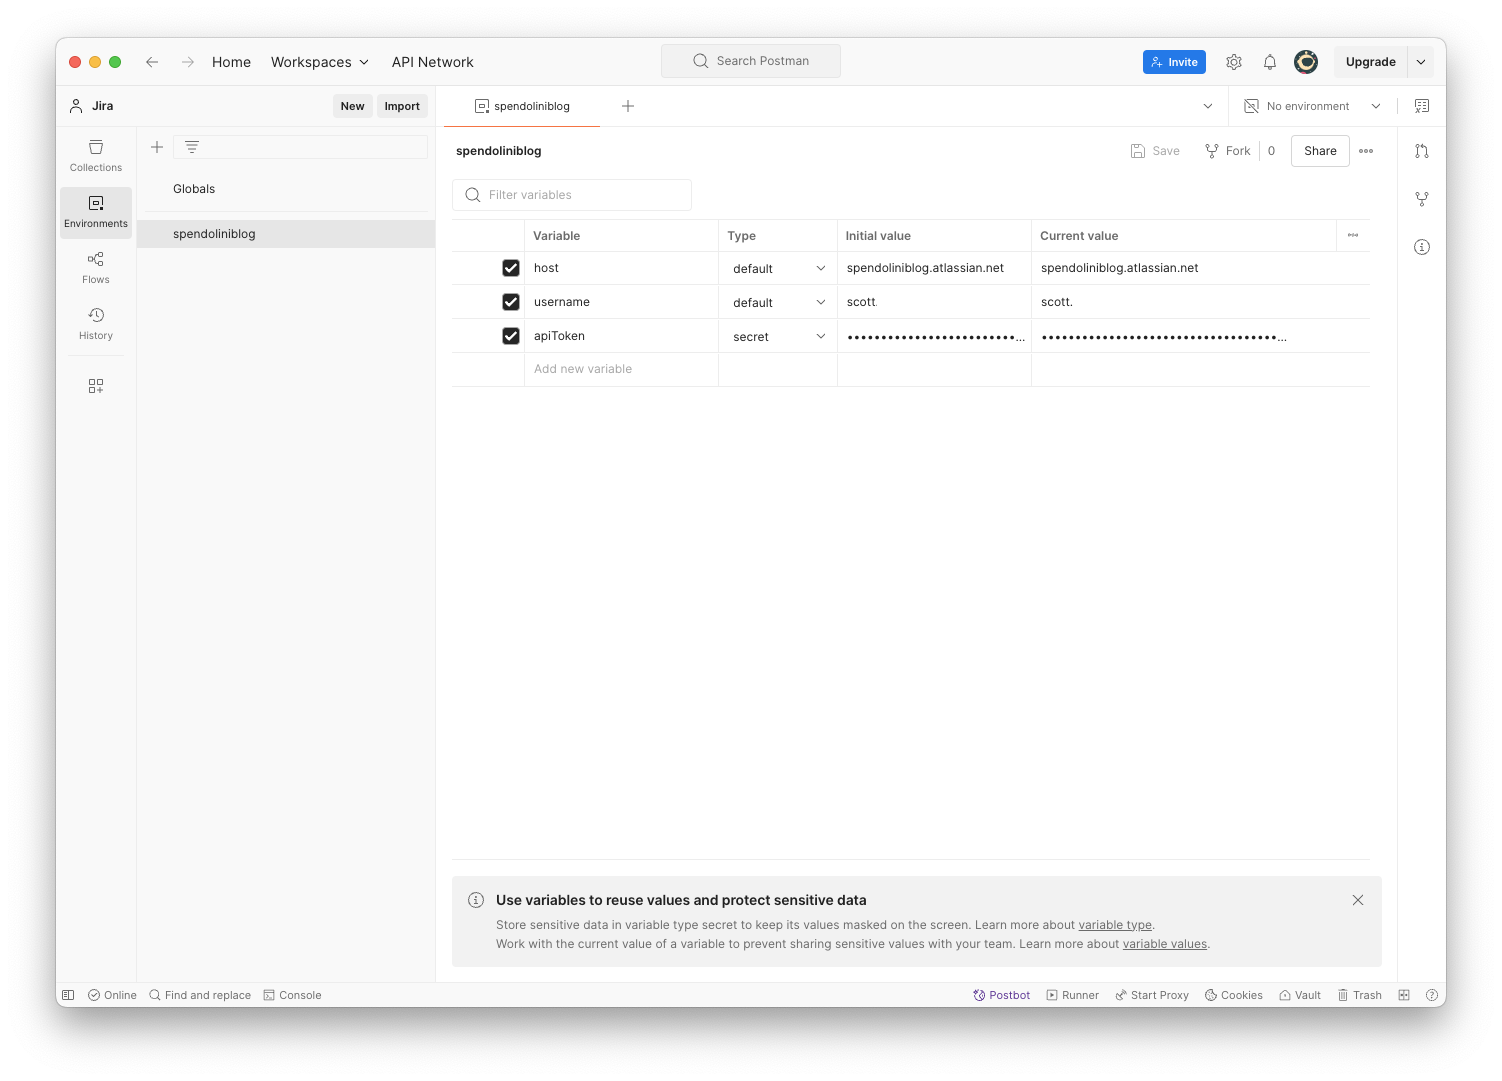
Next, we need to add the three main variables that are required to call the Jira API: host, username and apiToken.
Enter
hostas the Variable, set Type todefaultand enter your Atlassian hostname for the Initial Value. This was the hostname that you specified when creating your Atlassian account in the previous blog post.On the next line, enter
usernameas the Variable, set Type todefaultand enter the email that you used to sign up for your Atlassian account as the Initial Value.On the next line, enter
apiTokenas the Variable, set Type tosecretand paste in the API Key that you generated when you signed up for your Atlassian account as the Initial Value.Click Save.
The screen should look similar to this:
Let’s use these freshly defined credentials to call one of the APIs to make sure that it all works.
Click on the Collections icon on the left side of the screen.
Scroll down and locate and expand the Projects folder.
Select Get All Projects.
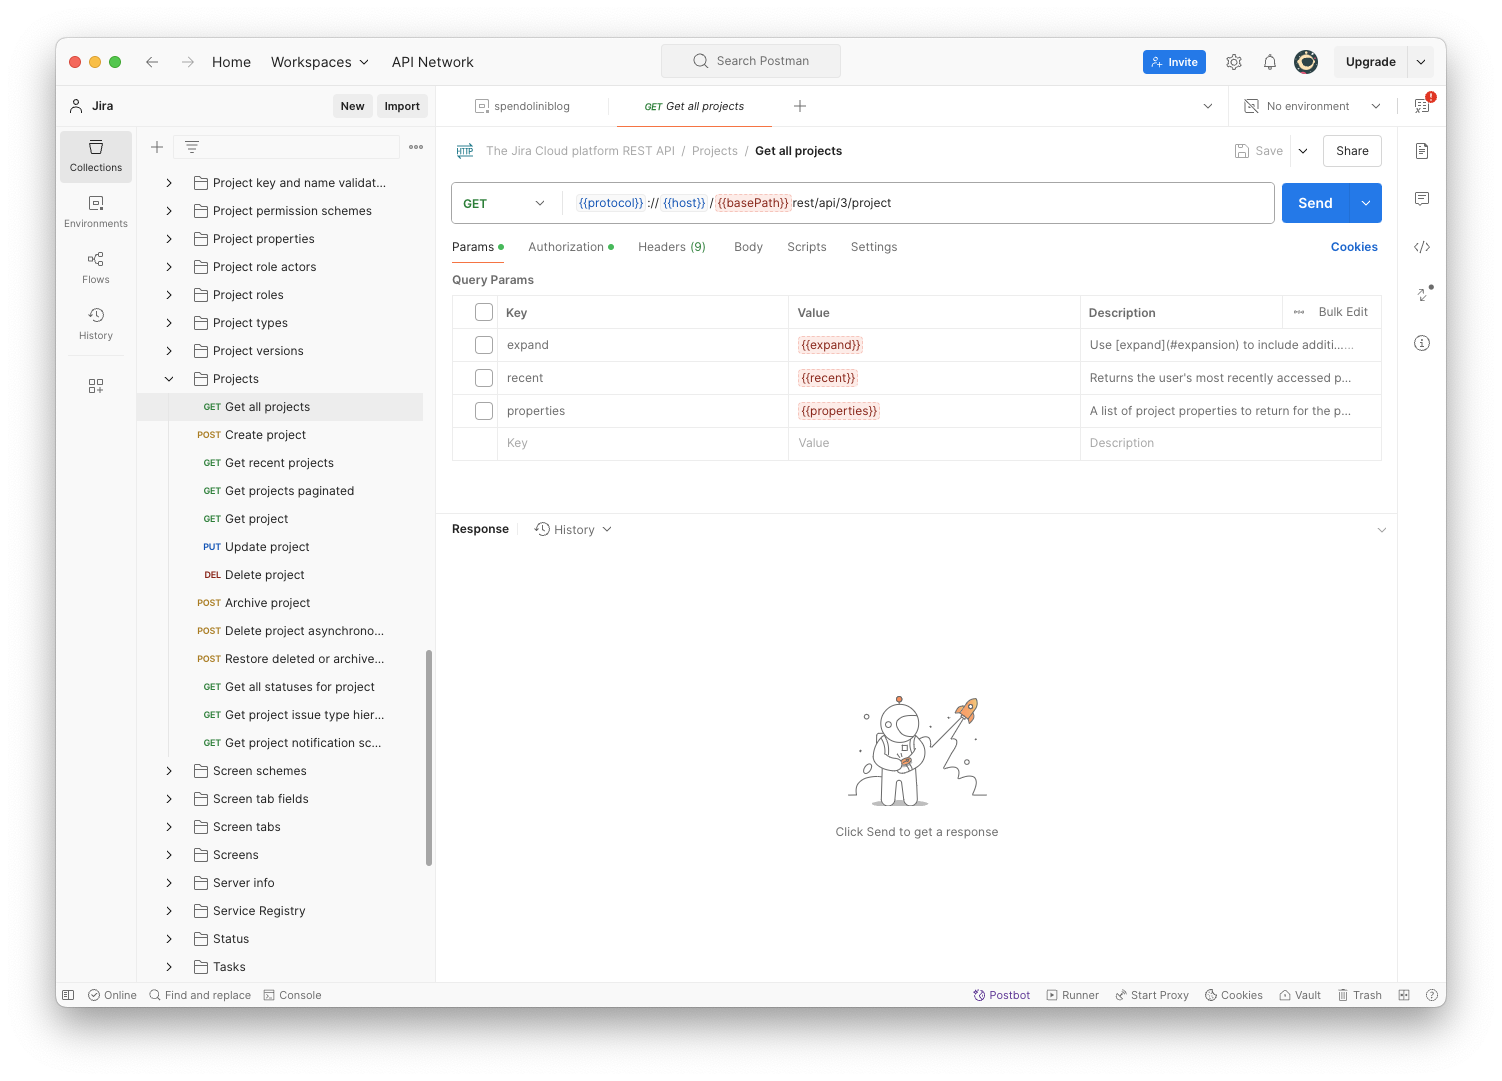
Notice that many of the variables are highlighted in pink - indicating that they do not have a current value. You can hover over the blue ones to see what the value is set to.
To apply our environment to this endpoint:
- Select the environment we created from the Environments menu in the upper right.
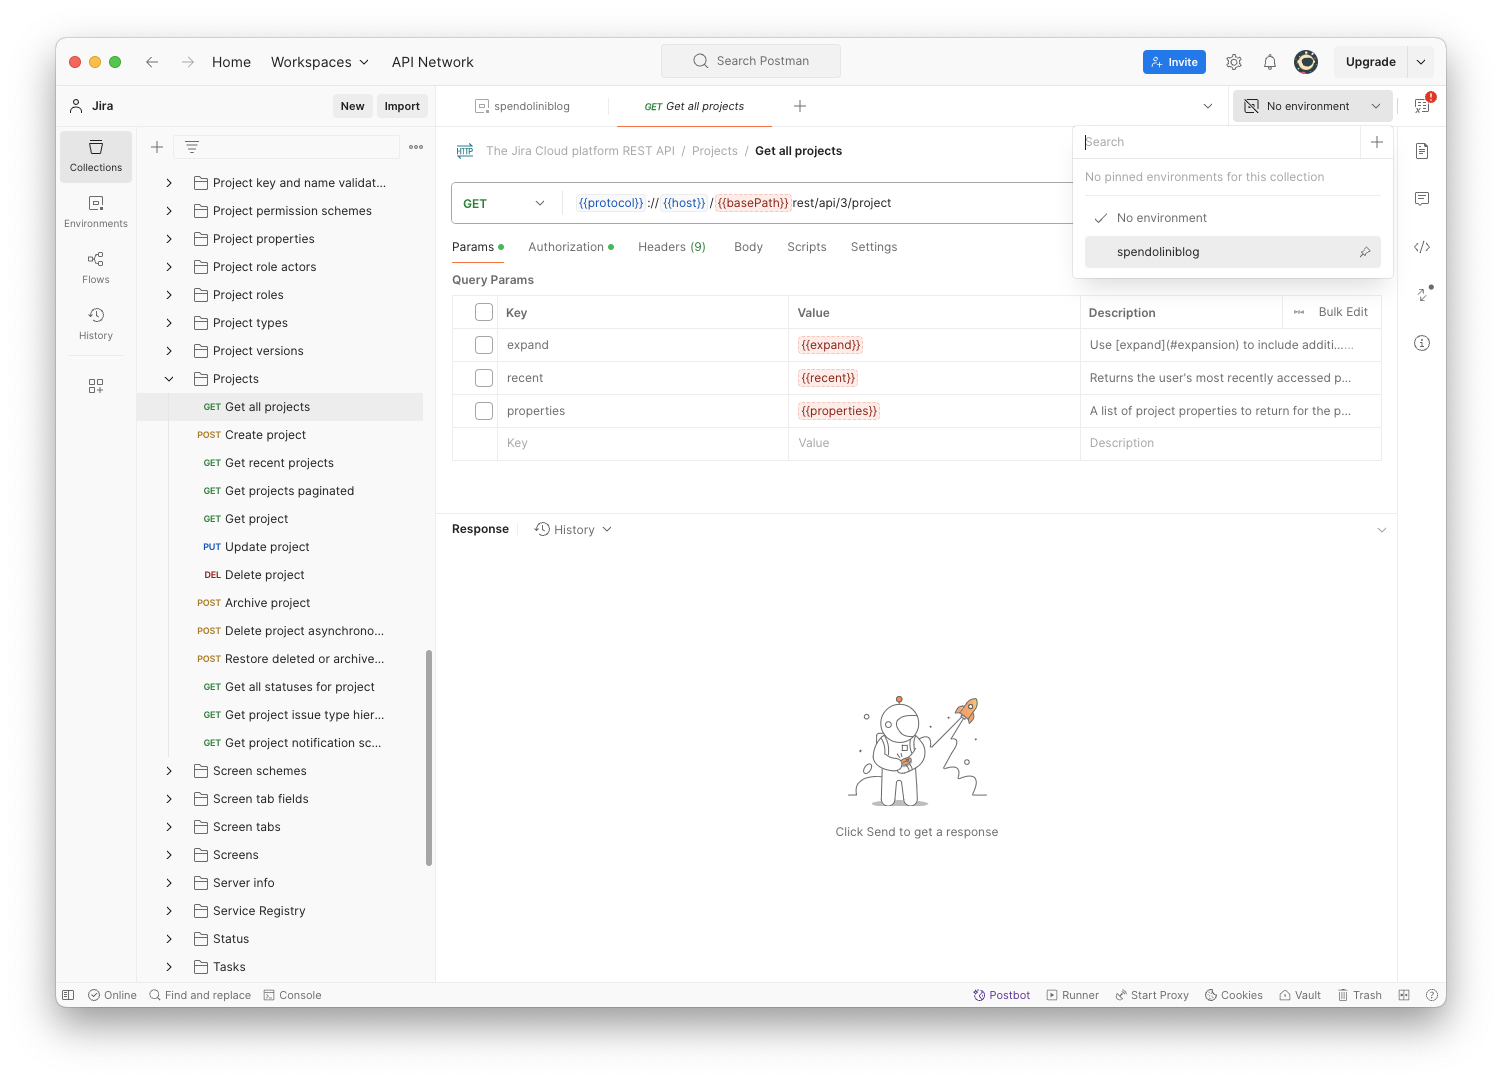
- Click Send to call the endpoint using the variables defined in our environment.
If configured correctly, you should see something similar to the following:
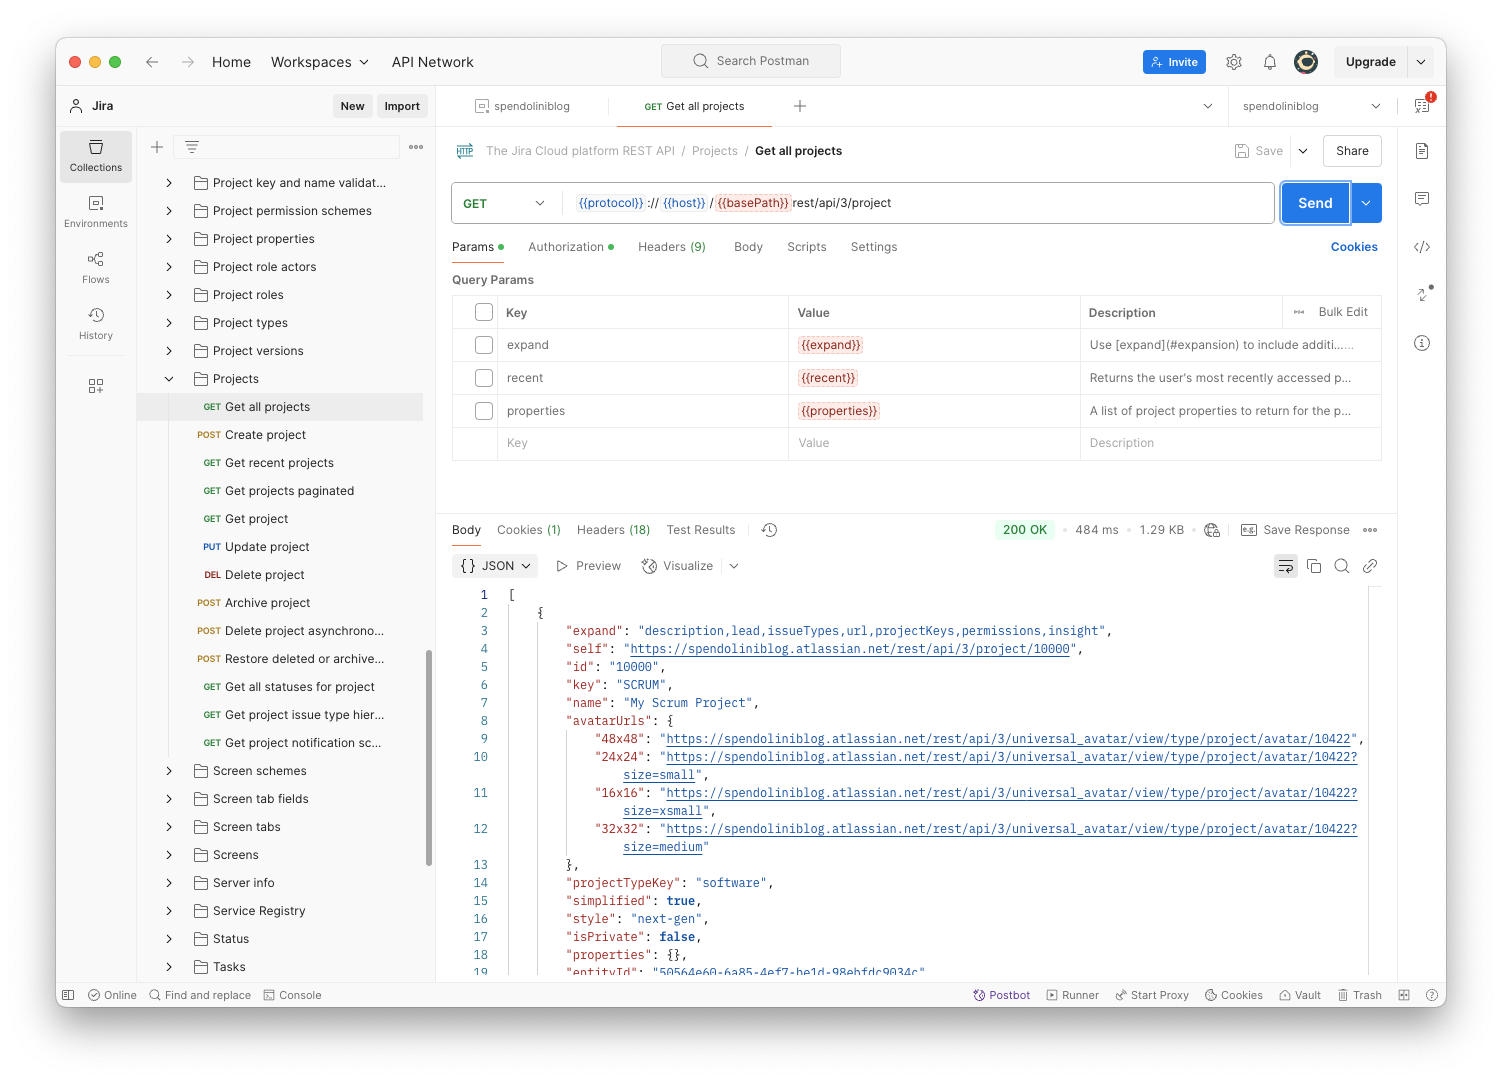
Feel free to play with any of the other endpoints - but understand that changes will be immediately made to your Jira projects and may be irrevocable. It’s a good idea to make sure that the Jira environment that you’re interacting is not production.
OpenAPI
According to their website, OpenAPI “provides a consistent means to carry information through each stage of the API lifecycle. It is a specification language for HTTP APIs that defines structure and syntax in a way that is not wedded to the programming language the API is created in.”
In other words, OpenAPI is a standard way to define RESTful endpoints. This allows developers to quickly discover what an API does, how it works and what operations are available. This standard is language agnostic - developers need to know nothing about the language that the API is written in, only about the language from which they will call it.
There’s a number of tools out there that can read OpenAPI specifications - Postman being one of them. Let’s stick with that and import the OpenAPI document.
Navigate to the Jira Cloud API page here: https://developer.atlassian.com/cloud/jira/platform/rest/v3/intro/#about
Click the icon labeled OpenAPI.
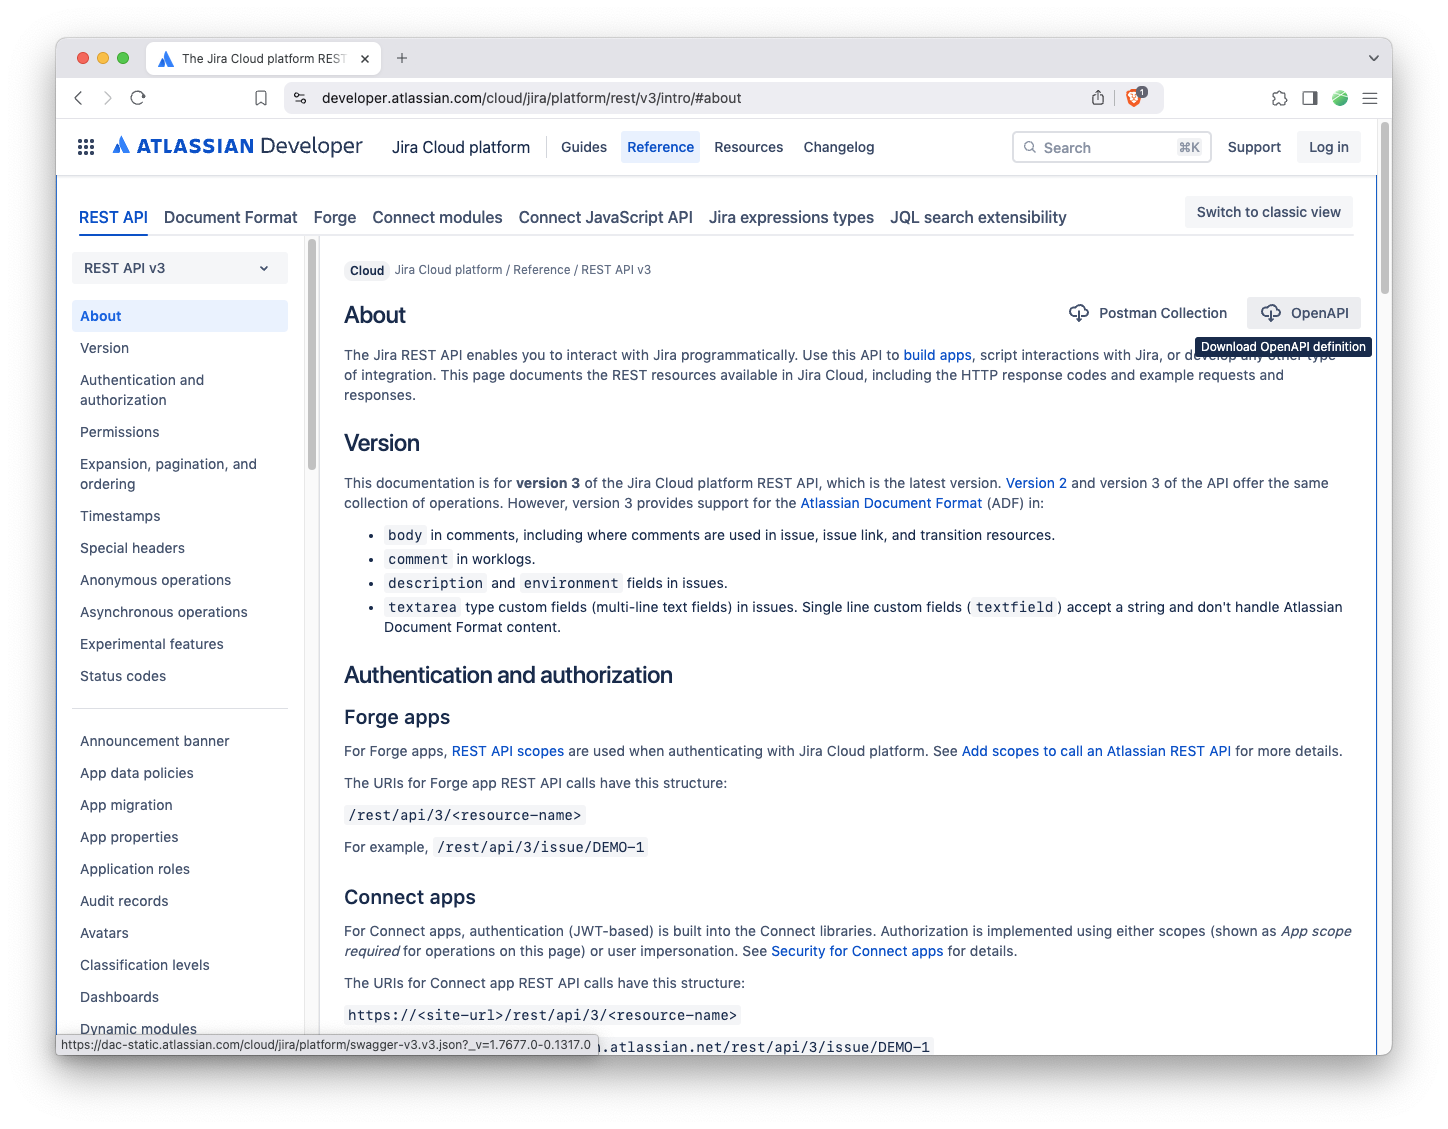
- Your browser will open a new tab and you should see the following:
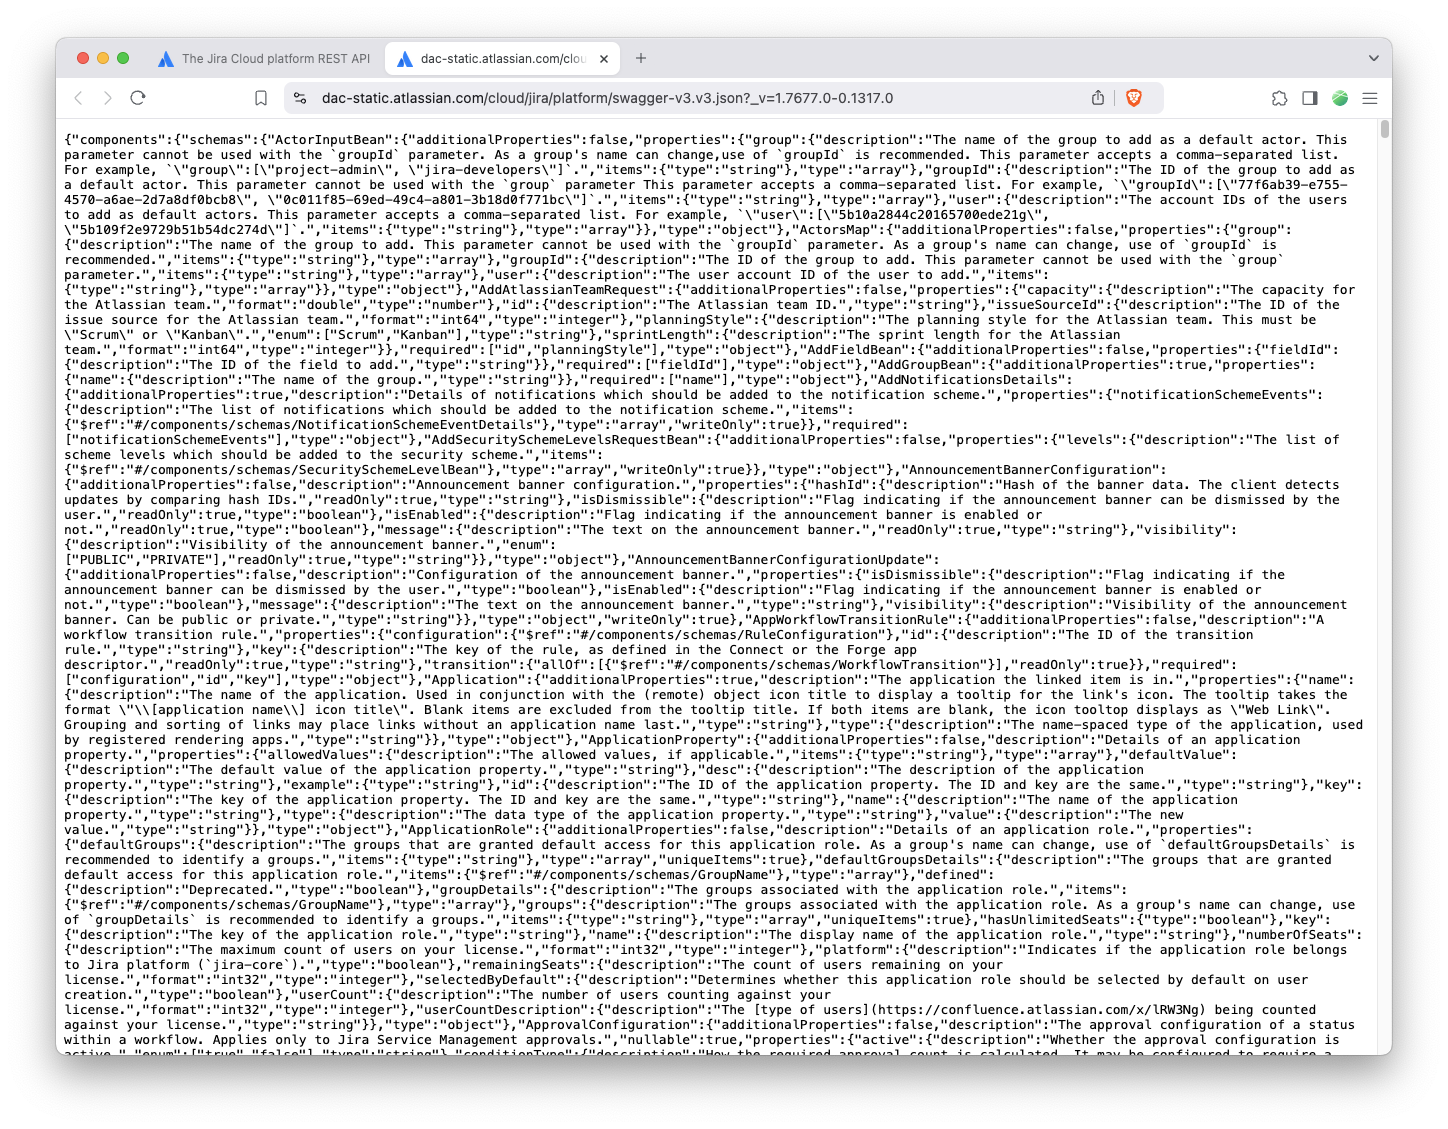
This is intentional; the browser is displaying the OpenAPI document, which is in YAML format. Let’s save the contents to our machine so that we can import it into Postman.
From the File menu, select Save Page As or a similar option depending on your browser.
Save the file to your desktop.
Switch to Postman, select Collections on the left side of the screen and then click Import.
Drag the file you just downloaded to the Postman window. You should see something similar to this:
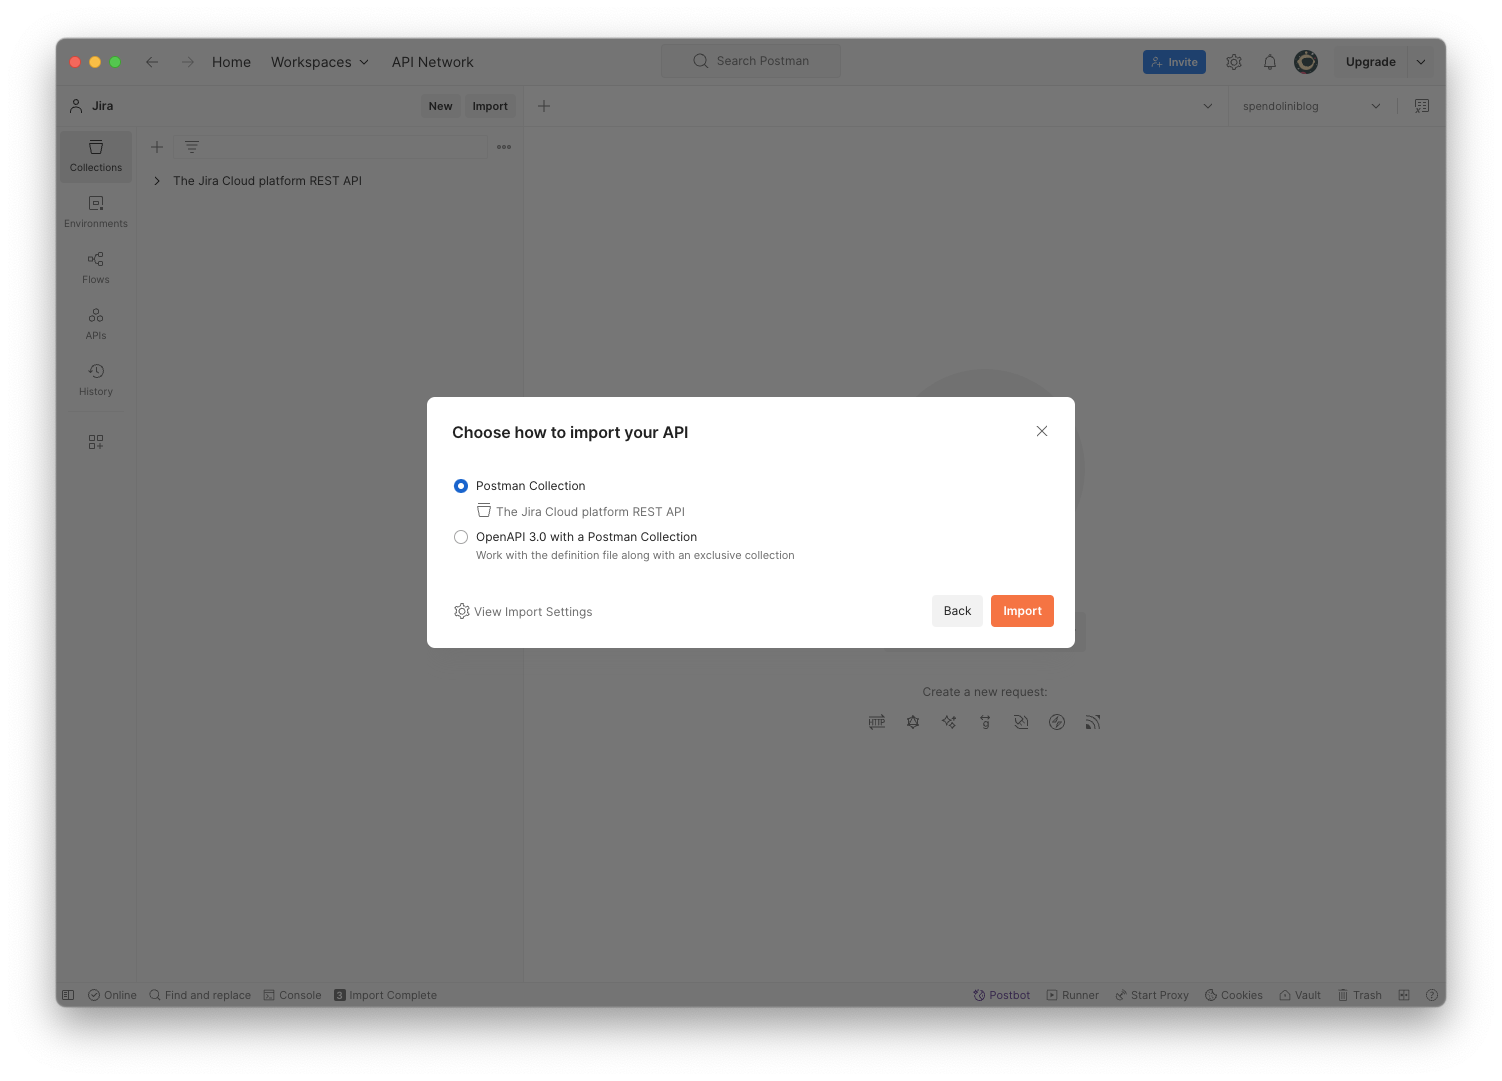
- Leave the default option selected and click Import. Once loaded, you should now have two collections:
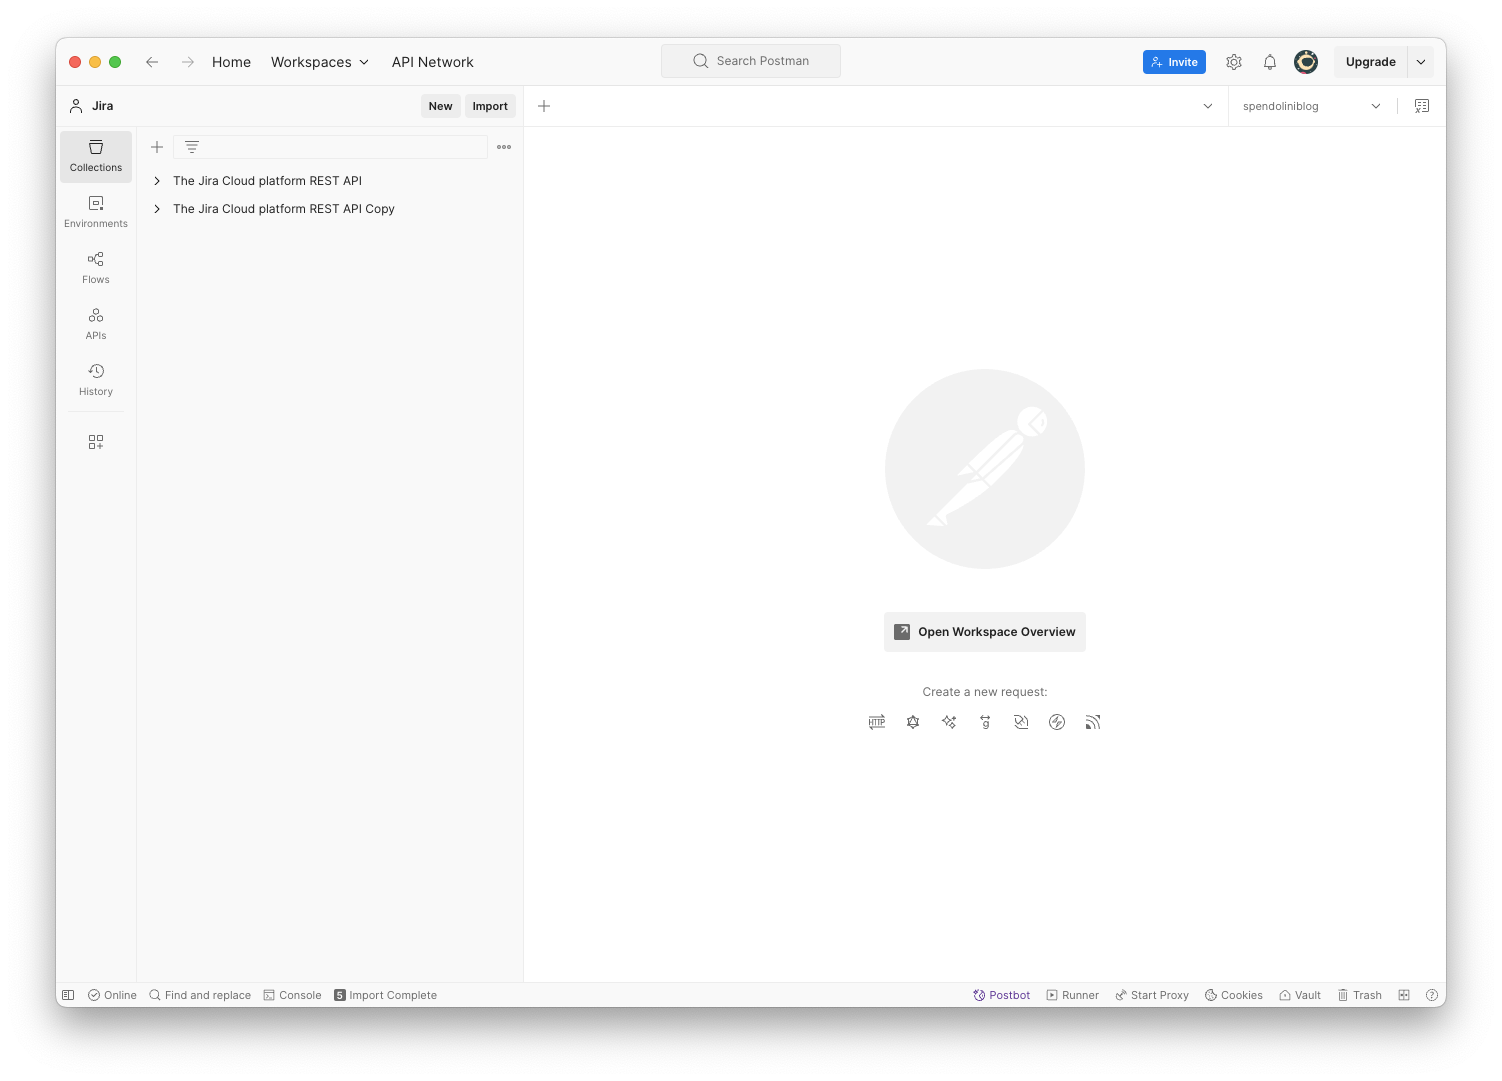
Unfortunately, I could not get the OpenAPI to import properly. Many of the endpoints had redundant variables and some of the initial values caused calls to the endpoint to fail. To give you an example, here’s the projects/search endpoint from the Postman Collection:
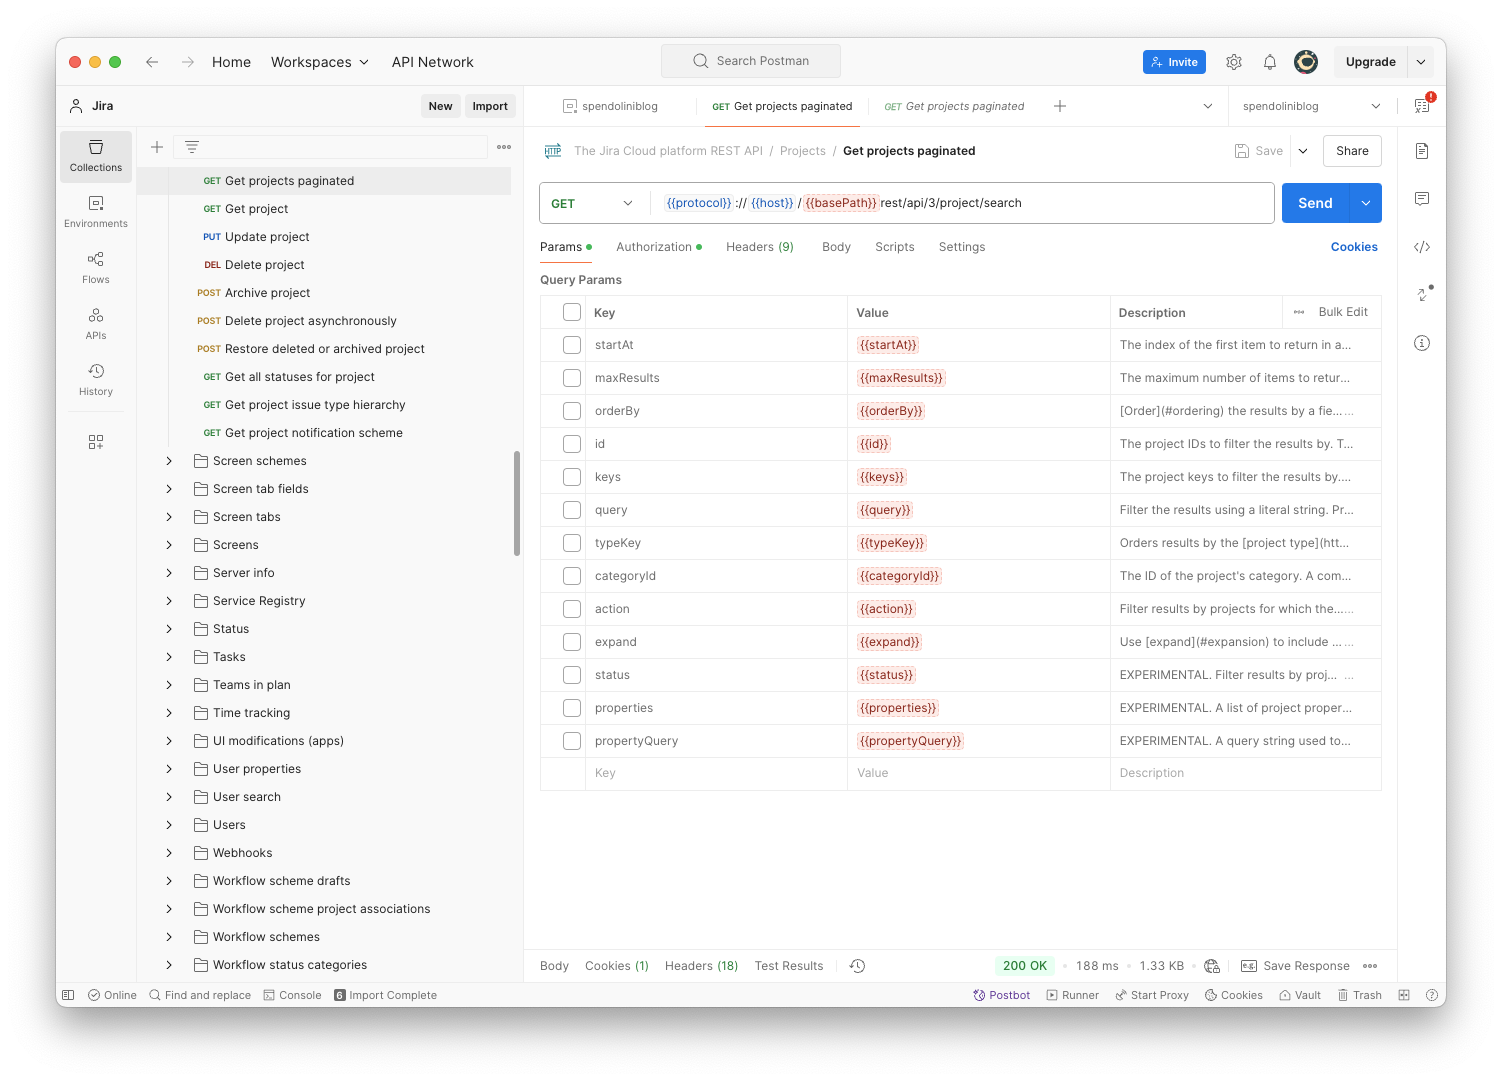
And here’s the same endpoint from the OpenAPI import:
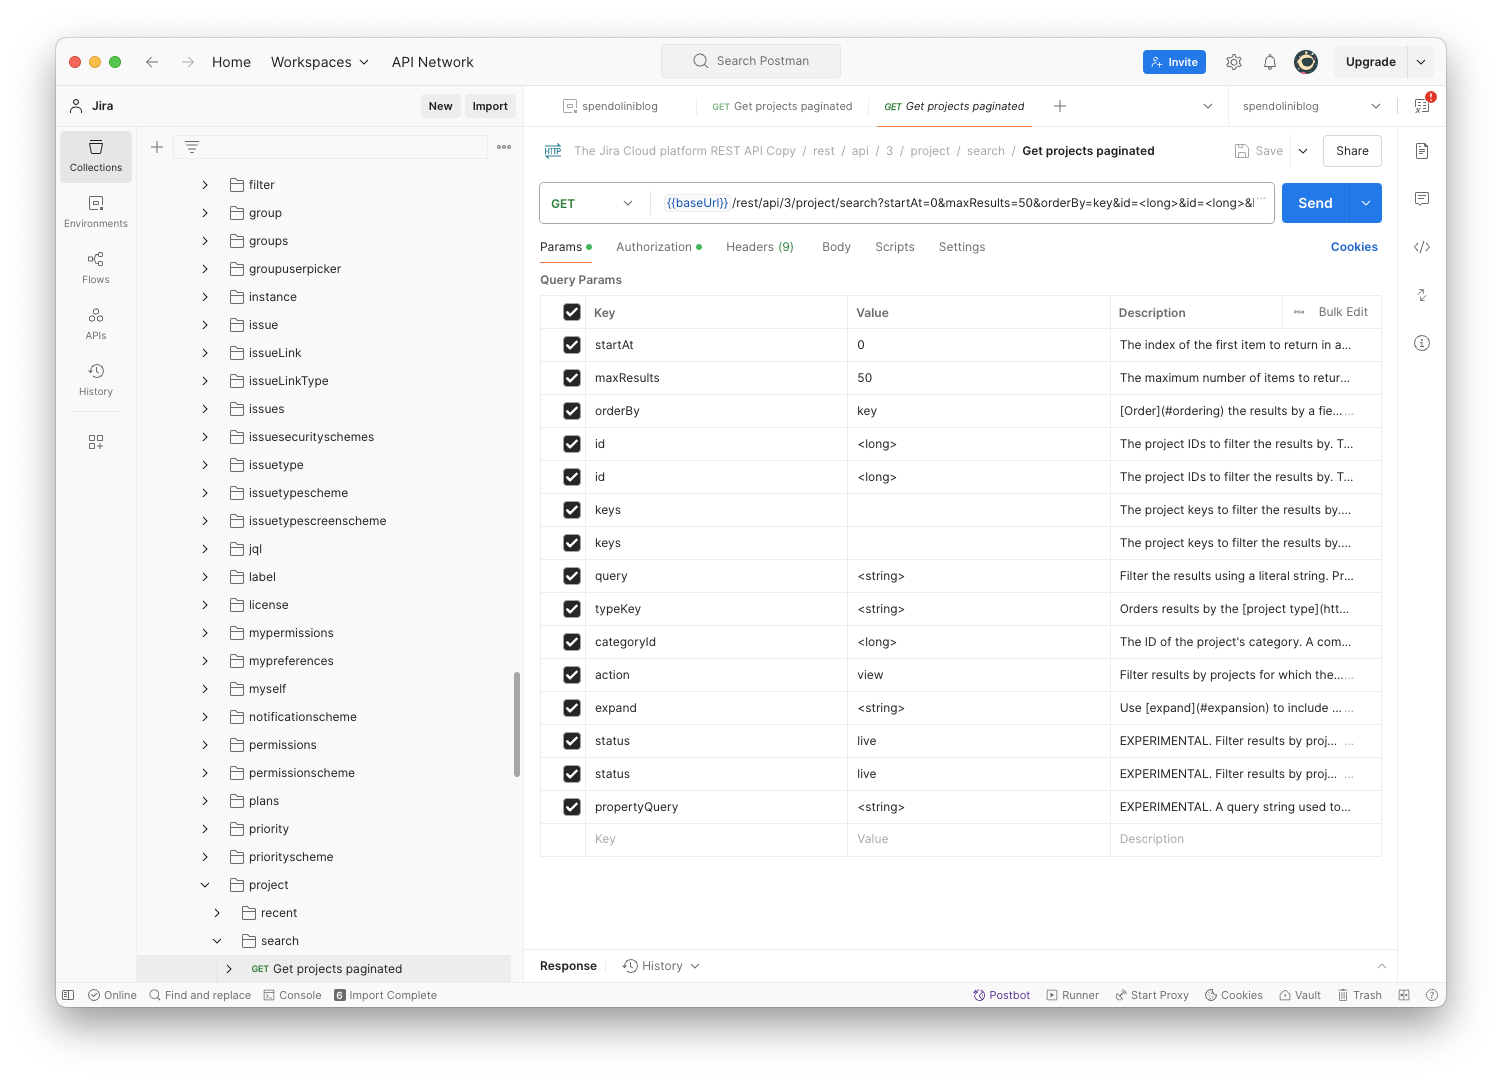
At least for Jira, I’ll stick with the Postman collection.
Conclusion
Using a tool like Postman to explore an API is almost a requirement. Vendor’s APIs will vary widely from API to API, so even if you have experience with a few APIs, the next one can throw you off. Get used to using the tool’s more advanced capabilities like environments, variables and the vault to make it even more impactful. Only once you’ve mastered the basics of any API are you ready to start calling it from APEX.
The key skill that you’ll want to take away from all of this is learning how to apply a change in Postman to an APEX REST Data Source. Once you’ve mastered this skill, there won’t be an API you can’t conquer.
Coming up next - we’ll dive into the implementation of the APIs inside APEX and cover the steps and through processes that I went through to get that working.
Title Photo by Mick Haupt on Unsplash
Subscribe to my newsletter
Read articles from Scott Spendolini directly inside your inbox. Subscribe to the newsletter, and don't miss out.
Written by

Scott Spendolini
Scott Spendolini
"Bumpy roads lead to beautiful places" Senior Director @ Oracle 🧑💻 #orclapex fan since '99 🛠️ https://spendolini.blog 💻 Oracle Ace Alumni ♠️ Bleed Syracuse Orange 🍊 Golf when I can ⛳️ Austin, TX 🎸🍻 Views are my own 🫢