Building a Text-to-Speech Converter Using React and Windows SpeechSynthesis
 Abhishek Sadhwani
Introduction
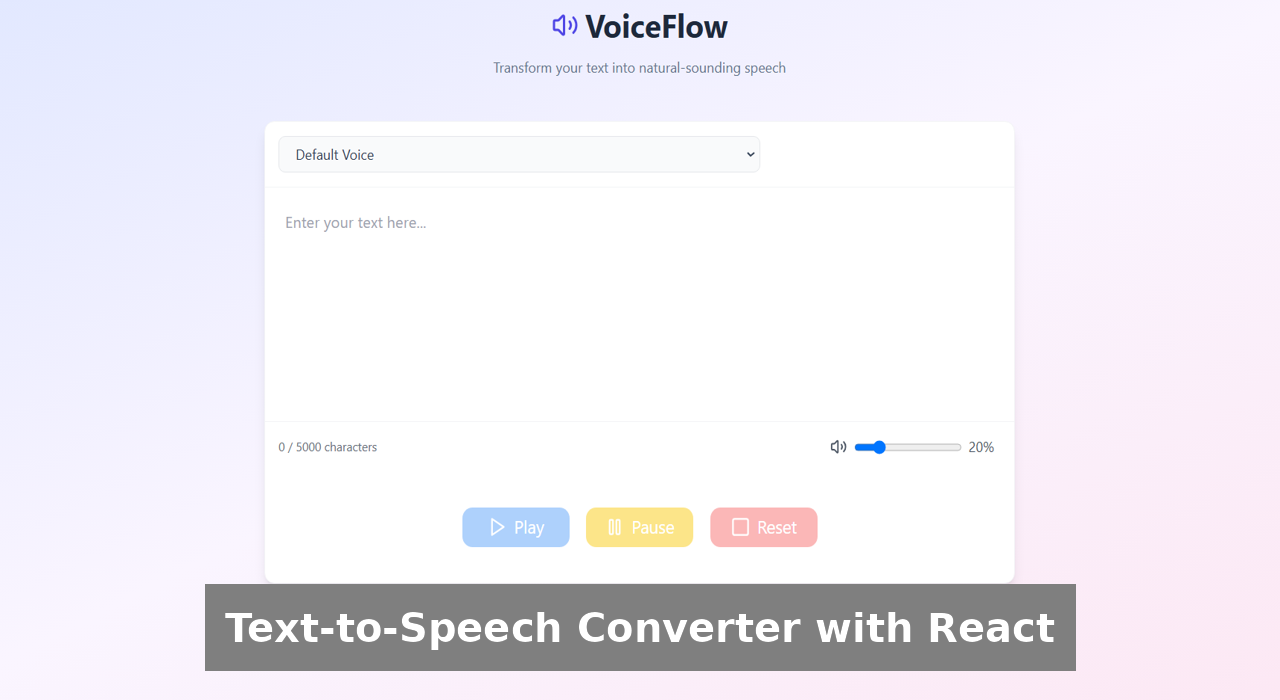
Text-to-Speech (TTS) technology has become an essential tool for improving accessibility and user experience in modern applications. Whether it's for assisting visually impaired users, enabling hands-free interactions, or adding voice capabilities to web applications, TTS plays a crucial role. In this blog, we will build a simple yet effective TTS converter using React and the Windows SpeechSynthesis API. This project will allow users to enter text, choose from various voices, and listen to the synthesized speech in real time.
Understanding Windows SpeechSynthesis API
The Windows SpeechSynthesis API is a built-in web technology that allows developers to convert text into speech without needing external libraries. It provides various functionalities, including:
A list of available voices based on the system's installed speech engines.
Control over voice properties such as pitch, rate, and volume.
The ability to pause, resume, or cancel speech synthesis.
This API is supported in most modern browsers and is an excellent choice for integrating TTS capabilities into web applications.
Prerequisites
Before starting, ensure you have the following:
Basic knowledge of React.js
Node.js installed on your machine
A React project set up using Create React App
Install TailwindCSS and create tailwind.config.js file
Setting Up the Project
Let’s start by creating a react project using Create React App.
  npx create-react-app text-to-speech-converter
  cd text-to-speech-converter
Install the Lucide icon library for React applications
npm install lucide-reactInstalling TailwindCSS and creating the config file
  npm install -D tailwindcss
  npx tailwindcss init
Update the code inside the
tailwind.config.js file/** @type {import('tailwindcss').Config} */ export default { > content: ["./src/**/*.{html,js}"], theme: { extend: {}, }, plugins: [], }
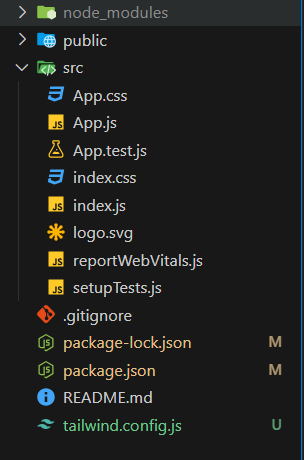
- This is the folder structure that we get after the initial setup.

We will add the tailwind derivatives for each of the tailwind layers inside our main css file which is
index.css@tailwind base; @tailwind components; @tailwind utilities;
Creating the Text-to-Speech Component
Inside the src folder, create a new file TextToSpeech.js and add the following code:
import { useEffect, useRef, useState } from 'react'
import { VoiceOption } from './Controls/VoiceOption';
import { Pause, Play, RotateCcw, Square, Volume2, VolumeOff } from 'lucide-react';

export const TextToSpeech = () => {
    //tracking text entered by user
    const [text, setText] = useState("");
    //state to store voices and handle them
    const [voices, setVoices] = useState([]);
    //state to handle volume
    const [volume, setVolume] = useState(0.2);
    //state to keep track of the voice selected by the user
    const [selectedVoice, setSelectedVoice] = useState(null);
    //state variable to keep track is utterance is playing or not
    const [isPlaying, setIsPlaying] = useState(false);
    //state variable to keep track if utterance is paused or not
    const [isPaused,setIsPaused] = useState(false);
    //creating a refference for utterance
    const utteranceRef = useRef(null);

    useEffect(() => {
        //we fetch the voices from the windows.speechSynthesis API
        const loadVoices = () => {
            const availableVoices = window.speechSynthesis.getVoices().map(voice => ({
            default: voice.default,
            name: voice.name,
            lang: voice.lang,
            gender: voice.name.toLowerCase().includes("female") ? "Female" : "Male"
            }));

            setVoices(availableVoices);
        };

        loadVoices();
        if(speechSynthesis.onvoiceschanged !== undefined){
            speechSynthesis.onvoiceschanged = loadVoices;
        }
    },[]);

    //handling the volume change and assigning this function to the slider we created for volume
    const handleVolumeChange = (e) => {
        setVolume(parseFloat(e.target.value));
    };

    //function to handle the voice change using the select option provided
    const handleVoiceChange = (voiceName) => {
        const voice = speechSynthesis.getVoices().find(v => v.name === voiceName);
        setSelectedVoice(voice || null);
    };


    const handlePlay = () => {
        //if text is empty we return
        if(text.trim() === "") return;

        //we cancel the current synthesis first
        if(utteranceRef.current){
            speechSynthesis.cancel();
        }

        //create a utterance
        const utterance = new SpeechSynthesisUtterance(text);
        utterance.volume = volume;

        //if we have selected a voice then we set that voice for the utterance
        if(selectedVoice){
            utterance.voice = selectedVoice;
        }

        utterance.onend = () => {
            setIsPlaying(false);
        };

        utterance.onpause = () => {
            setIsPlaying(false);
        };

        utteranceRef.current = utterance;
        speechSynthesis.speak(utterance);
        setIsPlaying(true);
        setIsPaused(false);

    };

    //function to pause the utterance
    const handlePause = () => {
        if(isPlaying){
            speechSynthesis.pause();
            setIsPaused(true);
            setIsPlaying(false);
        }
        else{
            speechSynthesis.resume();
            setIsPaused(false);
            setIsPlaying(true);
        }
    };

    //function to reset the utterance
    const handleReset = () => {
        speechSynthesis.cancel();
        setText("");
        setIsPlaying(false);
        setIsPaused(false);
    };

    return (
        <div className="max-w-4xl mx-auto">
            <div className="mb-8 flex flex-col bg-white shadow-lg border border-gray-100 rounded-xl">
                <VoiceOption voices={voices} handleVoiceChange={handleVoiceChange}/>
                <div>
                    <textarea onChange={(e) => setText(e.target.value)} className="text-lg outline-none p-6 resize-none w-full h-64" placeholder="Enter your text here..." value={text || ""} name="text" id="text" maxLength={5000}></textarea>
                </div>
                <div className="flex justify-between gap-3 p-4 border-t border-gray-100">
                    <div className="text-sm text-gray-500 flex items-center justify-between">
                        <p>{text.length} / 5000 characters</p>
                    </div>
                    <div className="flex items-center text-gray-600 gap-2">
                        {
                        volume === 0 ?
                            <VolumeOff onClick={() => setVolume(0.2)} className="h-5 w-5 cursor-pointer" />
                            :
                            <Volume2 onClick={() => setVolume(0)} className="h-5 w-5 cursor-pointer" />
                        }
                        <input onChange={handleVolumeChange} type="range" min="0" max="1" step="0.1" value={volume} />
                        <span className="flex-1 mr-2">{Math.floor(volume*100)}%</span>
                    </div>
                </div>
                <div className='flex flex-wrap justify-center gap-5 p-10'>
                    <button
                        onClick={handlePlay}
                        className="flex items-center justify-center gap-2 text-xl text-white w-32 p-2 rounded-xl disabled:cursor-not-allowed disabled:opacity-50 bg-blue-400"
                        disabled={isPlaying || text.trim() === ''}
                        >
                            {isPaused ? <RotateCcw /> : <Play />}
                            {isPaused ? "Restart" : "Play"}
                    </button>
                    <button
                        onClick={handlePause}
                        className="flex items-center justify-center gap-2 text-xl text-white w-32 p-2 rounded-xl disabled:cursor-not-allowed disabled:opacity-50 bg-yellow-400"
                        disabled={!isPlaying && !isPaused}
                        >
                            {isPaused ? <Play /> : <Pause />}
                            {isPaused ? "Resume" : "Pause"}
                    </button>
                    <button
                        onClick={handleReset}
                        className="flex items-center justify-center gap-2 text-xl text-white w-32 p-2 rounded-xl disabled:cursor-not-allowed disabled:opacity-50 bg-red-400"
                        disabled={text.trim() === ''}
                        >
                            <Square /> Reset
                    </button>
                </div>
            </div>
        </div>
    )
};
Creating VoiceOptions.js component
export const VoiceOption = ({voices, handleVoiceChange}) => {
    return (
        <div className="p-4 border-b border-gray-100 overflow-hidden">
            <select onChange={(e) => handleVoiceChange(e.target.value)} className="w-2/3 bg-gray-50 text-slate-700 border rounded-lg py-2 px-4 outline-indigo-500 focus:outline-none focus:ring-2 focus:ring-indigo-500" name="" id="">
                <option value="">Default Voice</option>
                {voices.map((voice,index) => (
                    <option key={index} value={voice.name}>{voice.name} - {voice.lang} </option>
                ))}
            </select>
        </div>
    )
};
Creating Header.js component
import {Volume2} from "lucide-react";

export const Header = () => {
  return (
    <div className="text-center mb-12">
        <div className="flex justify-center items-center mb-4">
            <Volume2 className="h-8 w-8 text-indigo-600" />
            <h1 className="ml-2 text-4xl font-bold text-slate-800">VoiceFlow</h1>
        </div>
        <p className="text-slate-500">Transform your text into natural-sounding speech</p>
    </div>
  )
};
Integrating the Component into the App
Now, add the TextToSpeech and Header components to the src/App.js :
import { Console, Header} from './Components';

function App() {

  return (
    <div className='min-h-screen bg-gradient-to-br from-indigo-100 via-purple-50 to-pink-100'>
      <div className='container mx-auto py-8 px-4'>
        <Header />
        <Console />
      </div>
    </div>
  );
}
export default App;
Running the Application
Start the development server:
npm start
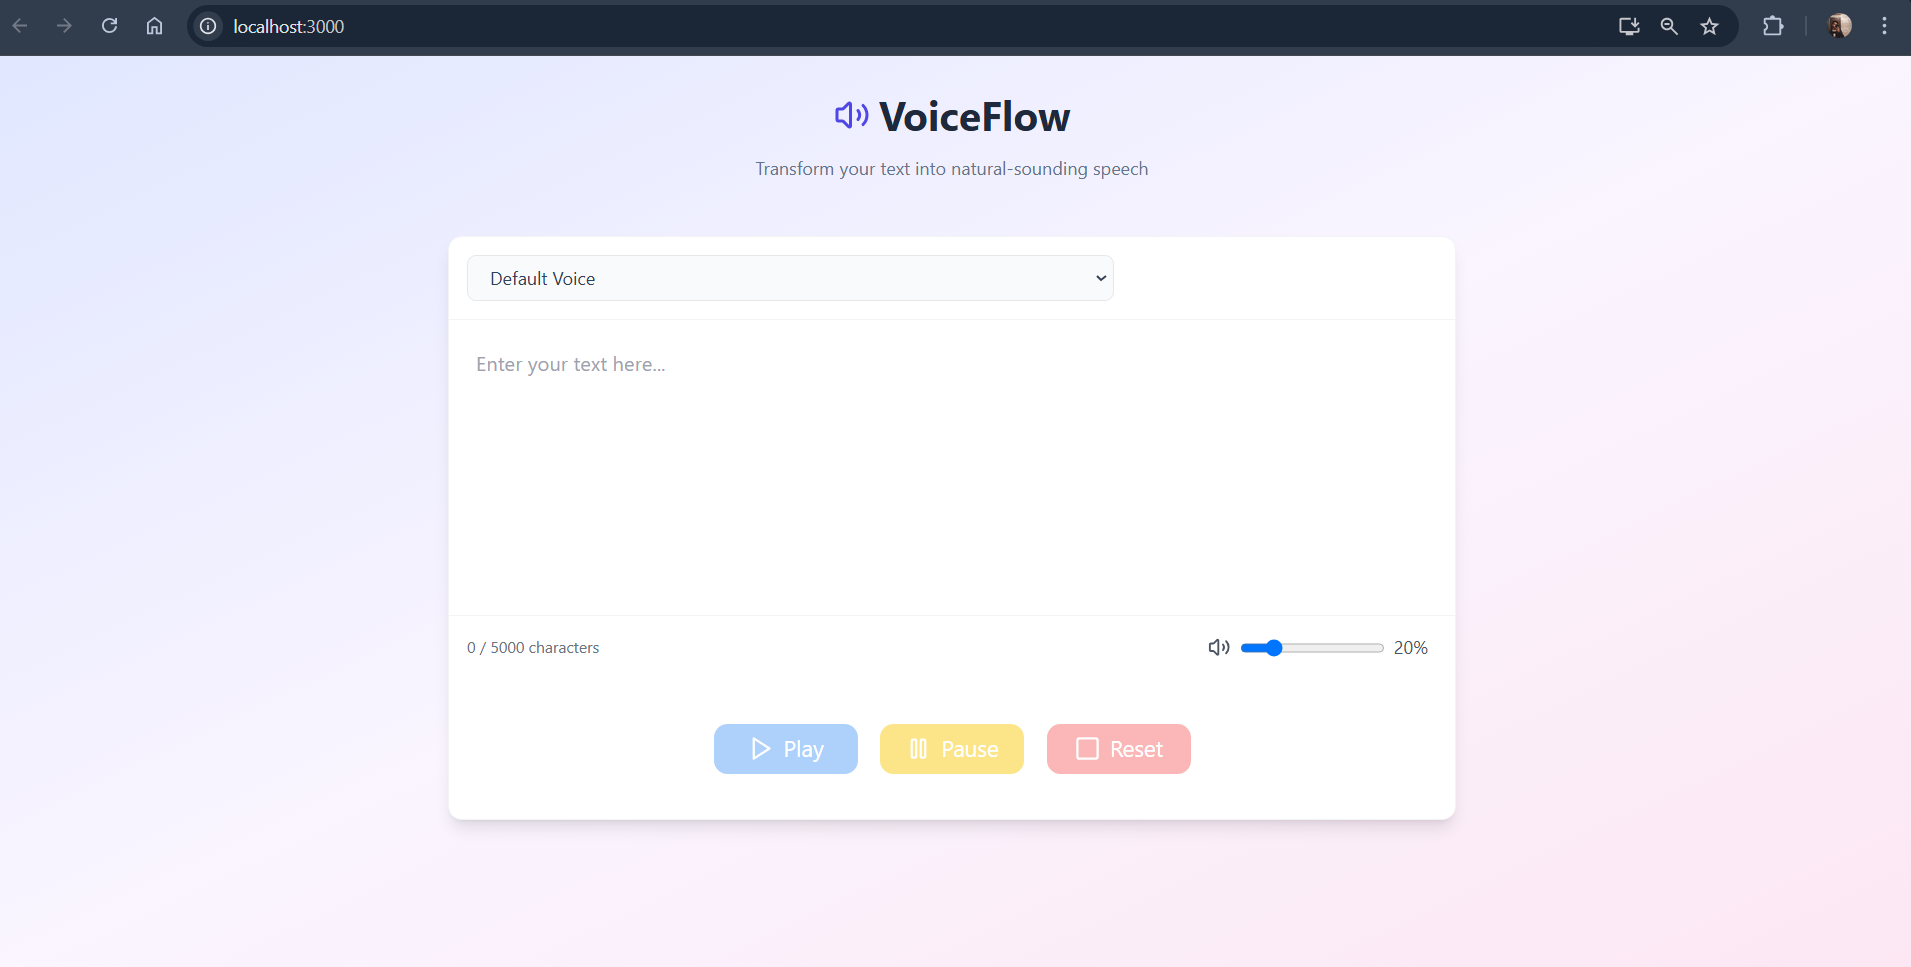
Open http://localhost:3000 in your browser. You should see a simple interface where you can enter text, select a voice, and click the "Speak" button to hear the synthesized speech.

Conclusion
In this blog, we built a simple yet functional Text-to-Speech converter using React and the Windows SpeechSynthesis API. Added feature like volume control, speech pause, stop and reset functionality.
Try integrating this into your next project and enhance the accessibility of your web applications!
Subscribe to my newsletter
Read articles from Abhishek Sadhwani directly inside your inbox. Subscribe to the newsletter, and don't miss out.
Written by
