Setting up react-native-vision-camera for React Native app
 Shyam Katti
Hello Folks!
In this article, we will look at how to set up react-native-vision-camera library for a React Native app. The library has been around for a while now and finds its usage when an app needs to access each frame of a phone camera in your custom app. The Expo framework, though while it does a great job at speeding up the process of building a React Native app, doesn’t allow accessing each frame of your camera for processing. I intend to write this blog to try and cover all the steps taken and also document as many errors and hidden steps I encountered while trying to set up react-native-vision-camera library for a side project I am working on. Let’s get started.
Create a React Native app
To be able to use react-native-vision-camera , we need to either create a bare workflow Expo app or use @react-native-community/cli . For the sake of this blog, we are using the bare workflow Expo app.
[rn_vision_cam_setup ] npx create-expo-app --template blank rn_vision_cam_setup
Make sure that the command runs fine and your project is created. Now, go to the directory and make sure all the necessary files are created in the directory.
[rn_vision_cam_setup ] cd rn_vision_cam_setup
[rn_vision_cam_setup ] ls
App.js            assets            node_modules        package.json
app.json        index.js        package-lock.json
As you can see, the command creates the necessary files but does not generate the native files yet. To generate the native files(and to make sure you can do it in the future as well), run the prebuild command which generates the necessary native files.
[rn_vision_cam_setup ] npx expo prebuild
› Android package name: com.spk265.rn_vision_cam_setup
› Apple bundle identifier: com.spk265.rn-vision-cam-setup
✔ Created native directories
✔ Updated package.json
» android: userInterfaceStyle: Install expo-system-ui in your project to enable this feature.
✔ Finished prebuild
✔ Installed CocoaPods

[rn_vision_cam_setup ] ls
App.js            app.json        index.js        node_modules        package.json
android            assets            ios            package-lock.json
Now cd into the ios directory and see all the generated files necessary to run the app natively.
[ios ] ls
Podfile                Pods                rnvisioncamsetup.xcodeproj
Podfile.lock            build                rnvisioncamsetup.xcworkspace
Podfile.properties.json        rnvisioncamsetup
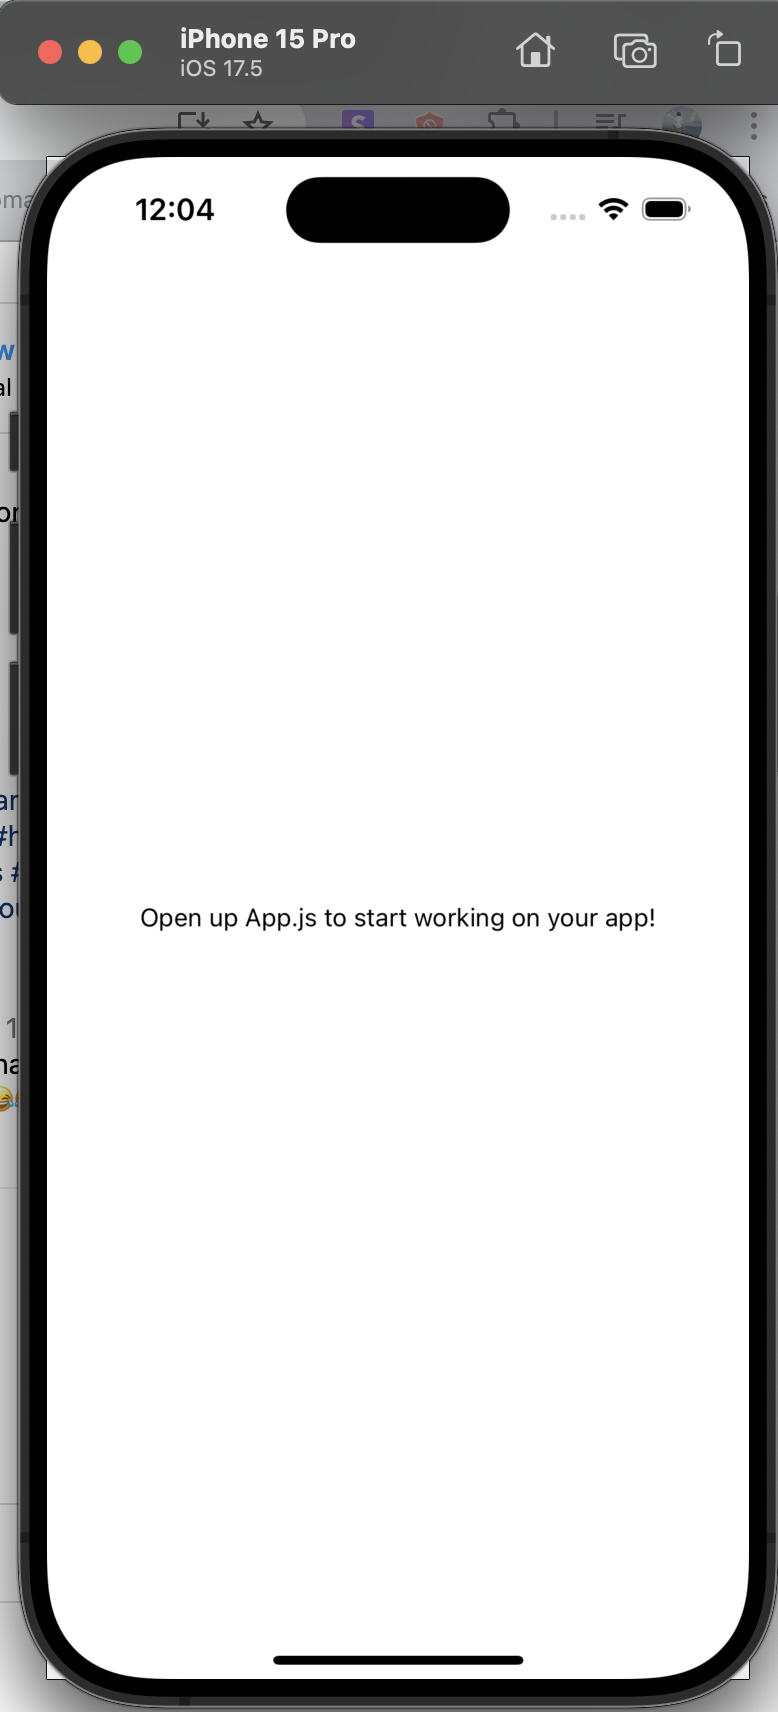
Run your RN app to make sure all looks set for the next steps.
[rn_vision_cam_setup ] yarn ios
will run the app and show the default RN screen.
Install react-native-vision-camera library
Note: Once we begin this step, you will likely run into errors until we have completed the setup.
[rn_vision_cam_setup ] npx expo install react-native-vision-camera
Once successfully installed, now update iOS native dependencies by running pod command.
[rn_vision_cam_setup ] cd ios
[ios ] pod install
Running pod install is important when you have libraries that have native platform dependencies e.x. camera, microphone, image picker, etc.
Rerun the app on the simulator just to make sure all looks good so far.
Code to access the camera
import { useEffect, useRef, useState } from "react";
import { StyleSheet, Text, SafeAreaView } from 'react-native';
import { Camera, useCameraDevices } from "react-native-vision-camera";

export default function App() {
  const [hasPermission, setHasPermission] = useState(false);
  const devices = useCameraDevices();
  const frontCam = devices.find((device) => device.position === "front");
  const cameraRef = useRef(null);

  const requestPermission = async() => {
    const currPermission = await Camera.requestCameraPermission();
    setHasPermission(currPermission === "granted");
  }
  useEffect(() => {
    requestPermission();
  }, []);

  if (!hasPermission) {
    return (
        <SafeAreaView style={StyleSheet.absoluteFill}>
          <Text style={{
            flex: 1,
            justifyContent: 'center',
            alignContent: 'center',
          }}>Camera permission required to be able to use this app</Text>
        </SafeAreaView>
    )
  }

  if (!frontCam) {
    return (
        <SafeAreaView style={StyleSheet.absoluteFill}>
          <Text style={{
            flex: 1,
            justifyContent: 'center',
            alignContent: 'center',
          }}>Front camera not detected</Text>
        </SafeAreaView>
    )
  }

  return (
    <SafeAreaView style={StyleSheet.absoluteFill}>
      <Camera
        device={frontCam}
        isActive={true}
        style={{
          flex: 1,
          justifyContent: 'center',
          alignItems: 'center',

        }}
      />
    </SafeAreaView>
  );
}
Now, if you try to run the app, you are likely to see the following message in the terminal.
[TCC] This app has crashed because it attempted to access privacy-sensitive data without a usage description.  The app's
Info.plist must contain an NSCameraUsageDescription key with a string value explaining to the user how the app uses this data.
The reason is that we need to specify explicit permissions needed in our project code. You can add the permission request string to your project’s app.json by including the following code:
{
    "expo": {
        .....,
        "ios": {
          "supportsTablet": true,
          "bundleIdentifier": "com.XXX.rn_vision_cam_setup",
          "infoPlist": {
            "NSCameraUsageDescription": "This app requires camera access to take photos and videos."
          }
        },
        ......
    }
}
Include the code above, delete your androidand ios folders to regenerate them using npx expo prebuildcommand.
Now, when you run the app, since we haven’t allowed the camera to be used by the app, it will prompt us to permit camera usage.
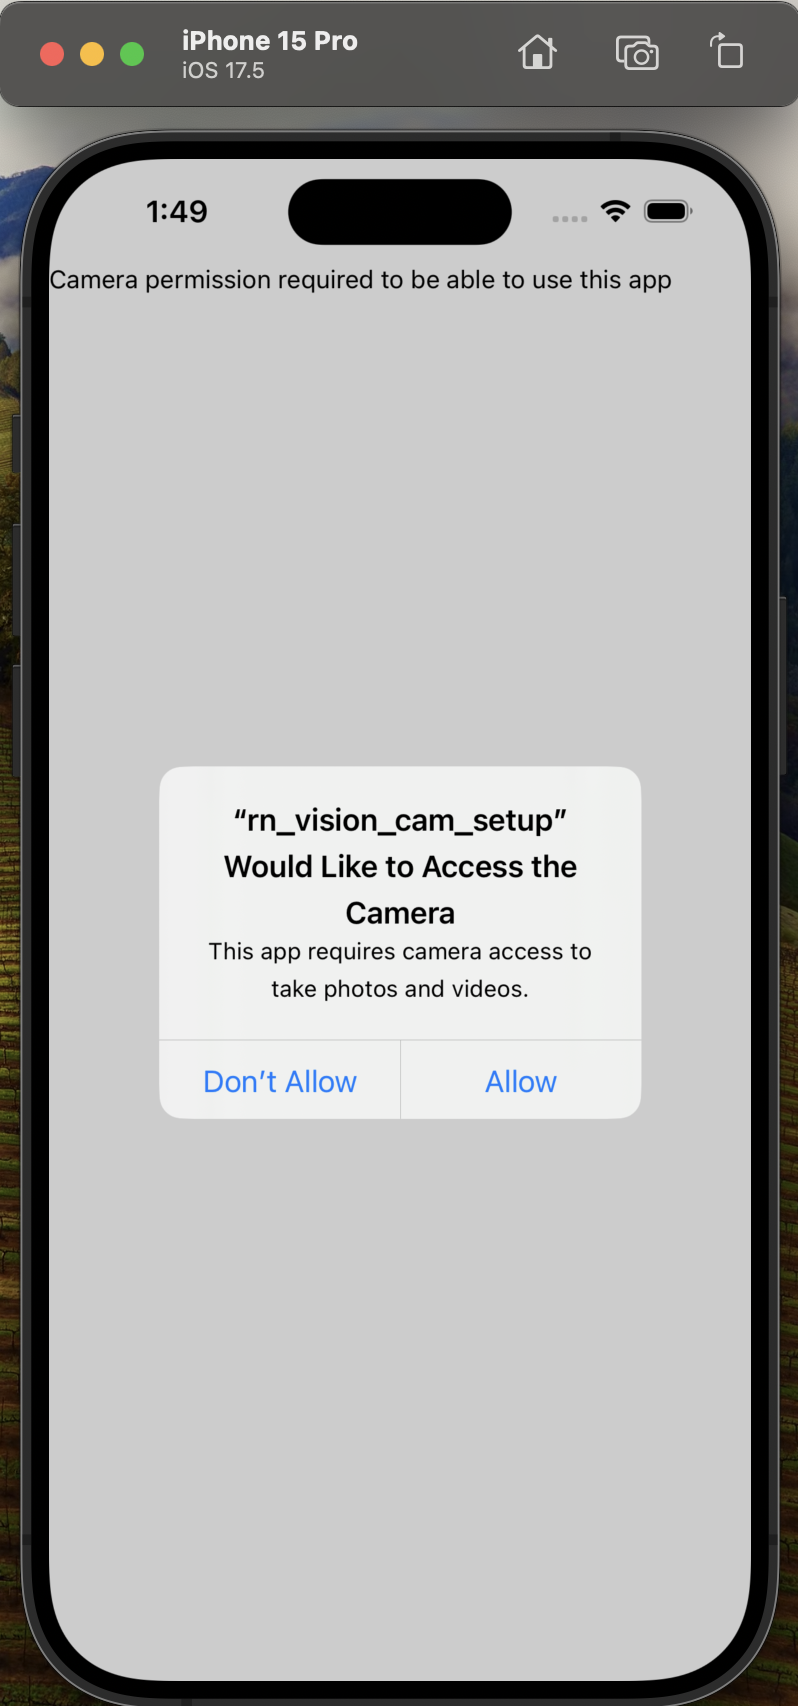
Once you click Allow, the screen quickly changes to not being able to detect the front camera
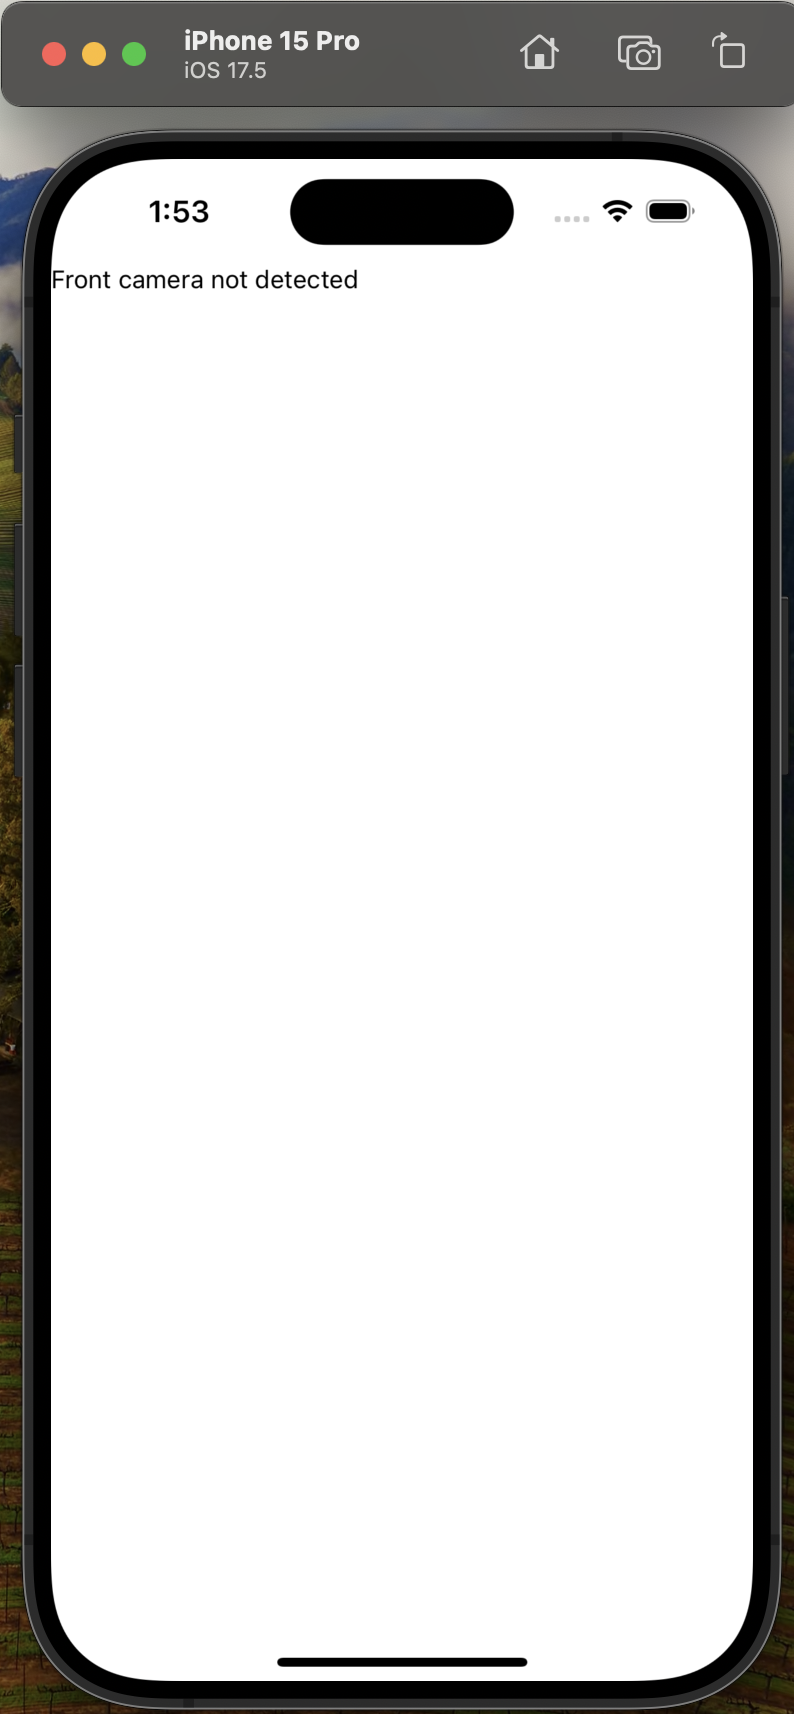
Now, this is obvious since the simulator doesn’t have front and back cameras.
So, we need to run this app on a real iPhone to be able to start using the camera and this is where it got tricky for me due to some un/lesser documented steps which I will lay it out now. Let’s cover that next.
Setup iPhone to run the React Native app
First step is to connect your iPhone to Mac desktop.
Enable Developer Mode located in Settings → Privacy & Security → Developer Mode.
Run the React Native app on your device by running the following command
[rn_vision_cam_setup ] npx expo run:ios --device
? Select a device ›
❯   🔌 XXX's iPhone (18.3)
    iPhone 15 Pro (17.5)
    iPhone 15 Pro Max (17.5)
    iPad (10th generation) (17.5)
    iPad mini (6th generation) (17.5)
    iPad Air 11-inch (M2) (17.5)
    iPad Air 13-inch (M2) (17.5)
    iPad Pro 11-inch (M4) (17.5)
    iPad Pro 13-inch (M4) (17.5)
    iPhone SE (3rd generation) (18.1)
  ↓ iPhone 16 Pro (18.1)
The first option above is the real iPhone you should select to be able to run the app.
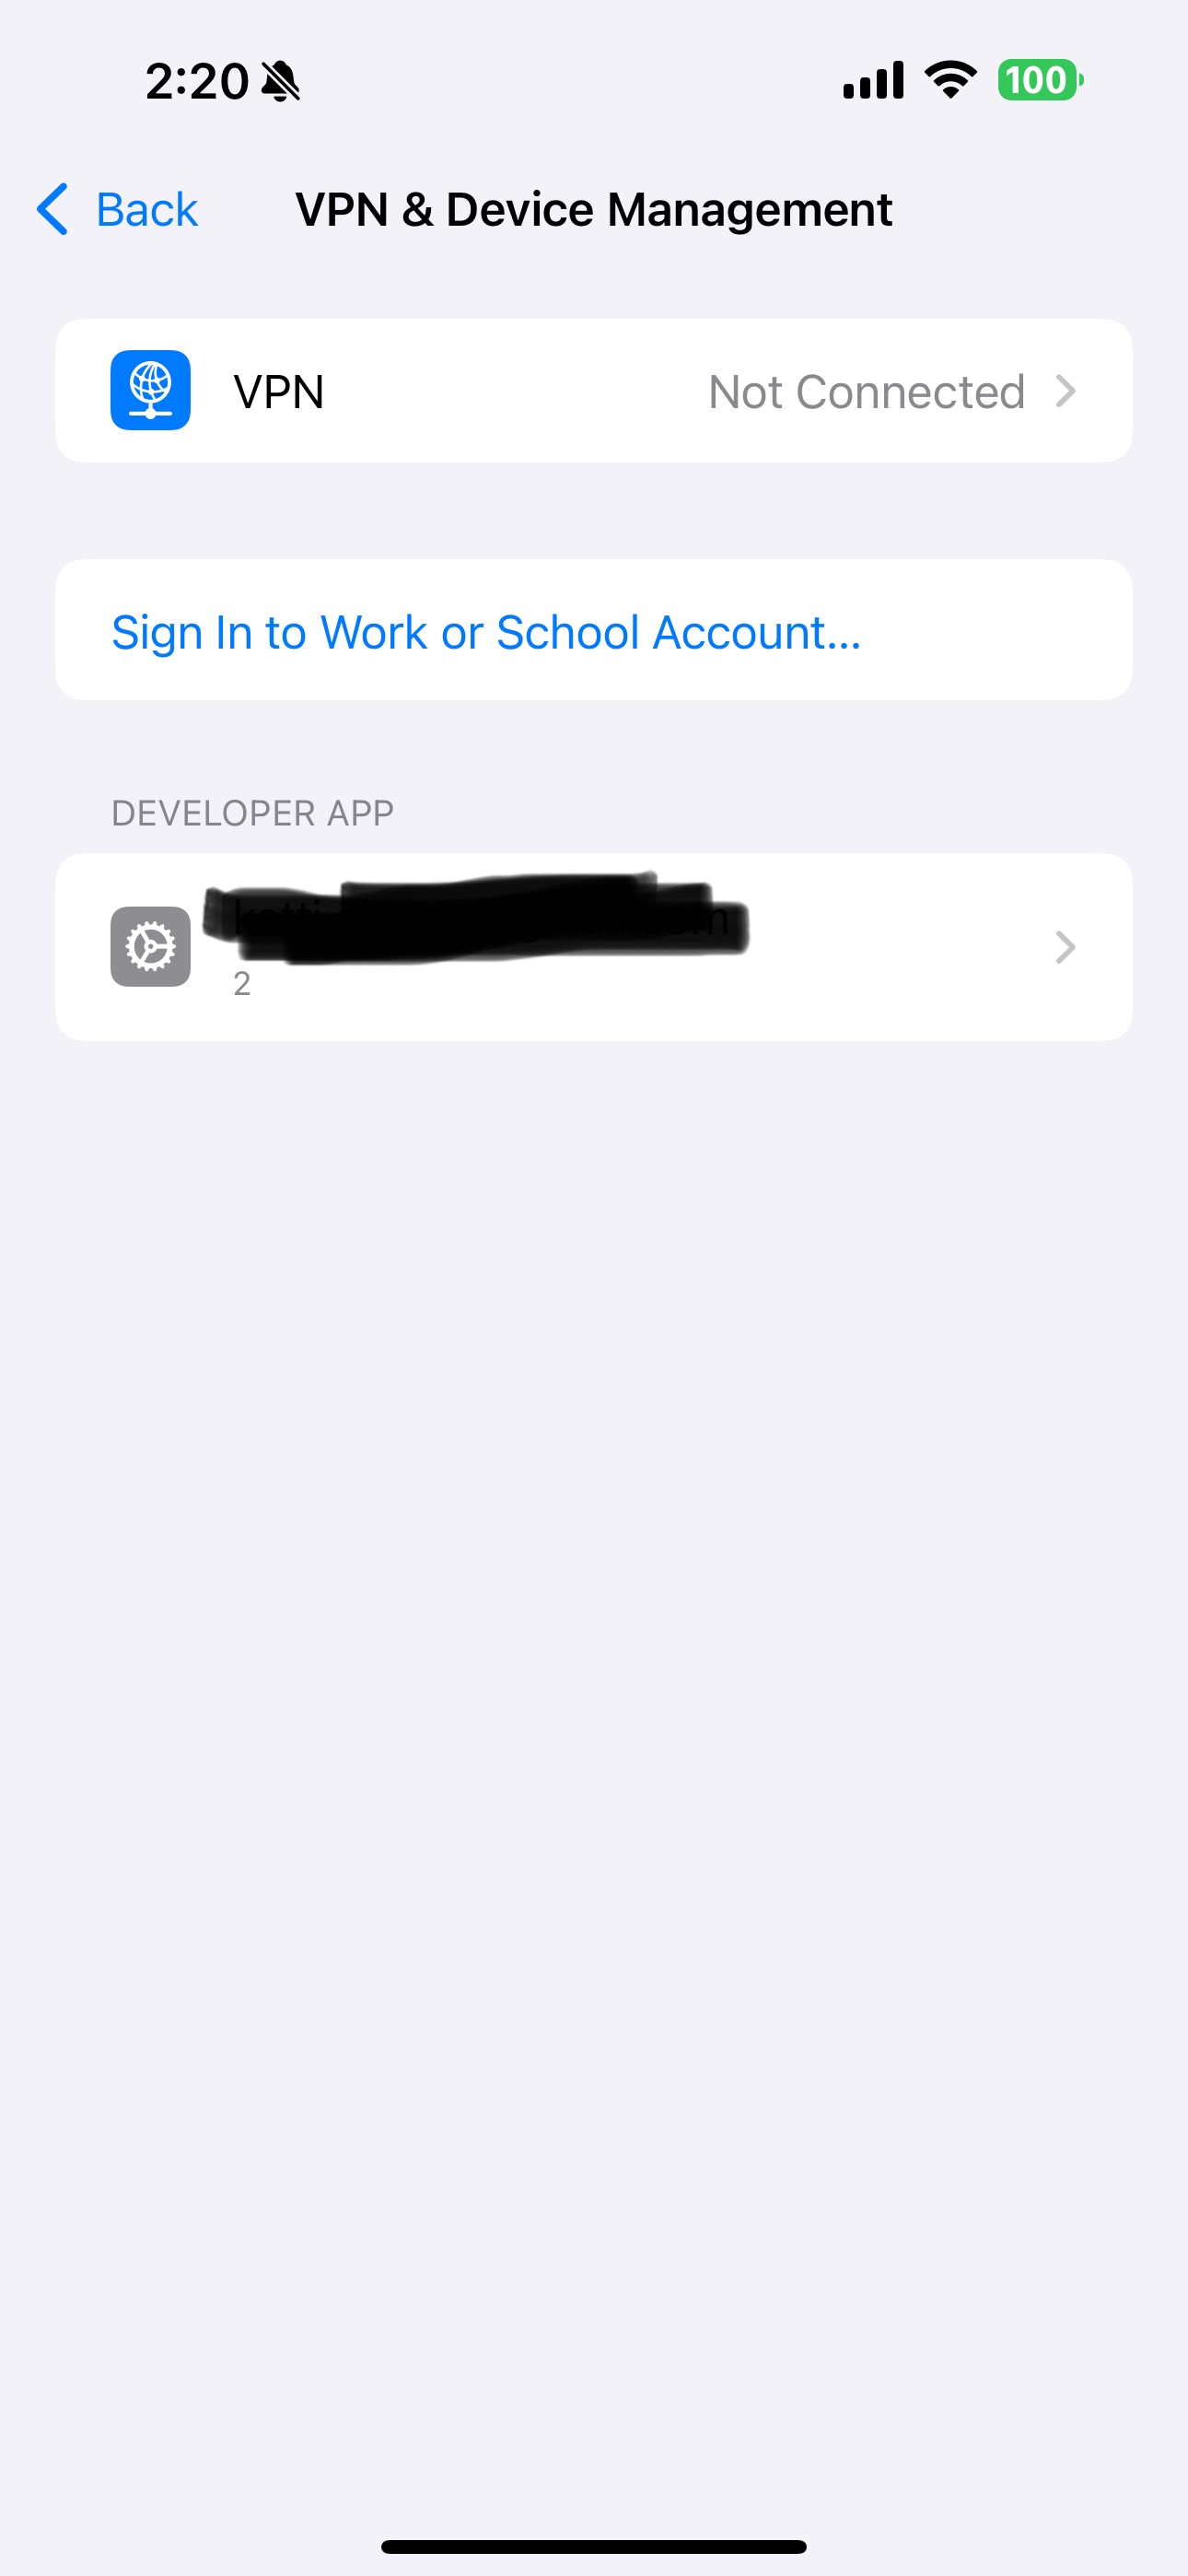
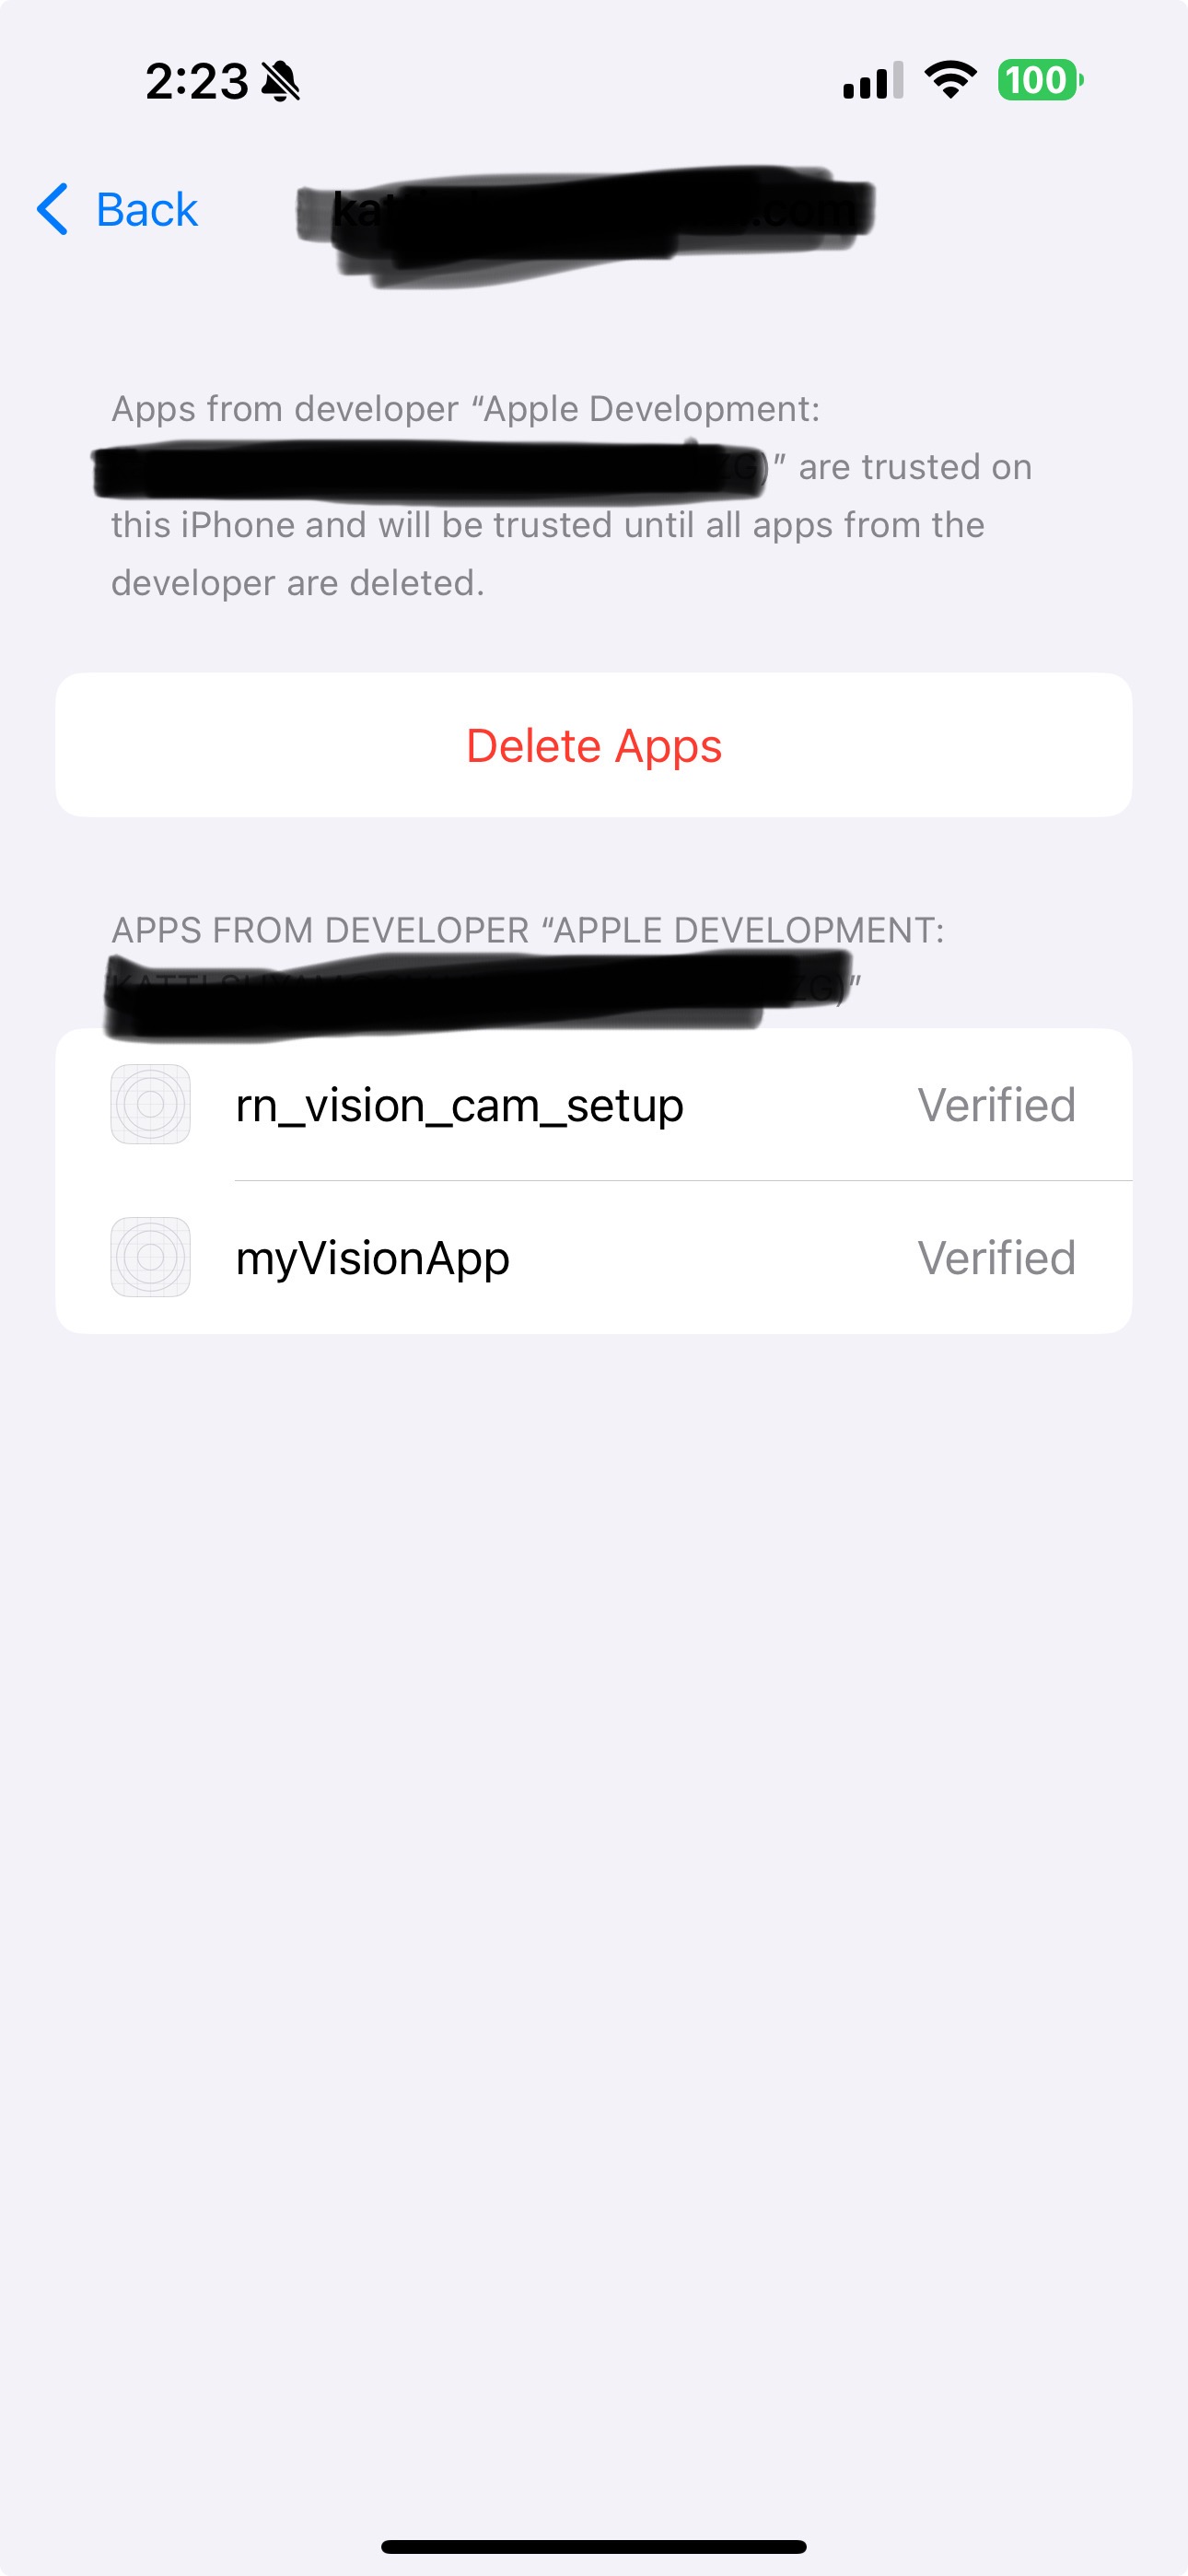
Note: You may run into permission issues when the app launches on your phone (at least it did for me the first time). One should verify their Apple Developer Account on the phone by going into Settings → VPN & Device Management → Developer App. Allow the developer account to use your phone. Once all the steps are executed, you will have to restart your phone for changes to take effect and be able to run the app now.
The screen should look like the following now on your phone:
Wrap Up
All the steps above will help you get started with using react-native-vision-camera. If there is anything please feel free to point it out. That’s a wrap-up on my side.
Subscribe to my newsletter
Read articles from Shyam Katti directly inside your inbox. Subscribe to the newsletter, and don't miss out.
Written by
