How to Create an Azure Storage Account: A Step by Step
 Nweke Henry
Cloud storage is an essential component of modern applications , and Microsoft Azure storage provides scalable, secure, and highly available storage solutions. in this guide, I’ll walk you through how to create an Azure Storage Account -a fundamental step for managing blobs ,files, queues, and tables in Azure.
Note that An Azure Storage Account provides a unique namespace for storing your data in Azure. it supports different types of storage, including:
a] Blob Storage
b] File Storage
c] Queue Storage
d] Table Storage
Now Let’s dive into creating an Azure Storage Account.
a] Go to the Azure Portal and log in to your Azure account.
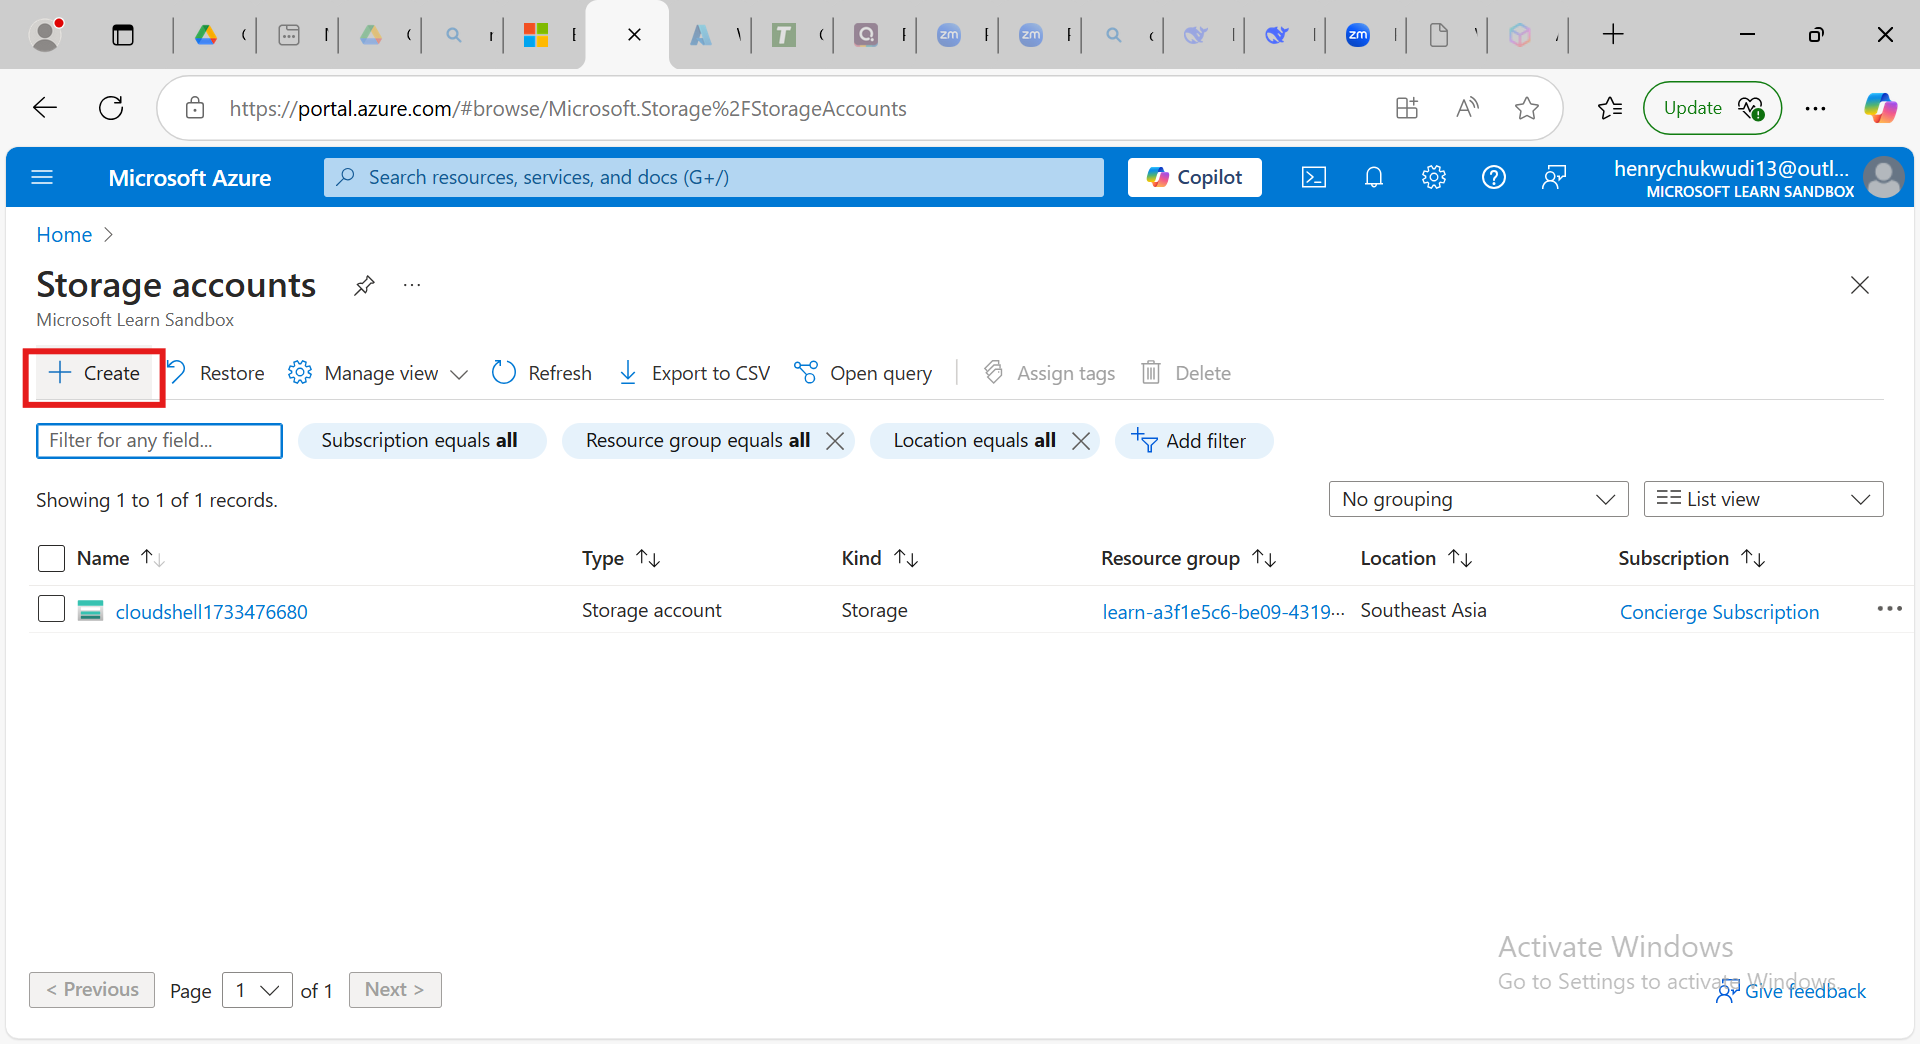
b] click on “Storage account” and click on create
c] Select your subscription [ for example., Free Trial, Pay-As-You-Go] and also select an existing group or create a new one.
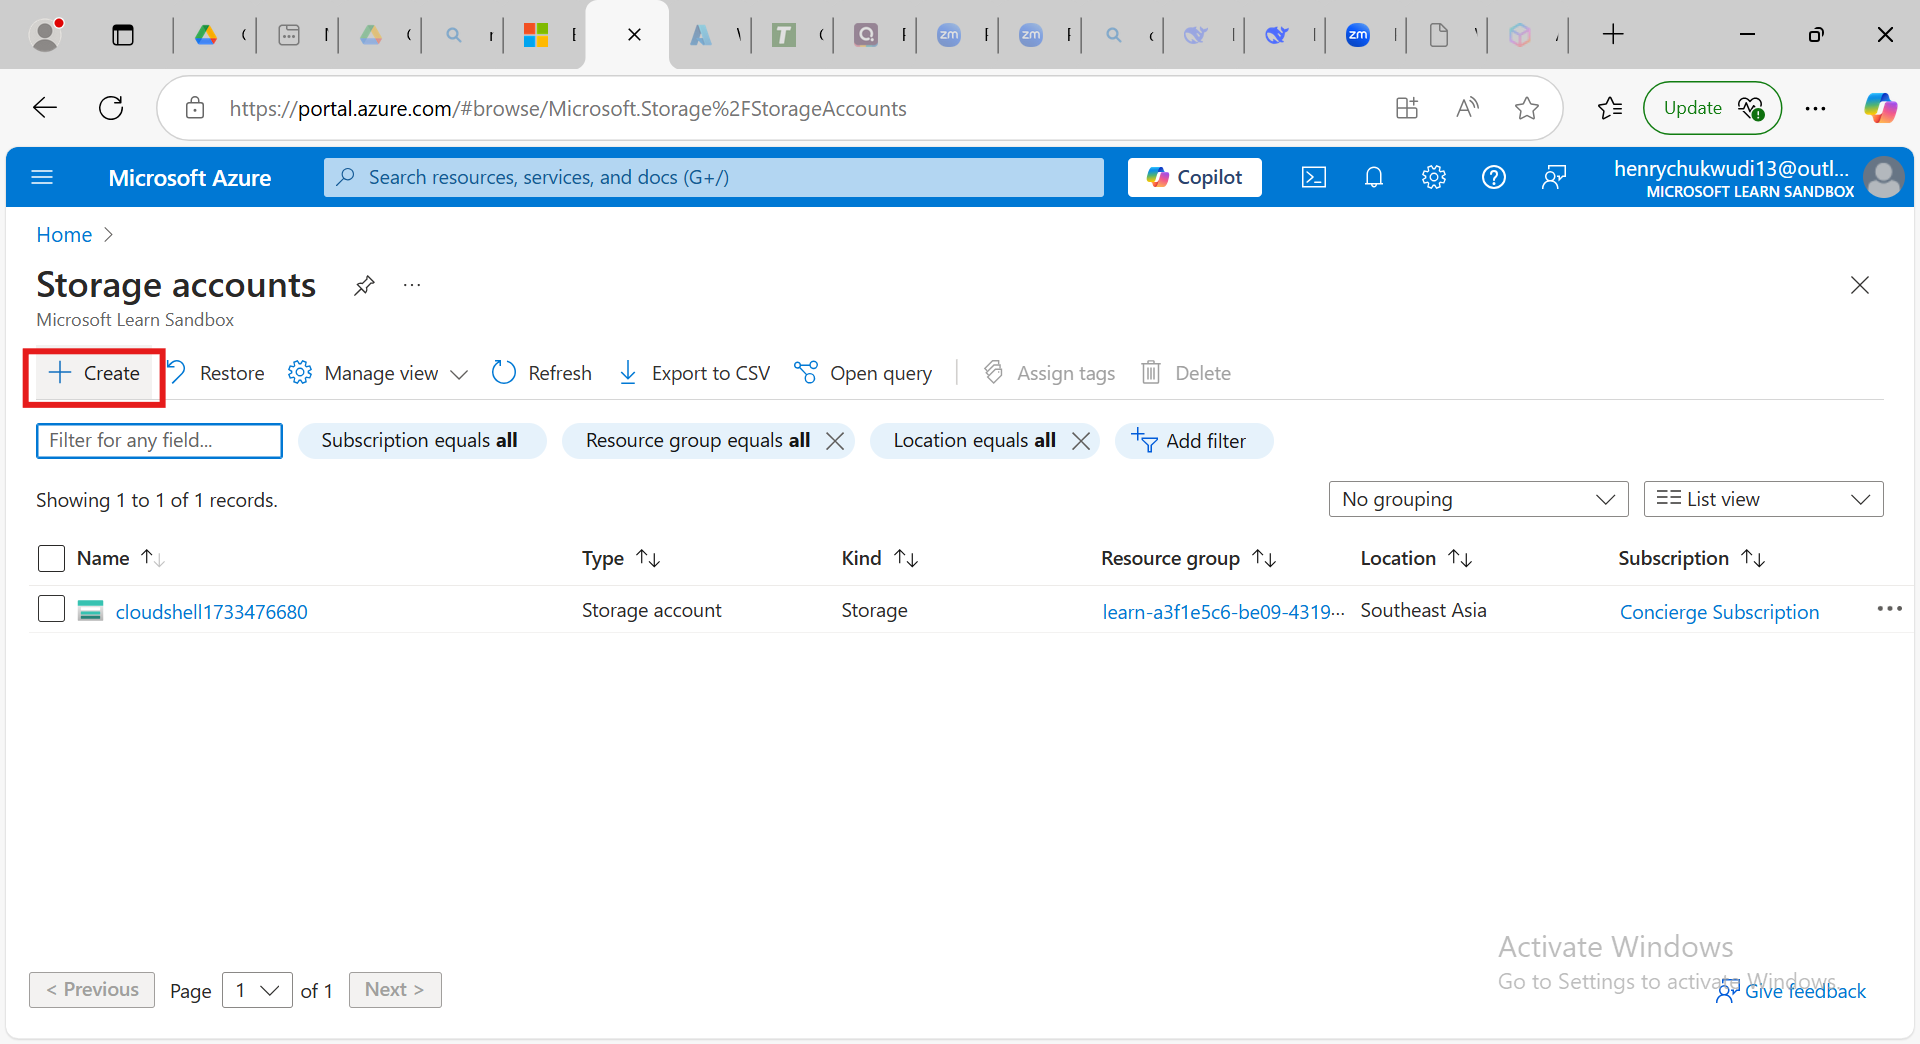
d] Enter a unique Storage account name and choose a Region that has closest data center for lower latency and select your primary service.

e] select your Performance and your Redundancy and click on next.
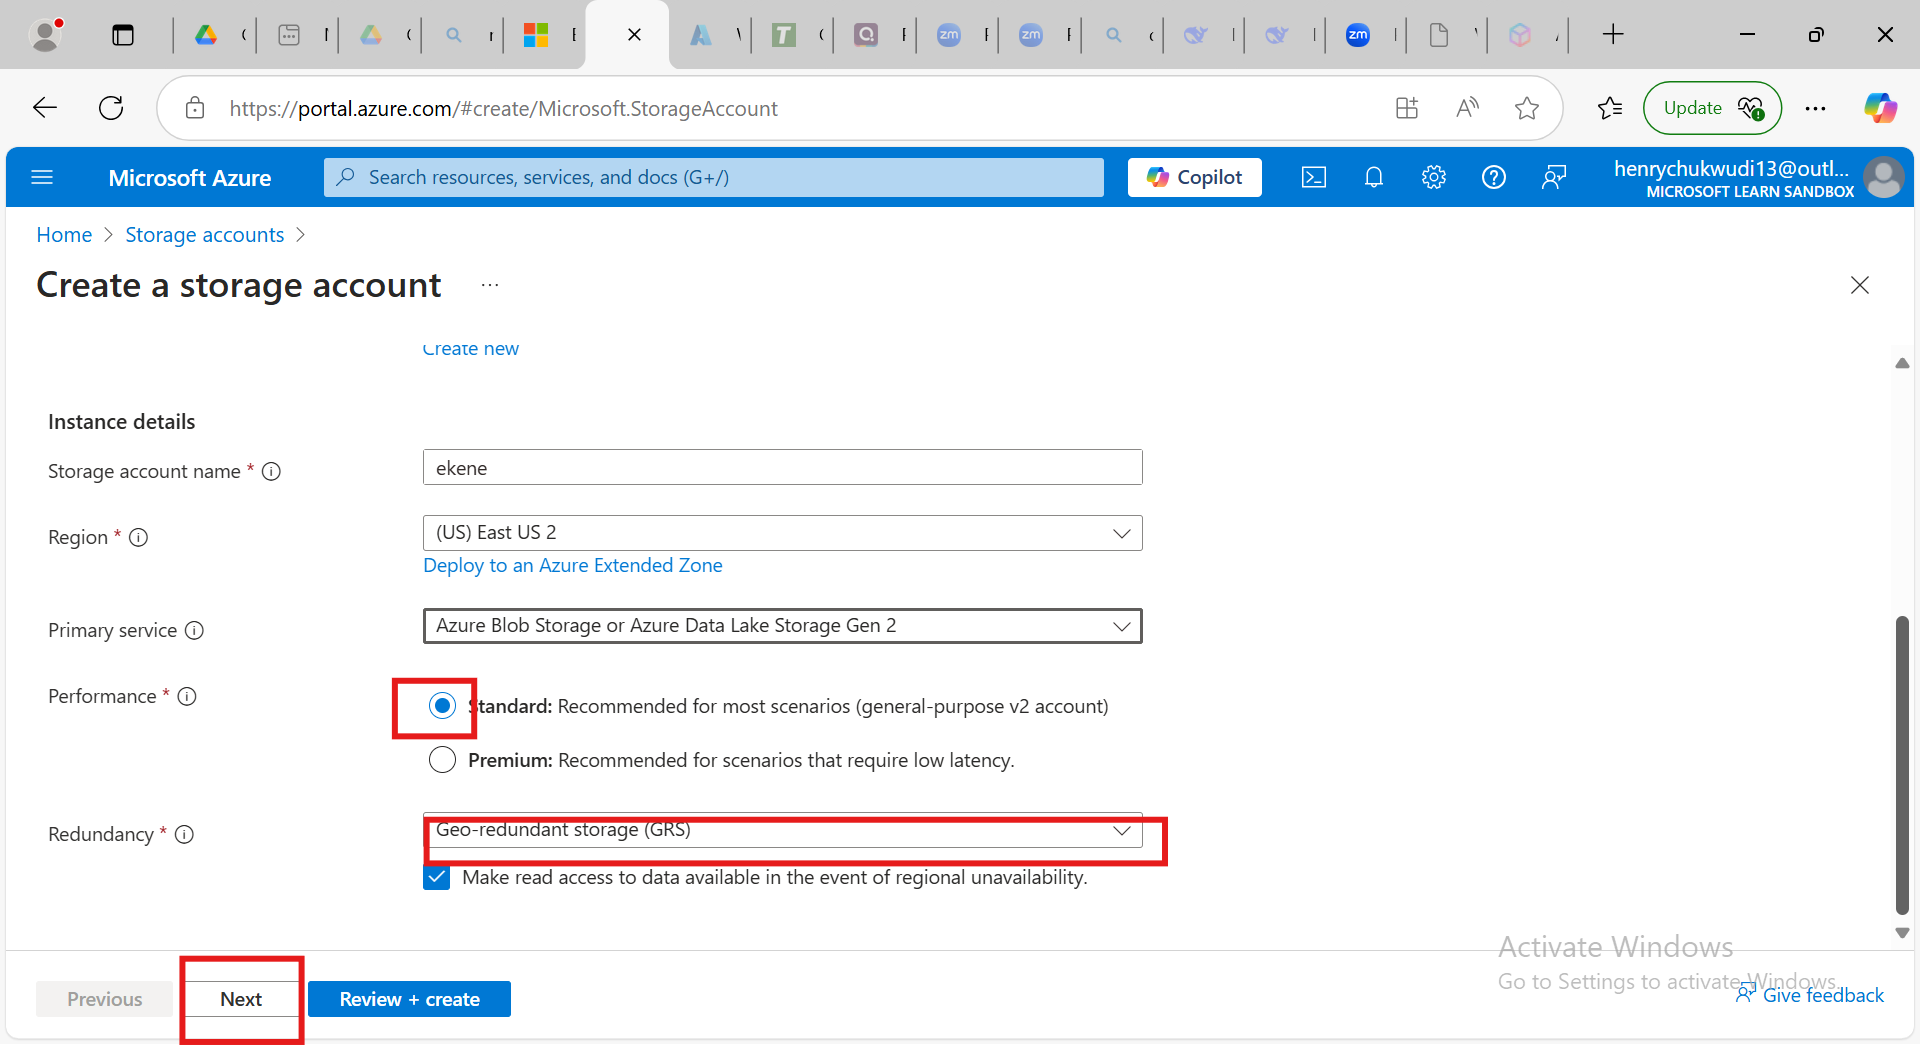
f] On the Advanced settings which is optional but for the sake of our practice. we will enable the anonymous access on individual containers. and click on Next.
g] On the Networking part enable public access and click on Next
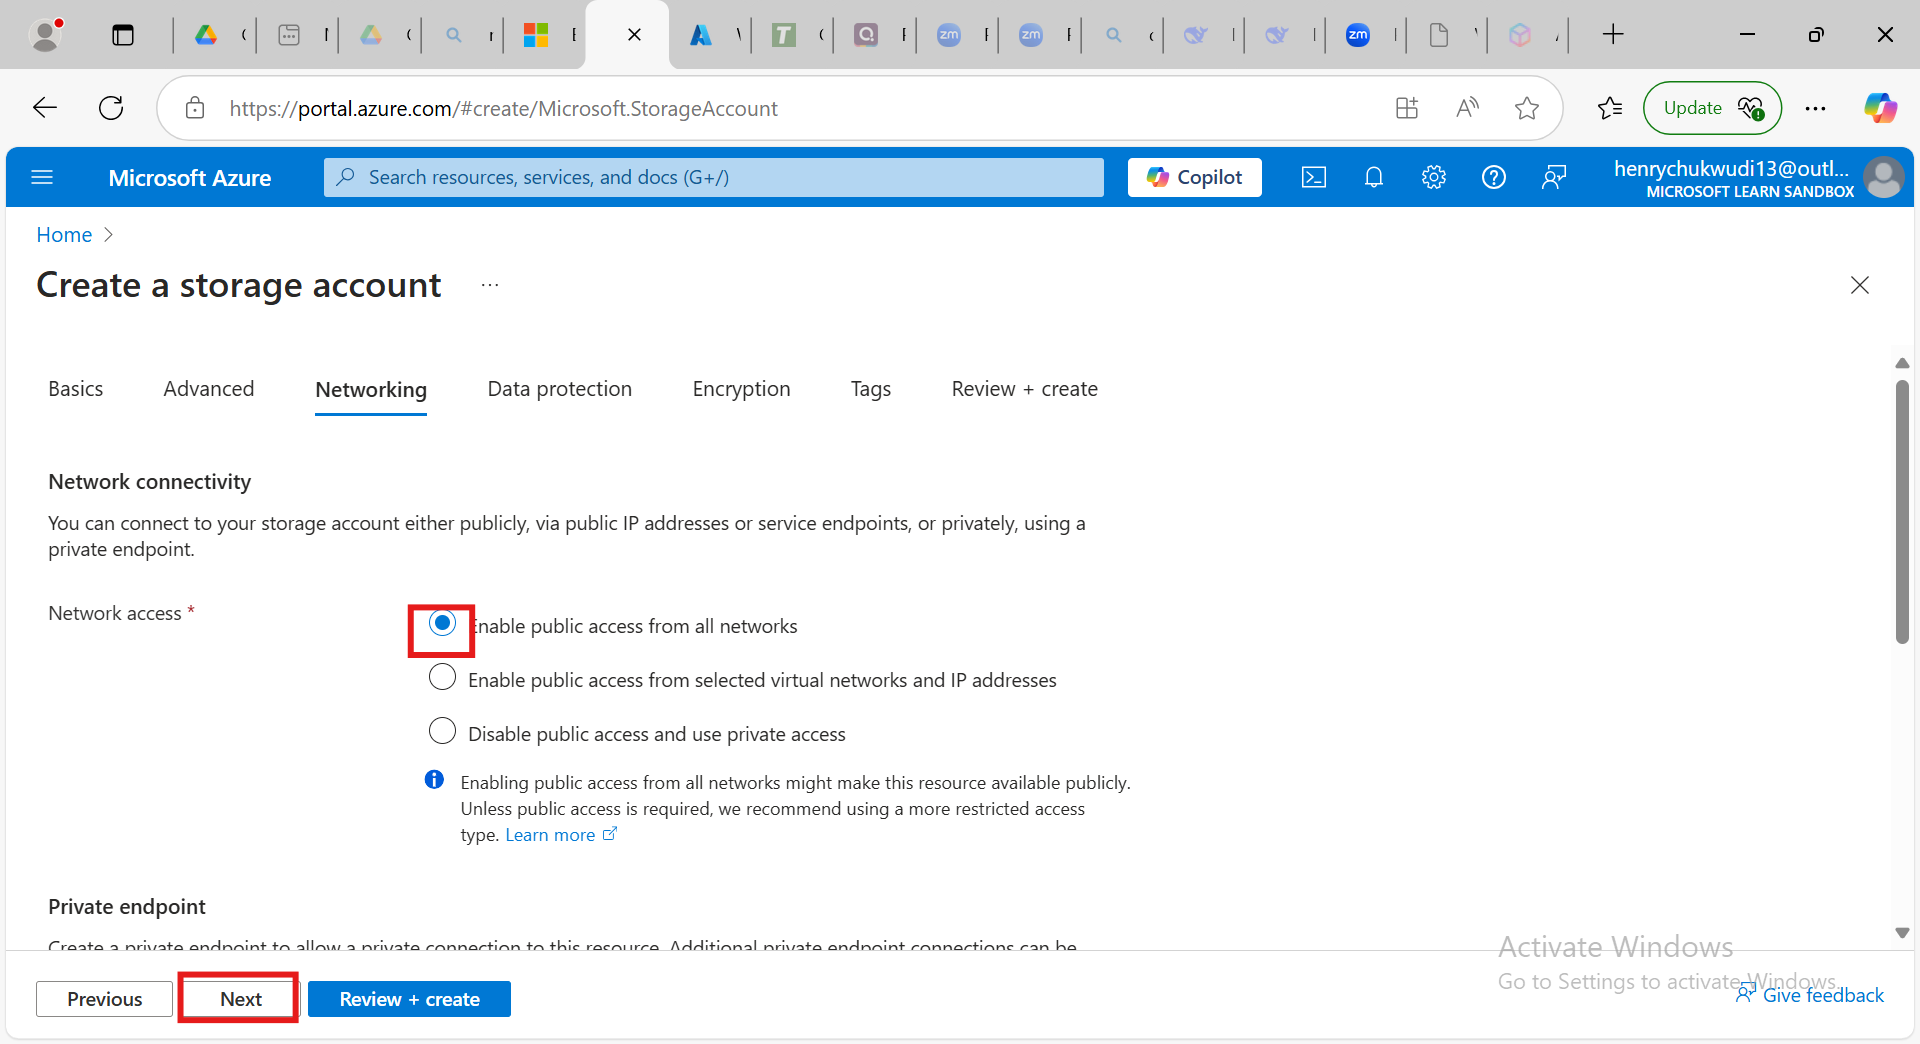
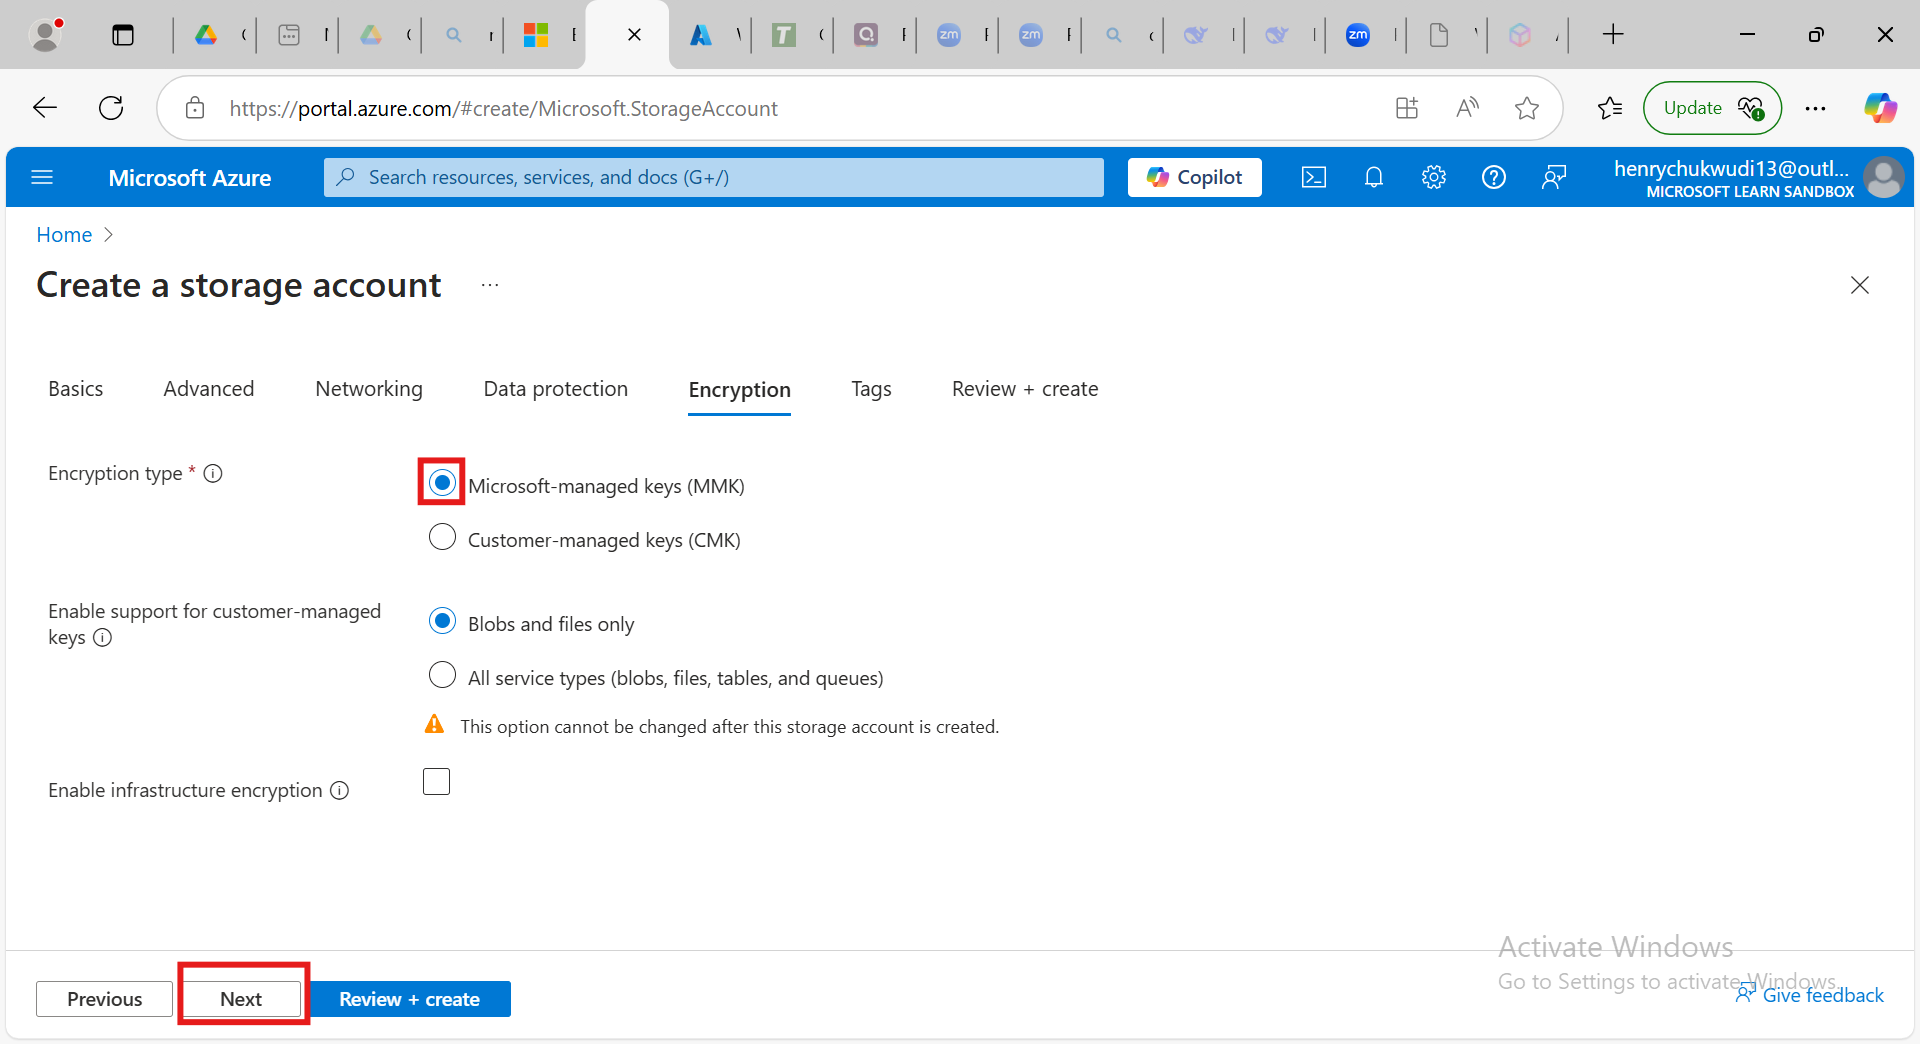
h] On the Encryption part, l left it at Microsoft managed Keys [MMK] and click on Next
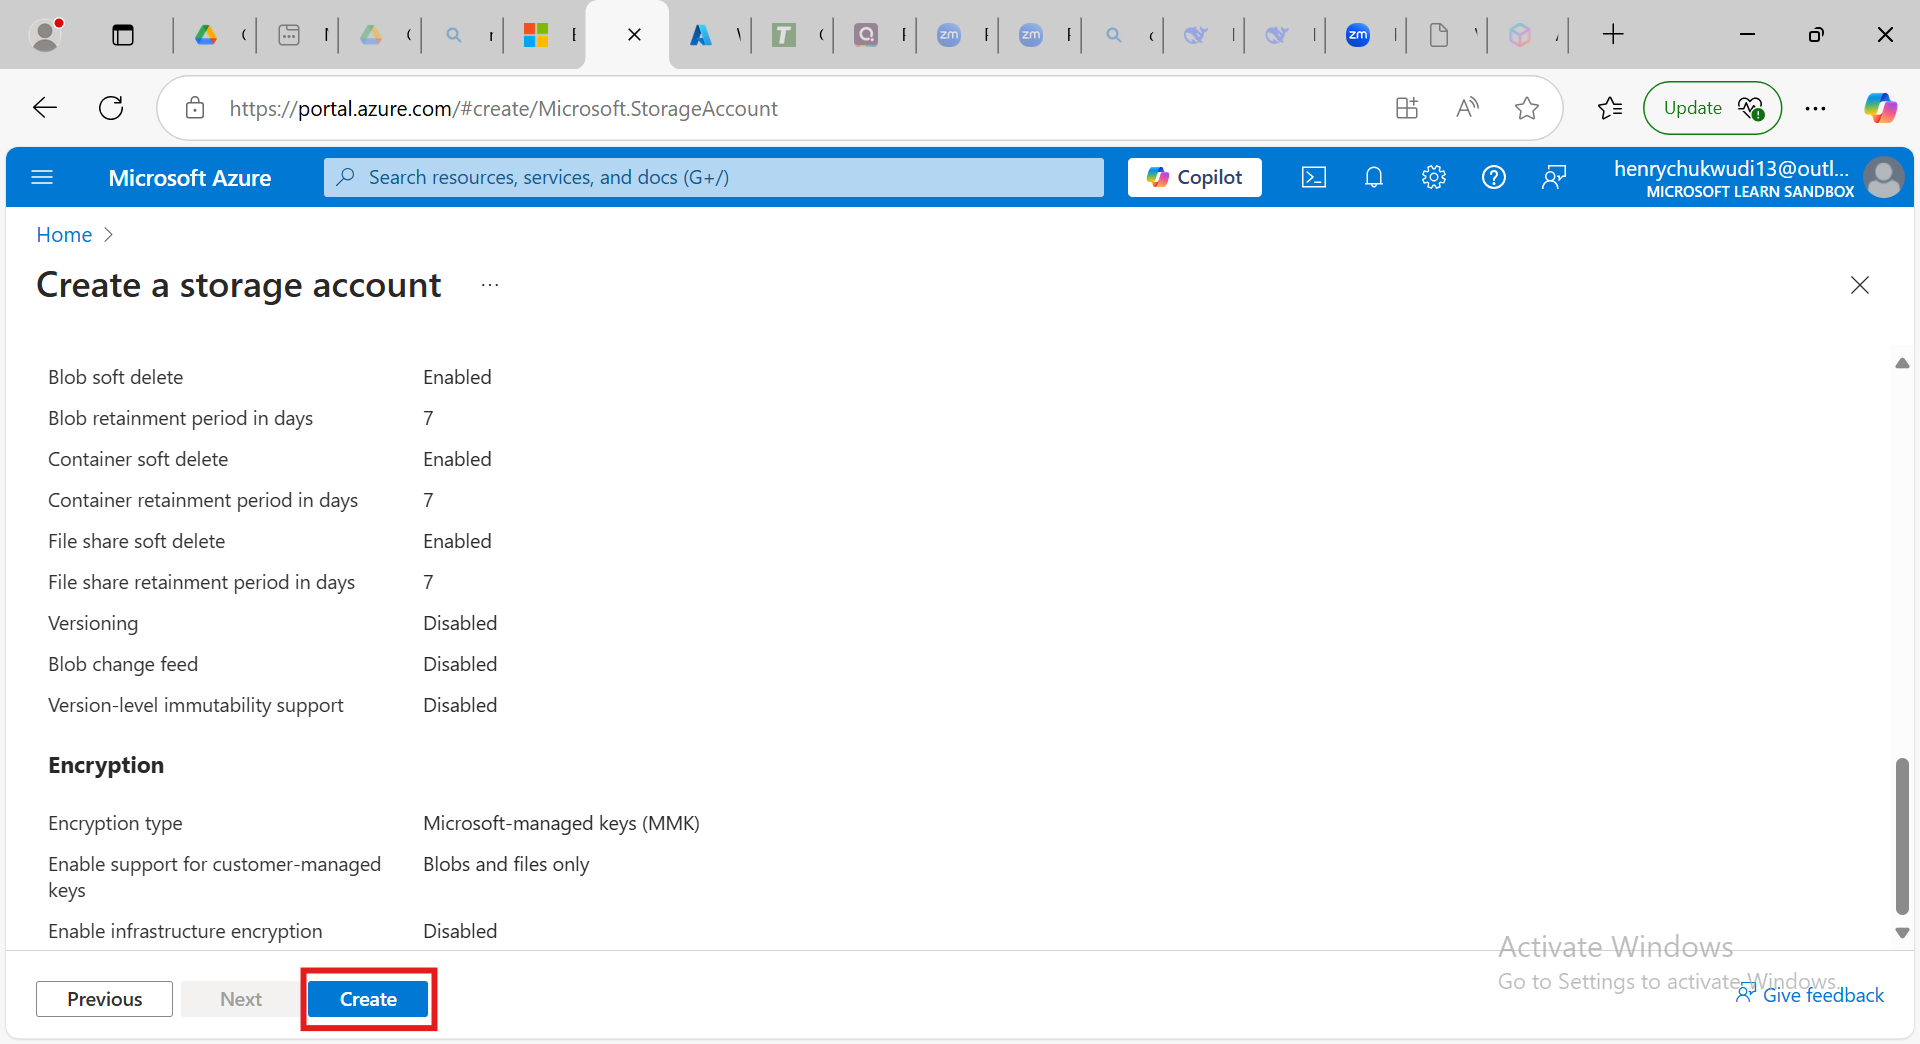
i] Click ‘‘Review + Create’’ to validate your configurations and if everything looks good, click ‘‘Create’’
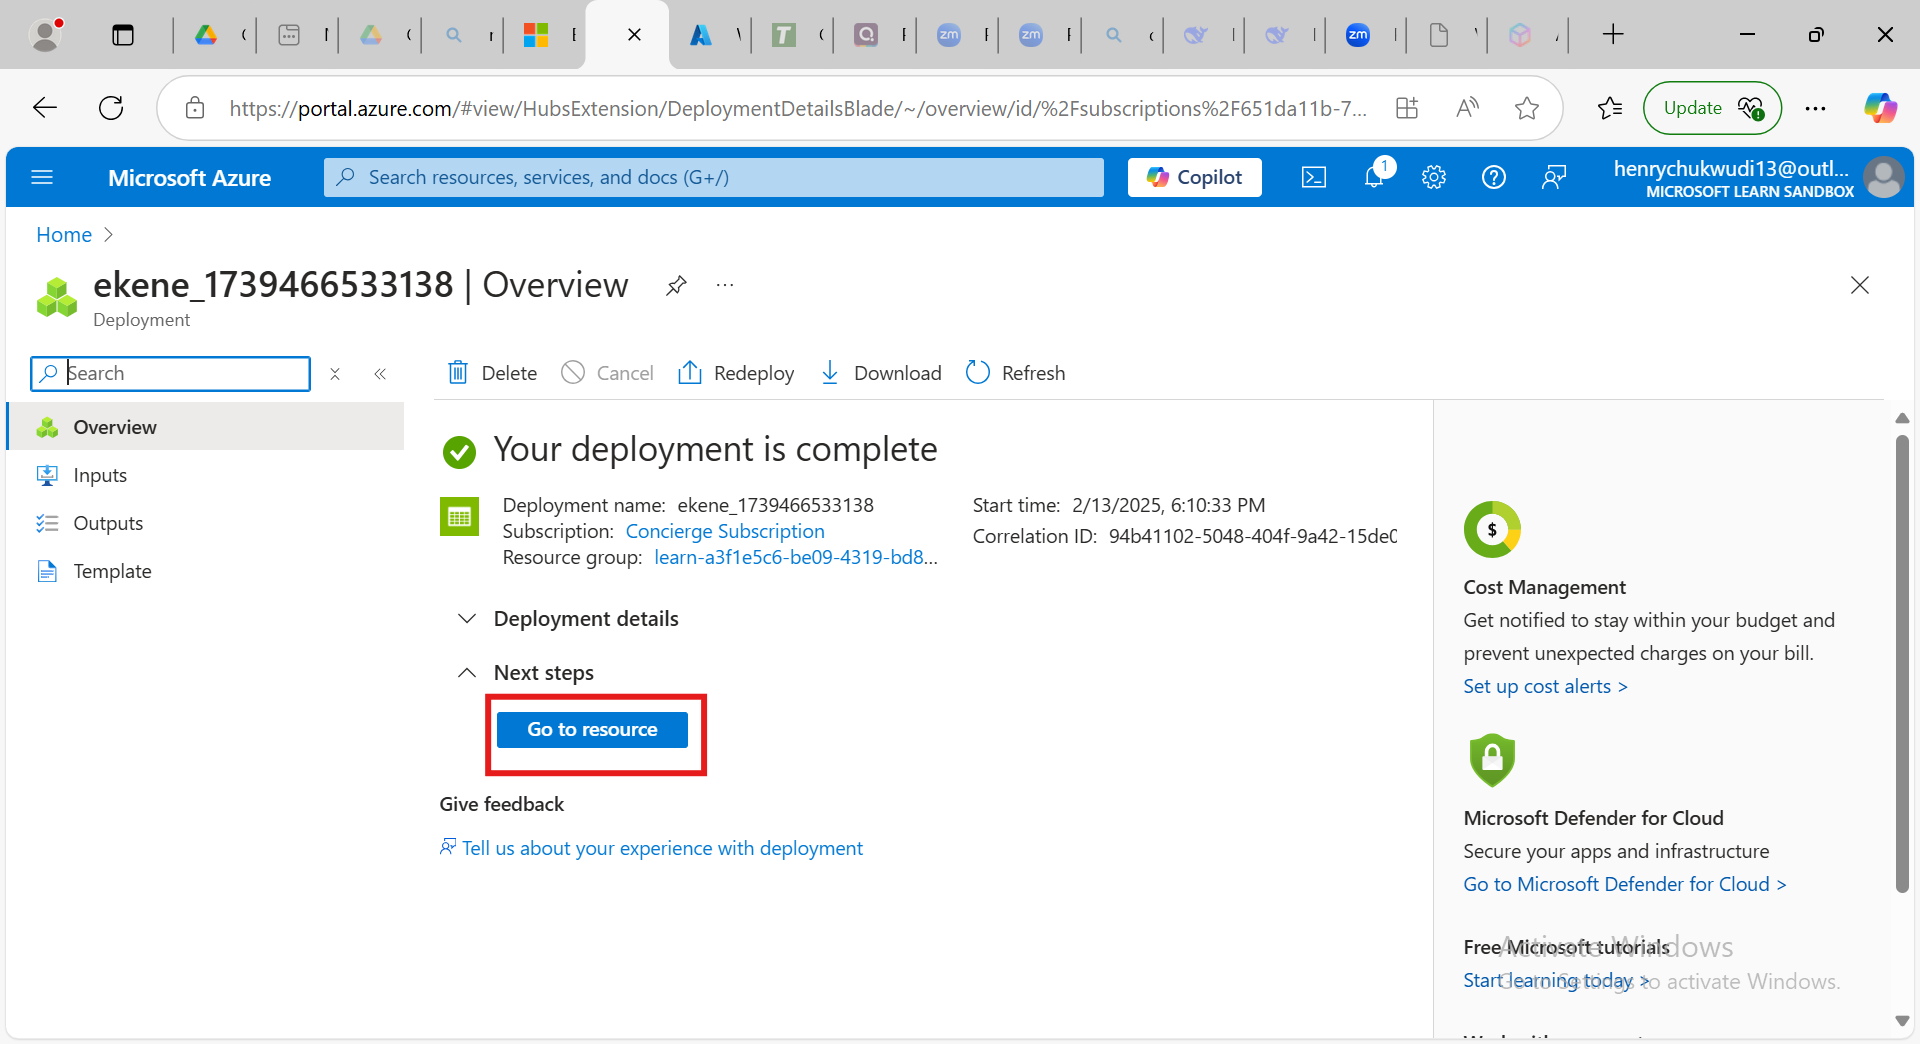
j] Deployment will take few seconds to Complete.
k] Once the Deployment is complete click on ‘‘Go To Resource’’ to have a good look on your created Storage.
Once your Storage Account is deployed, you can access it by:
Go to Storage Accounts in the Azure Portal and click on your newly created storage account to view details.
Subscribe to my newsletter
Read articles from Nweke Henry directly inside your inbox. Subscribe to the newsletter, and don't miss out.
Written by
