How to Work with OpenAPI in Go
 Alex Pliutau
Well-structured and well-documented APIs are a pleasure to work with. And nowadays the standard is OpenAPI, which comes with a good methodology for defining an API interface first, and only then constructing everything around it.
This makes it easier to understand, implement, and consume those APIs. And standards matter, as they allow different teams, regardless of their technology stack, to effectively communicate about and work with the same API.

In this practical guide, I’ll want to walk you through all the important parts involved in architecting, implementing, and consuming an API using the OpenAPI standard.
Before we dive in, it's helpful to have a basic understanding of the following:
The Go programming language
RESTful APIs
JSON/YAML
Basic command-line usage
Table of Contents
What is the OpenAPI Specification (OAS)?
The OpenAPI Specification (OAS) provides a consistent means to carry information through each stage of the API lifecycle. It is a specification language for HTTP APIs that defines structure and syntax in a way that is not wedded to the programming language the API is created in.
The OpenAPI Specification (OAS) was originally based on the Swagger 2.0 Specification from SmartBear Software. Later it was moved to the OpenAPI Initiative (OAI), a consortium of industry experts under the Linux Foundation.
The main idea of OpenAPI is to be able to describe APIs in agnostic terms, decoupling them from any specific programming language. Consumers of your API specification do not need to understand the guts of your application or try to learn Lisp or Haskell if that’s what you chose to write it in. They can understand exactly what they need from your API specification, written in a simple and expressive language.
This simple and expressive language is called DSL (domain specific language). It can be written in either JSON or YAML.
The latest version of OAS is v3.1.1 and the specification itself is huge. There are many features and corner cases, but we will try to go through the most important ones.
Architecting the API
It all starts with defining what the API should provide for its consumers and what it is for. While this stage isn't always purely technical, having a sketch of your API design in OAS when gathering requirements gives you a head start when starting the design.
Once the requirements are ready, it's time to open your OpenAPI editor and collaborate with your teammates.
And it's important to understand that it's not only about writing the JSON/YAML spec, but actually agreeing on the API design.
I recommend that you follow some API design guide – Google has one, for example. This will help you avoid mixed styles (like /resourceName/{id} and /resource_name/{id}, inconsistent use of HTTP methods, or unclear resource relationships.
openapi.yaml
The spec of your API starts in the entrypoint document openapi.yaml (recommended but not required name) or openapi.json. I've seen very big openapi.yaml files (50k lines), but it's possible to split your spec into multiple parts. Just keep in mind that this may not work well for some OpenAPI tools as they expect a single file. Google Maps OAS is a good example on how to split the schema, but also comes with a pre-processor to generate a single file.
There are some open source tools to bundle the OAS: swagger-cli (archived) and redocly-cli are great options.
swagger-cli bundle -o _bundle/openapi.yaml openapi.yaml
As I mentioned earlier, the spec is huge, but let's break it into smaller parts. For this tutorial I created a dummy "Smart Home" API. You can see the full spec and code here.
The root object is called OpenAPI Object and has the following structure:
# schema version
openapi: 3.1.1

# docs
info:
  title: Smart Home API
  description: API Specification for Smart Home API
  version: 0.0.1

# optional servers for public APIs
servers:
  - url: "https://..."

# tags are used to group the endpoints
tags:
  - name: device
    description: Manage devices
  - name: room
    description: Manage rooms

# endpoints go here
paths:
  # ...

# reusable objects such as schemas, error types, request bodies
components:
  # ...

# security mechanisms, should correspond to components.securitySchemes
security:
  - apiKeyAuth: []
We defined the skeleton of our schema, but the majority of OpenAPI schema lays in the paths and components props.
Paths and Operations
Let's now add a few endpoints to our schema. The operations are grouped by paths, so you can have multiple HTTP methods on a single path – for example GET /devices/{deviceId} and DELETE /devices/{deviceId}.
It's a good practice to define all types (request bodies, responses, errors) in the components section and reference them instead of manually defining them in the paths section. This allows for easier re-use of entities. For example, in our API we have a type Device which can be used in many endpoints.
paths:

  # the path has a parameter in it
  /devices/{deviceId}:
    get:
      tags:
        - device
      summary: Get Device
      operationId: getDevice

      parameters:
        - name: deviceId
          in: path
          required: true
          schema:
            $ref: "#/components/schemas/ULID"

      responses:

        "200":
          description: Success
          content:
            application/json:
              schema:
                $ref: "#/components/schemas/Device"

        "404":
          description: Not Found
          content:
            application/json:
              schema:
                # use common type for 404 errors
                $ref: "#/components/schemas/ErrorNotFound"
In the spec above, we defined two endpoints of our API and referenced the types which we still need to define: Device, ErrorNotFound and ULID. Notice that for the deviceId path param we also used a custom type instead of a standard string, which can be helpful in the future in case we want to change the format of our IDs (for example UUID, ULID. integer, and so on).
Notice that each operation has a unique operationId. While it's optional, it's very helpful to set one, so then it can be used on the server and client sides.
This is a basic configuration which you can extend further if you want to. For example, when serving this schema in Swagger, it's good to see the examples of our requests (and their variations). We can define it here in responses section, or directly in our components.schemas.
responses:
  "200":
    content:
      application/json:
        examples:
          new_device:
            value: # any value
Schemas
components is an integral part of OAS, and contains the following properties:
schemas
responses
parameters
requestBodies
headers
securitySchemes
You can see all here.
We could define our Device type like this:
components:
  schemas:
    Device:
      type: object
      properties:
        id:
          $ref: '#/components/schemas/ULID'
        name:
          type: string
      required:
        - id
        - name
But later you may have other types that have name or id fields, so it's recommended to define them separately and combine them in the final type using allOf:
components:
  schemas:
    WithId:
      type: object
      required:
        - id
      properties:
        id:
          $ref: "#/components/schemas/ULID"

    WithName:
      type: object
      required:
        - name
      properties:
        name:
          type: string

    Device:
      allOf:
        - $ref: "#/components/schemas/WithId"
        - $ref: "#/components/schemas/WithName"
allOf, oneOf, and anyOf are very powerful techniques for modeling your OAS.
Extensions
OpenAPI schemas can be extended with internal properties that do not affect the schema itself, but are useful for server or client generators. A good example is our ULID type for ids:
ULID:
  type: string
  minLength: 26
  maxLength: 26

  # example is useful for Swagger docs
  example: 01ARZ3NDEKTSV4RRFFQ69G5FAV

  x-go-type: ulid.ULID
  x-go-type-import:
    path: github.com/oklog/ulid/v2
The x- props will be used by the Go server generator to use existing Go types for this field instead of generating a new one.
How to Generate a Go Server
We didn't go through all possible schema properties here and just covered the main ones – so if you’re not familiar with OAS, you should now have a good understanding of this standard. You can read the whole specification here. But now as our schema is ready, we can generate a Go server from it.
You can find the full list of generators on opeanapi.tools – there are a lot of them. But the most popular one for Go servers is oapi-codegen.
oapi-codegen currently doesn’t support this OAS 3.1. issue. ogen does, though.
You can install it via go install:
go install github.com/oapi-codegen/oapi-codegen/v2/cmd/oapi-codegen@latest
The configuration for the oapi-codegen generator is straightforward. You can either provide command line arguments or specify the same arguments in a yaml configuration file. You can choose which HTTP router to use for the server, where to put the output file, and more. In our case let's use the echo router.
# oapi-codegen.yaml

package: api
output: pkg/api/api.gen.go

generate:
  strict-server: true
  models: true
  echo-server: true
We can now generate the server code using the following command:
oapi-codegen --config=oapi-codegen.yaml openapi.yaml
Let's now explore the generated api.gen.go file.
Since we enabled strict-server, which will generate code that parses request bodies and encodes responses automatically, the interface that we need to implement is called StrictServerInterface:
type StrictServerInterface interface {

  // List Devices
  // (GET /devices)
  ListDevices(ctx context.Context, request ListDevicesRequestObject) (ListDevicesResponseObject, error)

  // Get Device
  // (GET /devices/{deviceId})
  GetDevice(ctx context.Context, request GetDeviceRequestObject) (GetDeviceResponseObject, error)

}
All our types are also generated:
type ULID = ulid.ULID

type Device struct {
    Id   ULID   `json:"id"`
    Name string `json:"name"`
}

// ...
As well as code to parse the requests automatically and the Swagger definition.
Implementation
What's left for us to do is to create a server using echo, implement the generated interface, and glue everything together. We can write the following code in pkg/api/impl.go:
package api

import "context"

type Server struct{}

func NewServer() Server {
    return Server{}
}

func (Server) ListDevices(ctx context.Context, request ListDevicesRequestObject) (ListDevicesResponseObject, error) {
    // actual implementation
    return ListDevices200JSONResponse{}, nil
}

func (Server) GetDevice(ctx context.Context, request GetDeviceRequestObject) (GetDeviceResponseObject, error) {
    // actual implementation
    return GetDevice200JSONResponse{}, nil
}
I skipped the implementation part and just demonstrated how to return the responses. It's quite handy that oapi-codegen generated all possible responses for us.
That leaves us to start the echo server itself. Note that we don't need to write any endpoints manually now, and all request and response parsing is handled for us. Still, we need to validate the requests inside our implementation.
package main

import (
    "oapiexample/pkg/api"

    "github.com/labstack/echo/v4"
)

func main() {
    server := api.NewServer()

    e := echo.New()

    api.RegisterHandlers(e, api.NewStrictHandler(
        server,
        // add middlewares here if needed
        []api.StrictMiddlewareFunc{},
    ))

    e.Start("127.0.0.1:8080")
}
Now when we run our server using go run ., we can curl localhost:8080/devices to see the response!
Supported servers
oapi-codegen supports many web frameworks/servers, such as Chi, Fiber, Gin as well as standard net/http.
How to visualize API docs
Sometimes it's handy to have Swagger docs shipped together with your API – for testing, for example, or just as public documentation. oapi-codegen doesn't generate the Swagger UI out of the box, but we can have a simple HTML page that has a Swagger JS which loads our OAS.
You can find the HTML code for our pkg/api/index.html here.
And then we can use go:embed to embed the static files and add our Swagger endpoint:
//go:embed pkg/api/index.html
//go:embed openapi.yaml
var swaggerUI embed.FS

func main() {
    // ...

    // serve swagger docs
    e.GET("/swagger/*", echo.WrapHandler(http.StripPrefix("/swagger/", http.FileServer(http.FS(swaggerUI)))))
}
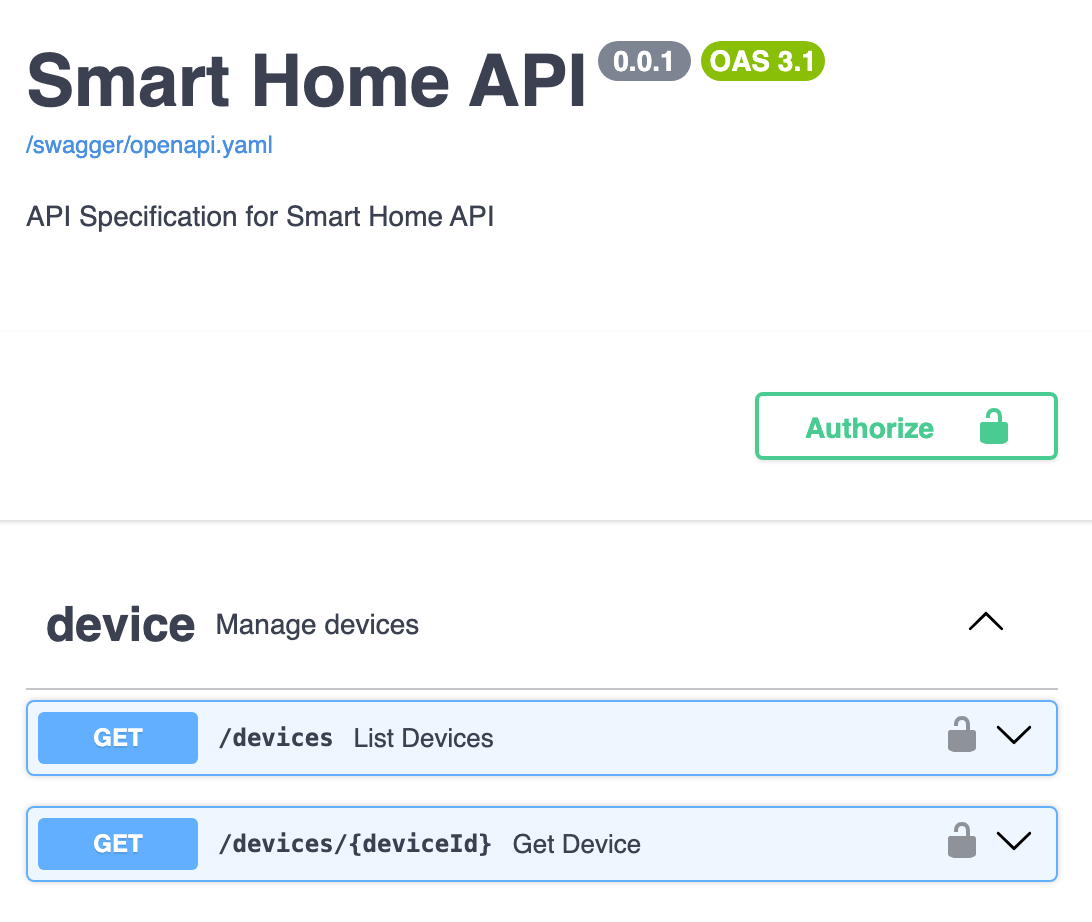
Now we can visit localhost:8080/swagger/ to see the Swagger UI with our OAS.
Tools like Postman are very popular for API documentation, and it's also possible to import your existing OpenAPI 3.0 and 3.1 definitions into Postman. Postman supports both YAML and JSON formats.
Generate OAS from code
There is also a practice to generate OpenAPI schemas from code, especially in typed languages. This approach has been popular, with the main selling point being that keeping your OpenAPI schema near the code will hopefully mean that developers keep it up to date as they work on the code.
This is not always the case, which is one of a few reasons this practice is dying out. And I am also not a big fan, as I haven’t seen a big value in this. Anyway, you can have a look at the following projects: go-swagger, swag, swaggest/rest.
Client Code
As mentioned earlier, OpenAPI is very powerful for collaboration between teams, and all you have to do now is to properly version your schema (see info.version part) and distribute it across the teams.
This part can be automated to some extent by packaging your OpenAPI schema and making it available. I've seen devs use Git submodules for that or GitHub actions to publish the version schemas.
Let's assume our client is a web application written in TypeScript, which is quite common for web APIs. Again, there are may generators available at opeanapi.tools online but the most popular one is openapi-typescript.
Here's how you can generate the TypeScript code for local or remote schemas:
# Local schema
npx openapi-typescript openapi.yaml -o ./client/schema.d.ts

# Remote schema
npx openapi-typescript https://.../openapi.yaml -o ./client/schema.d.ts
Conclusion
OpenAPI is a de-facto standard for designing, implementing, and consuming REST APIs, so it's crucial to understand how it works.
I hope this article has provided a useful introduction to the OpenAPI Specification, as well as practical tips and examples for how to use OAS to architect, implement, and consume APIs.
Resources
Subscribe to my newsletter
Read articles from Alex Pliutau directly inside your inbox. Subscribe to the newsletter, and don't miss out.
Written by
Alex Pliutau
Alex Pliutau
Staff Software Engineer @BINARLY | Docker Captain | Backend, Go, Cloud, DevOps | Writing packagemain.tech Newsletter | 🇩🇪