Install & configure Jenkins on Ubuntu
 Nikitha Jain
Table of contents
- Step 1: Update the System, install Java and Verify
- Step 2: Add the Jenkins Repository
- Step 3: Install Jenkins
- Step 5: Start Jenkins and Enable It to Run on Boot
- Step 6: Open the Firewall for Jenkins
- Step 7: Access Jenkins Web Interface
- Step 8: Get the Jenkins Unlock Key
- Step 9: Customize Jenkins
- Step 10: Create First admin user
- Step 10: Verify the Installation
- Conclusion🚀

Launch an AWS Instance (Jenkins_master) with Ubuntu as AMI image and create a new key pair with 8GB storage and Launch it.
Please refer my blog on how to launch an instance,
https://nikithajain.hashnode.dev/launching-an-aws-instance-and-configuring-security-groups
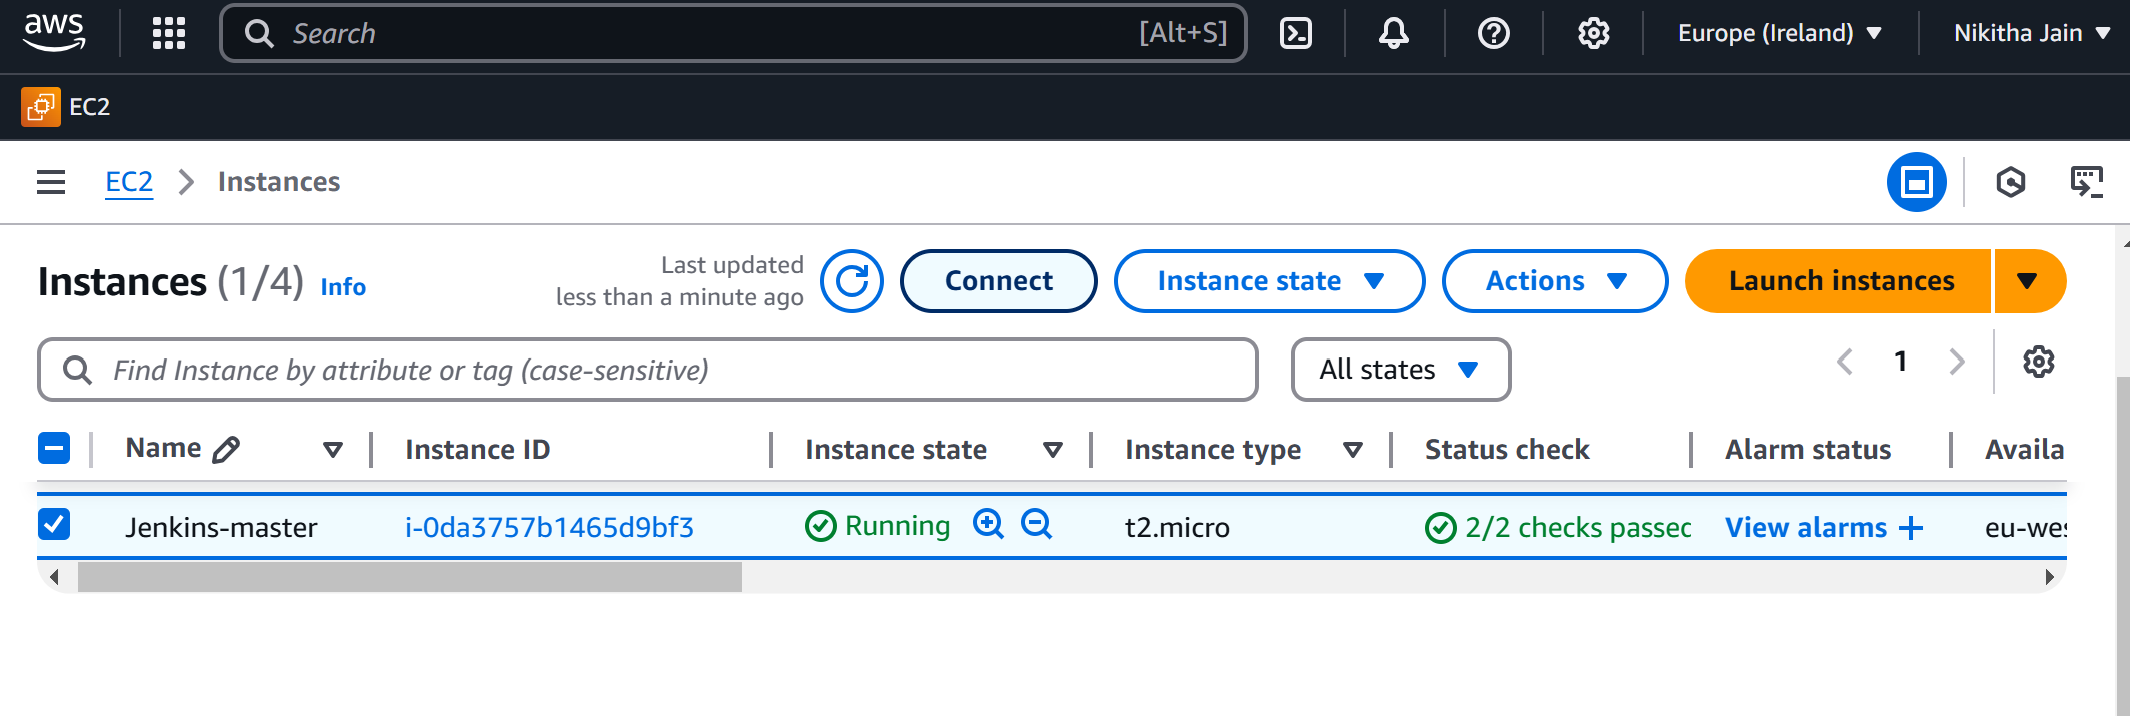
Connect with SSH client and try opening terminal and login into ubuntu, open the port 22.

The pre-requisite to Install Jenkins is Java
Step 1: Update the System, install Java and Verify
Start by updating the package lists for the latest available versions.
sudo apt update
Once the update is done, try installing Java with the command below,
sudo apt install fontconfig openjdk-17-jre
To verify the installation, check the version of Java:
java -version
This should return something like:
openjdk 17.0.14 2025-01-21
OpenJDK Runtime Environment (build 17.0.14+7-Ubuntu-124.04)
OpenJDK 64-Bit Server VM (build 17.0.14+7-Ubuntu-124.04, mixed mode, sharing)

Step 2: Add the Jenkins Repository
To install Jenkins, we’ll need to add the Jenkins repository to your system.
- Add the Jenkins repository key to your system:
sudo wget -O /usr/share/keyrings/jenkins-keyring.asc \
  https://pkg.jenkins.io/debian-stable/jenkins.io-2023.key
- Adding Jenkins package to source’s list of Application
echo "deb [signed-by=/usr/share/keyrings/jenkins-keyring.asc]" \
  https://pkg.jenkins.io/debian-stable binary/ | sudo tee \
  /etc/apt/sources.list.d/jenkins.list > /dev/null
This command tells your system to pull packages from Jenkins’ official Debian repository.
Step 3: Install Jenkins
Now that the repository has been added, update your package list and install Jenkins:
sudo apt-get update
sudo apt-get install jenkins -y
This command installs Jenkins along with its dependencies.
Step 5: Start Jenkins and Enable It to Run on Boot
Once the installation is complete, you can start the Jenkins service and enable it to run on boot.
- Start Jenkins:
sudo systemctl start jenkins
- Enable Jenkins to start automatically when the system boots:
sudo systemctl enable jenkins
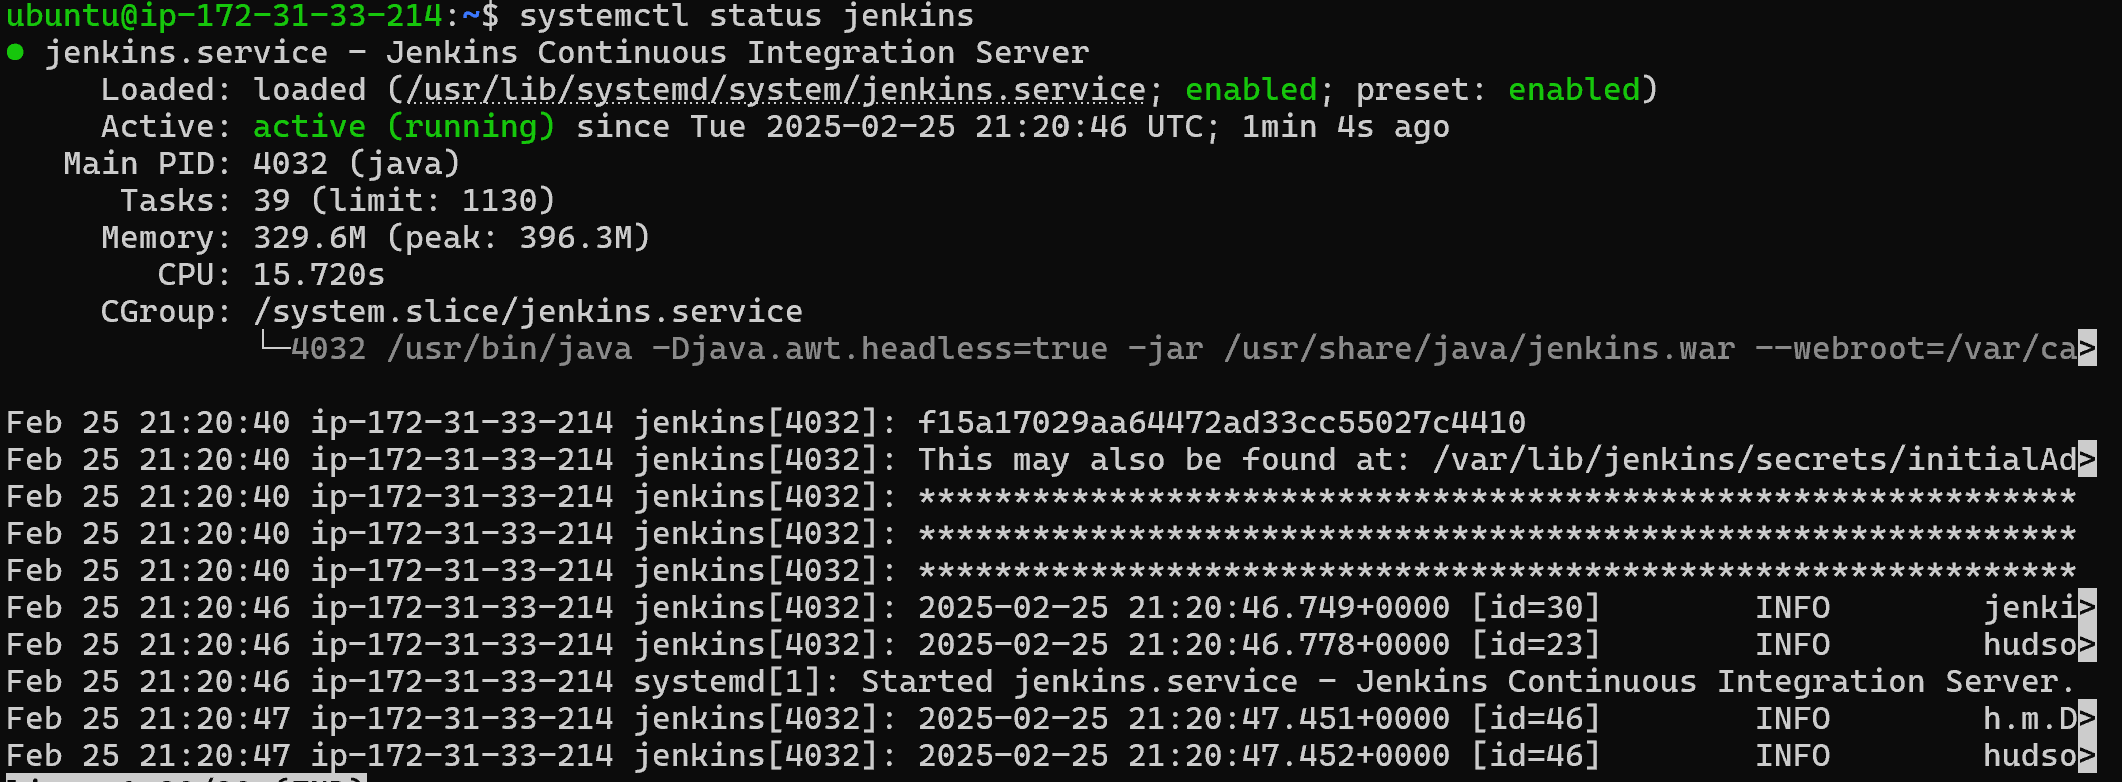
- Verify the Jenkins service is running:
sudo systemctl status jenkins
You should see output indicating that Jenkins is active and running.
Step 6: Open the Firewall for Jenkins
If you're using a firewall on your Ubuntu server, you need to allow traffic on port 8080, which is the default port for Jenkins.
Allow port 8080:
open port 8080 in the instance (security groups)
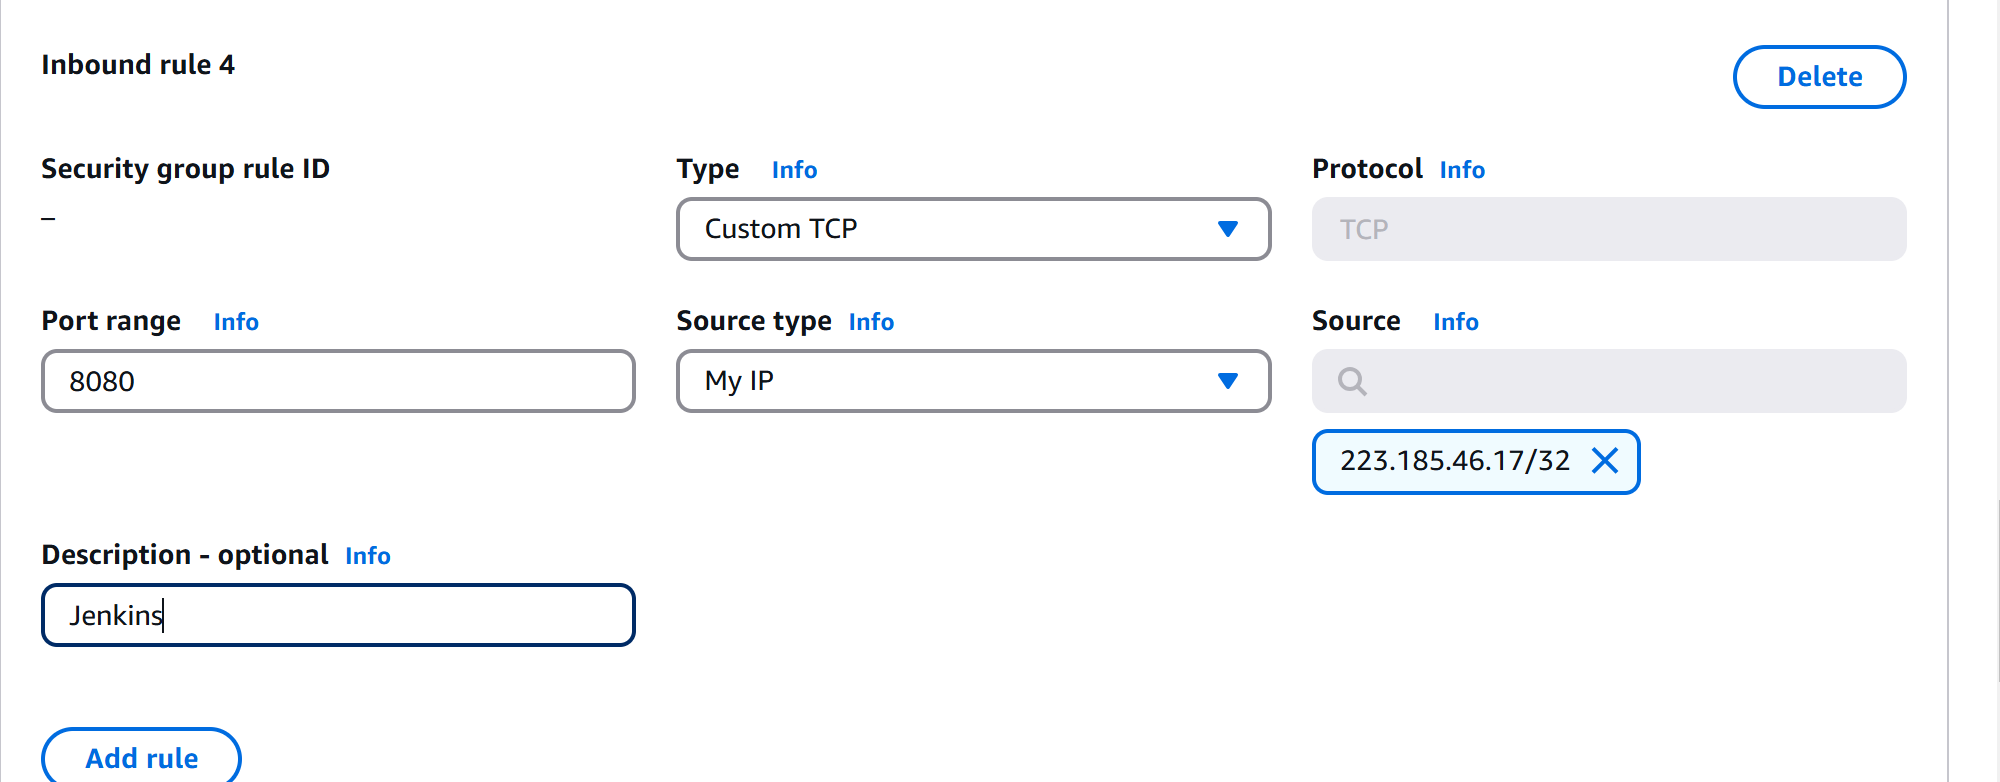
For security in Jenkins, we will be only able to access with our IP.
Step 7: Access Jenkins Web Interface
By default, Jenkins runs on port 8080. To access the Jenkins web interface, open a browser and go to:
http://<your-server-ip>:8080
You should see the Jenkins setup wizard. The first time you access Jenkins, it will ask for a setup unlock key.
Here you will be able to see the jenkins page.
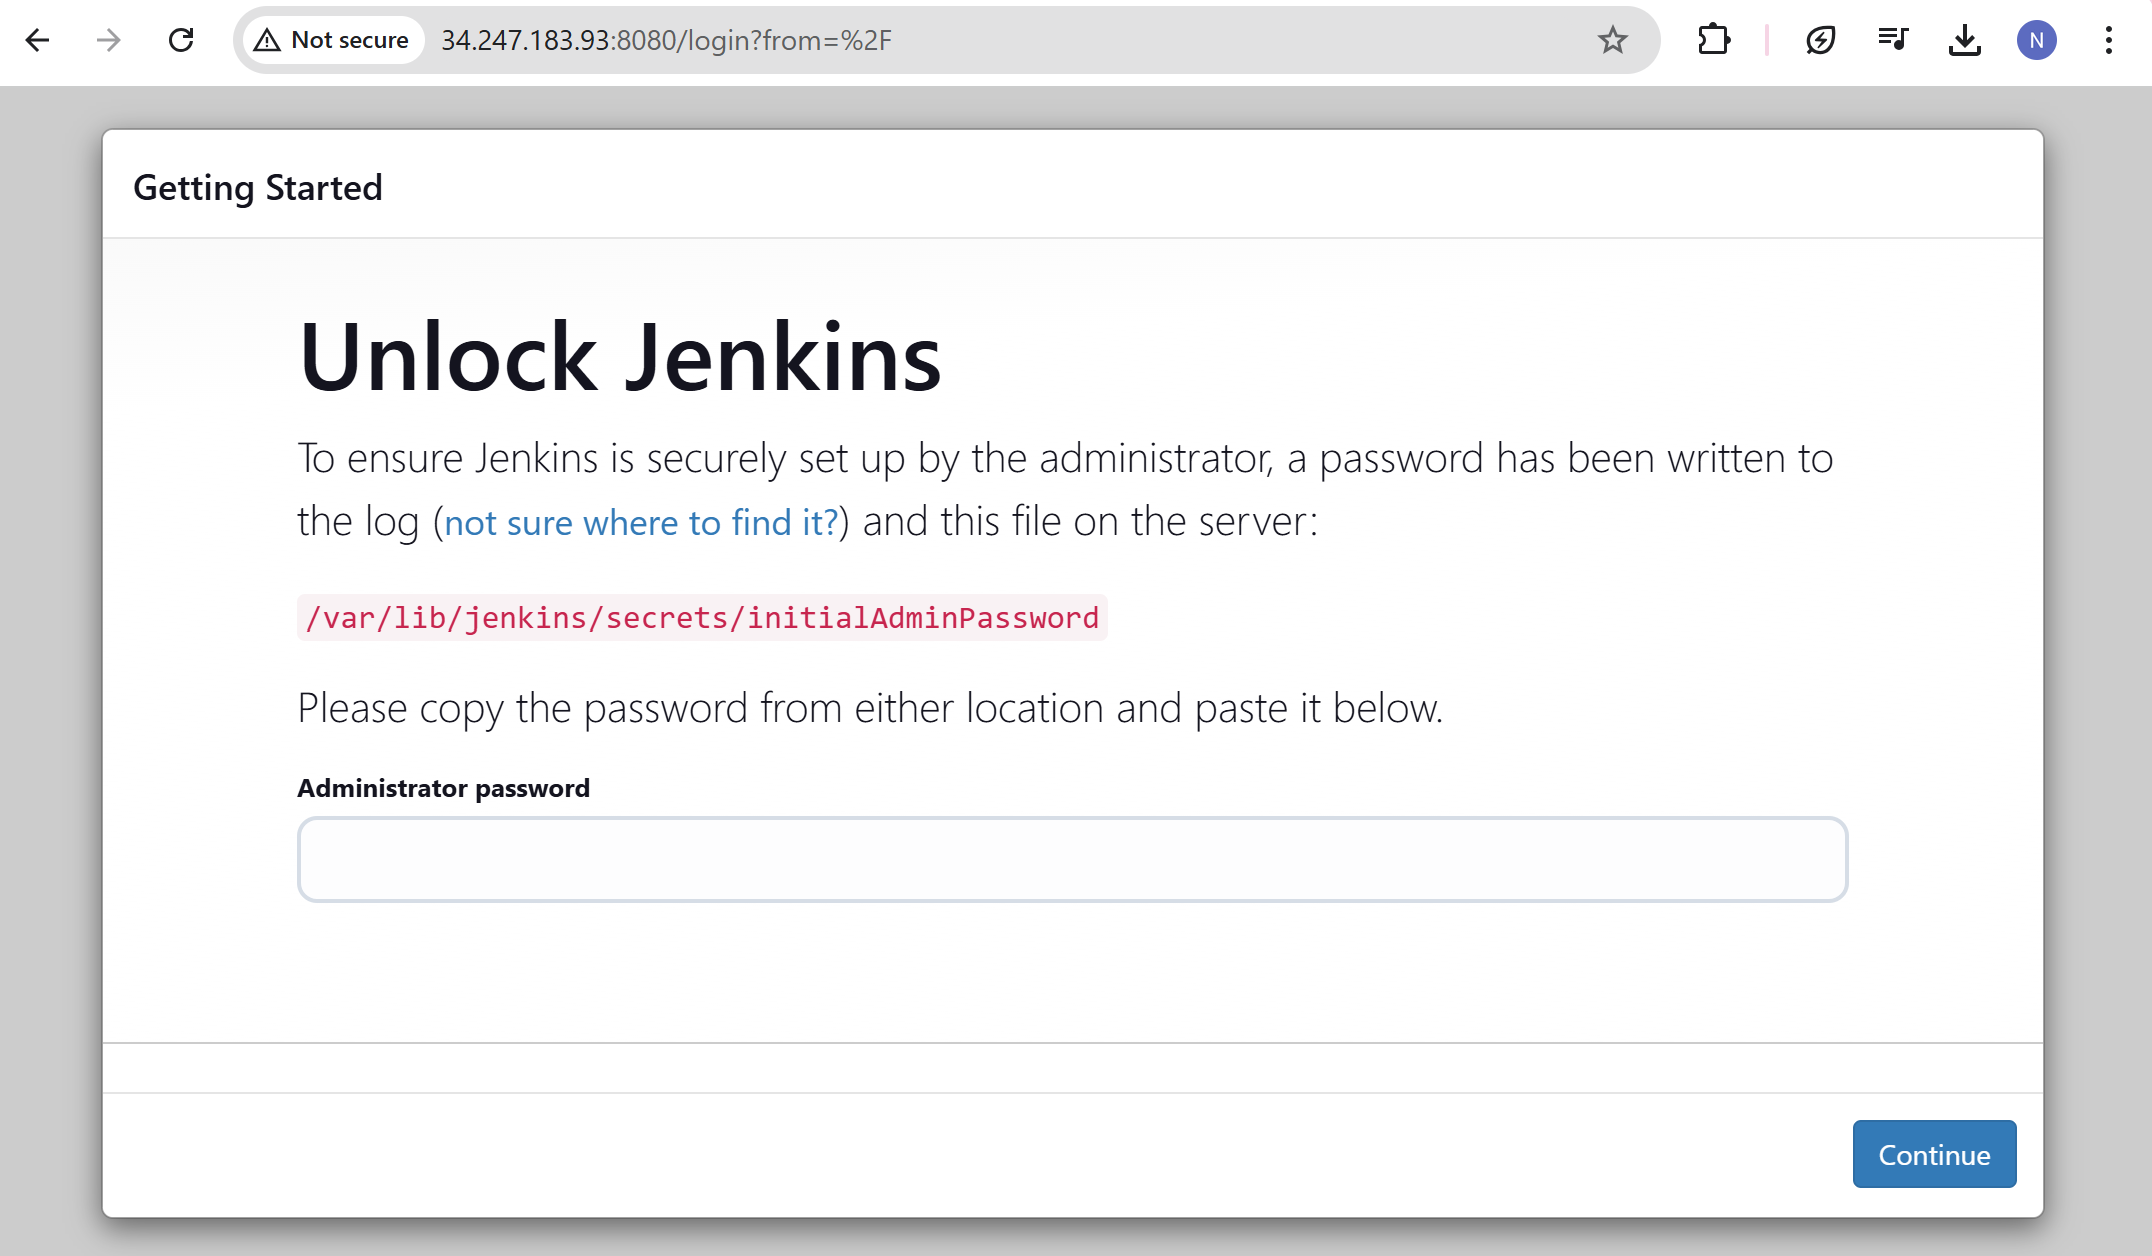
Step 8: Get the Jenkins Unlock Key
The unlock key is stored in a file on your server. To retrieve it, run the following command:
sudo cat /var/lib/jenkins/secrets/initialAdminPassword
This will display the unlock key. Copy the key.
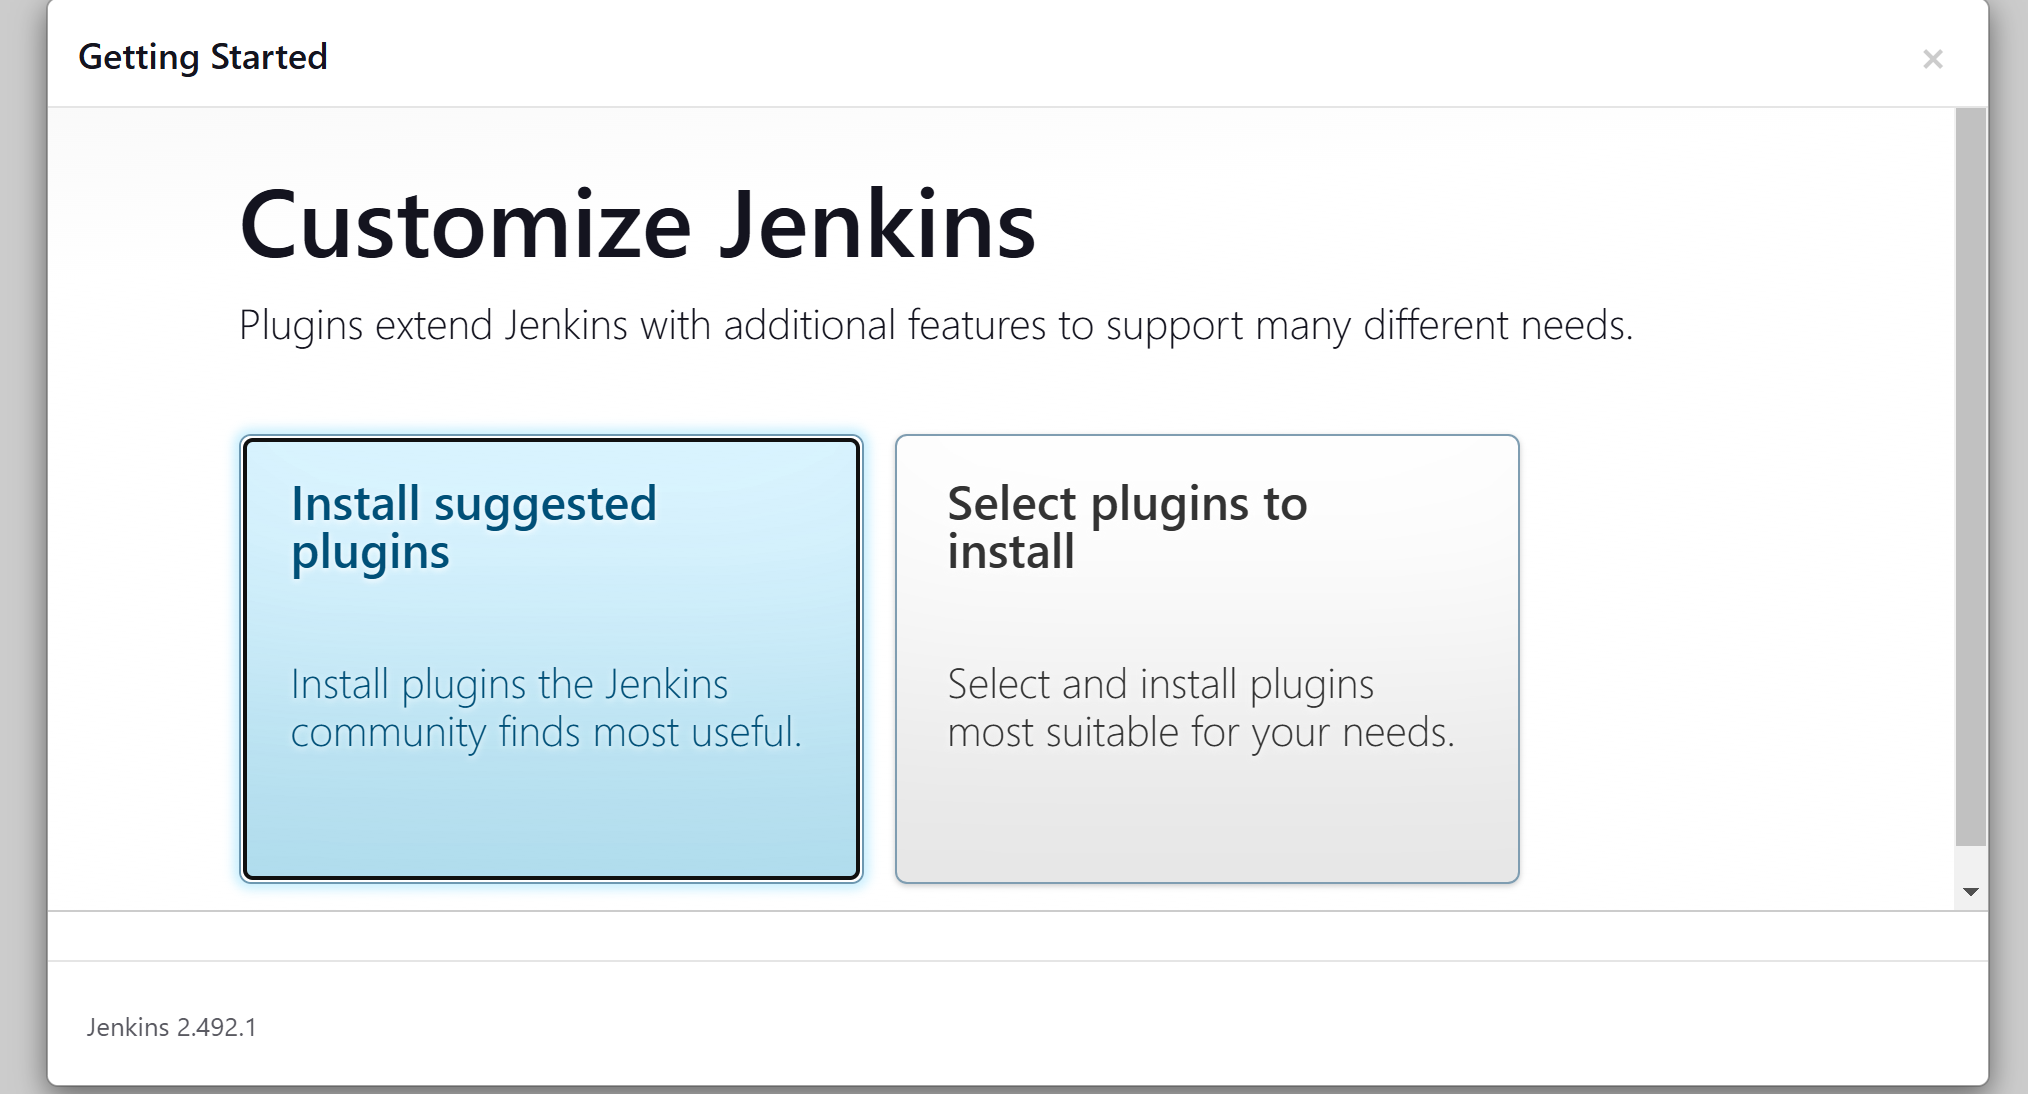
Step 9: Customize Jenkins
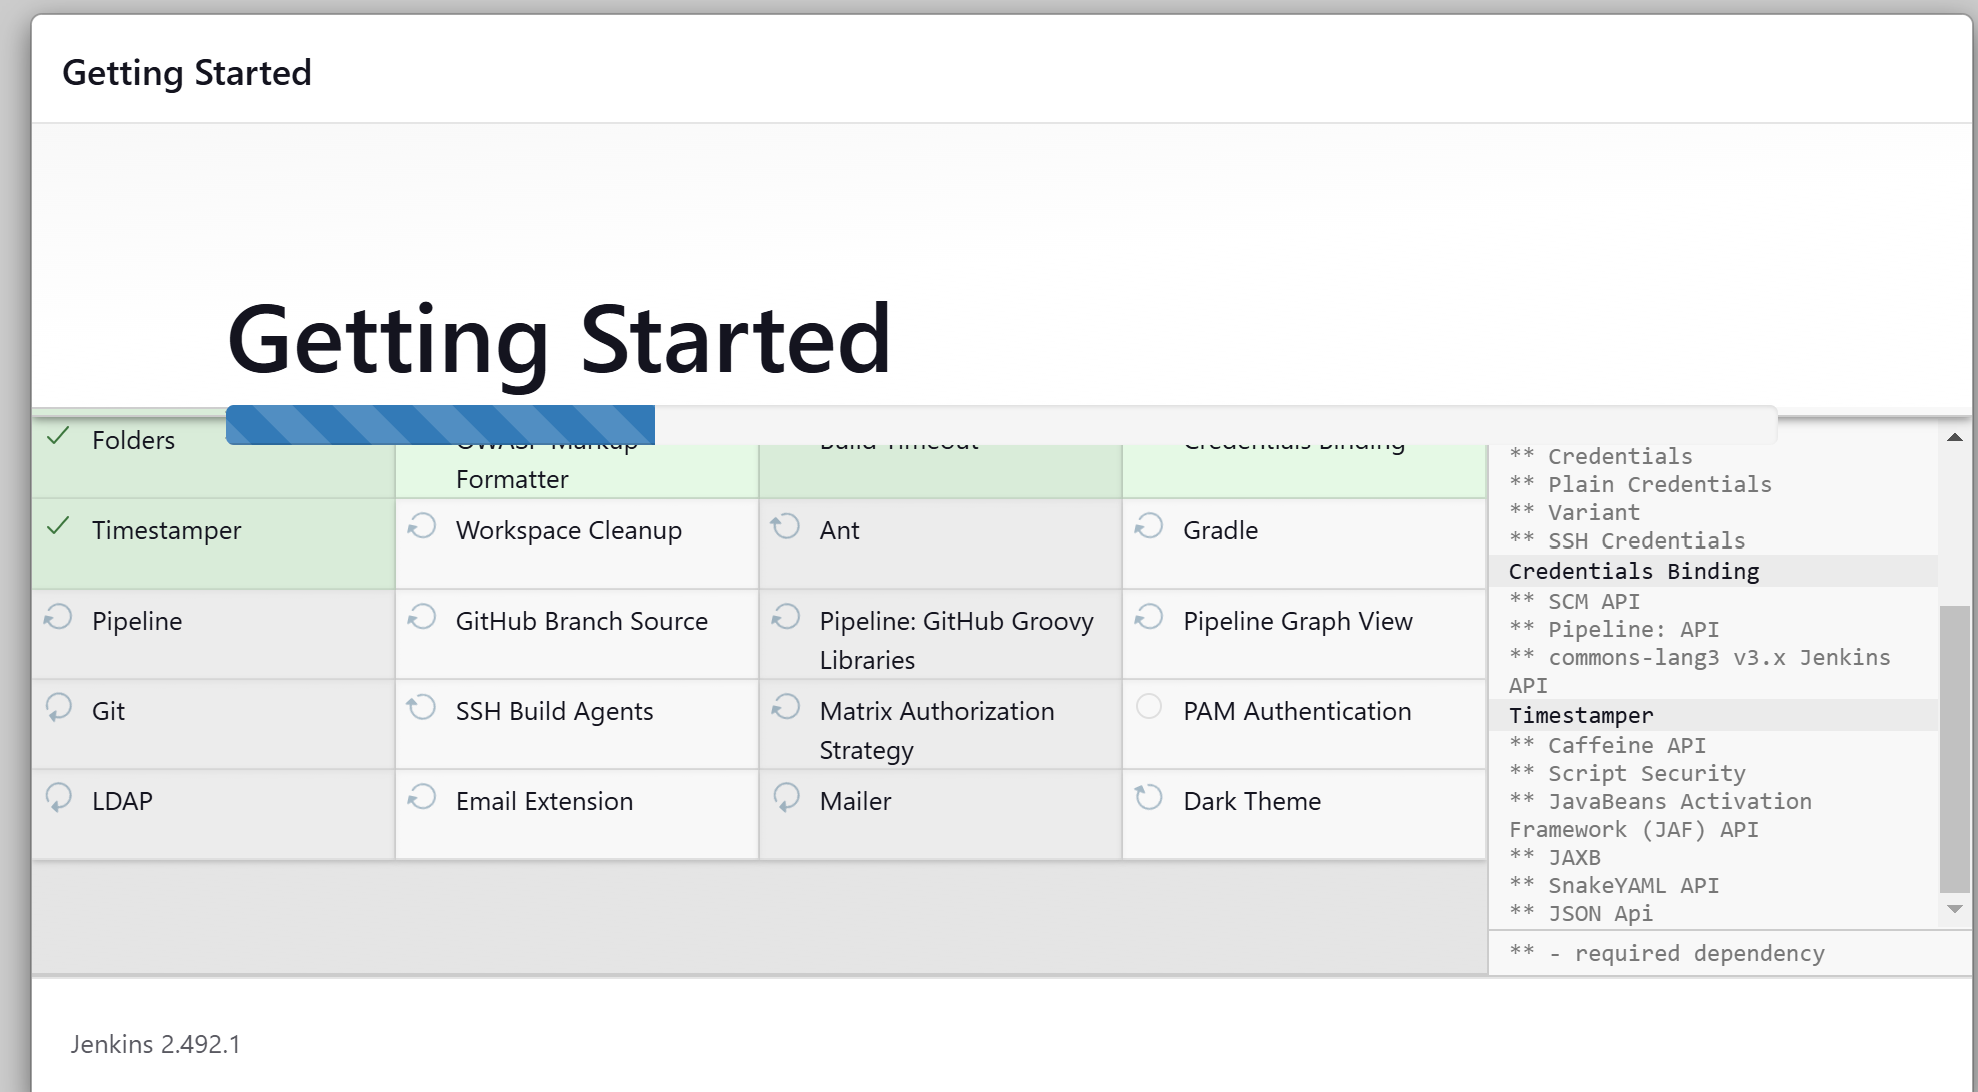
Click on Install suggested Plugins.
Step 10: Create First admin user
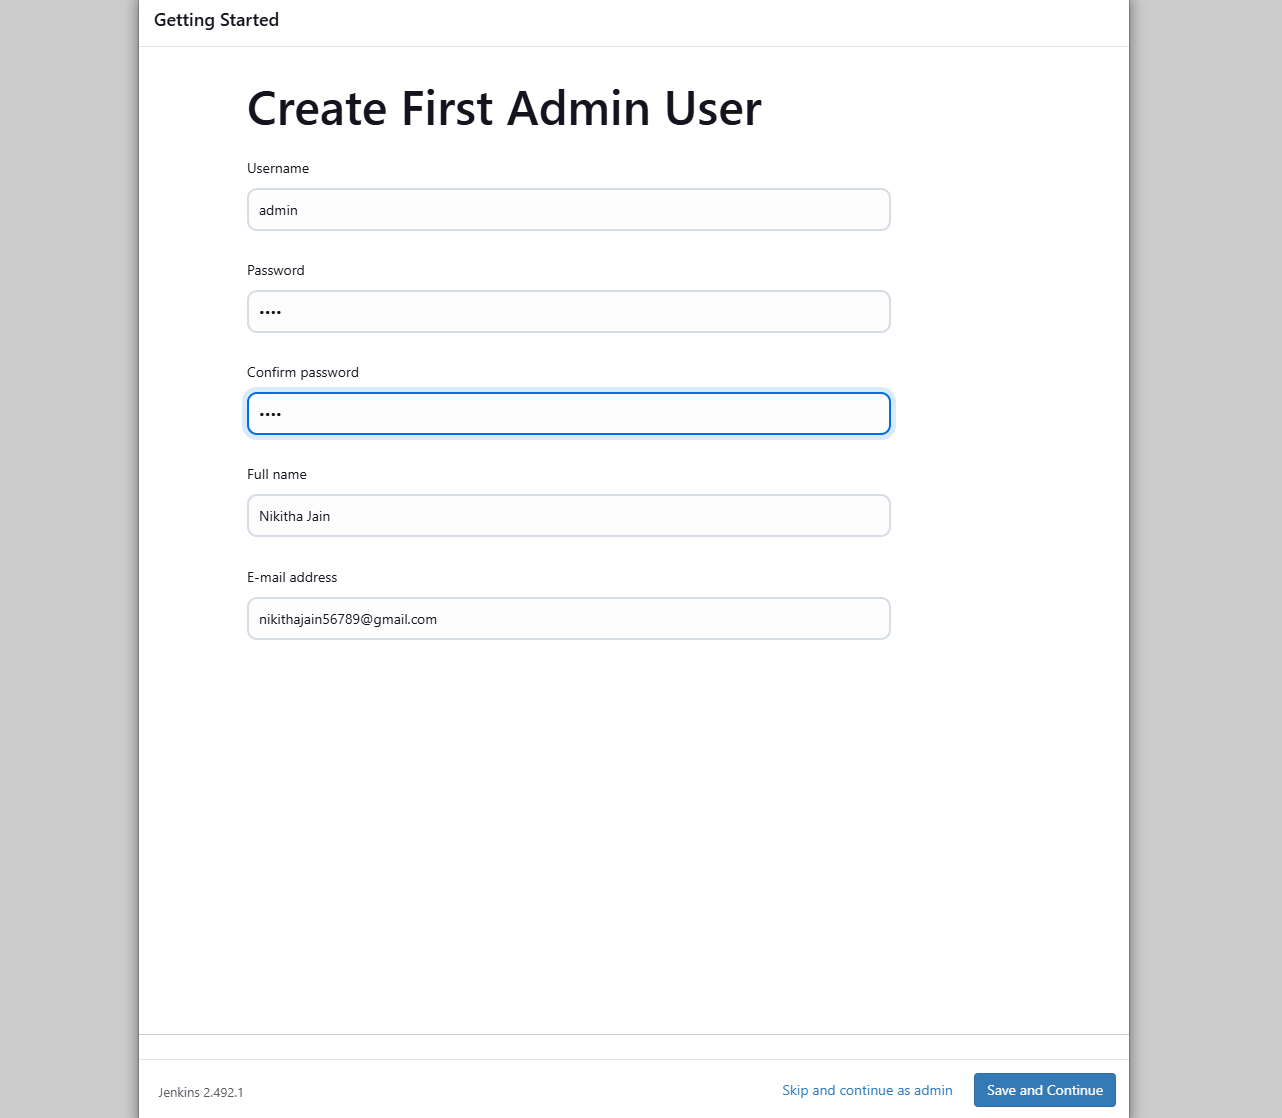
Add all the details, Save and continue then save to finish.
Step 10: Verify the Installation
After completing the setup wizard, you’ll be directed to the Jenkins dashboard. From here, you can start creating jobs, pipelines, and configure your Jenkins server to meet your CI/CD needs.
Finally, You will see the Jenkins ready and will be able to see the Dashboard
Conclusion🚀
Congratulations! You've successfully installed Jenkins on your Ubuntu server. With Jenkins up and running, you can now automate your software builds, tests, and deployments. Jenkins is highly extensible, and you can add a wide range of plugins to enhance its functionality as needed.
If you have any questions or run into issues, feel free to leave a comment, and we’ll be happy to help!
Happy Jenkins-ing!🚀
Subscribe to my newsletter
Read articles from Nikitha Jain directly inside your inbox. Subscribe to the newsletter, and don't miss out.
Written by
