Linux Training : Section 7 (Part-2)
 Aditya Dev Shrivastava
FTP - File Transfer Protocol
The File Transfer Protocol is a standard network protocol used for the transfer of computer files between a client and server on a computer network. FTP is built on a client-server model architecture using separate control and data connections between the client and the server.
Protocol = Set of rules used by computers to communicate
Default FTP Port= 21
For this hands-on, we’ve used 2 Linux Machines
Client- MyFirstLinuxVM
Server- LinuxCentOS10
Install and Configure FTP on the remote server
Become root

rpm -qa | grep vsftpd

ping www.google.com

yum install vsftpd

vi /etc/vsftpd/vsftpd » (make a copy of this file)

Inside file, Disable anonymous_enable = NO

Uncomment below lines-
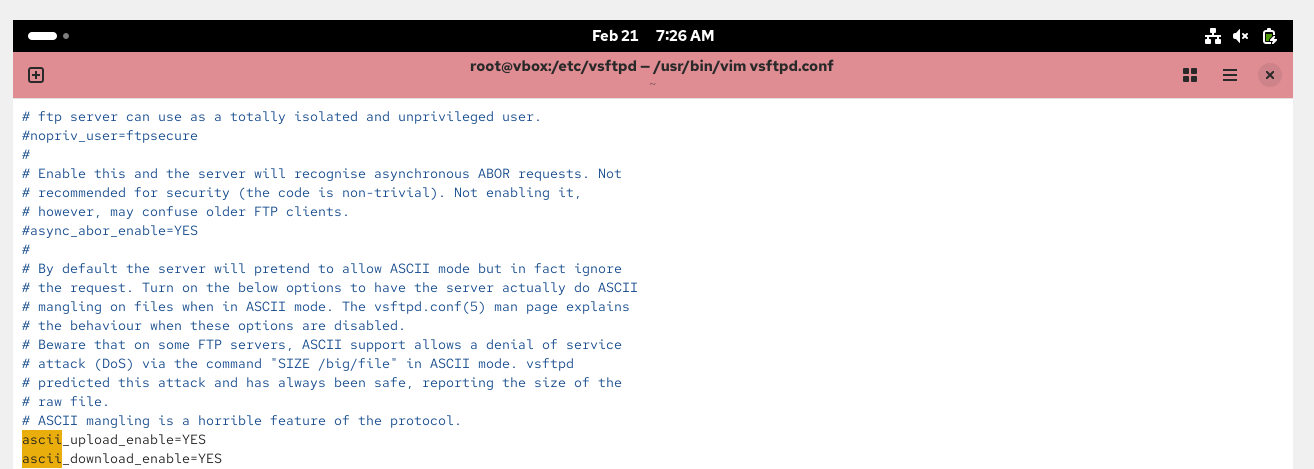
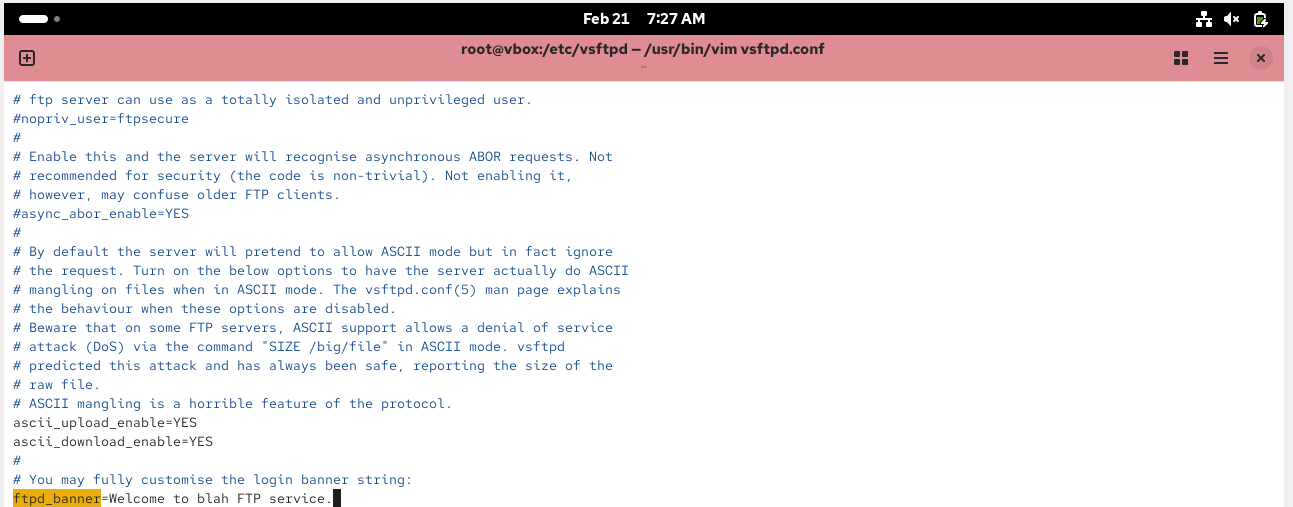
Add below line, at the end of this file-

Start the system-

Now, enable the system so that every time the system reboot, we don’t need to active this-

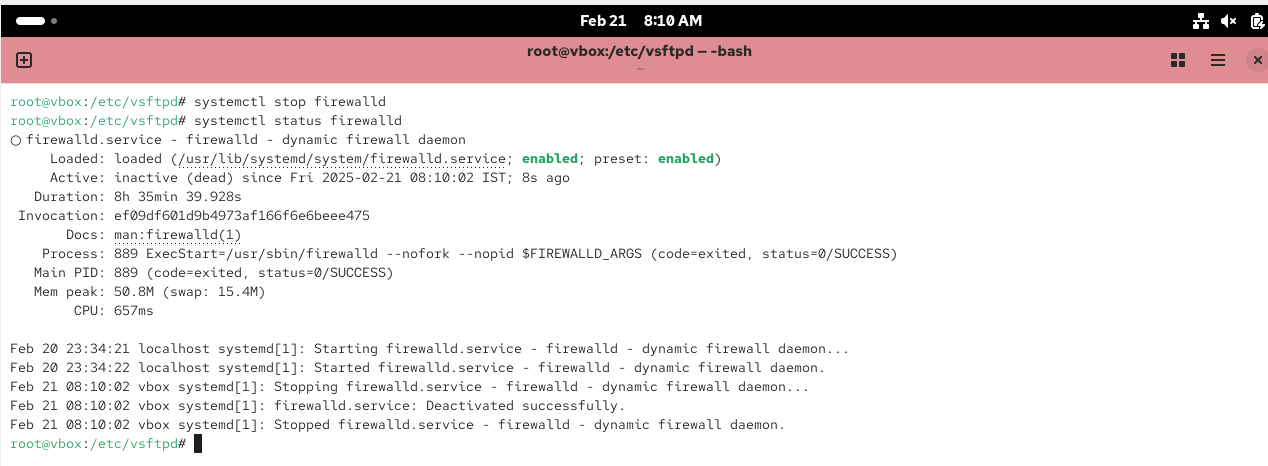
Now, stop the firewall » Keep in mind that in PROD environment, we don’t stop and disable the firewall -

Now, add a account as aditya

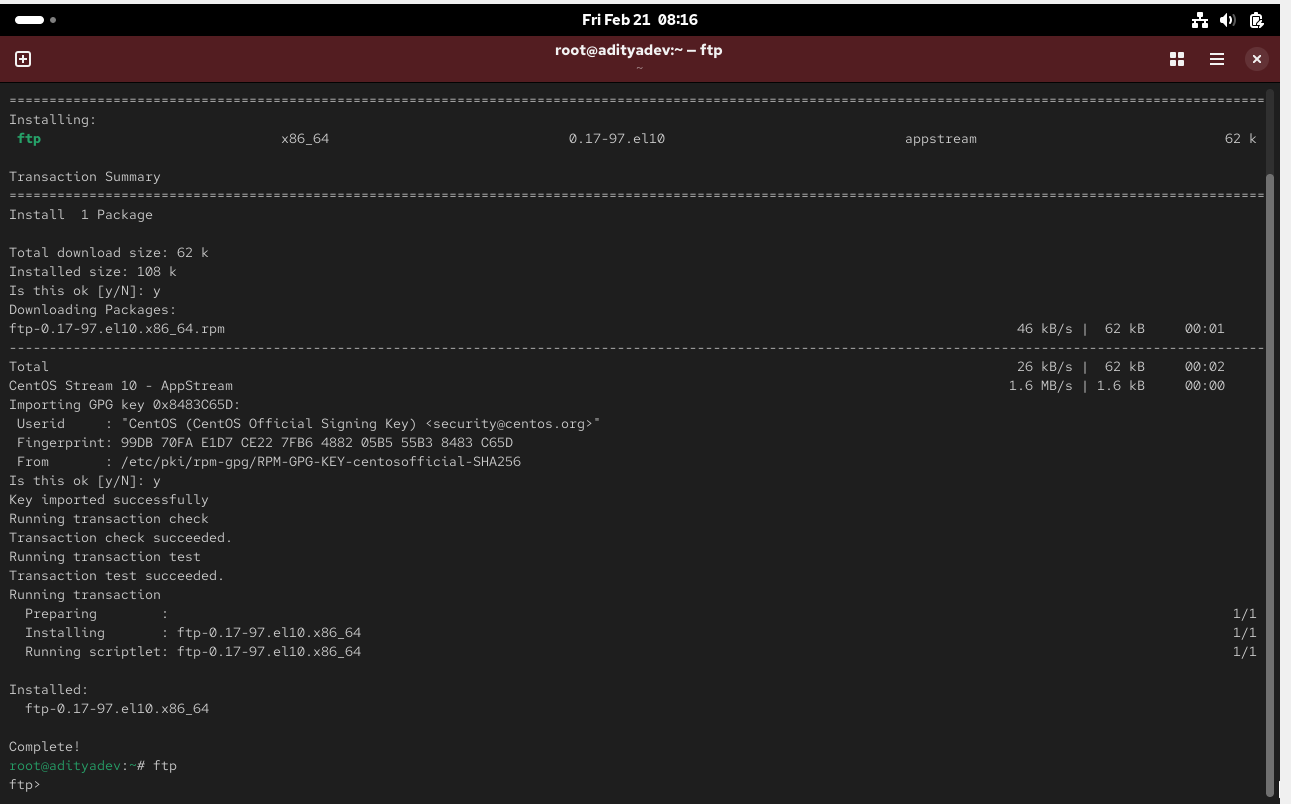
Install FTP Client on the client server
Become root

yum install ftp
su - aditya

have a file using touch cmd
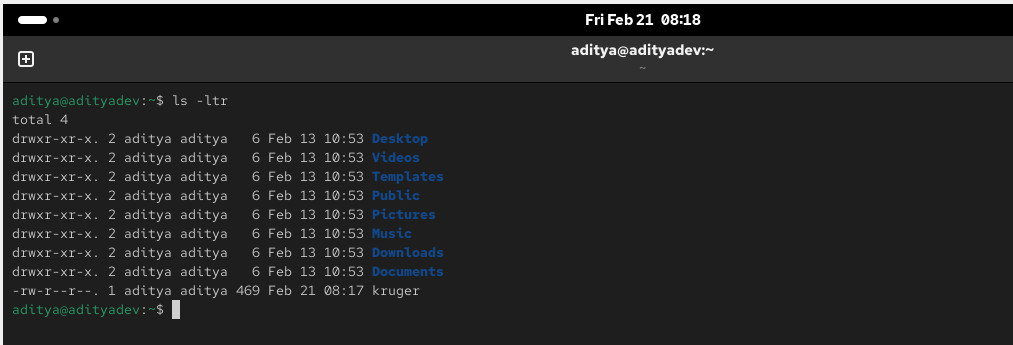
Now, we need to transfer this “kruger“ file from the client side to server end
Since, I was not able to login to server using that machine, so I’ve swapped the client and server machine-
commands used to transfer the file
ftp 192.168.1.10
Enter username and password
bi
hash
put kruger
bye
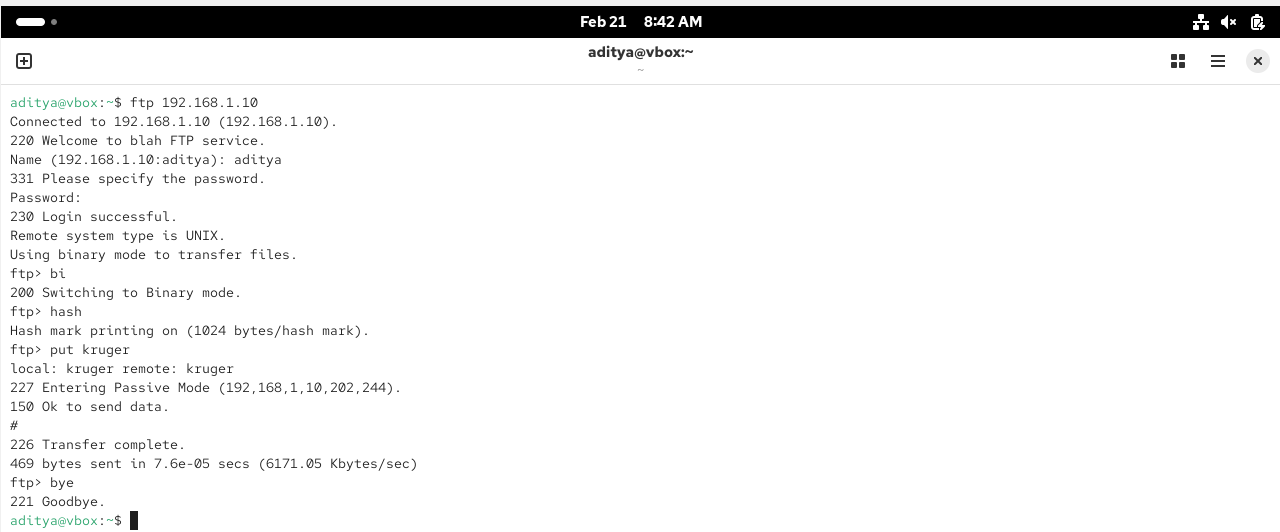
Check it in the server side, the file is present or not-

SCP- Secure Copy Protocol
The SCP helps to transfer computer files securely from a local to a remote host. it is somewhat similar to the FTP, but it adds security and authentication
Default SCP Port =22 (Same as SSH)
Again we need 2 machines
SCP commands to transfer the file
Login as yourself in the client machine
touch jack and add some data in it
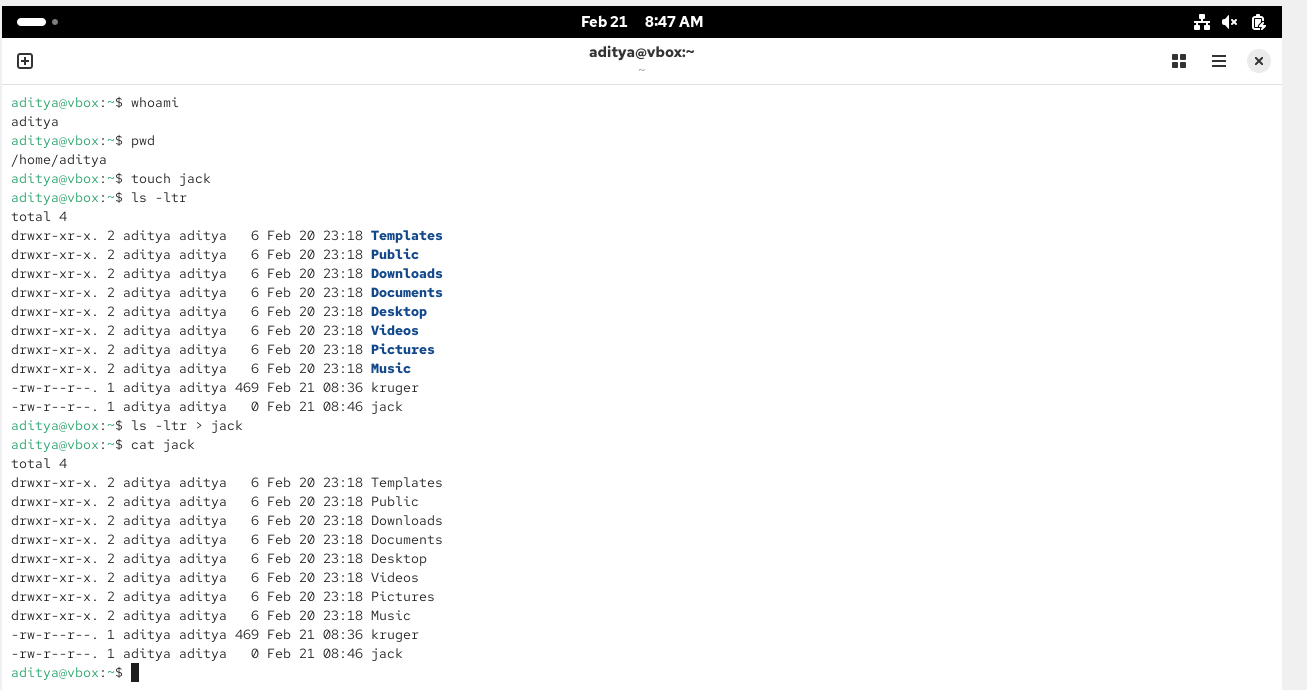
scp jack aditya@192.168.1.10:/home/aditya

Now, let’s confirm it at the server end
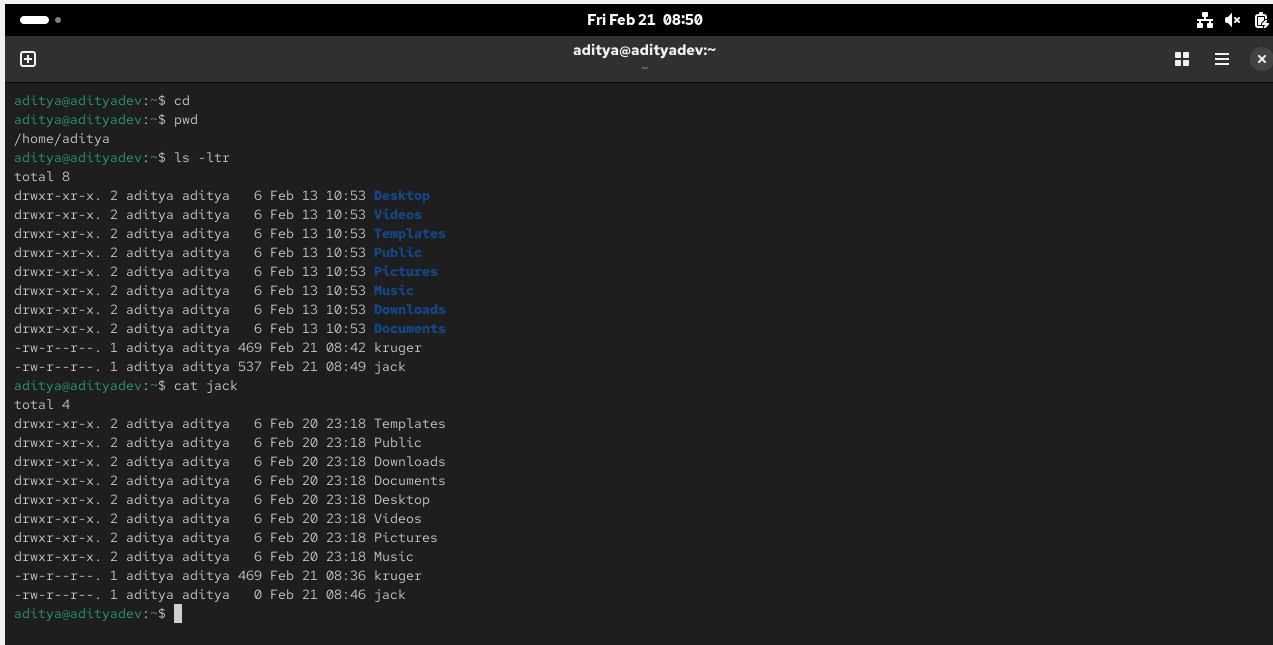
rsync - Remote Synchronization
It is a utility for efficiently transferring and synchronizing files within the same computer or to a remote computer by comparing the modification times and sizes of files
rsync is a lot after than ftp or scp
This utility is mostly used to backup the files and directories from one server to another
Default rsync Port = 22 (Same as ssh)
Again, we need 2 Linux machine
Basic Syntax of rsync command
rsync option source destination
Hands-On
Install rsync in your Linux Machine »
yum install rsync
rsync a file on a local machine
tar cvf backup.tar .

make a new dir

rsync -zvh backup.tar /tmp/backups/:

rsync a directory on a local machine
rsync -azvh /home/aditya /tmp/backups/
rsync a file to remote machine
mkdir /tmp/backups
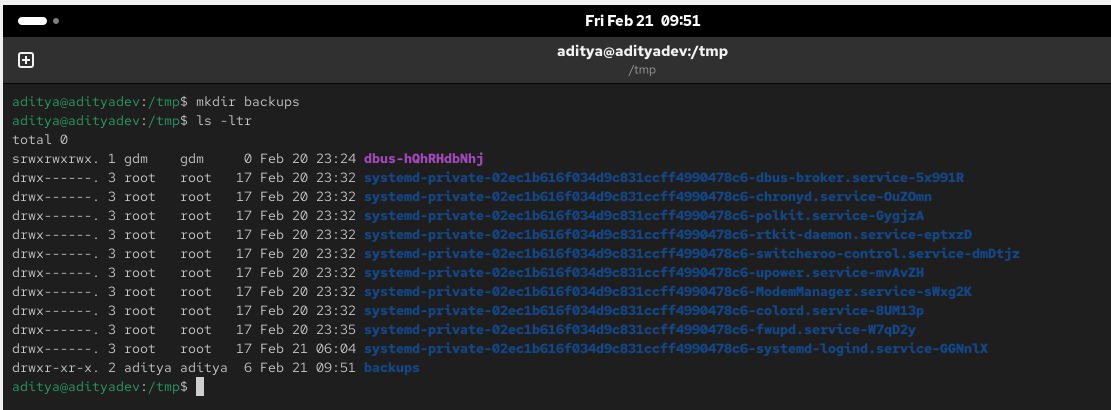
rsync -avz backup.tar aditya@192.168.1.10:/tmp/backups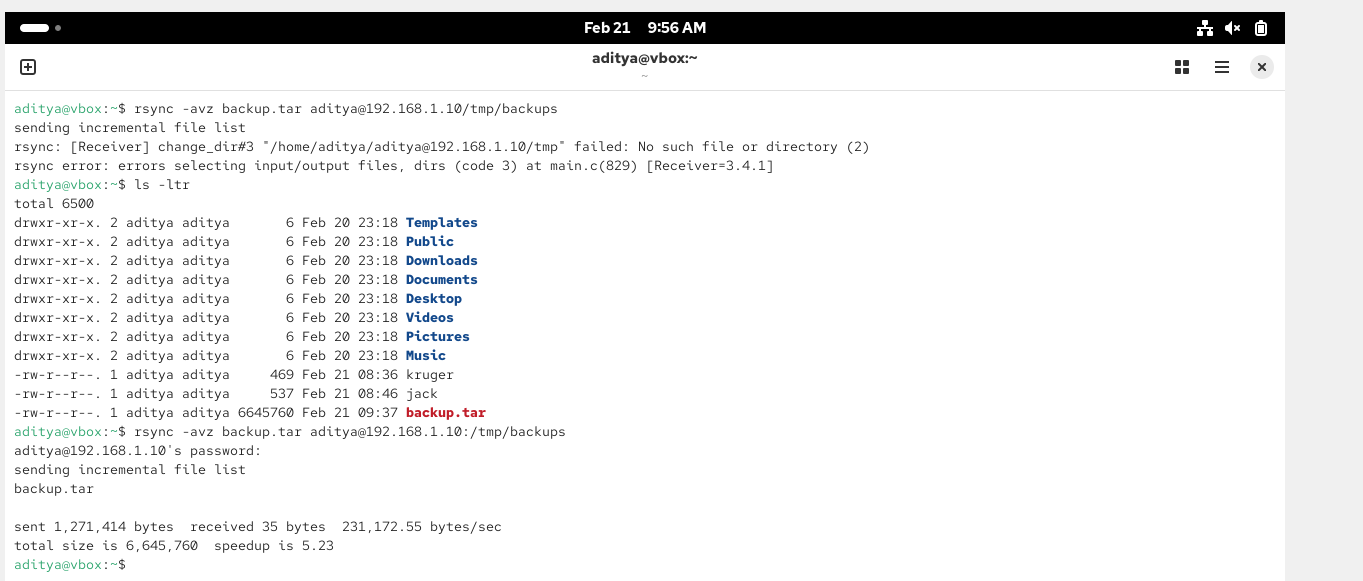

rsync a file from a remote machine
touch serverfile
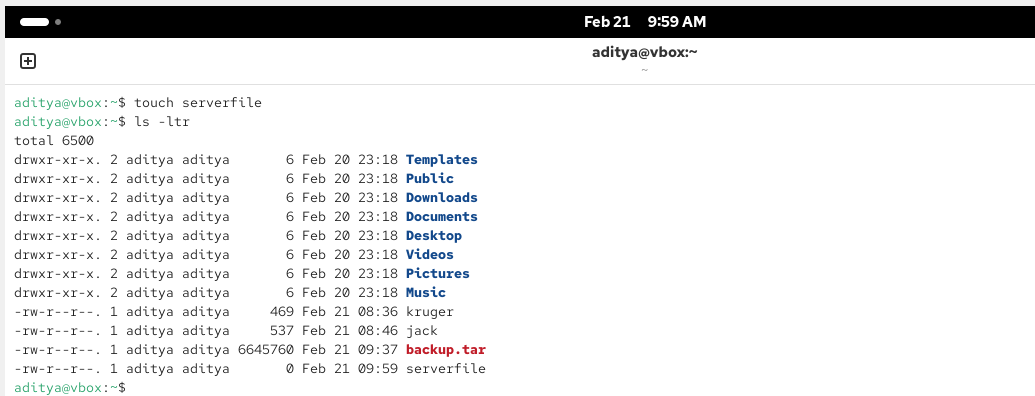
rsync -avzh aditya@192.168.1.10:/home/aditya/serverfile /tmp/backups

System Updates and Repos
dnf OR yum
The dnf command is a software package manager for Linux that allows users to install, update, and remove packages.
The yum command is a command-line tool used to manage packages on Red Hat Enterprise Linux and other RPM-based Linux systems. It can be used to search, install, update, remove, and query packages.
Command-
dnf install <packagename>yum install <packagename>dnf remove <packagename>
apt-get
- apt-get is a command line tool for interacting with the Advanced Package Tool (APT) library (a package management system for Linux distributions). It allows you to search for, install, manage, update, and remove software. The tool does not build software from the source code.
rpm
The RPM command in Linux is used to manage software packages. You can use it to install, update, remove, and query packages.
Command-
rpm -qa | grep bind » qa used to check for all the binds
rpm -e <full package name> » to delete a package
System Upgrade/Patch Management
Types of upgrades
Major Version - 7,8,9,10
dnf command will not works
Minor Version - 8.1, 8.2
dnf update command will works » dnf update -y
dnf update vs upgrade
upgrade » delete packages
update » preserves
Create Local Repository From DVD/IOS Image
Download
createrepo_cusing yum command
Now, using device option, open the ISO image

Make a dir, to store all the data
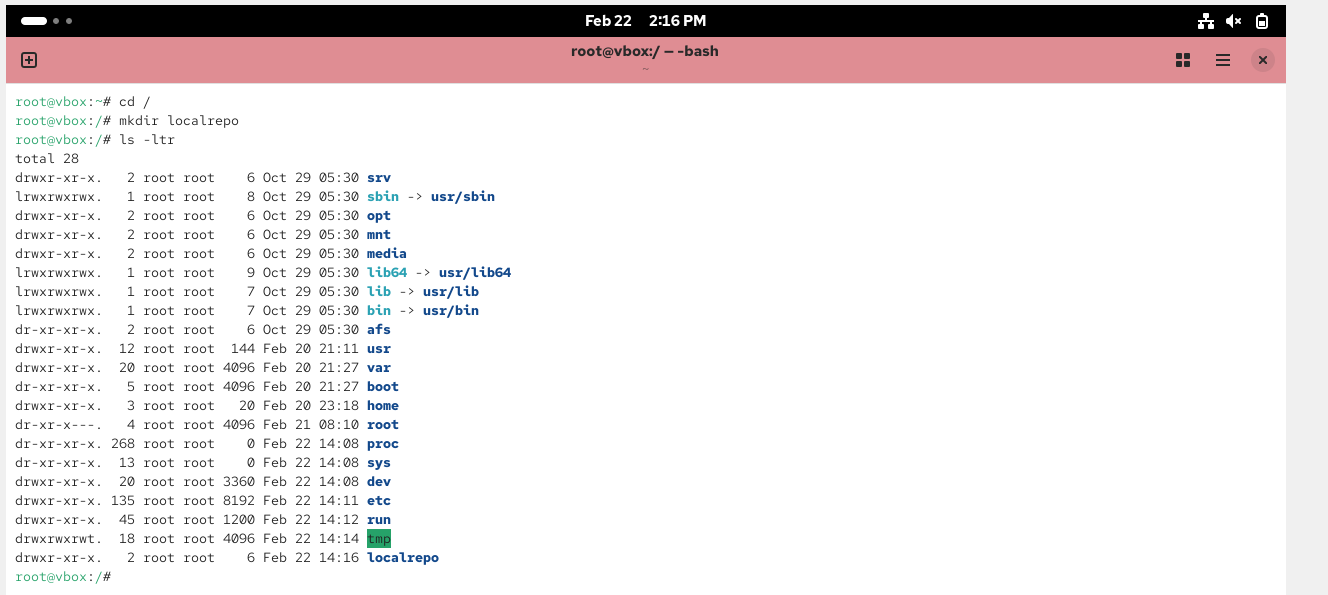
Now, create a screen
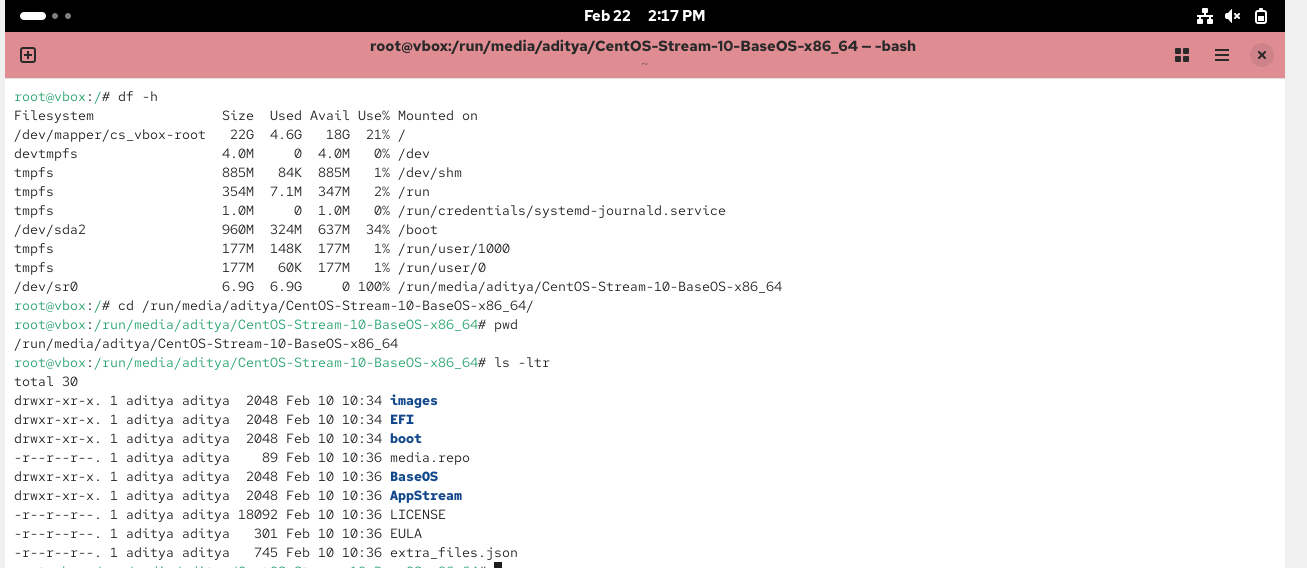

Now, copy all the files to a local repo by checking out the space also
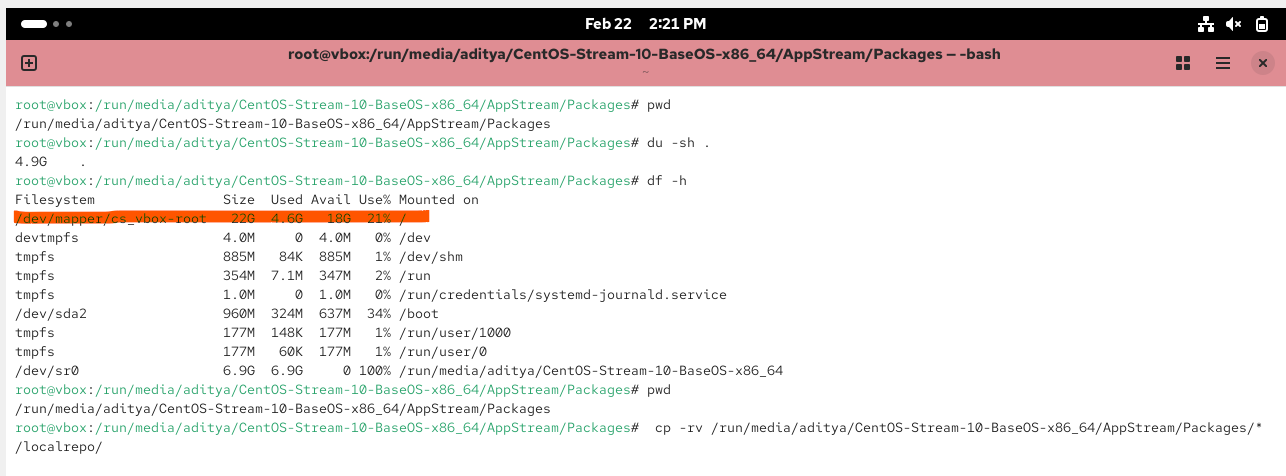
Delete yum files-

Create a local.repo textfile and add the data

Execute a createrepo command-

Clear any cache-

List all files-

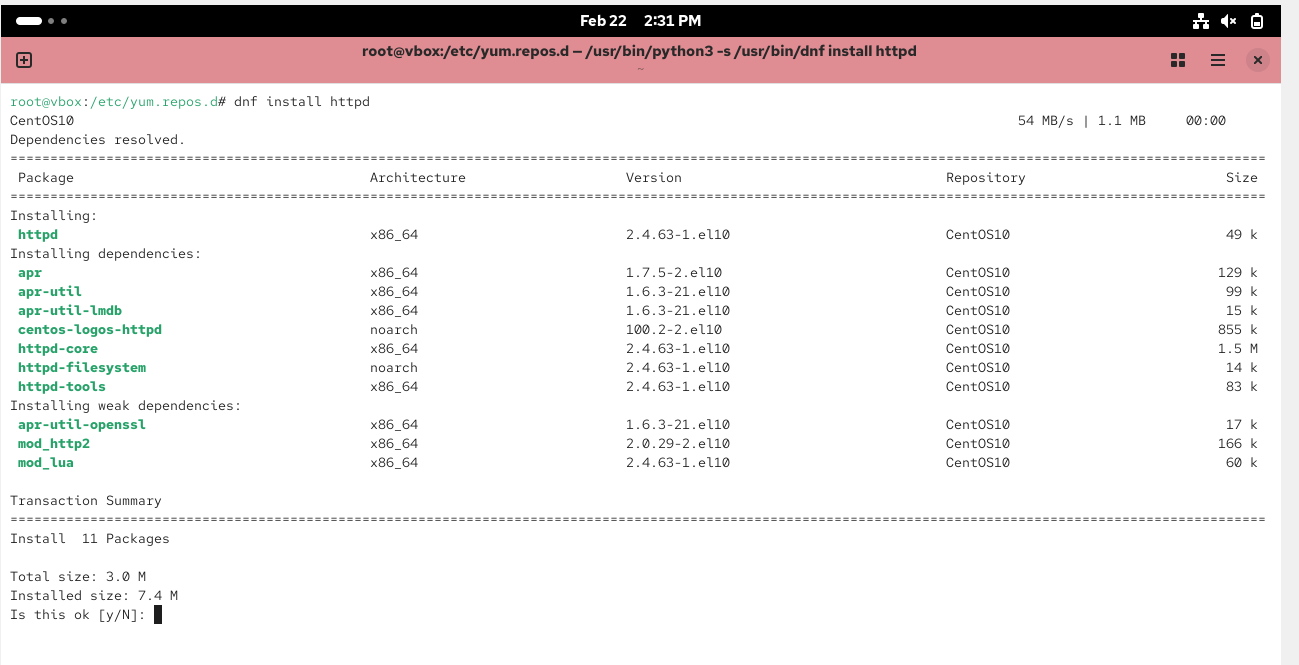
Now, try to install apache serer, You will notice, it will not use the internet, it will just look into the local repository, that’s it-
Thanks for going through this blog, Happy Learning !! 😁
Subscribe to my newsletter
Read articles from Aditya Dev Shrivastava directly inside your inbox. Subscribe to the newsletter, and don't miss out.
Written by
