Functional & Performance API testing with Postman
 Tony Duong
I often used Postman for organizing my API requests and testing them. But I recently discovered that Postman can also be used for load testing. This feature allows you to simulate multiple users and measure the performance of your API under different conditions.
In this article, I will show you how to create a load test in Postman and analyze the results. This article won't be a deep dive into load testing, but it is a practical guide to get you started with load testing using Postman.
📚 Prerequisites
Before we start, make sure you have Postman installed on your machine. https://www.postman.com/downloads/
👷 Create a new collection
Create a new collection in Postman and add the requests you want to test. For example, let's test the performance of a GET requests to:
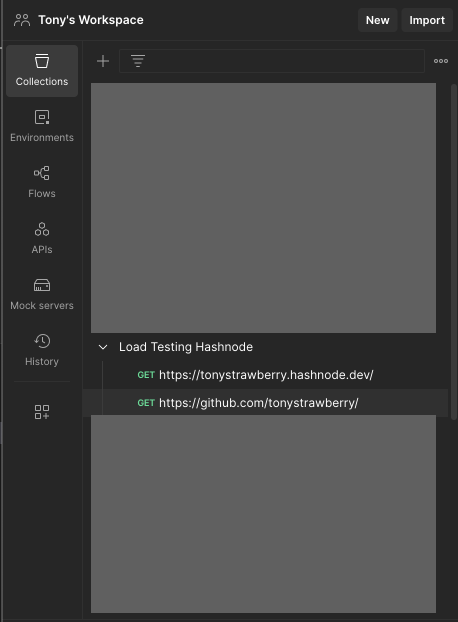
⚙️ Preparing the load test runner
Now, let's move onto the Runs tab in Postman and click on Run Performance Test. Here, you can configure many parameters.
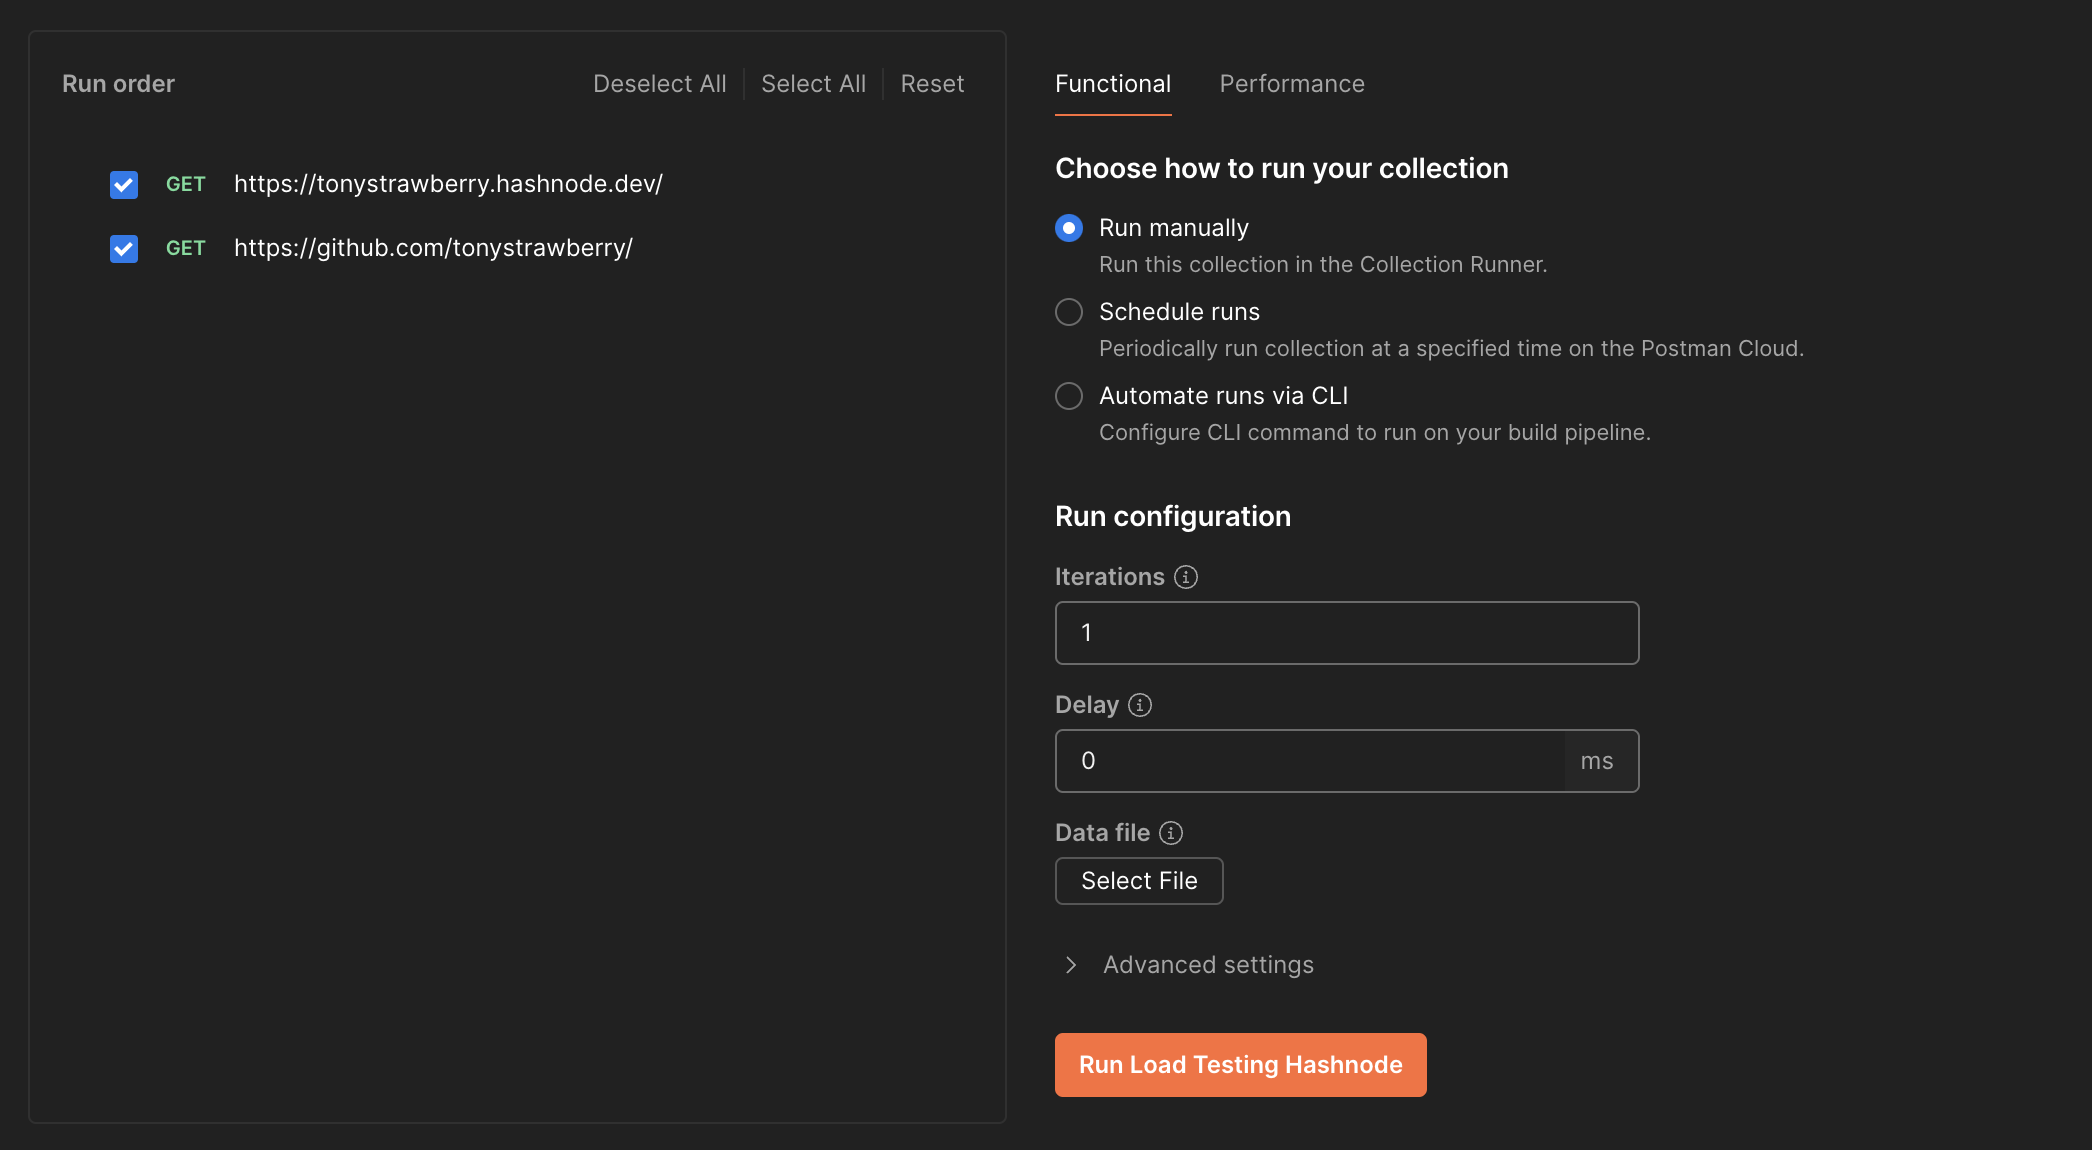
There are two big sections: Functional and Performance. As you may have guessed,
the
Functionalsection is for functional testing and is used for checking the behavior of your API.the
Performancesection is for load testing and is used for checking the performance of your API.
🚀 Functional testing
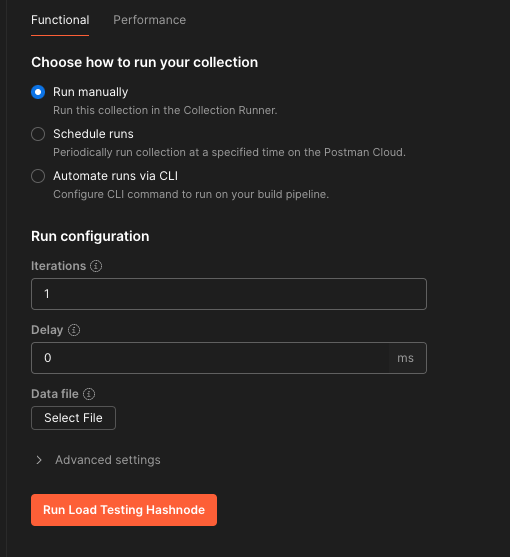
You can choose how to run the collection.
Run manuallyfor a one-time run.Schedule runsto run the test at a specific frequency. This will be run on the cloud.Automate runs via CLIfor running the test via the command line. It can be used for CI/CD pipelines such as GitHub Actions.
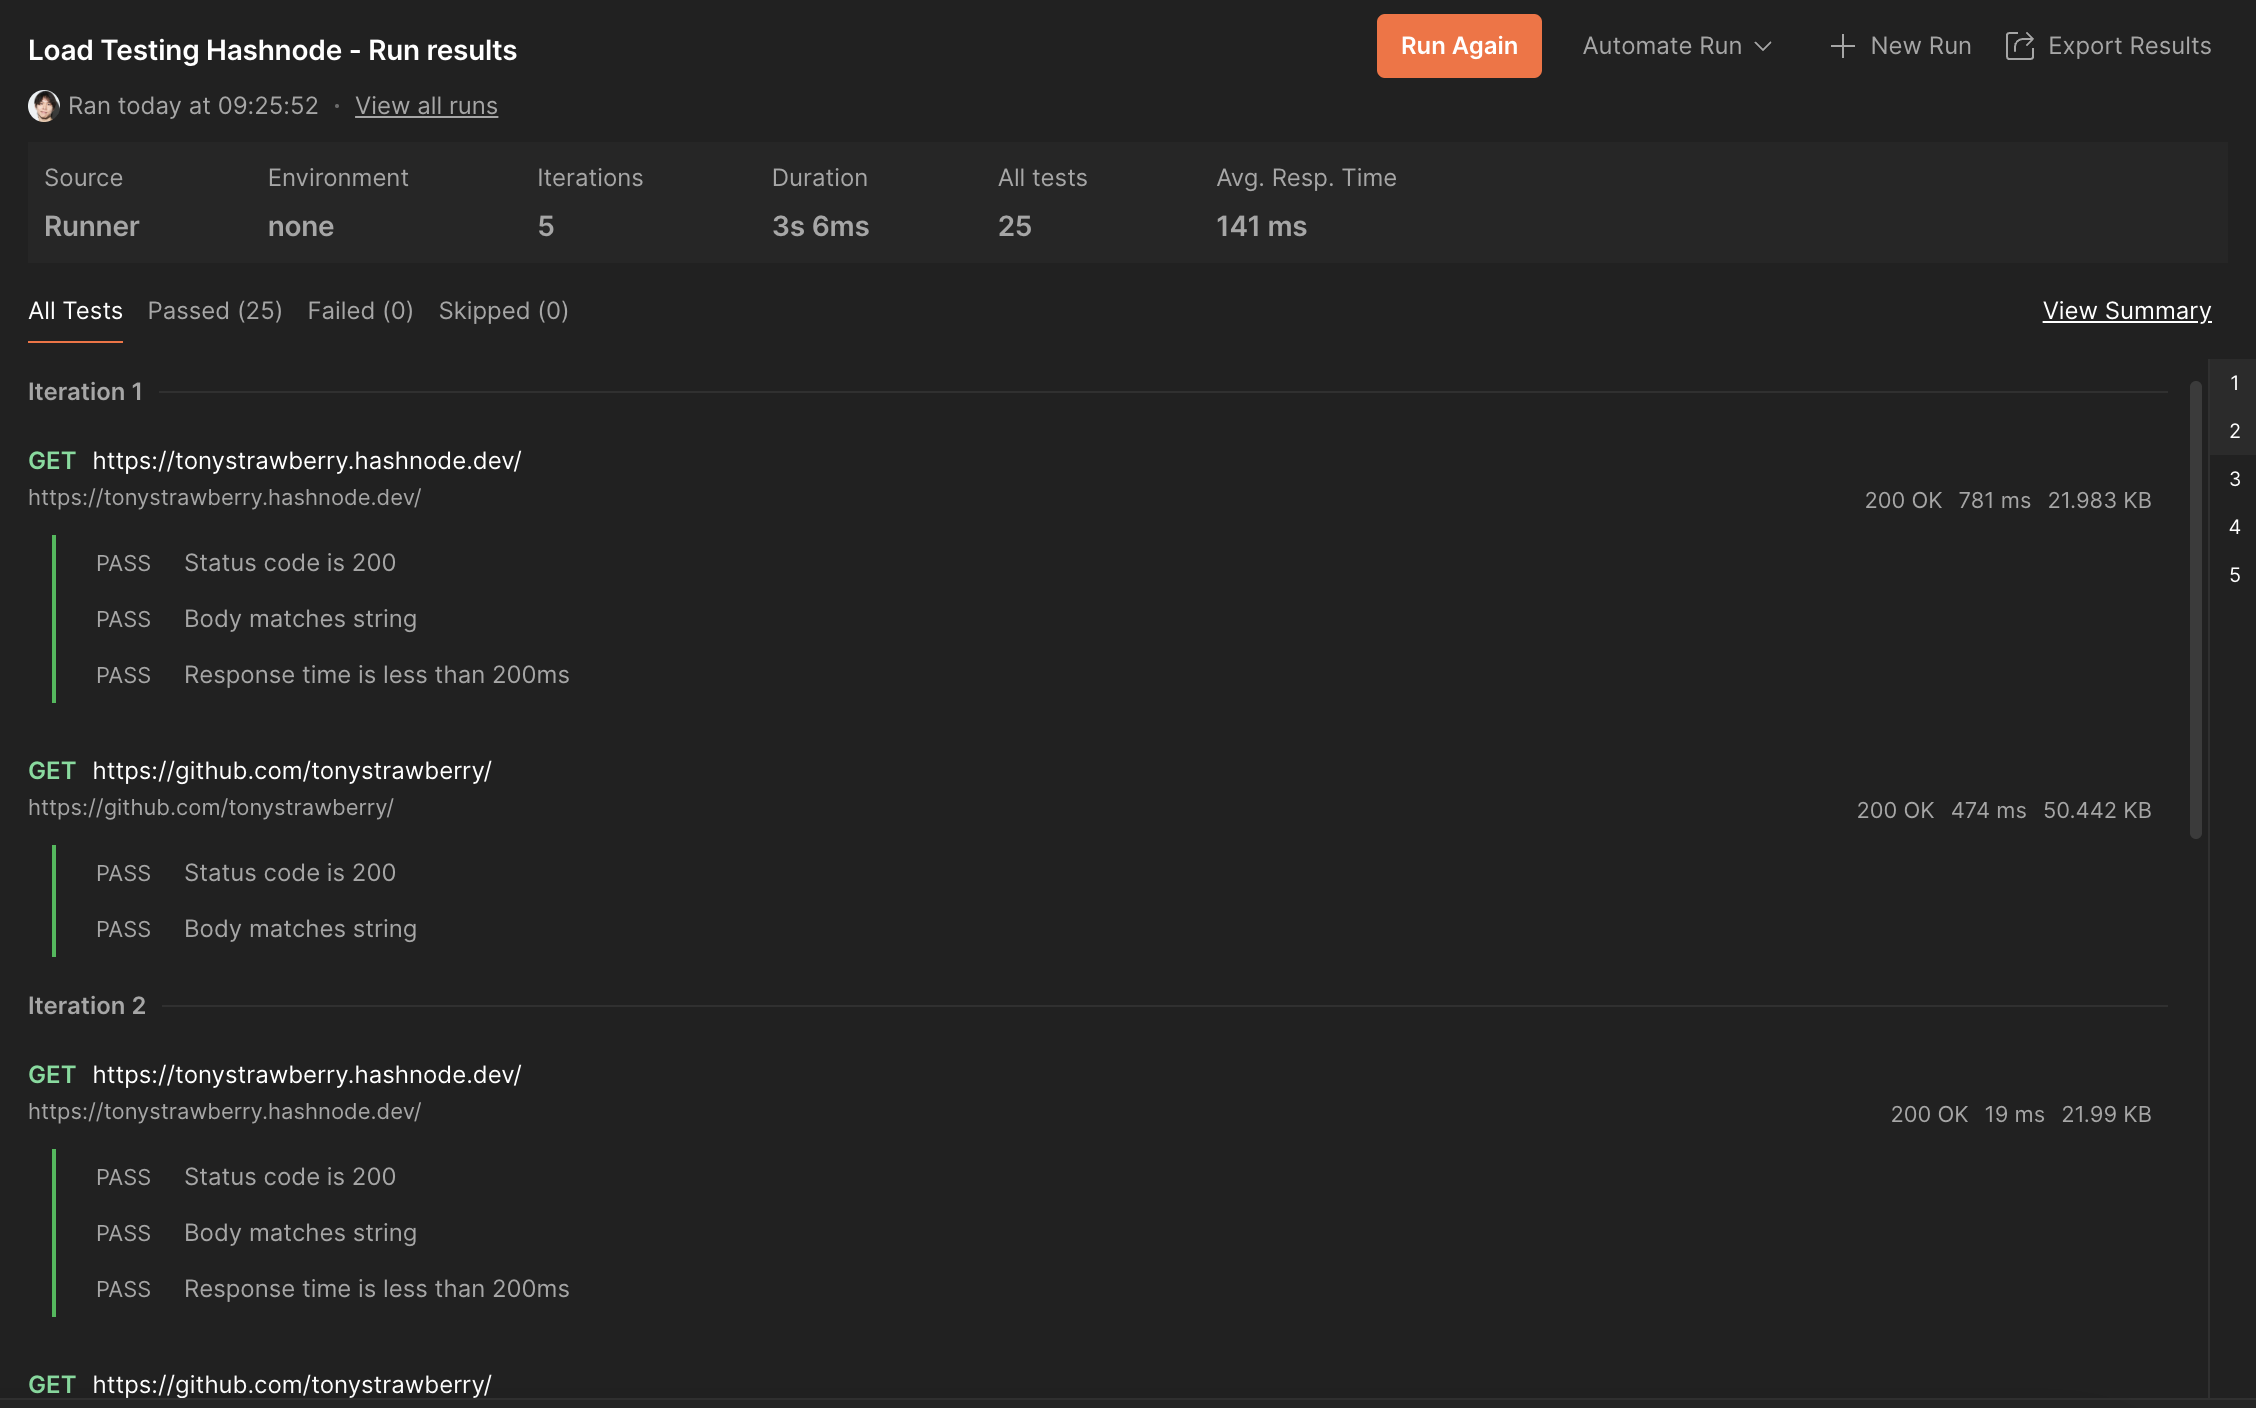
Now that we know how to configure the run, let me show you how to write the actual tests that will be run. For each request in your collection, you can write tests that will be run after the request is sent inside the Scripts tab.
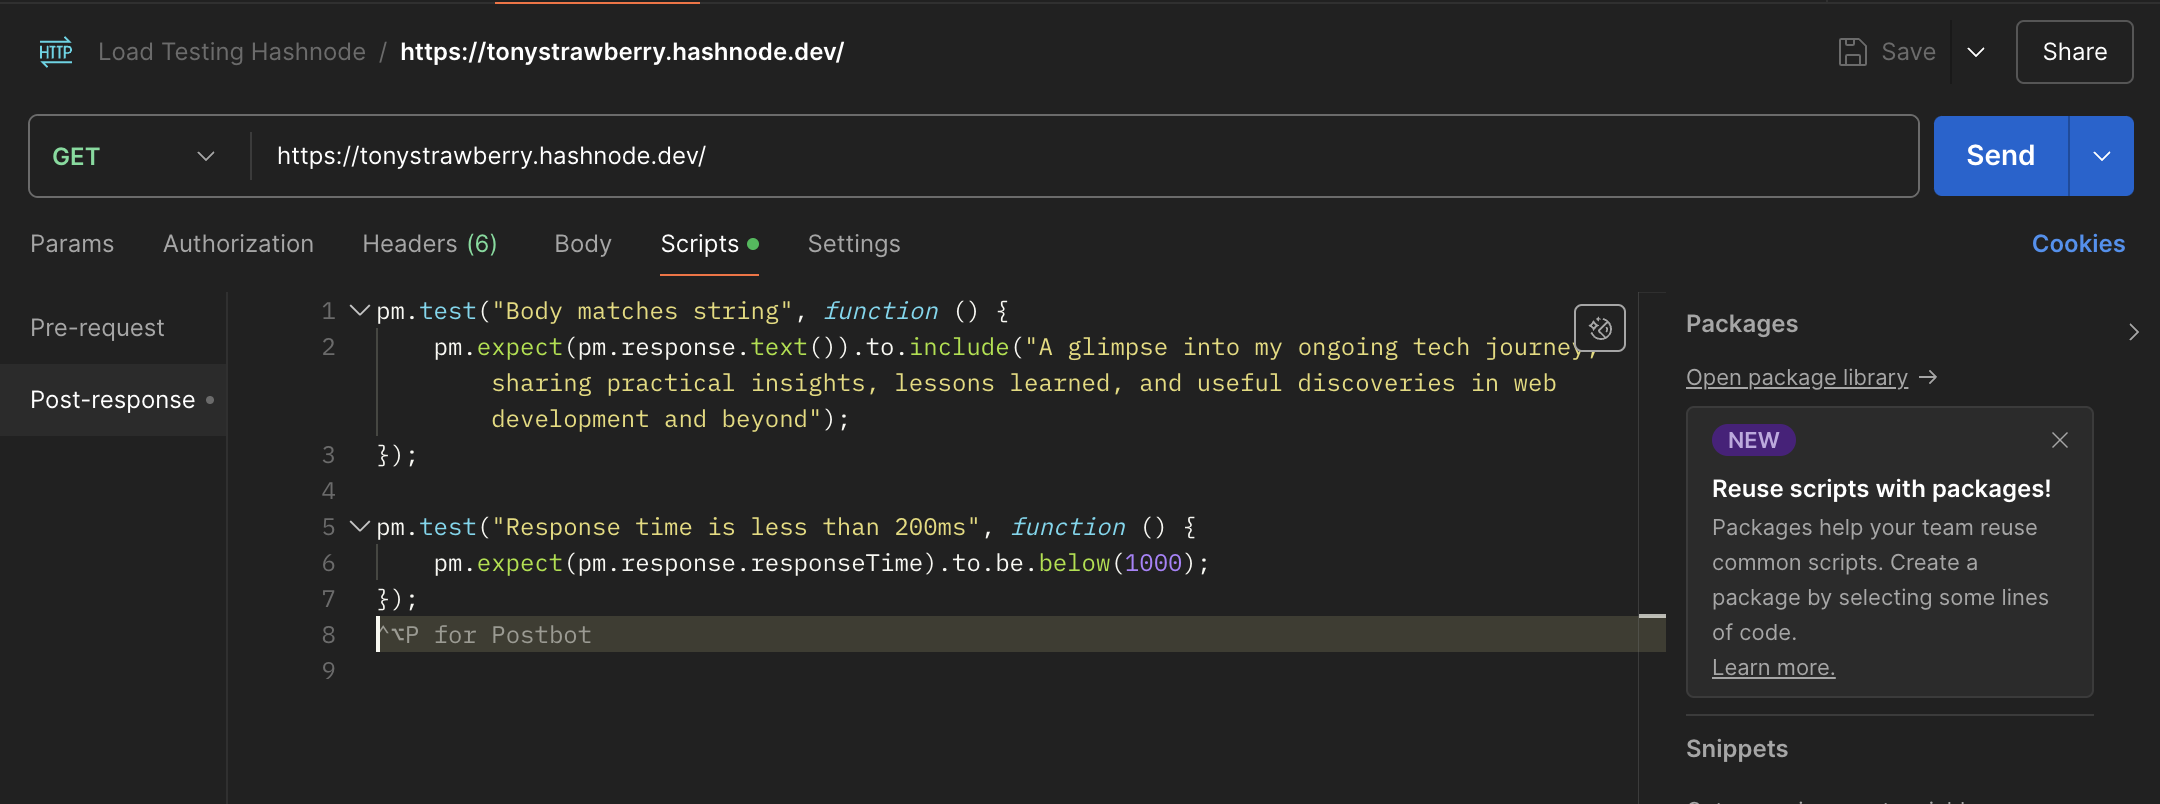
There is also a Scripts tab in the collection for writing scripts that will be run before and after the collection is run. These tests will be applied to every request in the collection.

Now, let's move onto the Runs tab in Postman and click on Run Performance Test. This will show you the results of the tests we have written in the Scripts tab of each request and collection.
🪨 Performance testing
Here, we will be able to test how our API performs under different load conditions.
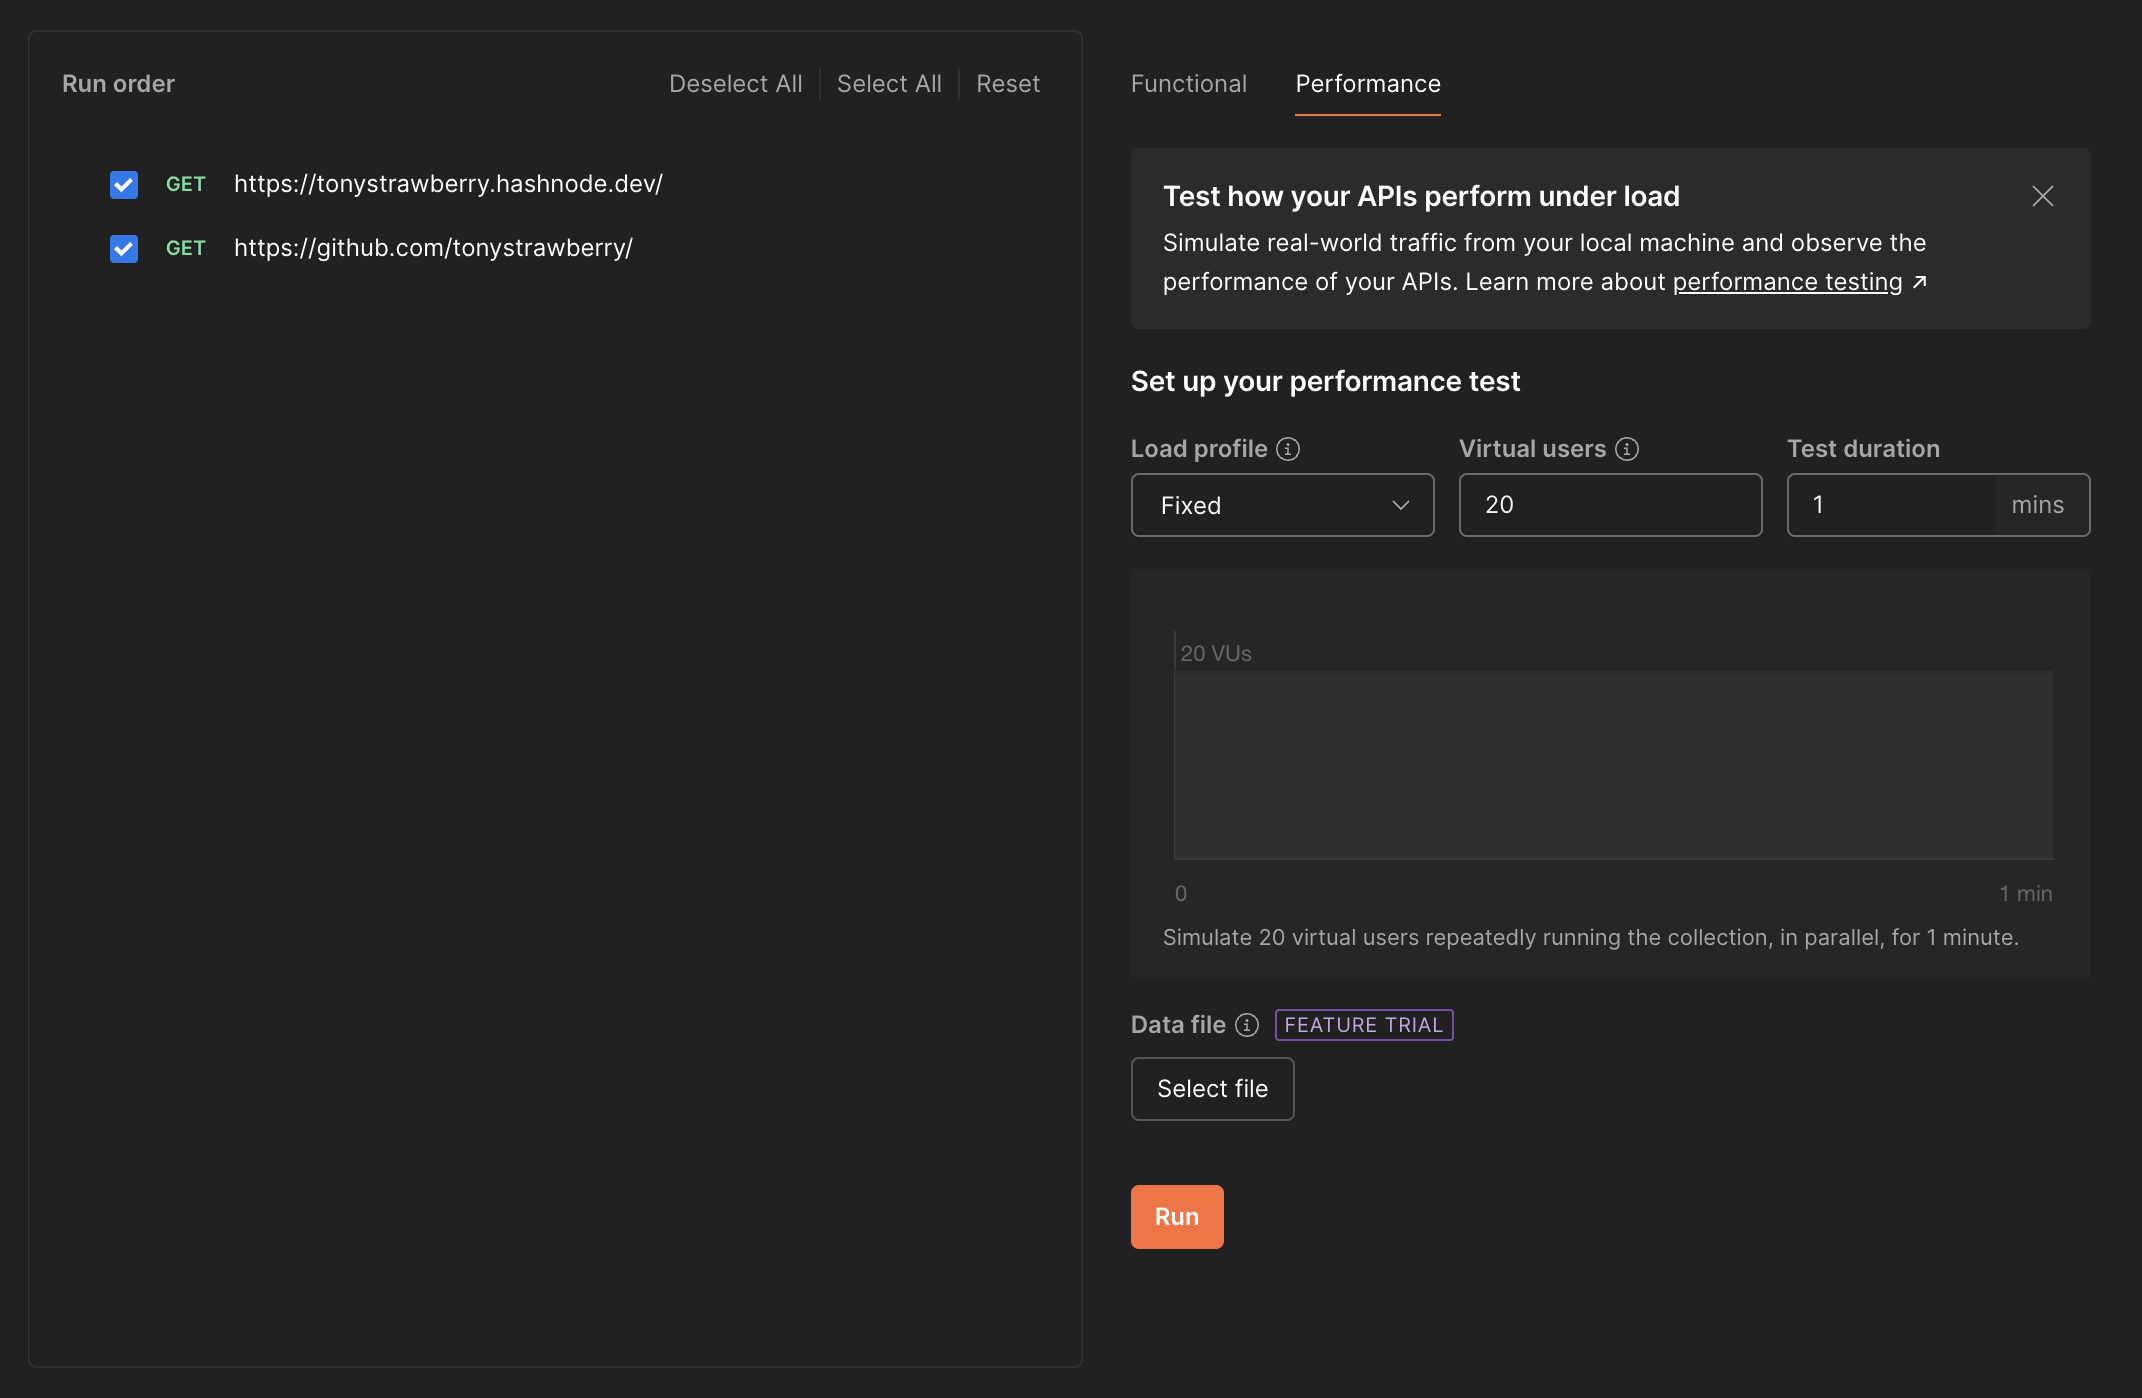
Note: this feature is only available via the desktop app.
We have:
the
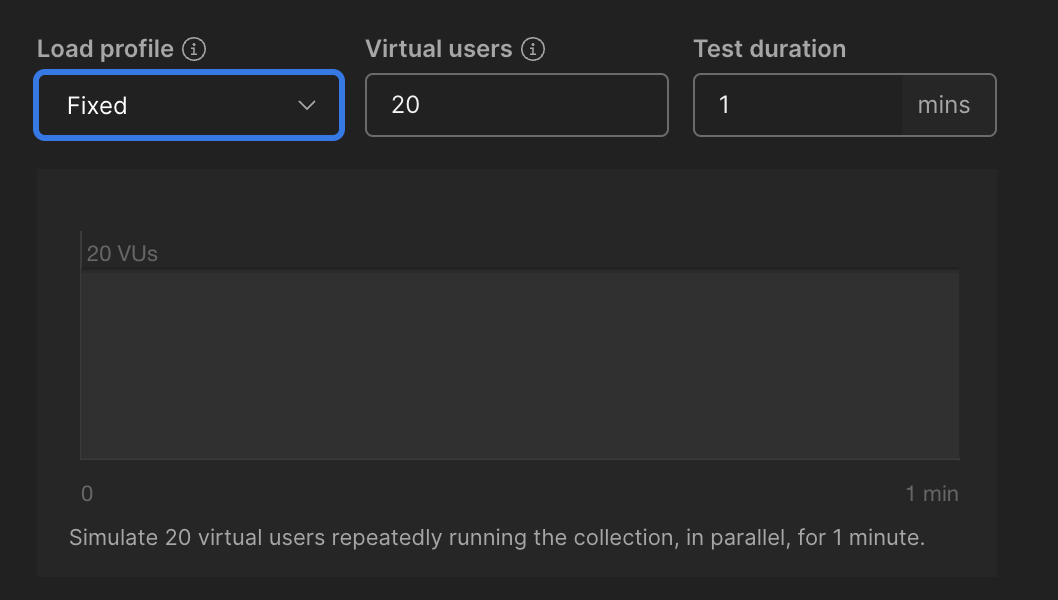
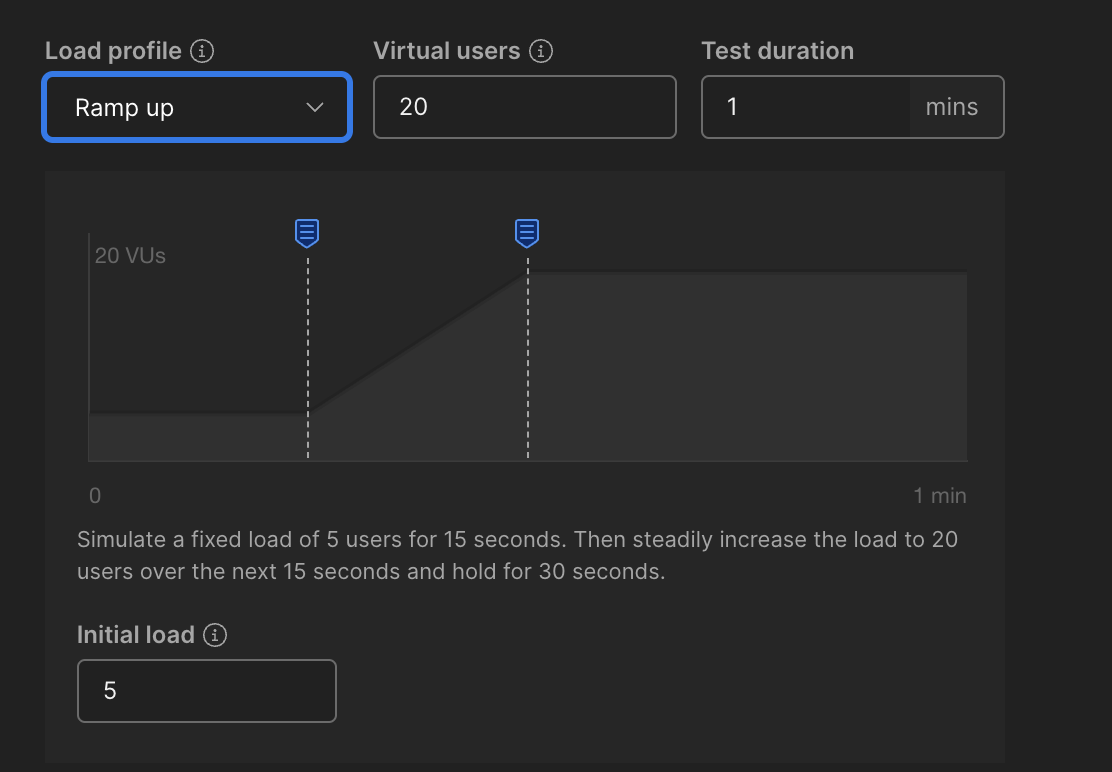
Load profilewhich lets you choose how users are going to interact with your API over time (Fixed,Peak,Ramp uporSpike)the number of
Virtual usersthat will be simulatedthe
Test durationwhich is the time the test will run for
Below you can find illustrated examples for each of the load profiles.
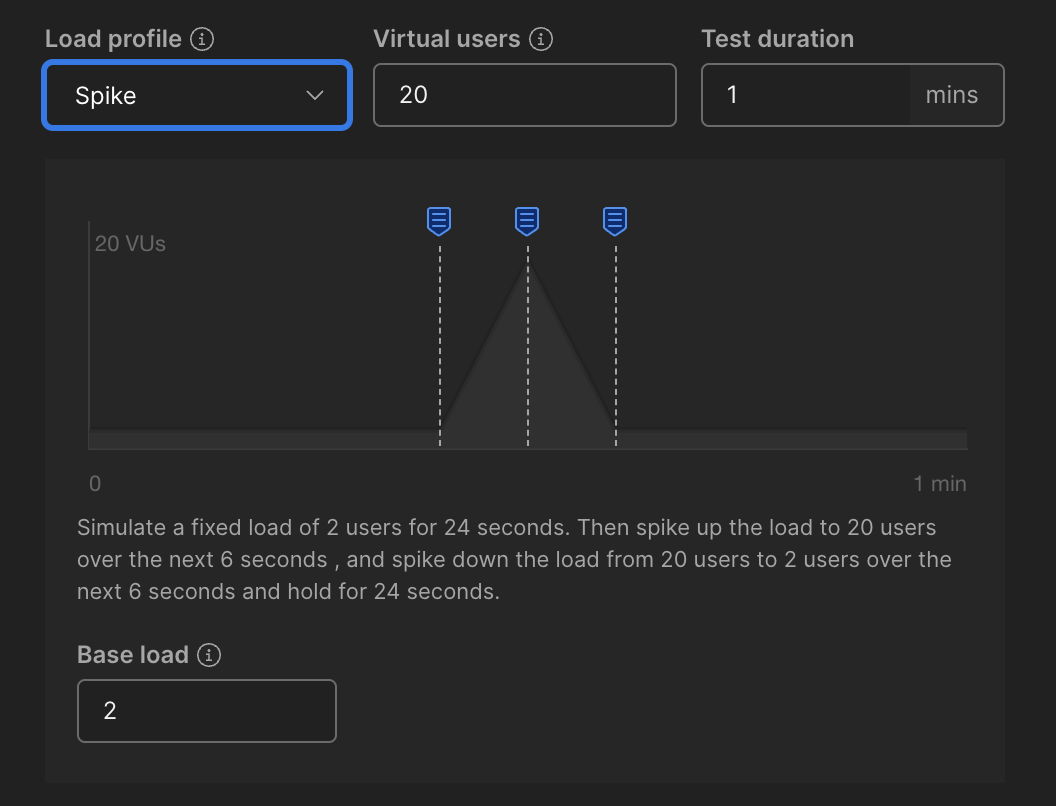
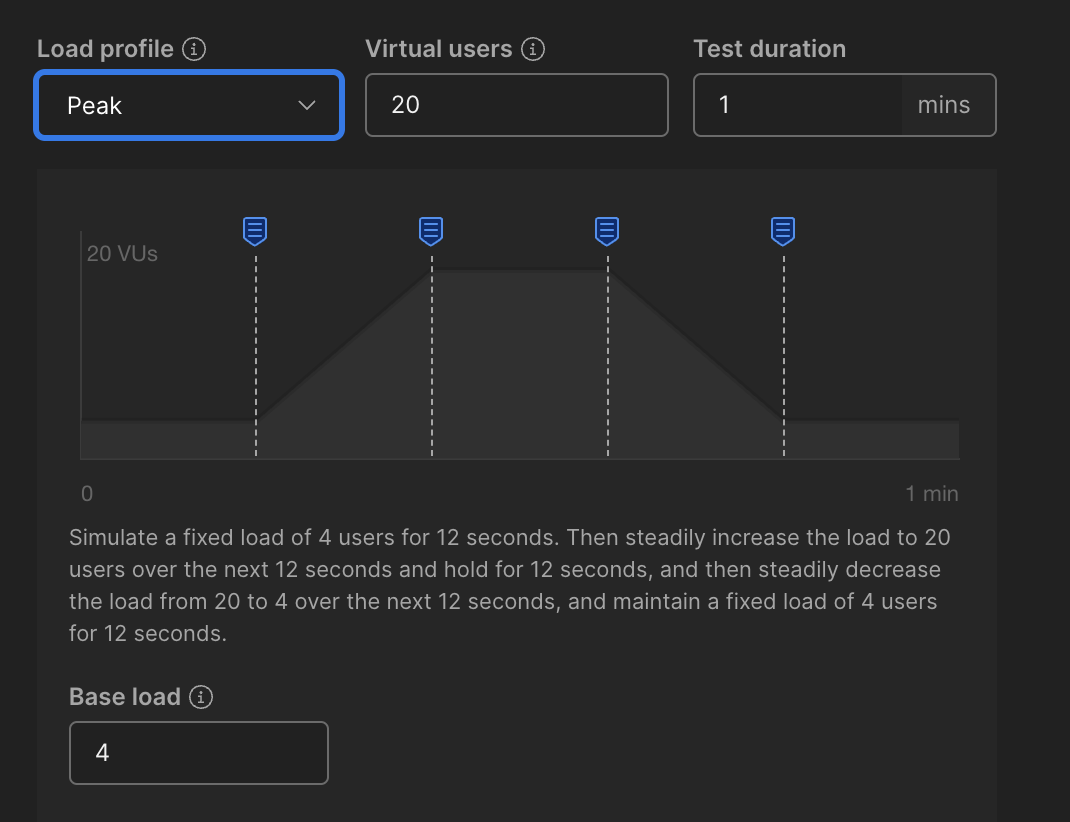
That's it! You can now run your load test and analyze the results. Below is an example of a load test I performed against my blog and GitHub profile.
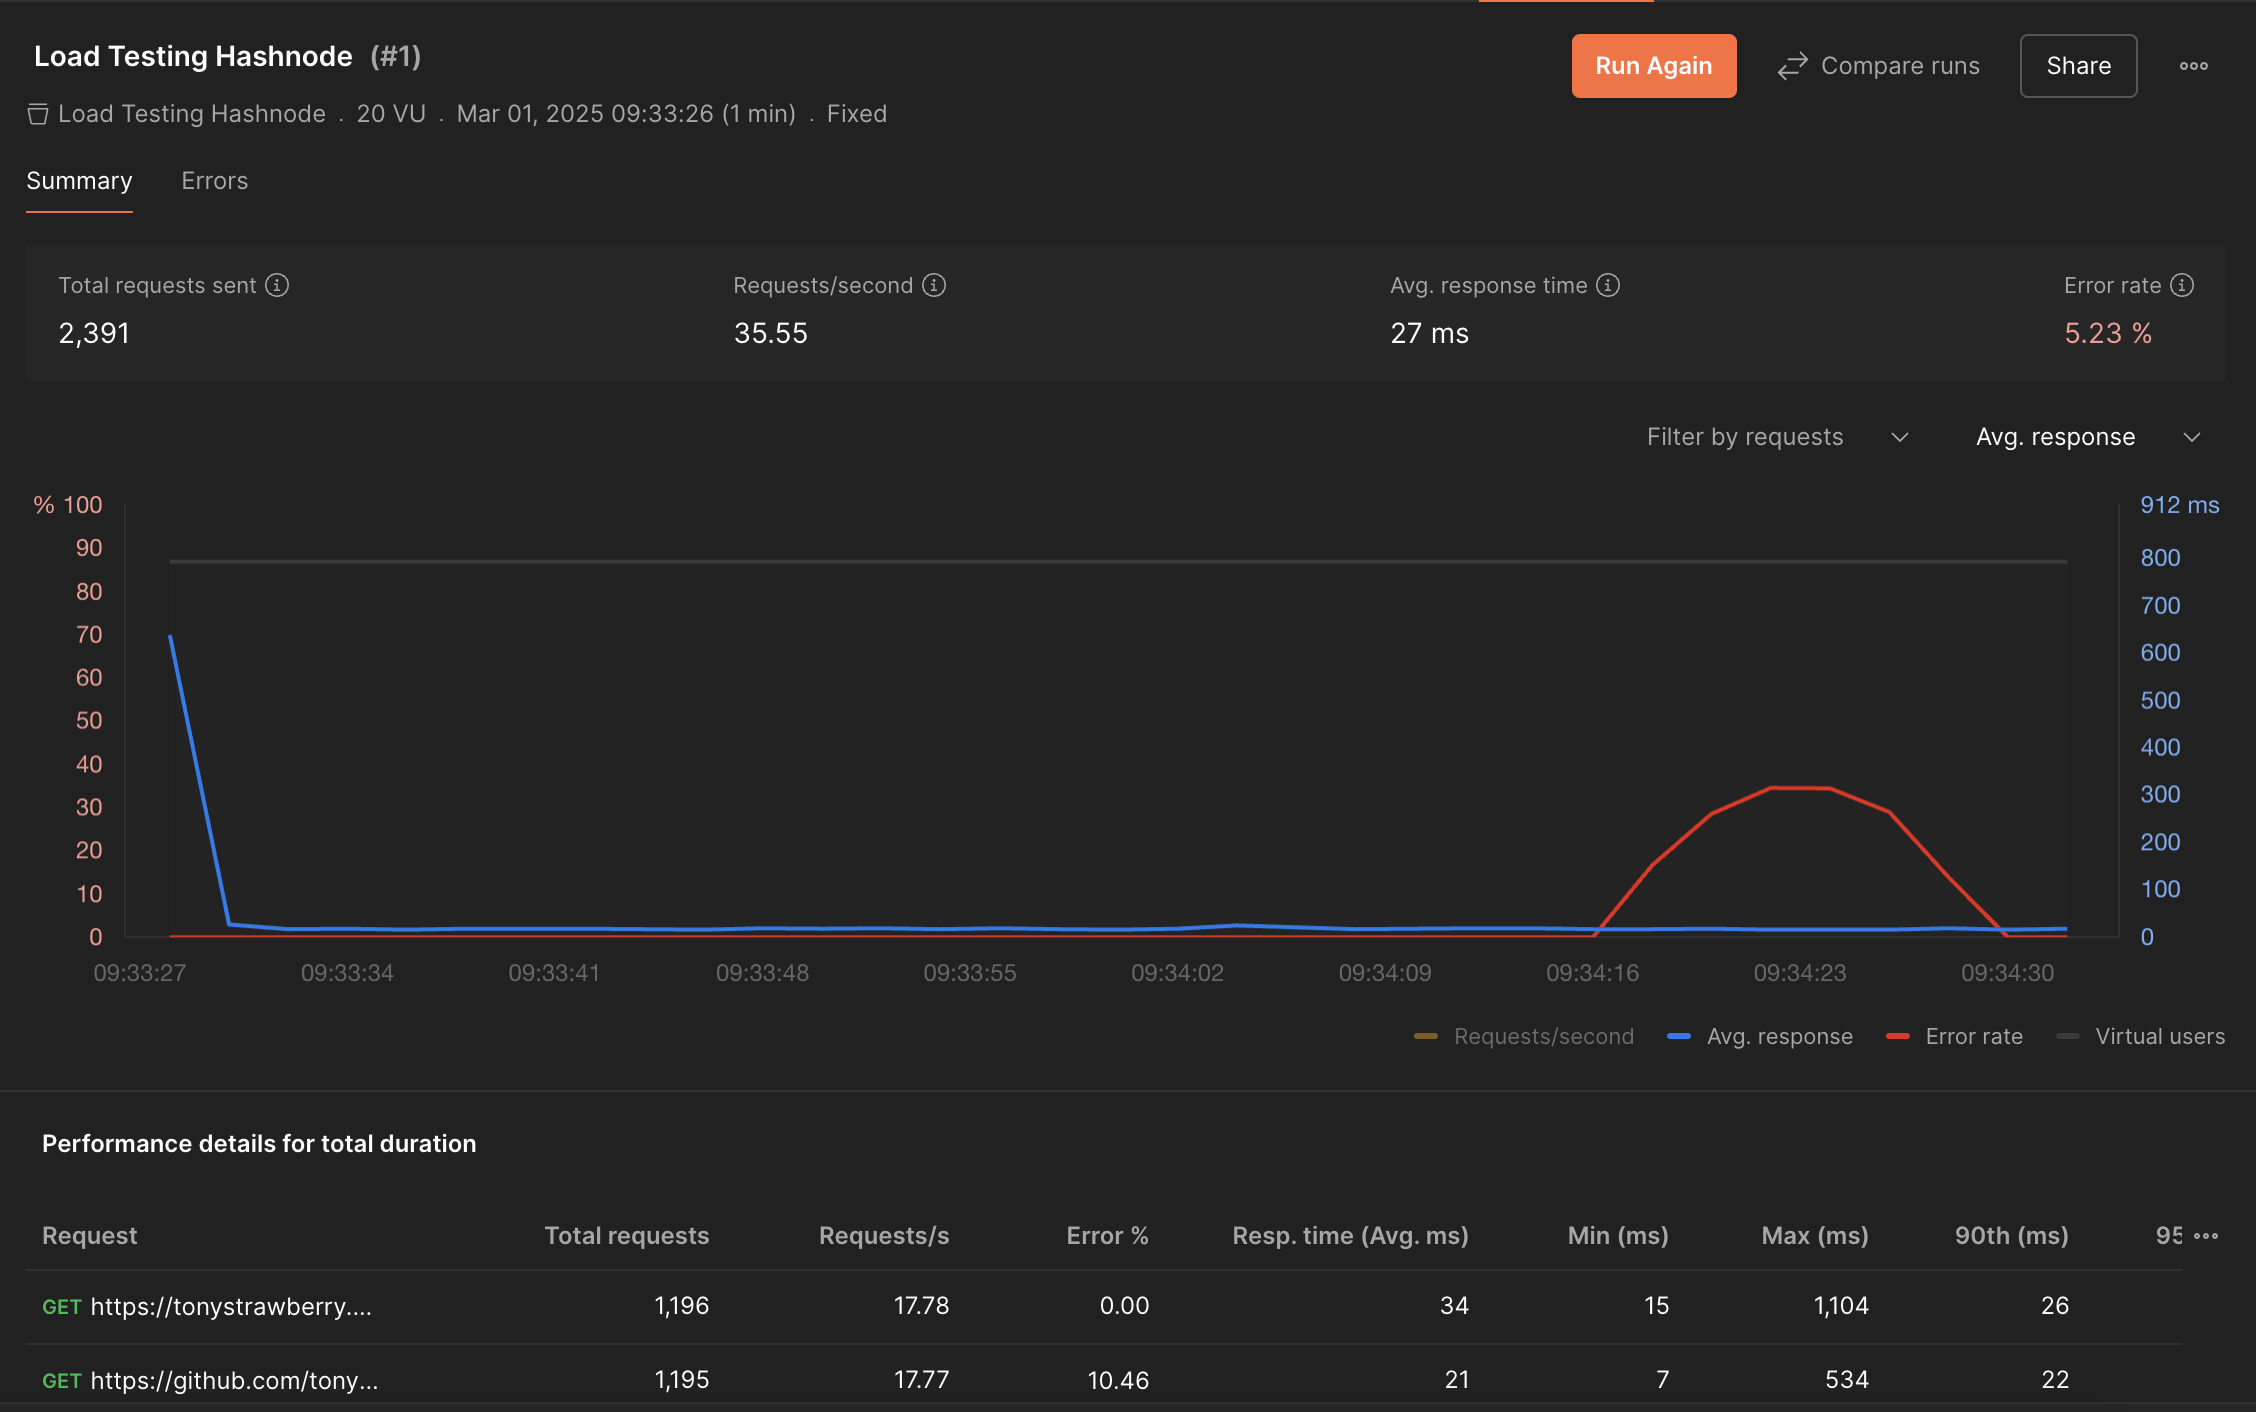
The cool thing is that you can share these results with your team or stakeholders by clicking on the Share button or by exporting the results as a PDF.
🎬 Conclusion
In this article, we learned how to test functional and performance aspects of our API using Postman. Of course, this is just the tip of the iceberg and there are many more things to learn about load testing.
I hope this article was helpful and that you will start testing your APIs with Postman.
Subscribe to my newsletter
Read articles from Tony Duong directly inside your inbox. Subscribe to the newsletter, and don't miss out.
Written by

Tony Duong
Tony Duong
I love writing beautiful code ✨