A Simple Guide to Completing Your First DxMentorship Task
 Samuel Uzor
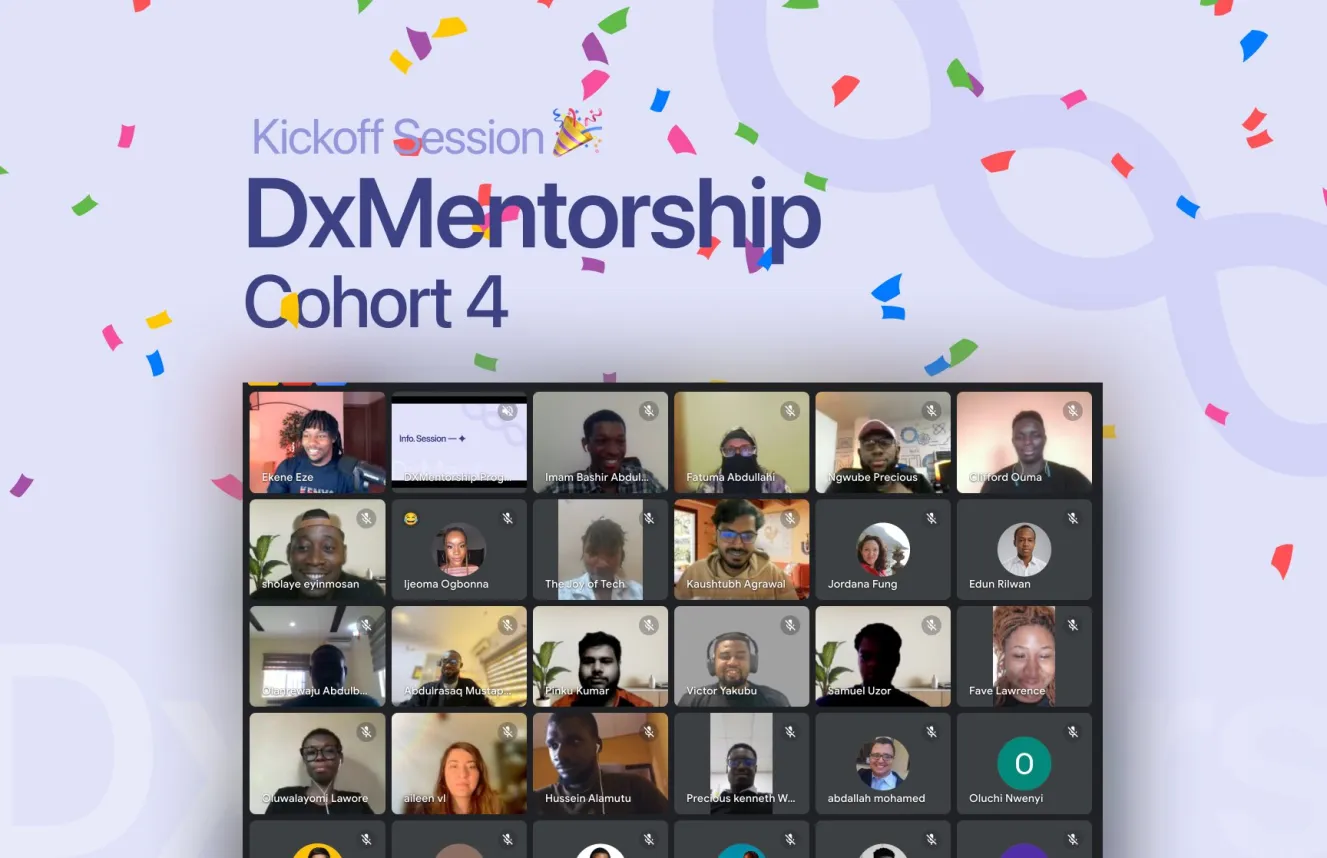
The DXMentorship Program is a 3 months DevRel Mentorship Program to kickstart your developer advocacy career. As an accepted mentee, your first official task is to add your details to the dxmentorship repo.
If you have ever contributed to open source before, this will come easily to you like a natural, but if you haven't, there is no need to worry because this article will guide you.
Prerequisite
Knowledge of Git and GitHub
Have Nodejs installed on your local machine
Knowledge of Markdown
Step 1
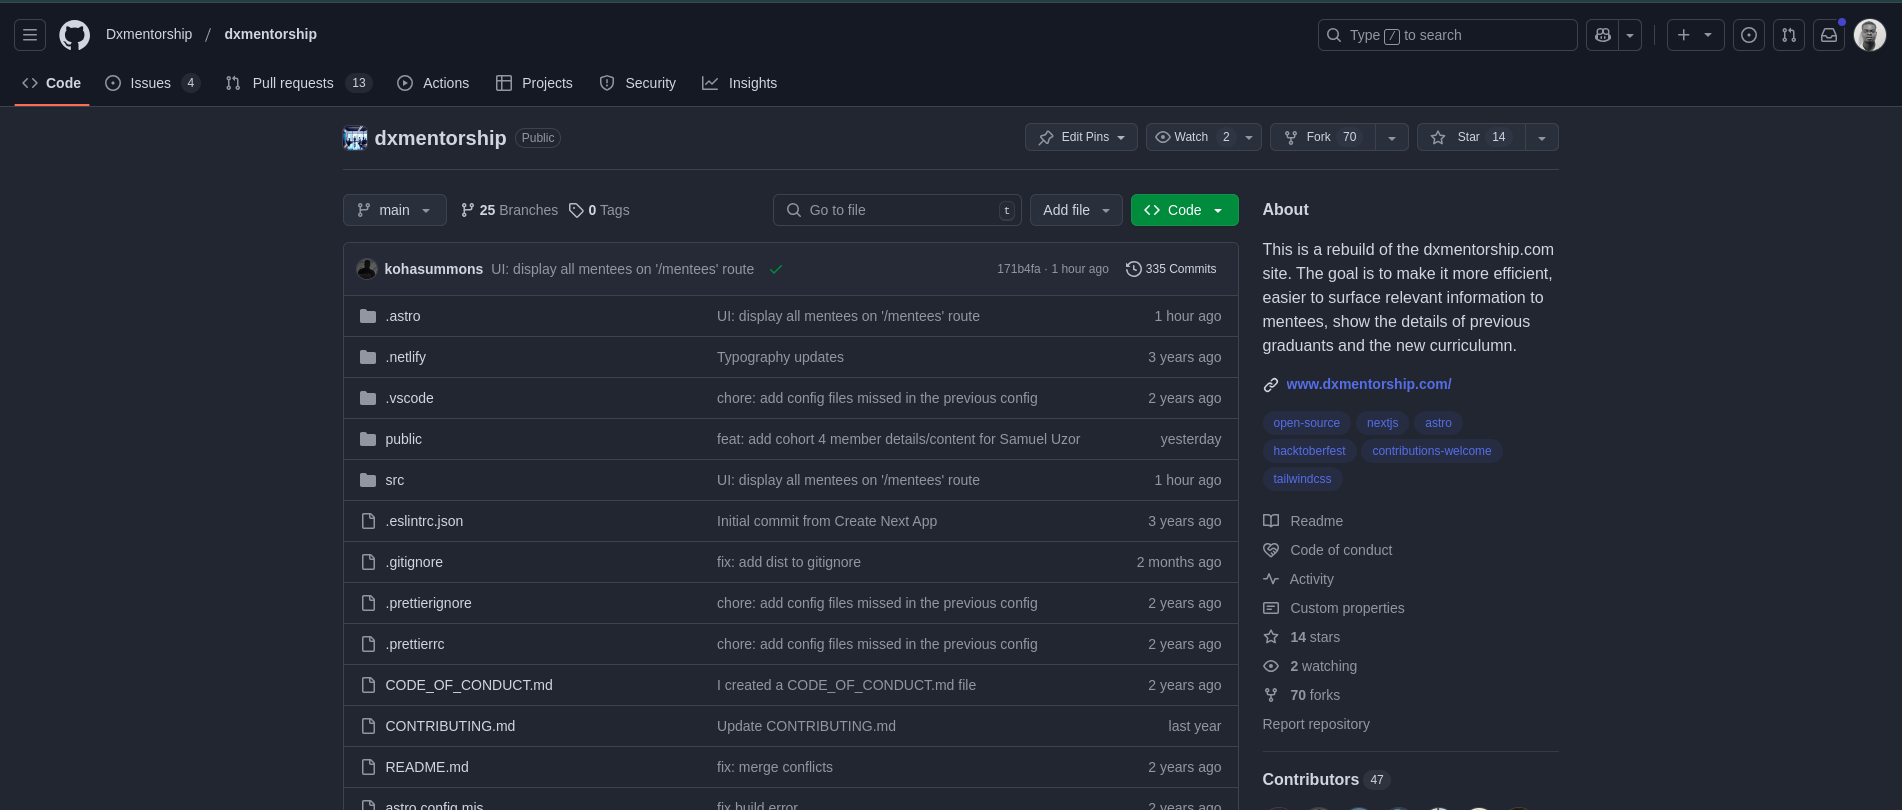
Now to get started with your first task, head over to the dxmentorship repo on GitHub

Step 2
Fork the repo by clicking on the Fork button.
This allows you to make a copy of the repo to your GitHub account
Step 3
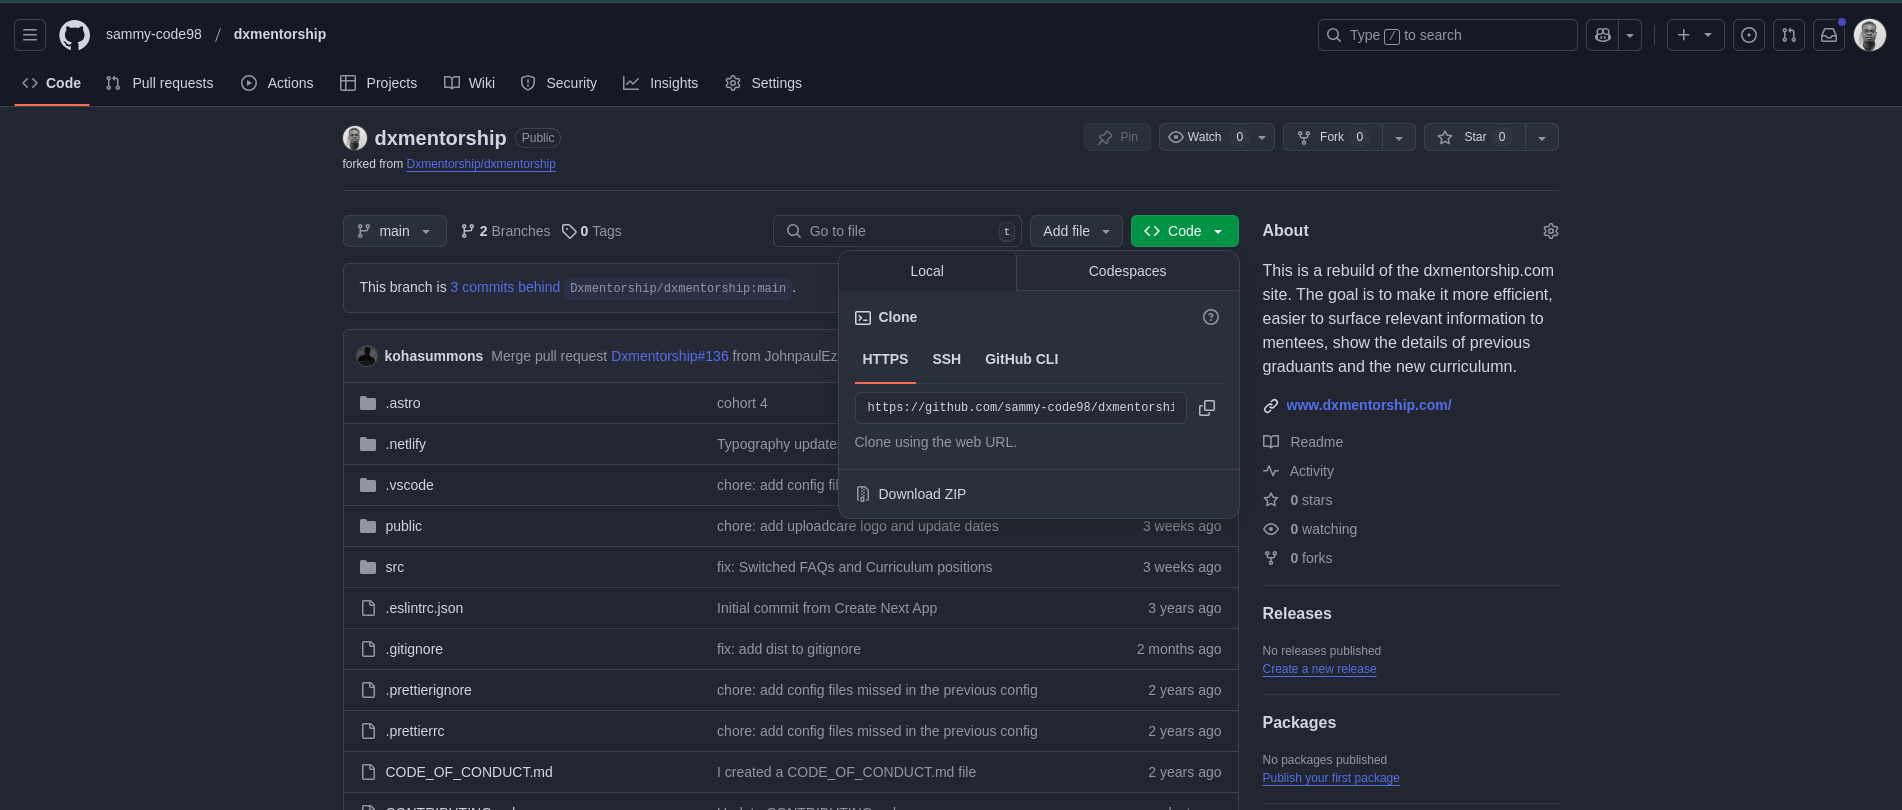
Clone the Forked repo to your local machine

To clone the repo;
Click on the Code button to open the drop-down as seen in the above image
Copy the URL under the
httpsorsshoptionGo to your terminal and run
git clone <the url you copied>to clone or download the repo to your machineNow
cdinto the cloned repo directorycd dxmentorshipThen run the following commands
#connect your local repo to the original (upstream) repository.
git remote add upstream https://github.com/[YOUR-GITHUB-USERNAME]/dxmentorship.git

#(to install dev dependencies)
npm install

#start the dev server
npm run dev
And now you have the repo running locally on your pc via http://localhost:4321/
Step 4
Now to add your details to the repo
Open your cloned repo in your favorite text editor
Create a new branch
git checkout -b <your new branch name>
Add a good photo of yourself to the
public/assetsassets folder(photo should have your name iejohn-doe.png.) Something amazing you know 😉Now go to the content folder inside the src folder
src/content/Locate the cohort-4 folder
src/content/cohort-4Create a markdown file
your-name.md*The Markdown file name should match the key and ID you added to the
types.d.tsfile earlier.Your
.mdfile should contain the following
---
name: 'your name'
title: 'your title'
image: '/assets/name-of-your-picture' #file path to the photo your added earlier
twitter: 'url-to-your-x-profile'
github: 'url-to-your-github-profile'
linkedin: 'url-to-your-linkedin-profile'
cohort: '4'
---

<div>
<h3>My Goals for DxMentorship</h3> <br/>
 - a list of your goals for the program
 - a list of your goals for the program
 - a list of your goals for the program

</div>
You can preview the changes you made locally via http://localhost:4321/mentees in your browser
Step 5
- Commit your changes by running the below command
 git add .

 git commit -m '<your commit message>'

 git push --set-upstream origin <your-branch-name>
Once you have successfully pushed, head over to your forked repo on Git Hub. You should see a yellow banner at the top saying "Compare & pull request" with a green button.
Click on the green button to create a pull request and the project maintainers will take it up from there..
Violla, you just submitted your first DxMentorship Task.
Subscribe to my newsletter
Read articles from Samuel Uzor directly inside your inbox. Subscribe to the newsletter, and don't miss out.
Written by

Samuel Uzor
Samuel Uzor
Hi, I'm Samuel. I write technical articles on web development. This includes daily problems I face and how I solve them, tools, discoveries, how-to guides, and more. Welcome!