Implementing Scrollable Views in React Native
 Akanle Dolapo
Introduction
When building mobile apps, it’s common to have content that extends beyond the visible screen. Whether it’s a list of items, a long article, or a gallery of images, scrolling becomes a necessity. React Native makes this easy with the ScrollView component.
In this article, we’ll explore how to use ScrollView, its pros and cons, and some best practices to keep your app running smoothly.
What is ScrollView?
The ScrollView component in React Native is a built-in way to enable scrolling in your app. It works like a container that can hold multiple child components, allowing users to scroll vertically (by default) or horizontally (if specified). It’s useful for displaying small to medium-sized lists of items, but it’s not ideal for large datasets because it renders everything at once, which can slow down performance.
Pros and Cons of ScrollView
The table below shows some of the pros and cons of ScrollView:
| Pros | Cons |
| Requires minimal setup and is straightforward to use. | Since ScrollView renders all items at once, it can consume a lot of memory and slow down performance. |
You can enable horizontal scrolling by setting horizontal={true}. | Unlike FlatList, ScrollView doesn’t have features like lazy loading or virtualization for handling large datasets efficiently. |
| Ideal for displaying a small amount of content that doesn’t need complex optimizations. | If too many elements are loaded at once, users might experience lag when scrolling. |
You can include various elements like images, buttons, and custom components inside a ScrollView. |
Setting Up Your Project
Before diving in, make sure your React Native development environment is set up. If you’re using Expo, you can quickly create a new project by running:
npx create-expo-app ScrollViewExample
cd ScrollViewExample
npm start
This initializes a React Native app and launches the Expo development server.
Using ScrollView
In this section, we are going to implement a simple scrollable view to demonstrate how ScrollView can be used to manage content overflow. This will allow users to smoothly navigate through a list of items that extend beyond the screen's visible area.
Basic
ScrollViewExample
A ScrollView is useful when you need to display a list of items, text, or other components that might not fit on a single screen. Below is a simple example that demonstrates how to use ScrollView to create a vertically scrollable interface containing multiple text elements.
import React from "react";
import { ScrollView, Text, StyleSheet, View } from "react-native";

const App = () => {
  return (
    <View style={styles.container}>
      <Text style={styles.header}>React Native ScrollView</Text>
      <ScrollView
        contentContainerStyle={styles.scrollContainer}
      >
        <Text style={styles.text}>This is a simple scrollable view.</Text>
        <Text style={styles.text}>Keep scrolling to see more content.</Text>
        <Text style={styles.text}>Keep scrolling to see more content.</Text>
        <Text style={styles.text}>Keep scrolling to see more content.</Text>
        <Text style={styles.text}>
          Scroll views are great for displaying small lists.
        </Text>
        <Text style={styles.text}>
          They can also contain images, buttons, and more.
        </Text>
        <Text style={styles.text}>This is the last item.</Text>
      </ScrollView>
    </View>
  );
};

export default App;
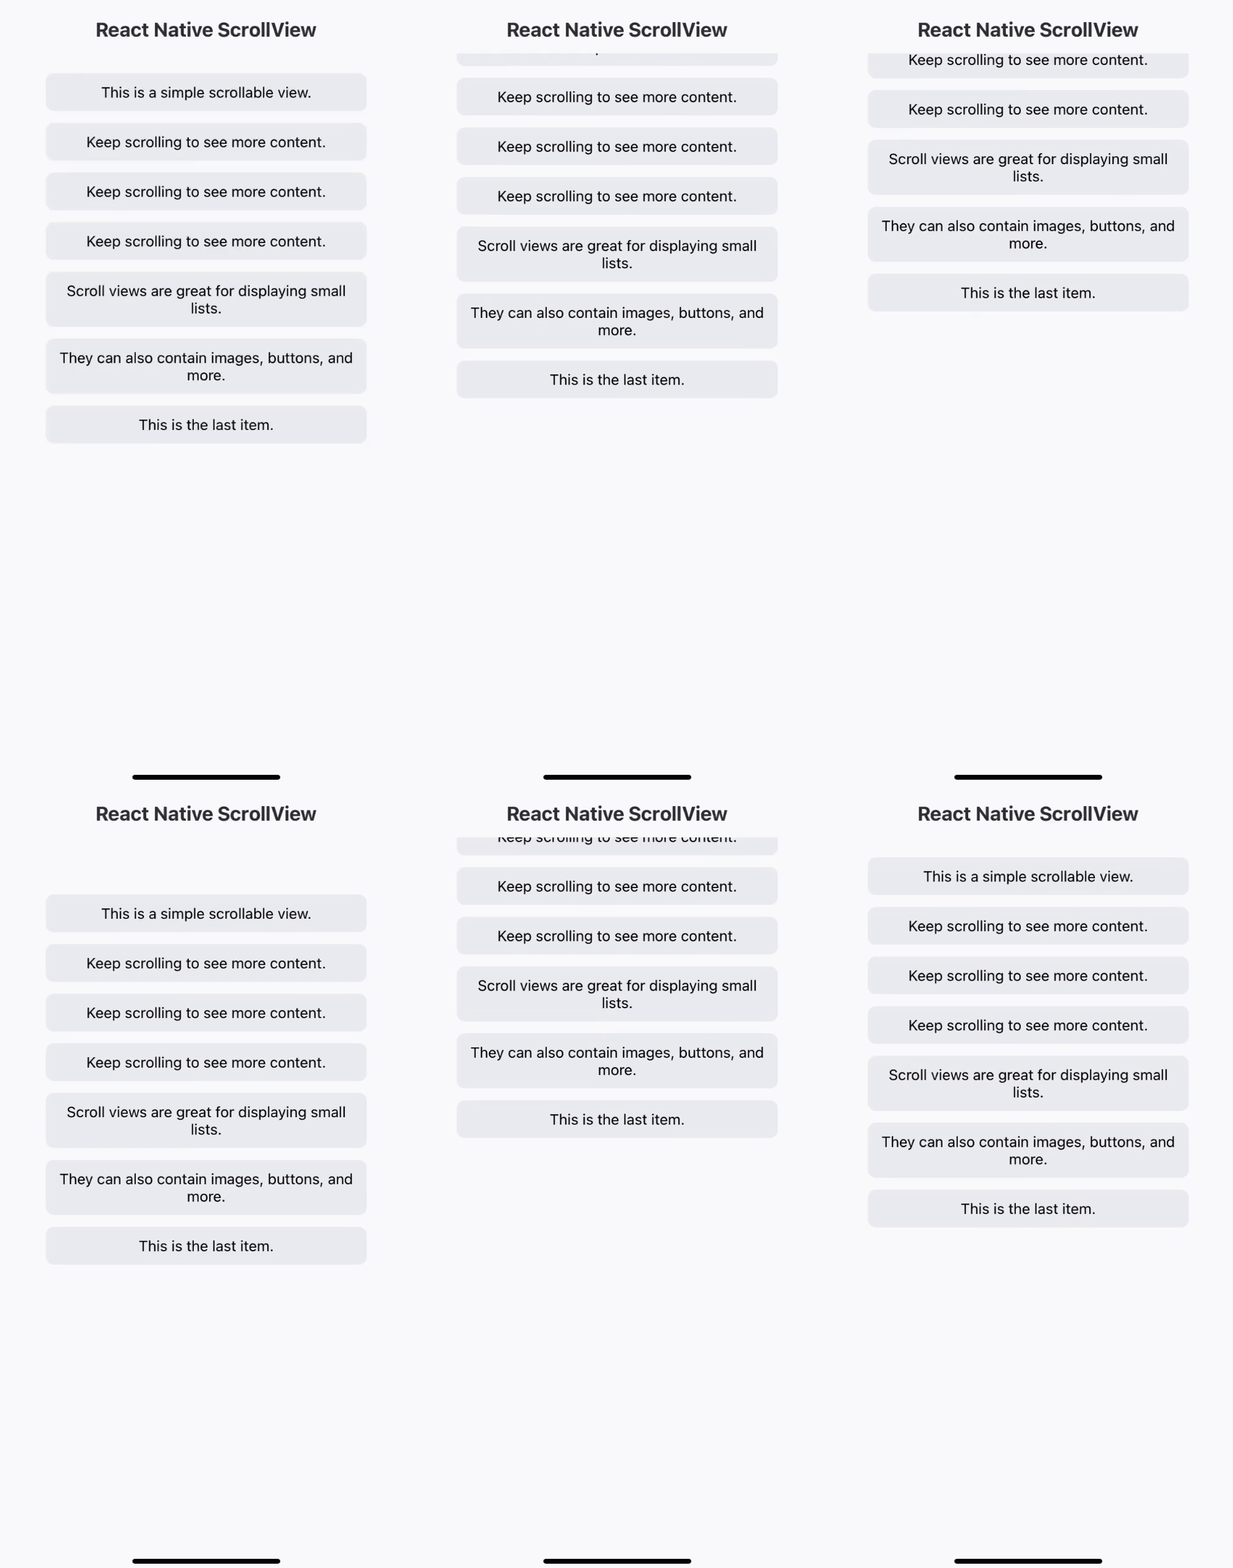
This code creates a simple scrollable list of text items. Here’s what’s happening, the ScrollView component enables vertical scrolling, and the Text elements inside ScrollView create a simple scrollable list.
const styles = StyleSheet.create({
  container: {
    flex: 1,
    justifyContent: "center",
    alignItems: "center",
    backgroundColor: "#f8f9fa",
    padding: 20,
    marginTop: 100,
  },
  scrollContainer: {
    alignItems: "center",
    paddingVertical: 20,
  },
  header: {
    fontSize: 24,
    fontWeight: "bold",
    marginBottom: 12,
    textAlign: "center",
    color: "#333",
  },
  text: {
    fontSize: 18,
    marginRight: 12,
    textAlign: "center",
    backgroundColor: "#e9ecef",
    padding: 10,
    borderRadius: 8,
    width: "90%",
  },
});
The styles ensure proper spacing and alignment. See output in the image below:

Enabling Horizontal Scrolling
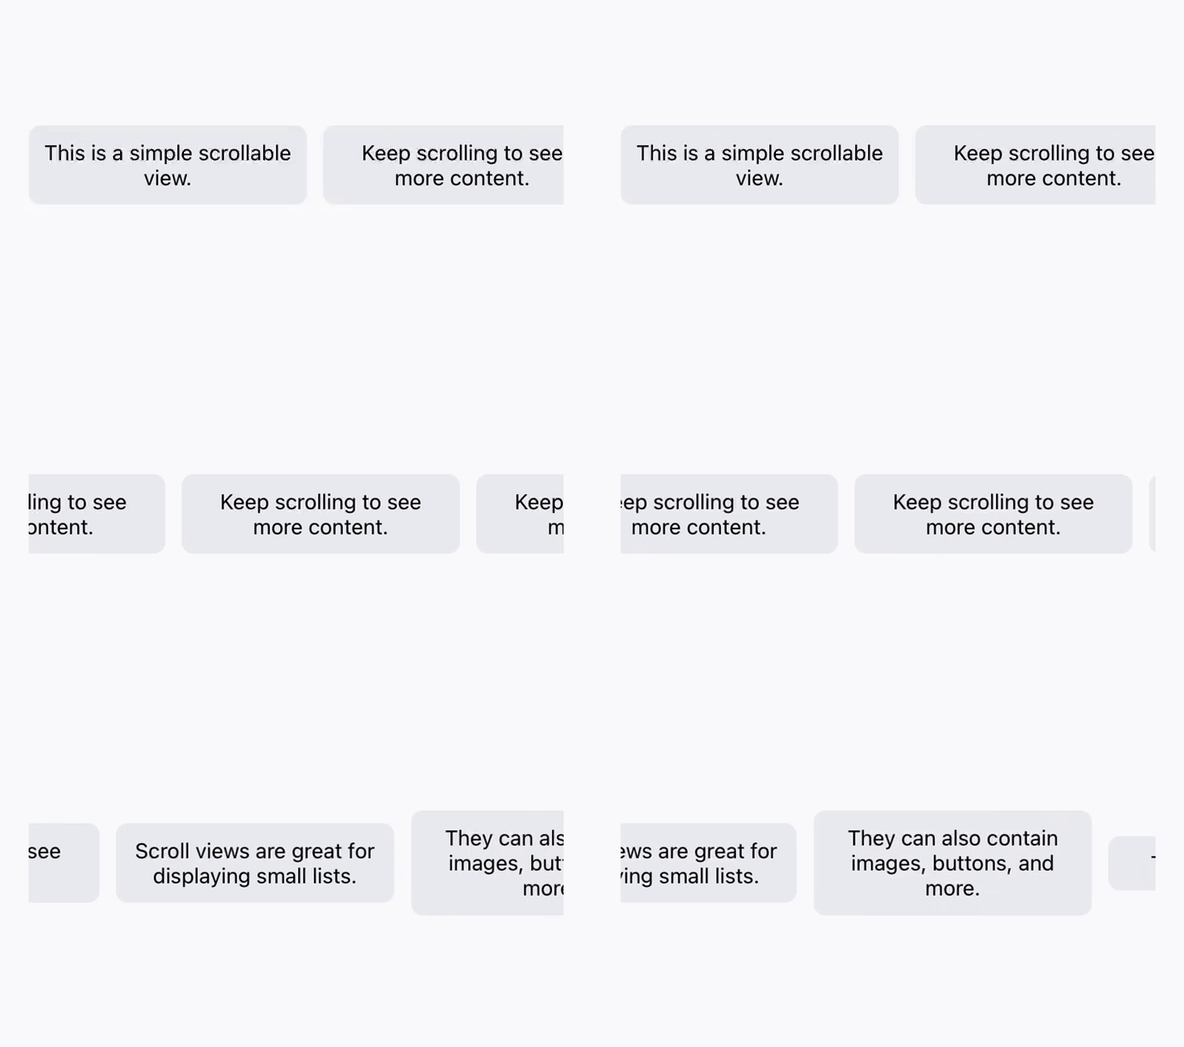
By default, ScrollView scrolls vertically, but you can make it horizontal by adding horizontal={true}:
<ScrollView
    contentContainerStyle={styles.scrollContainer}
    horizontal={true}
>
    <Text style={styles.text}>This is a simple scrollable view.</Text>
    <Text style={styles.text}>Keep scrolling to see more content.</Text>
    <Text style={styles.text}>Keep scrolling to see more content.</Text>
    <Text style={styles.text}>Keep scrolling to see more content.</Text>
    <Text style={styles.text}>
      Scroll views are great for displaying small lists.
    </Text>
    <Text style={styles.text}>
      They can also contain images, buttons, and more.
    </Text>
    <Text style={styles.text}>This is the last item.</Text>
</ScrollView>
This will display a scrollable row of text items as seen below:

Performance Considerations
While ScrollView is great for smaller sets of data, it’s not efficient for handling long lists because it renders everything at once. If you have a large dataset, it’s better to use FlatListinstead, which only loads items as needed, reducing memory usage.
Best Practices
Use
FlatListfor long lists: If you’re displaying hundreds of items,FlatListis a better choice.Optimize images: Large images can slow down scrolling. Compress them or use a library like
react-native-fast-image.Set a bounded height: To avoid layout issues, ensure the
ScrollViewhas a defined height within a parent container.
Conclusion
The ScrollView component is a simple yet powerful tool for enabling scrolling in React Native apps. It’s easy to use and perfect for small to medium-sized lists of content. However, for large datasets, consider switching to FlatList for better performance.
With this knowledge, you can now create smooth scrolling experiences in your apps while maintaining good performance!
Additional Resources
To learn more about ScrollView and React Native's scrolling, you can check out these resources:
Subscribe to my newsletter
Read articles from Akanle Dolapo directly inside your inbox. Subscribe to the newsletter, and don't miss out.
Written by
