Deploying Elastic Compute Cloud (EC2) Instances with shared Elastic File System (EFS)
 Theresa Okah
In today’s cloud-driven world, scalability, flexibility, and seamless data access are critical for building robust applications. Amazon Web Services (AWS) offers a powerful combination of services to achieve this, and one of the most effective pairings is Amazon EC2 (Elastic Compute Cloud) with Amazon EFS (Elastic File System). Whether you are running a single instance or a fleet of servers, EFS provides a fully managed, scalable, and shared file storage solution that can be accessed by multiple EC2 instances simultaneously.
In this blog post, we will walk you through the step-by-step process of deploying an EC2 instance and integrating it with shared EFS storage. This setup is ideal for use cases like web hosting, content management systems, or any application that requires shared access to files across multiple instances. By the end of this guide, you will have a fully functional EC2 instance connected to EFS, ready to handle your storage needs with ease. Let’s dive in!
Step 1: Log in to your AWS Management Console using your credentials. Once authenticated, navigate to the search bar at the top of the page and type “EFS” to locate the Elastic File System service. Click on it to open the EFS dashboard.
On the EFS dashboard, you will see an option to “Create file system.” Click this button to begin setting up your shared storage.
Step 2: Once you click “Create file system” you will be prompted to configure your EFS storage. Start by giving your file system a name that aligns with your use case or project. This name will help you easily identify the file system in your AWS console, especially if you are managing multiple EFS instances.
After entering the name, review the default settings (which we will customize in later steps) and click the “Create” button.
i. As part of the EFS file system configuration, it is crucial to ensure your data is secure, not only at rest but also during transmission. To achieve this, locate the “Encryption in transit” option during the EFS setup process and check the box to enable it.
Enabling encryption in transit ensures that your data is protected as it moves between your EC2 instances and the EFS file system. By enabling this feature, you are adding an extra layer of security to your architecture, which is especially important for sensitive workloads or compliance-driven use cases.
Step 3: Now that your EFS file system is ready, the next step is to set up an EC2 instance where the EFS storage can be mounted. To do this, head back to the AWS Management Console and use the search bar at the top to look for “EC2” Click on the EC2 service to open the dashboard.
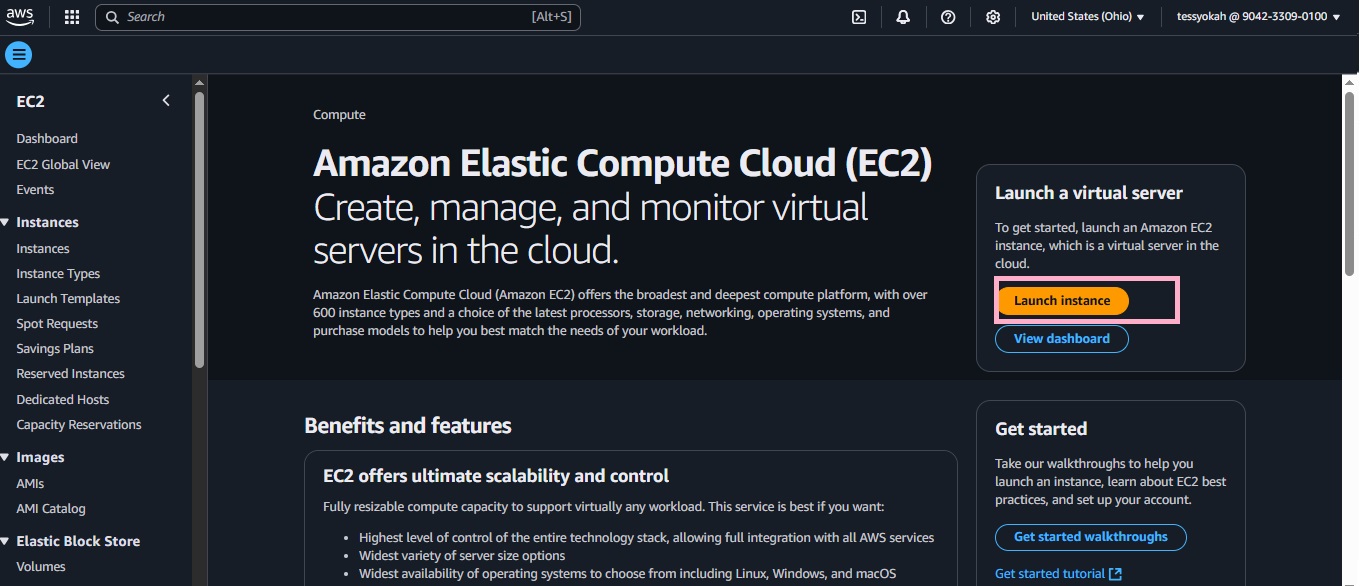
On the EC2 dashboard, locate and click the “Launch Instance” button. This will start the process of creating a new virtual server. For this guide, we will focus on setting up a Linux-based EC2 instance, which is compatible with EFS and widely used for various applications. Follow the prompts to configure your instance, and once it’s up and running, you’ll be ready to mount the EFS file system.
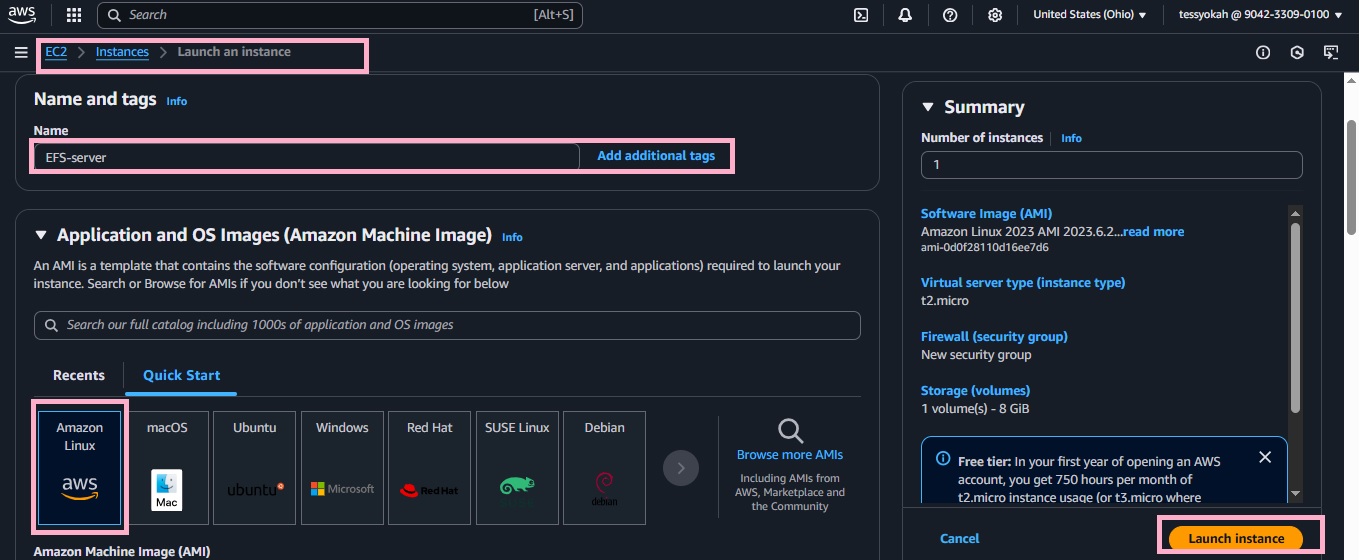
Step 4: During the EC2 instance setup, you’ll reach a step where you’re prompted to configure a key pair. Key pairs are used to securely connect to your EC2 instance via SSH. However, if you’re setting up this instance for testing purposes or plan to use alternative methods for access, you can choose to proceed without a key pair.
To do this, locate the “Key pair name” dropdown menu. From the options, select “Proceed without a key pair” Keep in mind that this is not recommended for production environments or instances that require secure access, as it limits your ability to SSH into the instance.
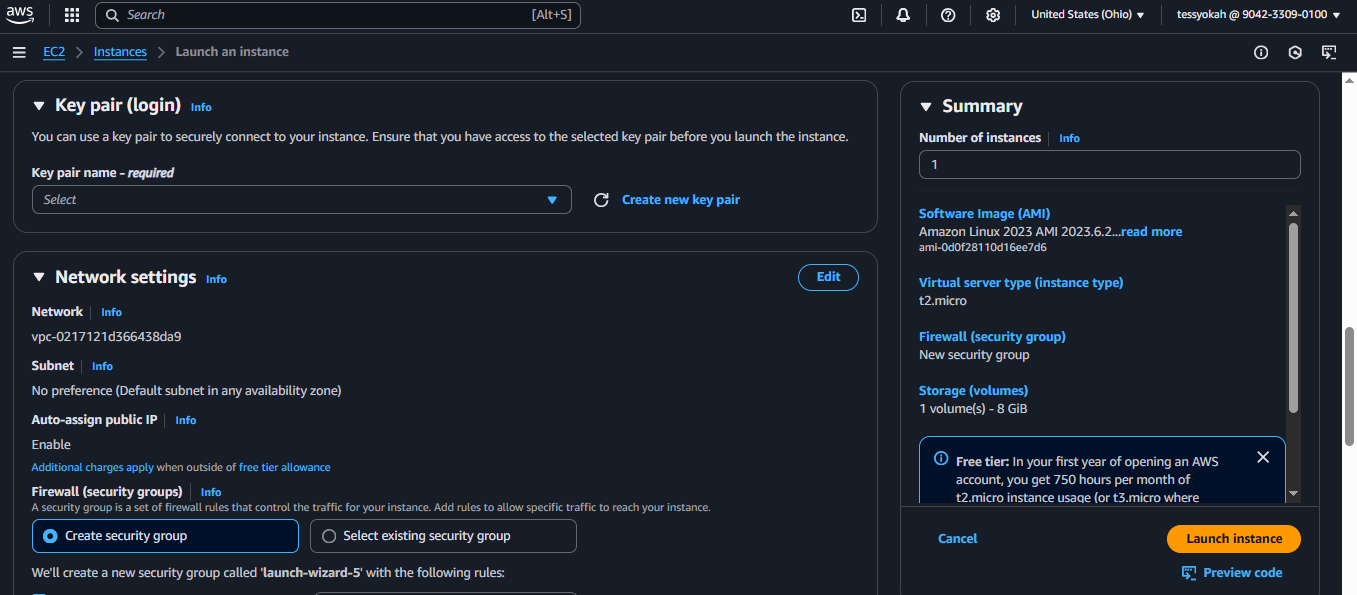
Step 5: You can decide to create a new security group or select an existing one then click launch instance
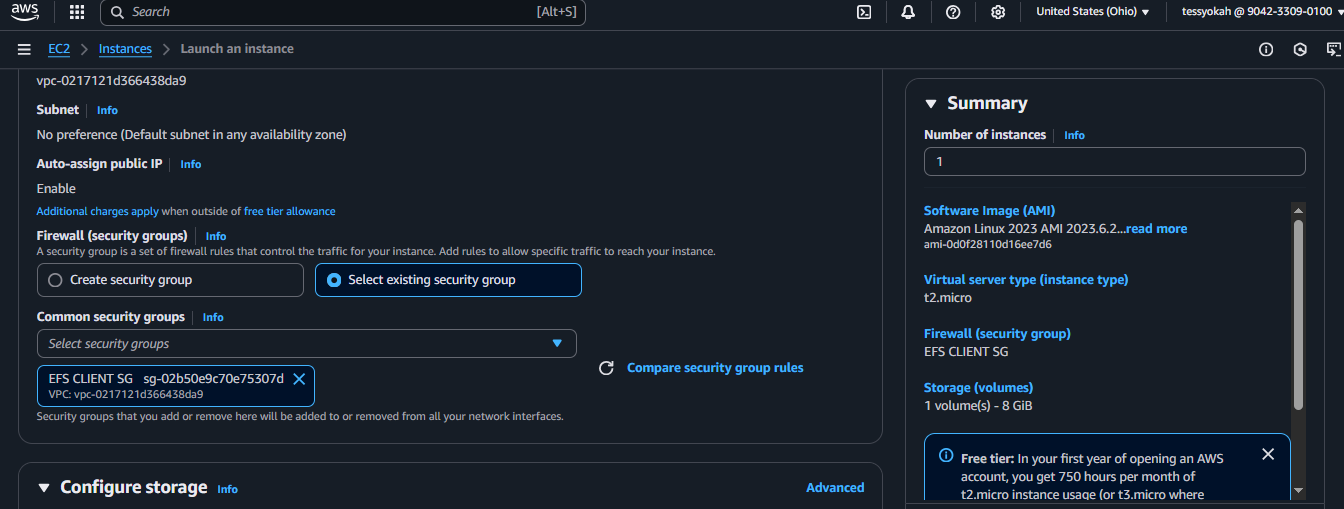
Step 6: After successfully launching your EC2 instance, the next step is to ensure it can communicate securely with the EFS file system. EFS uses port 2049 for data transfer, so you’ll need to update the security group rules to allow traffic on this port.
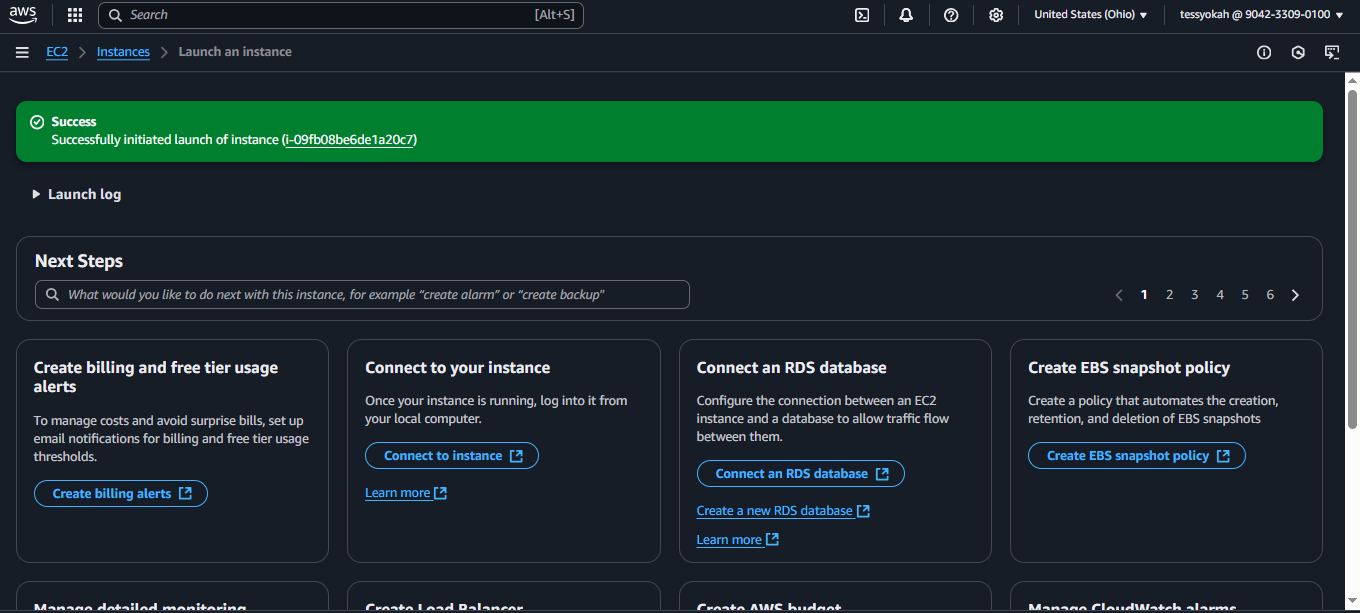
To do this, navigate to the AWS Management Console and go to the EC2 dashboard. Under the “Network & Security” section in the left-hand menu, click on “Security Groups.” This will display a list of all your security groups.

Locate the security group associated with your EC2 instance (the one you selected or created during the instance setup). Click on the security group ID to open its details. Then, go to the “Inbound rules” tab and click “Edit inbound rules.”

Add a new rule with the following configuration:
Type: NFS (this will automatically set the port range to 2049).
Source: Custom, and enter the security group ID of your EC2 instance or the IP range of your VPC for tighter security.
Save the changes, and your EC2 instance will now be able to communicate with the EFS file system.
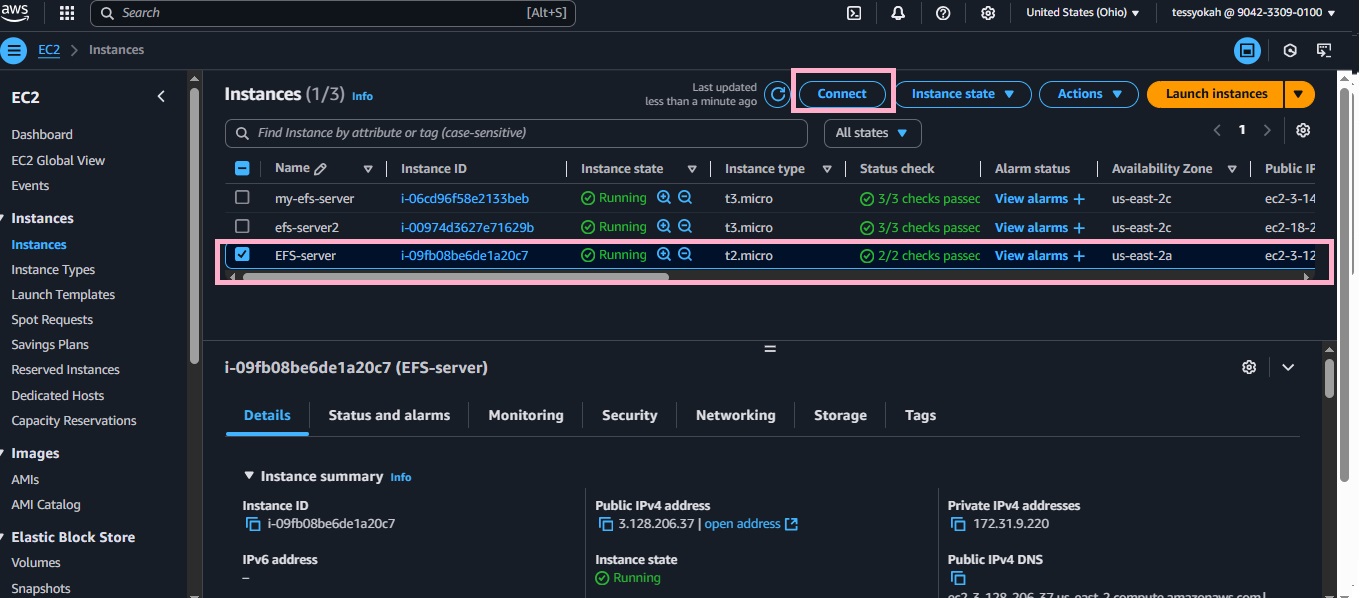
Step 7: Navigate back to your instance and click connect
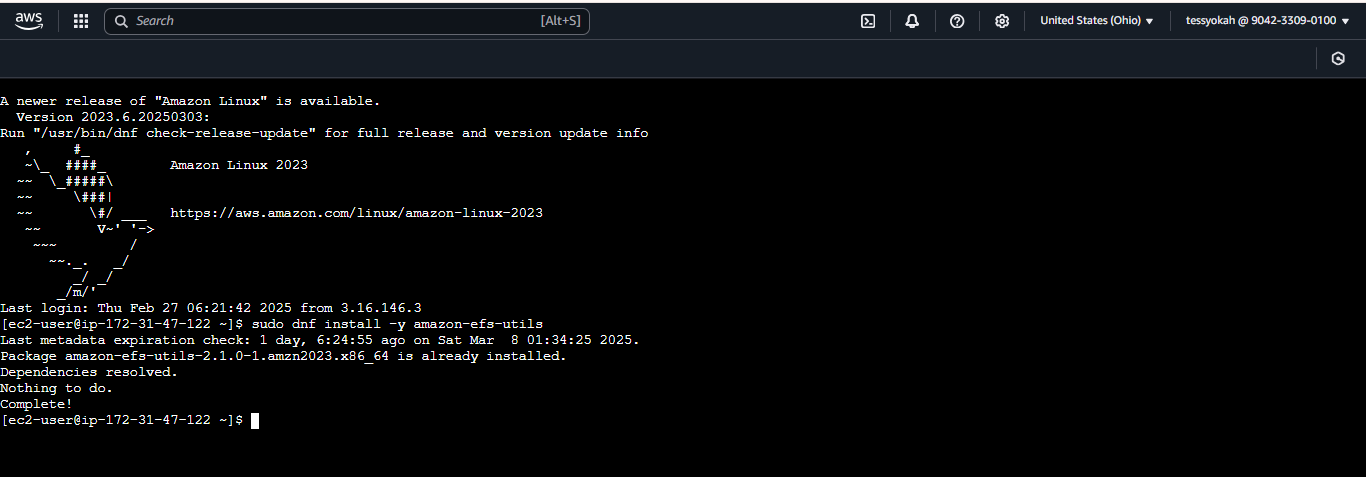
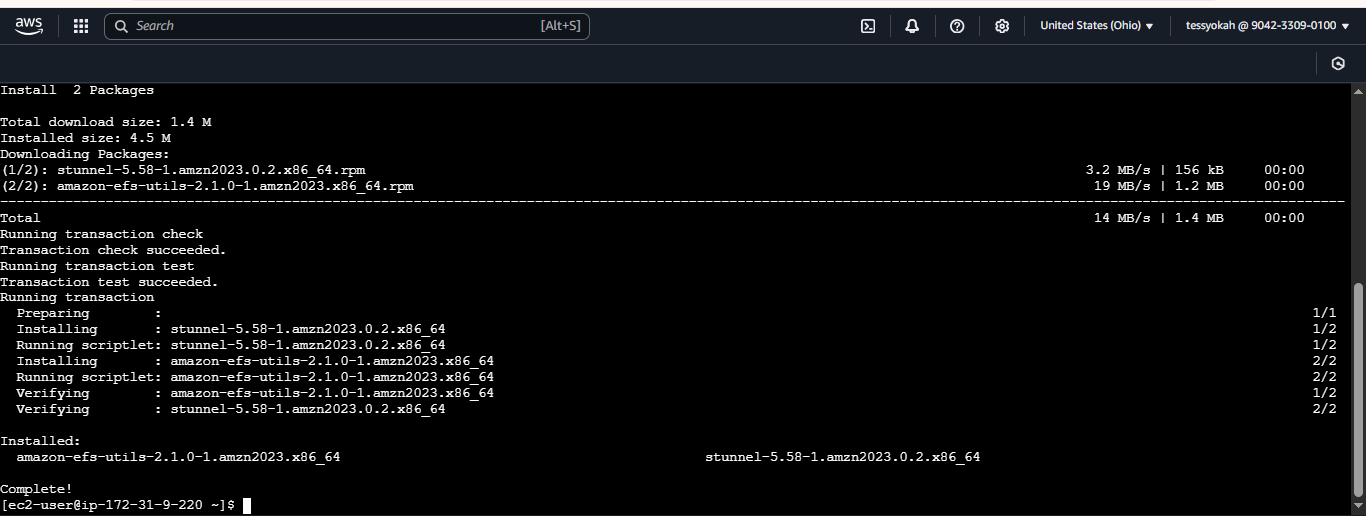
Step 8: Type “sudo dnf install -y amazon -efs-utils” after running the command it would show complete
Create a directory by running “sudo mkdir (name of directory)”
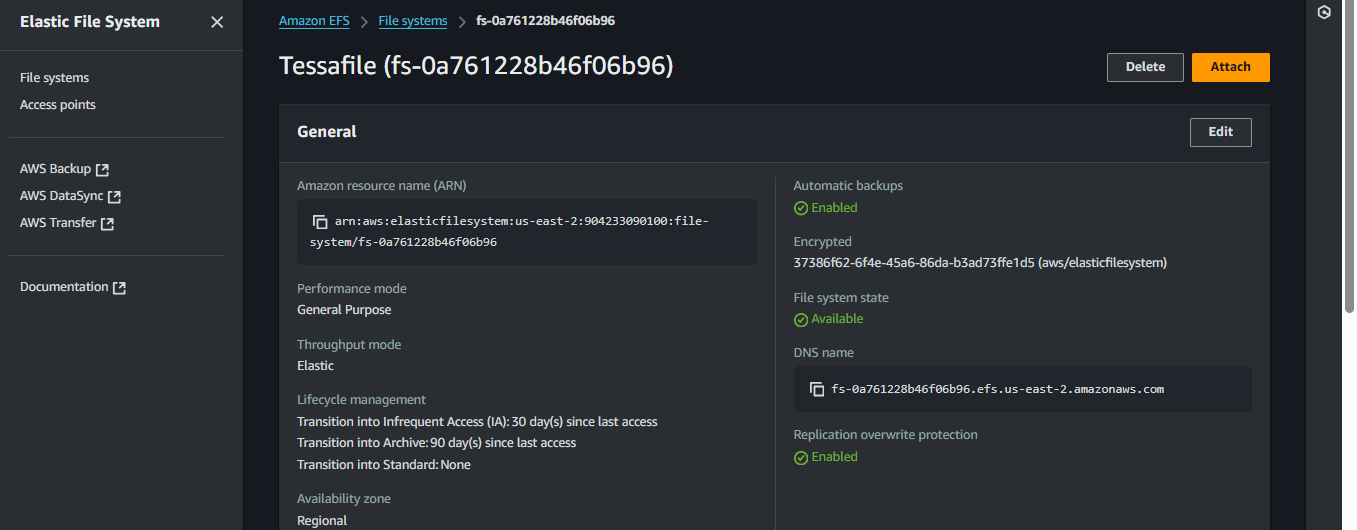
Go back to the console and search for EFS, then click on the file, click on attach, and copy the “using the EFS mount helper” code.
Paste the code in your terminal and run.
Run the command “df -T” it would show complete.
Run “cd (name of directory)/'“ to enter the directory
Run “sudo touch (name of file)”
Close the terminal and reconnect
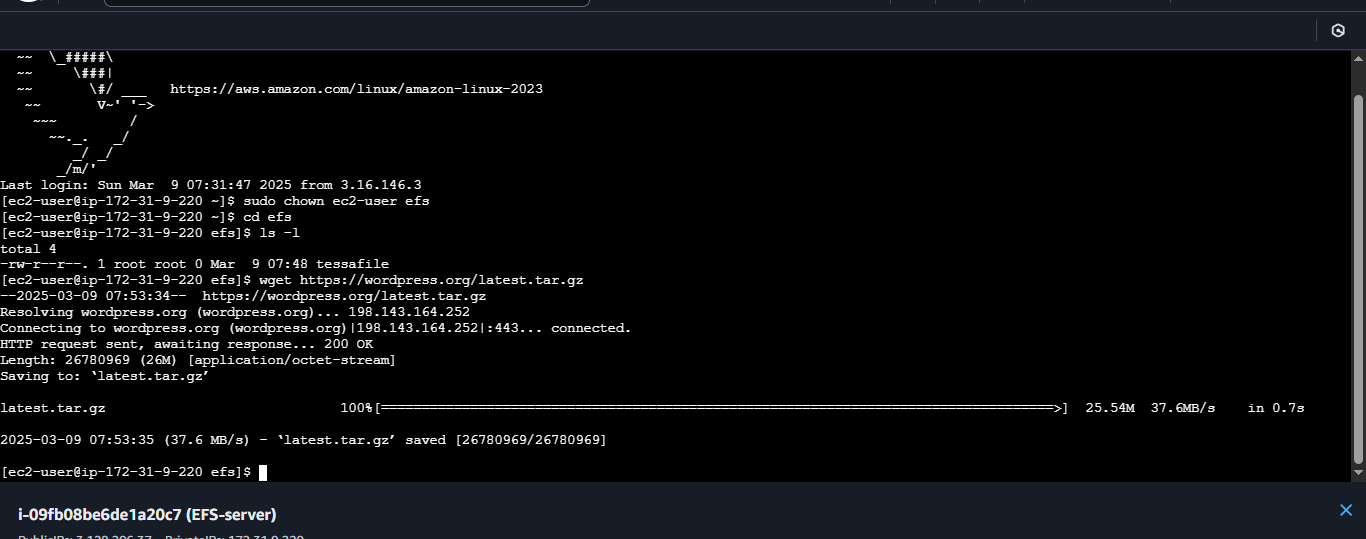
Run “sudo chown ec2-user efs/” to change ownership
Run “cd (name of directory)/” in order to enter the directory
Run “ls -l”
Run “wget https://wordpress.org/latest.tar.gz.
Run “ls -l”
Step 9: Create another instance by repeating step 3. When adding a rule, add to the second instance created.
Run “ sudo dnf install -y amazon-efs-utils” it should show complete
Run “sudo mkdir (same name of the directory as first terminal)
copy the “using the EFS mount helper” code, paste in the terminal to mount the EFS file.
Run “sudo chown ec2-user efs/”to change the ownership
Run '“df -T”
Run “cd (name of directory)” in order to enter the directory
Run “ls -l”

Subscribe to my newsletter
Read articles from Theresa Okah directly inside your inbox. Subscribe to the newsletter, and don't miss out.
Written by
