Building a React, Redux, and Redux Toolkit Project with Vite : A Step-by-Step Guide
 Samrat X
Redux is a powerful state management library for React applications, and with Redux Toolkit, managing state becomes much simpler and more efficient. In this blog, we’ll walk through creating a React project using Vite (a faster and modern alternative to Create React App) with Redux and Redux Toolkit. By the end, you’ll have a solid understanding of how these technologies work together.
Prerequisites
Before we start, make sure you have the following installed:
Node.js (v16 or higher)
npm or yarn
Basic knowledge of React
Step 1: Set Up the Project with Vite
Let’s start by creating a new React project using Vite.
npm create vite@latest redux-toolkit-demo
cd redux-toolkit-demo
npm install
Step 2: Install Required Dependencies
We’ll need to install Redux and Redux Toolkit.
npm install @reduxjs/toolkit react-redux
Step 3: Set Up Redux and Redux Toolkit
Now, let’s set up Redux and Redux Toolkit.
Folder Structure
Here’s the folder structure we’ll use:
src/
├── app/
│   └── store.js
├── features/
│   └── counter/
│       ├── Counter.jsx
│       ├── counterSlice.js
├── components/
│   └── Navbar.jsx
├── App.jsx
├── main.jsx
└── index.css
Step 3.1: Create the Redux Store
Create a store.js file in the src/app folder:
import { configureStore } from '@reduxjs/toolkit';
import counterReducer from '../features/counter/counterSlice';

export const store = configureStore({
  reducer: {
    counter: counterReducer,
  },
});
Step 3.2: Create a Slice
A slice is a collection of Redux reducer logic and actions for a single feature. Create a counterSlice.js file in the src/features/counter folder:
import { createSlice } from '@reduxjs/toolkit';

const initialState = {
  value: 0,
};

export const counterSlice = createSlice({
  name: 'counter',
  initialState,
  reducers: {
    increment: (state) => {
      state.value += 1;
    },
    decrement: (state) => {
      state.value -= 1;
    },
    incrementByAmount: (state, action) => {
      state.value += action.payload;
    },
  },
});

// Export actions
export const { increment, decrement, incrementByAmount } = counterSlice.actions;

// Export reducer
export default counterSlice.reducer;
Step 3.3: Provide the Store to the App
Wrap your app with the Redux Provider in src/main.jsx:
import React from 'react';
import ReactDOM from 'react-dom/client';
import { Provider } from 'react-redux';
import App from './App';
import './index.css';
import { store } from './app/store';

ReactDOM.createRoot(document.getElementById('root')).render(
  <React.StrictMode>
    <Provider store={store}>
      <App />
    </Provider>
  </React.StrictMode>
);
Step 4: Create the Counter Component
Now, let’s create a Counter.jsx component in the src/features/counter folder:
import React from "react";
import { useDispatch, useSelector } from "react-redux";
import { decrement, increment, incrementByAmount } from "./counterSlice";

const Counter = () => {
  const count = useSelector((state) => state.counter.value);
  const dispatch = useDispatch();
  return (
    <div>
      <h1>Counter : {count}</h1>
      <div style={{ display: "flex", gap: "10px" }}>
        <button onClick={() => dispatch(increment())}>increment</button>
        <button onClick={() => dispatch(decrement())}>decrement</button>
        <button onClick={() => dispatch(incrementByAmount(5))}>
          increment by 5
        </button>
      </div>
    </div>
  );
};

export default Counter;
Step 5: Update the App Component
Update src/App.jsx to render the Counter component:
import React from 'react';
import Counter from './features/counter/Counter';

function App() {
  return (
    <div>
      <Counter />
    </div>
  );
}

export default App;
Step 6: Run the Project
Start the development server:
npm run dev
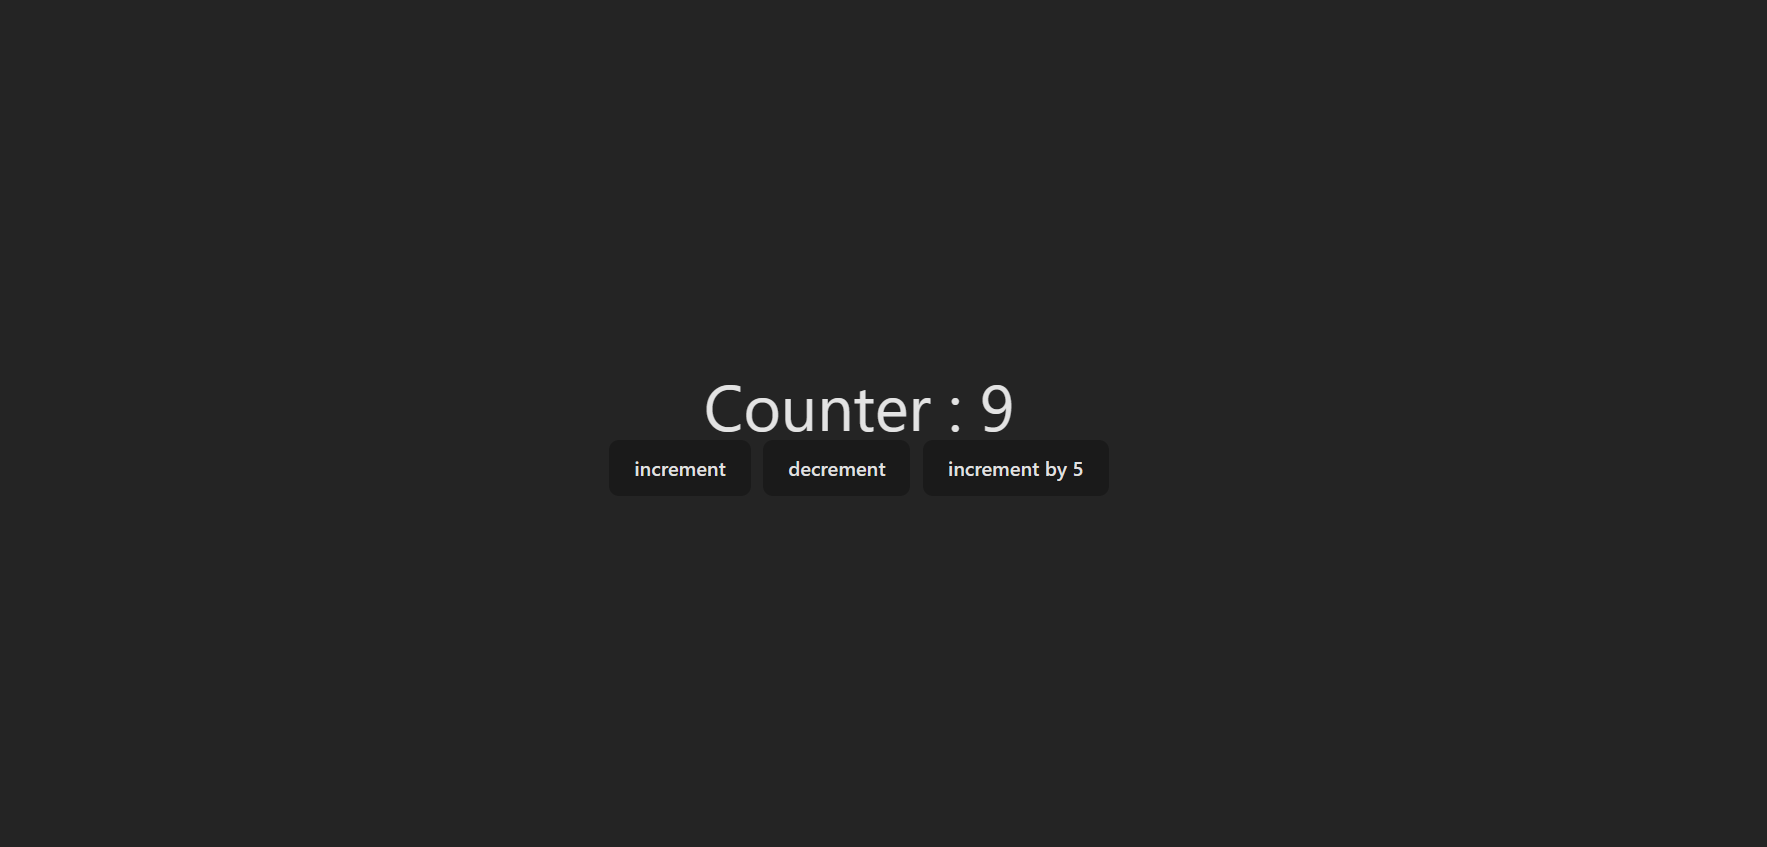
Visit http://localhost:5173 in your browser, and you should see the counter app

Conclusion
In this tutorial, we built a React app using Vite and Redux Toolkit. We created a simple counter app to demonstrate how to manage state with Redux Toolkit. This setup is modern, efficient, and scalable for larger projects.
Subscribe to my newsletter
Read articles from Samrat X directly inside your inbox. Subscribe to the newsletter, and don't miss out.
Written by
