Seamless DevOps: A Step-by-Step Guide to Setting Up ArgoCD on Minikube and Deploying Your First Application
 Mahira Technology Private Limited

Overview :-
In the fast-evolving landscape of DevOps and Kubernetes, managing deployments efficiently is key. This Medium article provides a step-by-step guide on setting up ArgoCD, a popular GitOps tool, within a Minikube environment. From installation to deployment, we’ll explore the seamless process of orchestrating application releases using ArgoCD.
To install Argocd on Minikube and deploy a application on argocd:-
First, start the Minikube using a driver to create a minikube cluster. I am using the docker driver to start the minikube.
Command to start the minikube using a driver;
minikube start --driver=docker
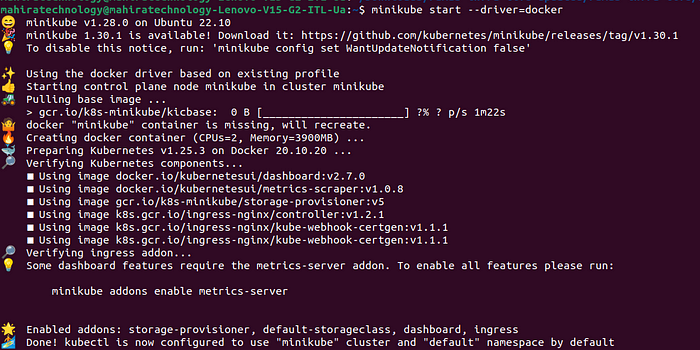
Create a Namespace for argocd and apply ArgoCD manifest installation file from ArgoCD github repository.
- Namespace: command to create a name space
kubectl create ns argocd
Apply the file: comand to apply the installation file
kubectl apply -n argocd -f https://raw.githubusercontent.com/argoproj/argo-cd/v2.5.8/manifests/install.yaml
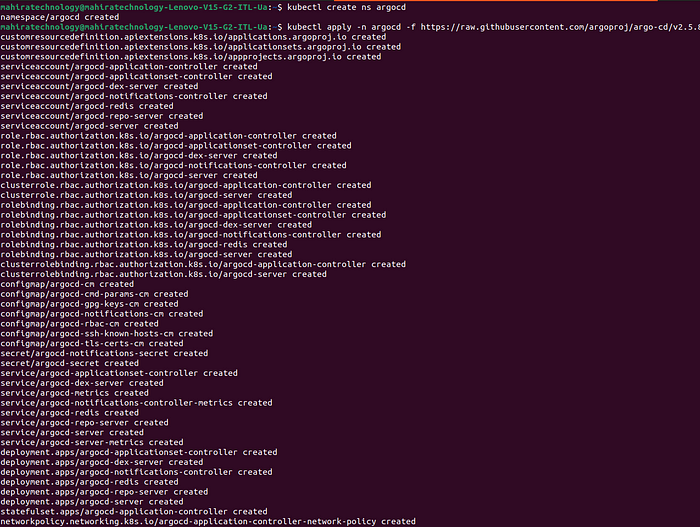
- Check the objects installed in Argocd Namespace using the below command -
kubectl get all -n argocd
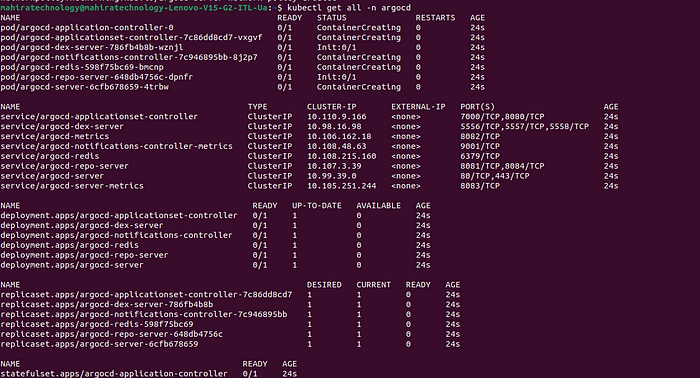
Argocd had a user interface. It has a dashboard which shows the current applications and their health. To access the web GUI of ArgoCD, we need to do a port forwarding. For that we will use the argocd-server service
Run below command to port the argocd –server service
kubectl port-forward svc/argocd-server -n argocd 8080:443

Now, Go to the browser and open localhost:8080 -
You will see a privacy warning. Just ignore the warning, click on Advanced and then hit on Proceed to localhost (unsafe) to continue to the GUI interface.
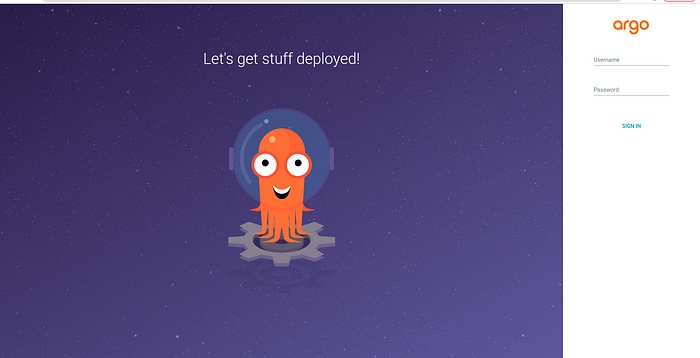
To login to the argocd interface, we need to enter the credentials. The default username is admin and initial password will get from argocd through minikube terminal -
Command to get the initial password -
kubectl -n argocd get secret argocd-initial-admin-secret -o jsonpath="{.data.password}" | base64 -d; echo
Once u get the password, copy it and paste in the argocd GUI then click on sign in.
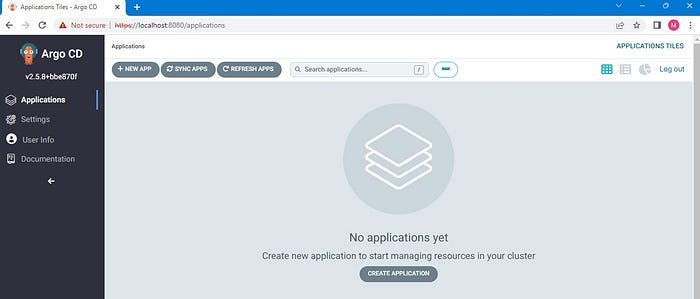
After logging in the argocd interface will looks like below -
Deploying a test application in Argocd :-
To Deploy a test application in argocd, we have to connect with our Github to get the source code. so, I will connect with my Github.
Click on the settings icon in the argocd interface and then click on the Repositories as shown in the below picture -

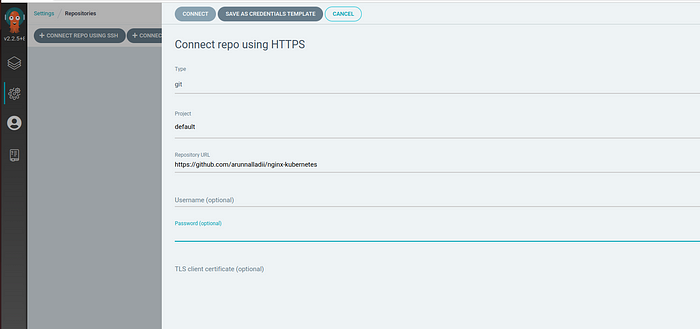
Now, For the connection method, choose HTTPS, for Project choose default, and enter your github repo as repository URL. Finally, hit on connect.
connect to the Repository as shown in below figure
- After connecting with the Github repo, u can able to see the added repository on your settings icon.

- Now, click on the three dots which is present just before the successful message. The pop up menu will have a
create applicationoption. As shown in the below image

Choose create application option from the the popup menu.
Enter test as the application name, choose default for Project Name, and choose Automatic for Sync Policy.
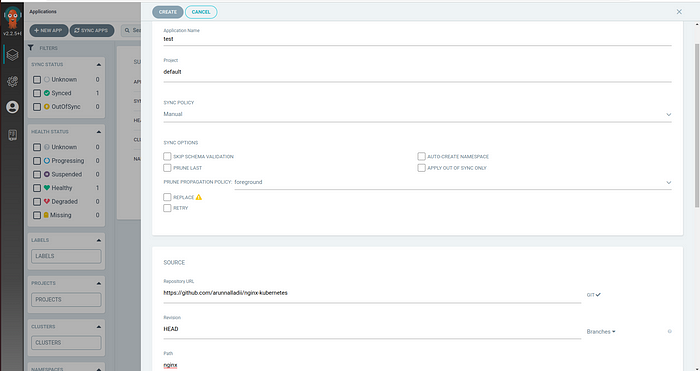
once you have entered the details, click on create. Then the details of the app is shown in applications icon.
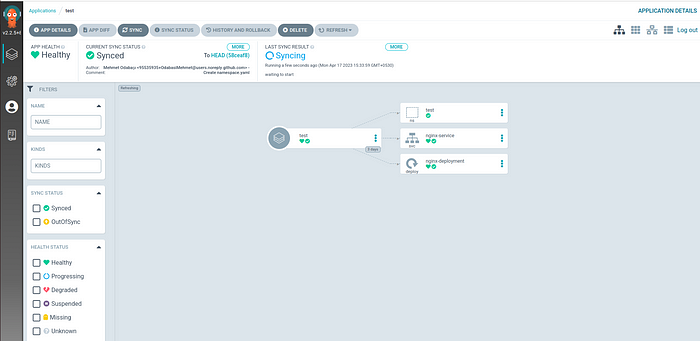
The application is shown in below figure

- Click on the app to get a detailed view of the application.
Conclusion :-
- Finally, we have setup the Argocd on minikube and Deployed an application and Also we have seen the work flow the argocd in the above document.
Subscribe to my newsletter
Read articles from Mahira Technology Private Limited directly inside your inbox. Subscribe to the newsletter, and don't miss out.
Written by

Mahira Technology Private Limited
Mahira Technology Private Limited
A leading tech consulting firm specializing in innovative solutions. Experts in cloud, DevOps, automation, data analytics & more. Trusted technology partner.