Building a React, Redux Toolkit, and Async API Calls with Vite : A Step-by-Step Guide
 Samrat X
In modern web applications, fetching data from APIs is a common task. Redux Toolkit simplifies this process by providing built-in support for handling asynchronous logic with createAsyncThunk. In this blog, we’ll build a React project using Vite and Redux Toolkit to demonstrate how to make API calls and manage asynchronous state.
Prerequisites
Before we start, make sure you have the following installed:
Node.js (v16 or higher)
npm or yarn
Basic knowledge of React and Redux
Step 1: Set Up the Project with Vite
Let’s start by creating a new React project using Vite.
npm create vite@latest redux-async-demo
cd redux-async-demo
npm install
Step 2: Install Required Dependencies
We’ll need to install Redux and Redux Toolkit.
npm install @reduxjs/toolkit react-redux axios
Step 3: Set Up Redux and Redux Toolkit
Now, let’s set up Redux and Redux Toolkit to handle asynchronous API calls.
Folder Structure
Here’s the folder structure we’ll use:
src/
├── app/
│   └── store.js
├── features/
│   └── posts/
│       ├── Posts.jsx
│       ├── postsSlice.js
├── components/
│   └── Navbar.jsx
├── App.jsx
├── main.jsx
└── index.css
Step 3.1: Create the Redux Store
Create a store.js file in the src/app folder:
import { configureStore } from '@reduxjs/toolkit';
import postsReducer from '../features/posts/postsSlice';

export const store = configureStore({
  reducer: {
    posts: postsReducer,
  },
});
Step 3.2: Create a Slice with Async Logic
We’ll use createAsyncThunk to handle API calls. Create a postsSlice.js file in the src/features/posts folder:
import { createSlice, createAsyncThunk } from '@reduxjs/toolkit';
import axios from 'axios';

// Async thunk to fetch posts
export const fetchPosts = createAsyncThunk('posts/fetchPosts', async () => {
  const response = await axios.get('https://jsonplaceholder.typicode.com/posts');
  return response.data;
});

const initialState = {
  posts: [],
  status: 'idle', // 'idle' | 'loading' | 'succeeded' | 'failed'
  error: null,
};

const postsSlice = createSlice({
  name: 'posts',
  initialState,
  reducers: {},
  extraReducers: (builder) => {
    builder
      .addCase(fetchPosts.pending, (state) => {
        state.status = 'loading';
      })
      .addCase(fetchPosts.fulfilled, (state, action) => {
        state.status = 'succeeded';
        state.posts = action.payload;
      })
      .addCase(fetchPosts.rejected, (state, action) => {
        state.status = 'failed';
        state.error = action.error.message;
      });
  },
});

export default postsSlice.reducer;
Step 3.3: Provide the Store to the App
Wrap your app with the Redux Provider in src/main.jsx:
import React from 'react';
import ReactDOM from 'react-dom/client';
import { Provider } from 'react-redux';
import App from './App';
import './index.css';
import { store } from './app/store';

ReactDOM.createRoot(document.getElementById('root')).render(
  <React.StrictMode>
    <Provider store={store}>
      <App />
    </Provider>
  </React.StrictMode>
);
Step 4: Create the Posts Component
Now, let’s create a Posts.jsx component in the src/features/posts folder:
import React, { useEffect } from "react";
import { useDispatch, useSelector } from "react-redux";
import { fetchPosts } from "./postSlice";

const Post = () => {
  const dispatch = useDispatch();
  const posts = useSelector((state) => state.posts.posts);
  const status = useSelector((state) => state.posts.status);
  const error = useSelector((state) => state.posts.error);
  useEffect(() => {
    if (status === "idle") {
      dispatch(fetchPosts());
    }
  }, [dispatch, status]);
  let content;
  if (status === "loading") {
    content = <div>Loading...</div>;
  } else if (status === "failed") {
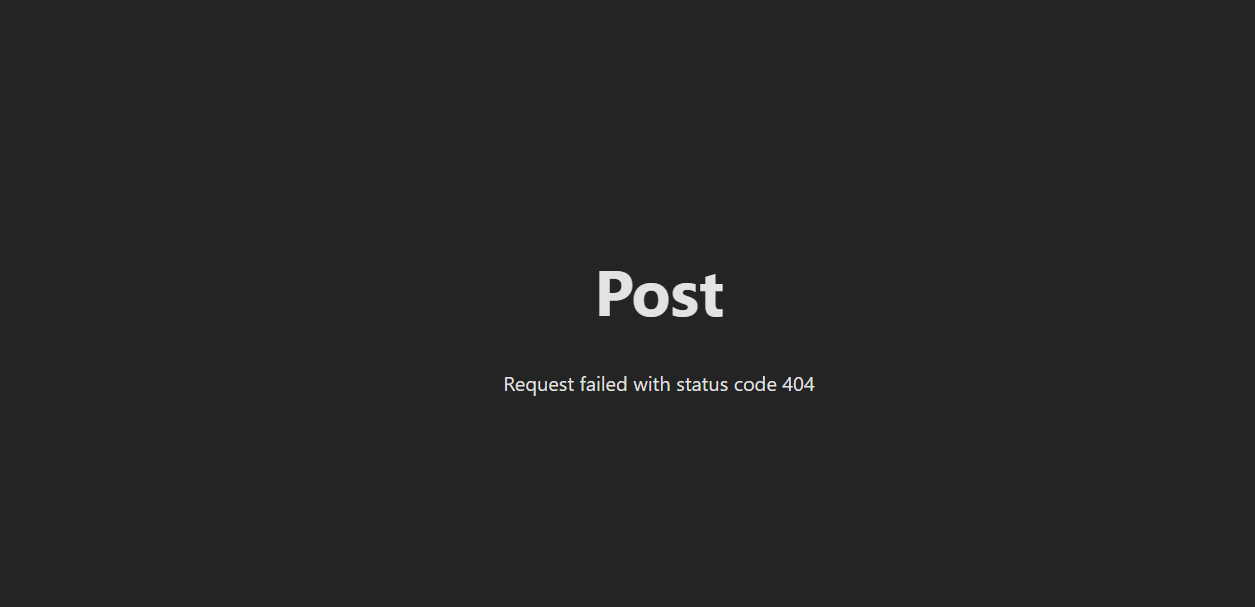
    content = <div>{error}</div>;
  } else {
    content = posts.map((post) => (
      <div key={post.id}>
        <h2>{post.title}</h2>
        <p>{post.body}</p>
      </div>
    ));
  }
  return (
    <div>
      <h1>Post</h1>
      {content}
    </div>
  );
};

export default Post;
Step 5: Update the App Component
Update src/App.jsx to render the Posts component:
import React from 'react';
import Posts from './features/posts/Posts';

function App() {
  return (
    <div>
      <Posts />
    </div>
  );
}

export default App;
Step 6: Run the Project
Start the development server:
npm run dev
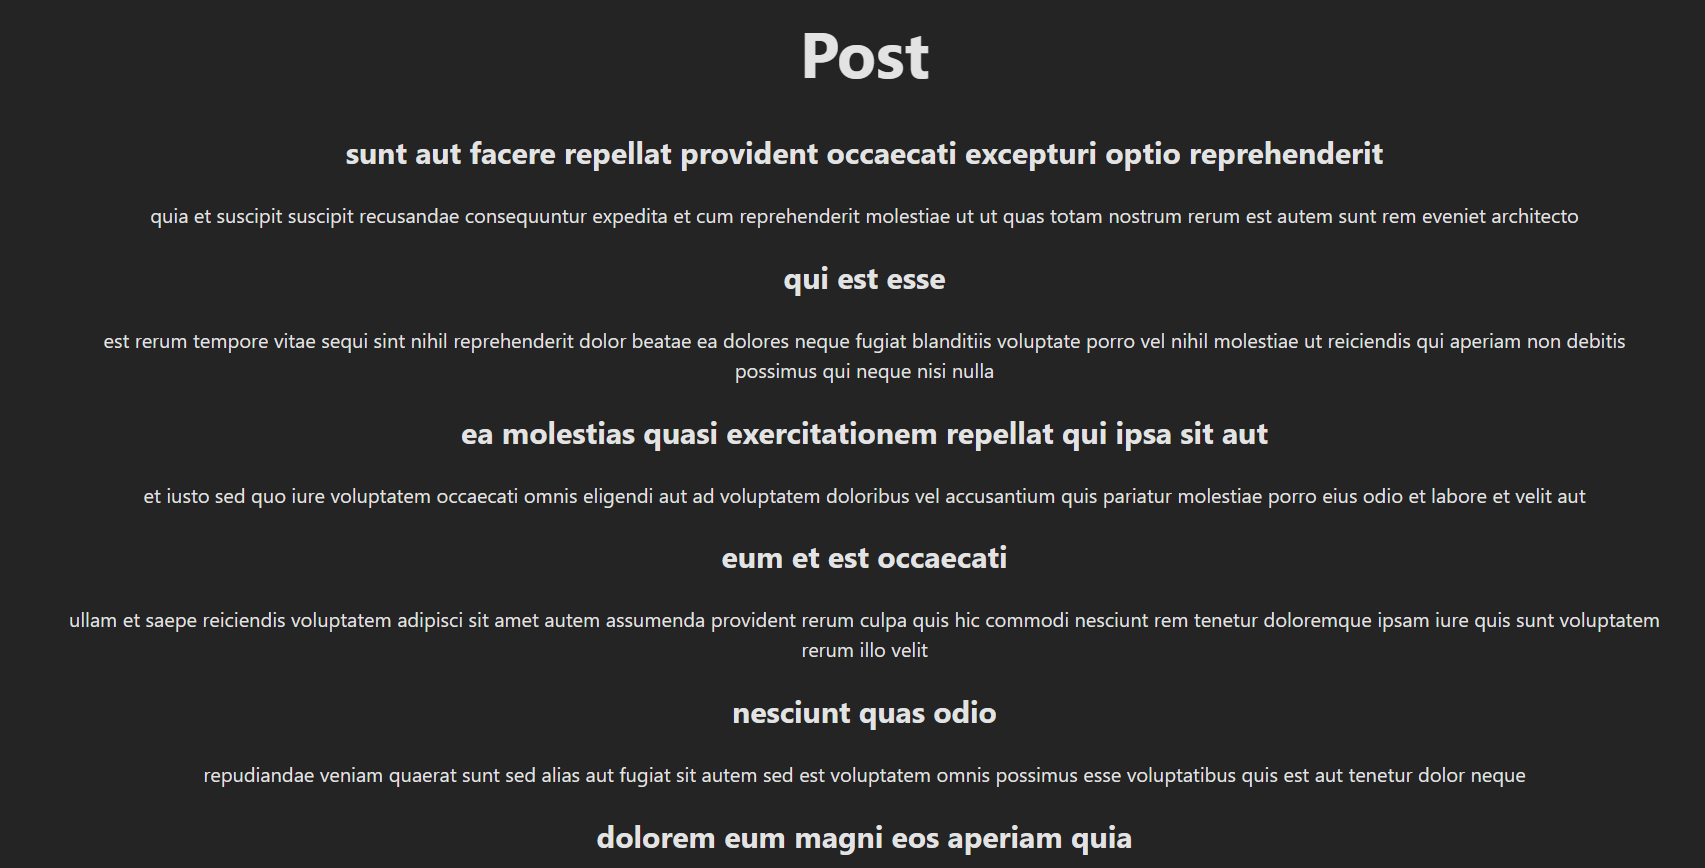
Visit http://localhost:5173 in your browser, and you should see a list of posts fetched from the API!


Conclusion
In this tutorial, we built a React app using Vite and Redux Toolkit to demonstrate how to handle asynchronous API calls with createAsyncThunk. We fetched data from a public API and managed the loading, success, and error states efficiently.
Subscribe to my newsletter
Read articles from Samrat X directly inside your inbox. Subscribe to the newsletter, and don't miss out.
Written by
