Jenkins: Job creation & building script with groovy syntax
 Nikitha Jain
Explore the Jenkins Dashboard
After installation and completing the initial setup, you’ll be directed to the Jenkins Dashboard. This is your command center for creating and managing jobs, pipelines, and monitoring Jenkins’ overall status.
The Jenkins dashboard provides:
New Item: Create a new job or pipeline.
Build History: View the history of previous builds, including status (success/failure), and logs.
Manage Jenkins: Configure global settings, install plugins, and manage users.
People: View user activity, such as who triggered a build or who created a job.
Spend some time getting familiar with the Jenkins UI and explore its sections.
Create Your First Jenkins Job
To set up CD:
Create a New Pipeline Job:
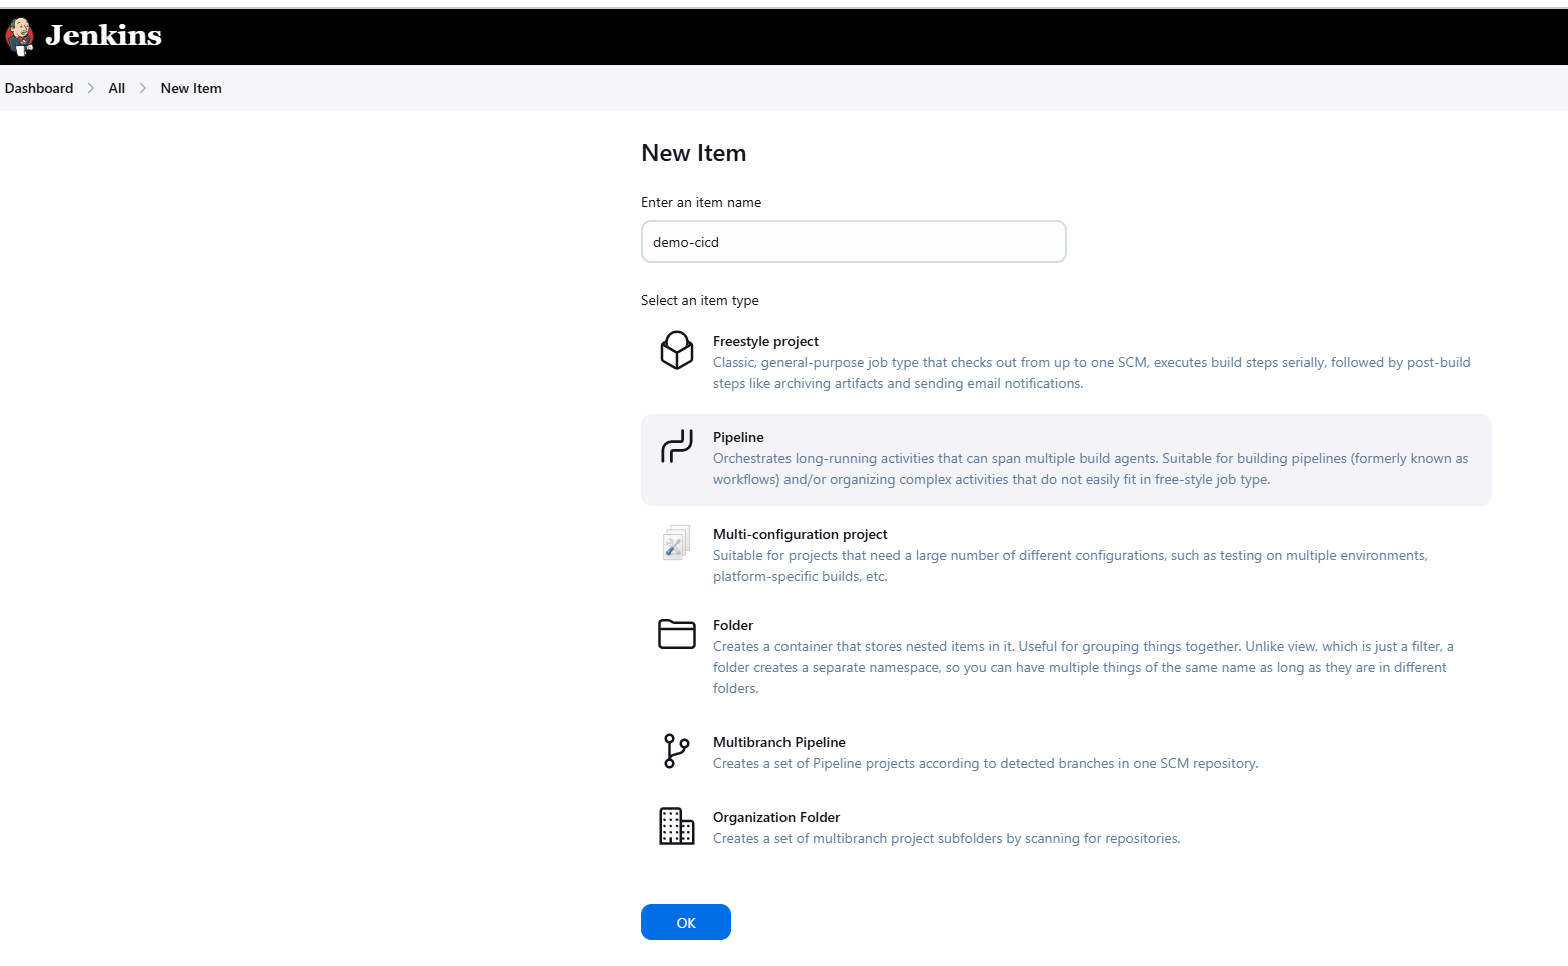
In Jenkins, go to the New Item menu, choose Pipeline, and give it a name.
Define the Pipeline Script:
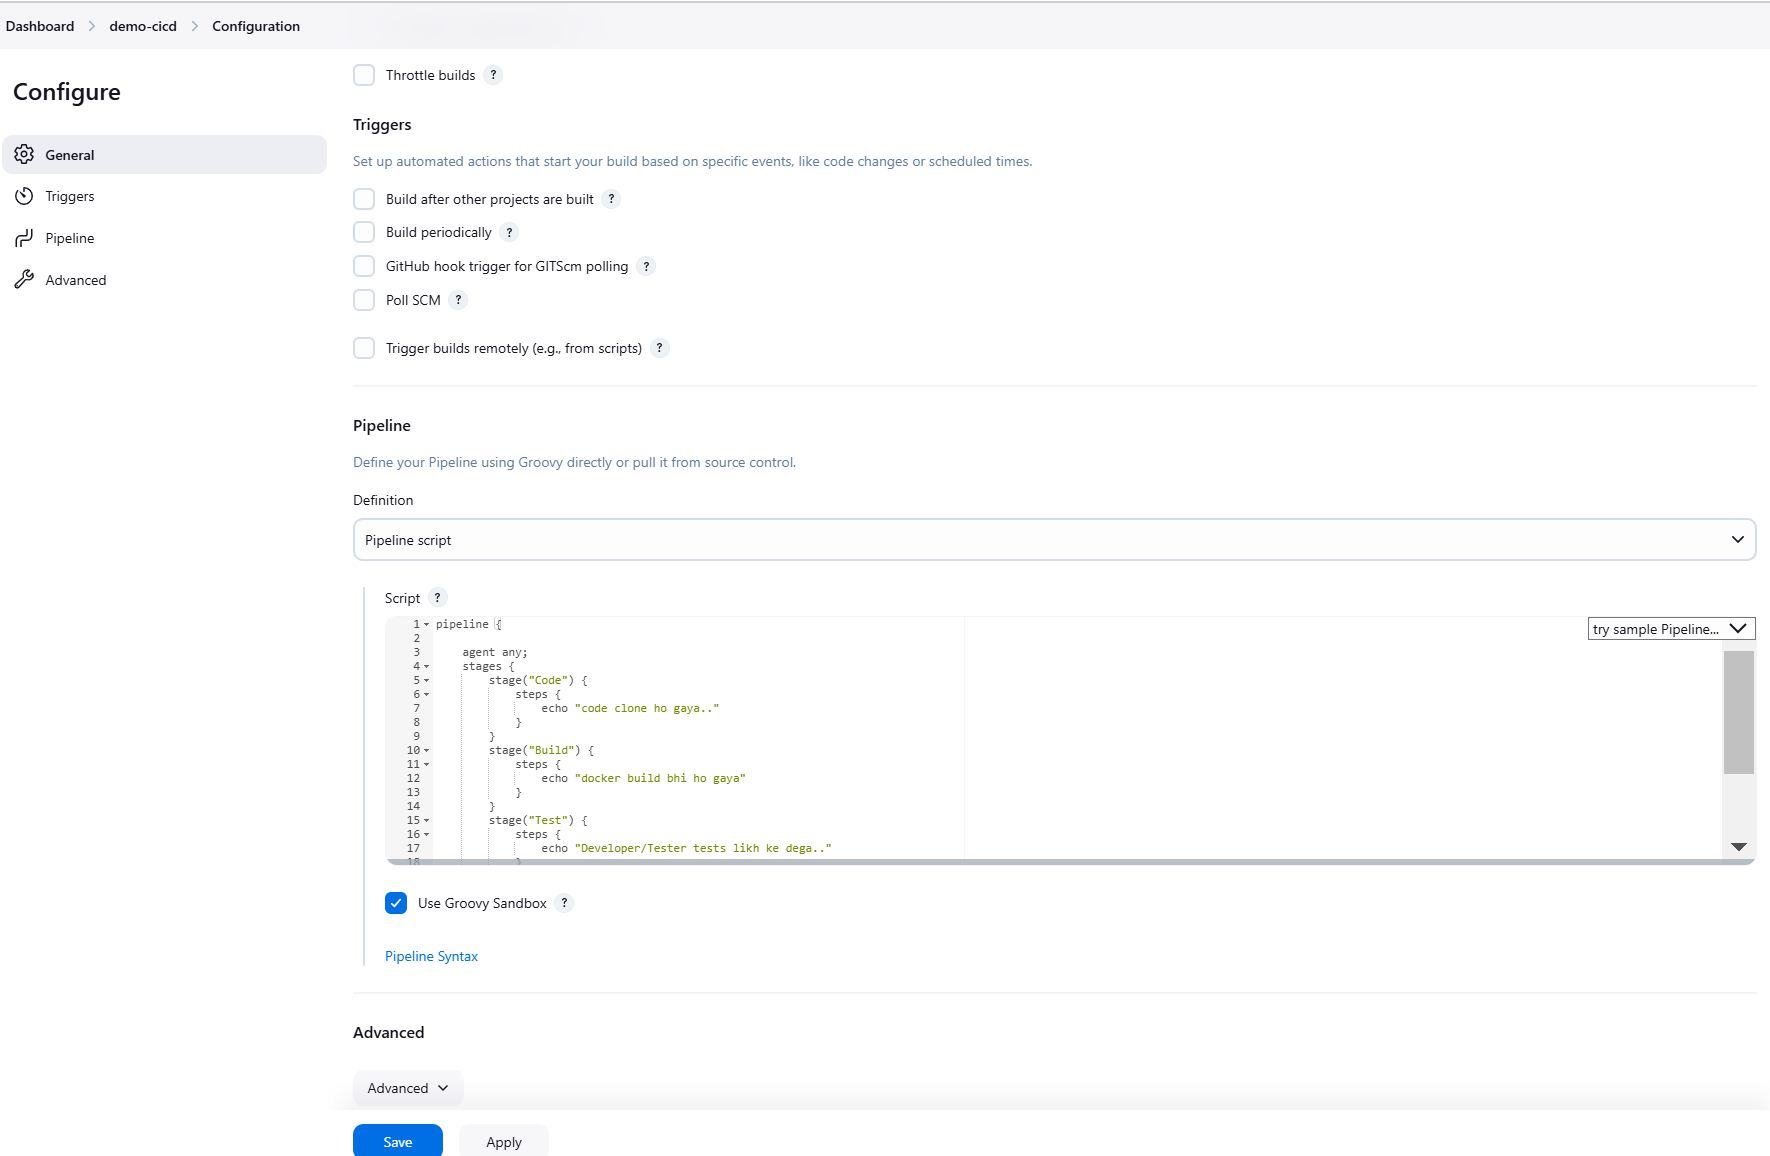
In the job configuration, you’ll see a Pipeline section where you can define your pipeline script in Jenkinsfile syntax.
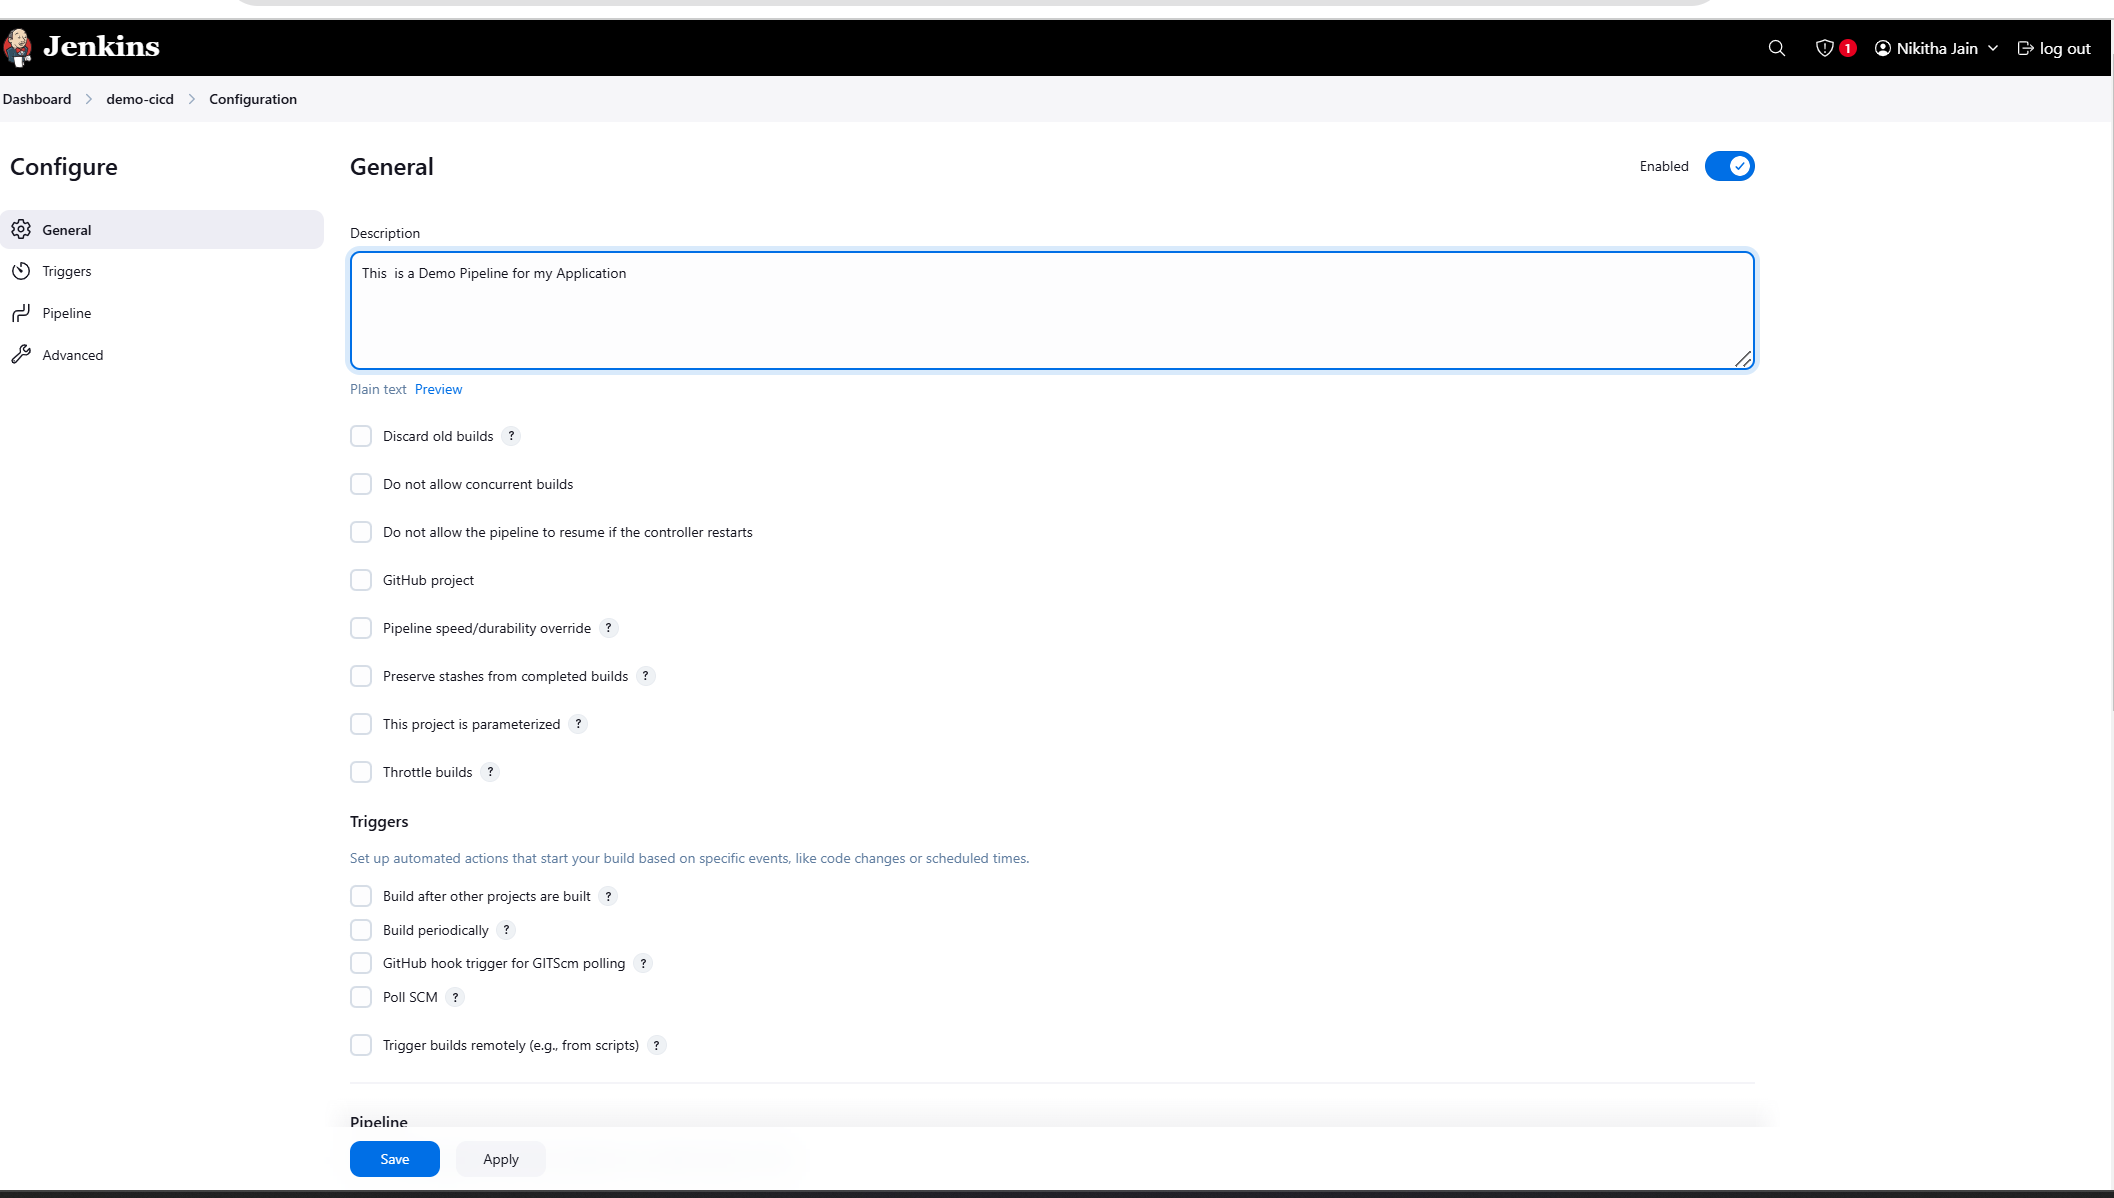
Discard old builds: to make sure our Jenkins is not taking lot of space, we can discard the old builds using log rotation strategy.
Do not allow concurrent builds: It’s just if you can on build it concurrently builds. This can take your RAM.
Do not allow the pipeline to resume if the controller restarts: A controller check which jobs to start and which job to not to start.
Github project: Can provide git url and Name

Pipeline speed/durability override: if Jenkins fails, then it runs its pipeline speed.
Preserve stashes from complete builds: After build completes, if their is any need for preserving logs or cache then it does that.
This Project is parameterised: providing runtime arguments. Adding parameters like we do for shell scripting.
Throttle builds: here you can mention number of builds and Time period required between each build.
We use a special syntax for pipeline which is on Groovy syntax,
They are two types:
Declarative syntax and Static Syntax
Below you can see the Declarative syntax and static syntax is written with execute shell where you can write all the Commands like we do on CLI.
A basic pipeline script for deploying an application might look like this:
pipeline {

    agent any;
    stages {
        stage("Code") {
            steps {
                echo "code clone ho gaya.."
            }
        }
        stage("Build") {
            steps {
                echo "docker build bhi ho gaya"
            }
        }
        stage("Test") {
            steps {
                echo "Developer/Tester tests likh ke dega.."
            }
        }
        stage("Deploy") {
            steps {
                echo "Docker compose se deploy bhi ho gaya"
            }
        }
   }
}
Save it.
Run the Pipeline:
Once the pipeline is configured, trigger the pipeline manually or based on events (e.g., Git commits).
Jenkins will execute the pipeline, running each stage (build, deploy, etc.) sequentially.
View Build Status: After a build completes, Jenkins shows the build status (success, failure, unstable). You can drill down to view detailed logs and error messages.

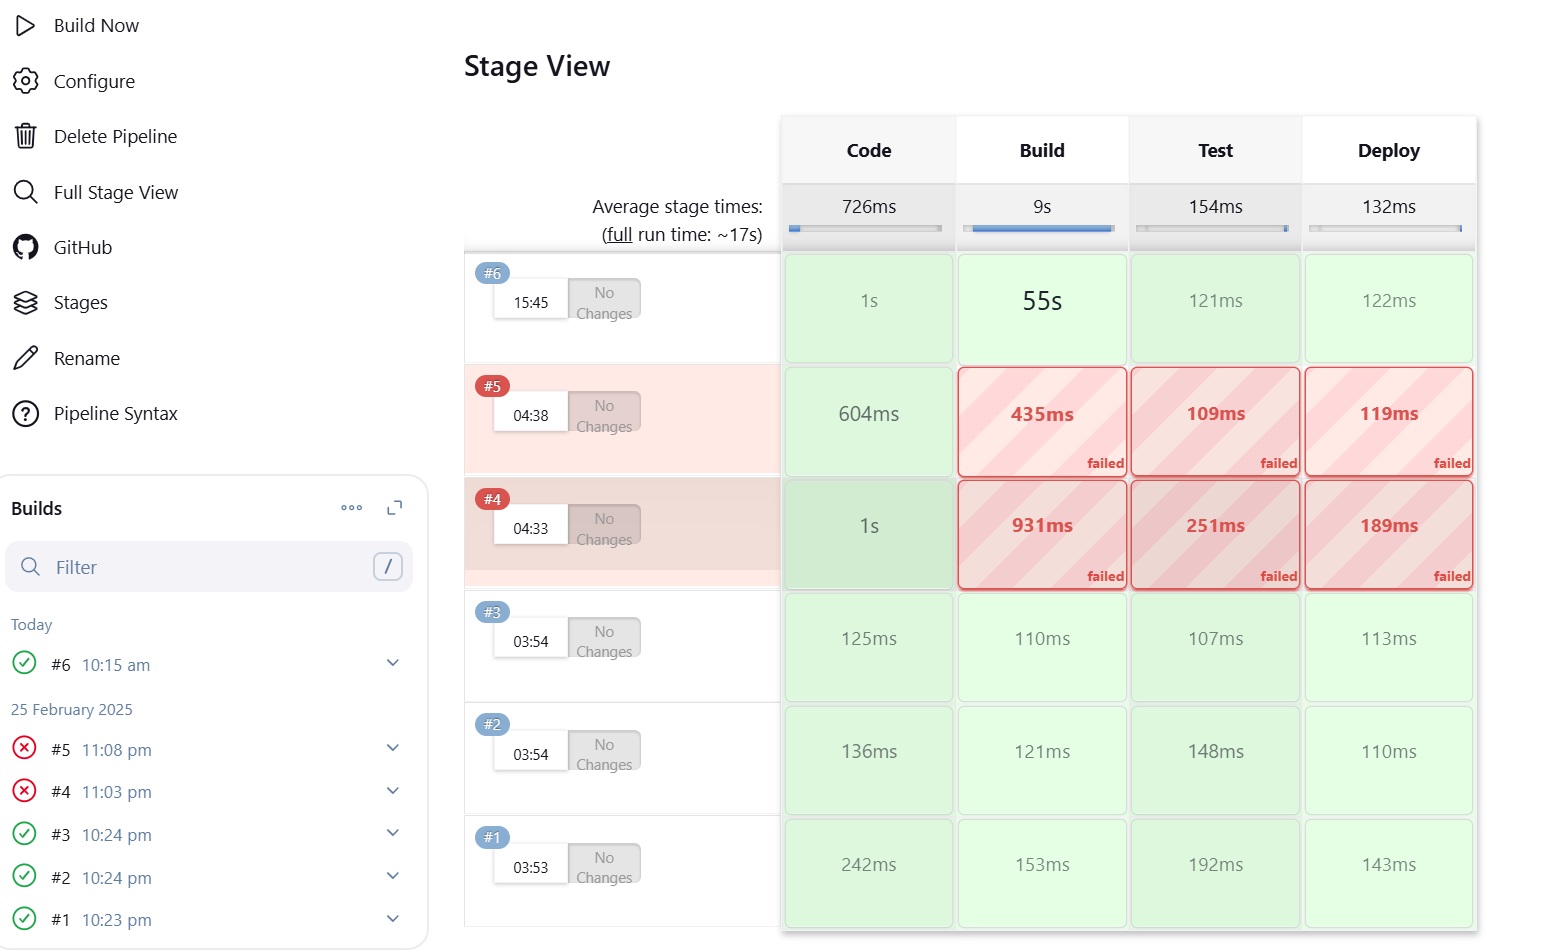
As you can see below the build is successful,
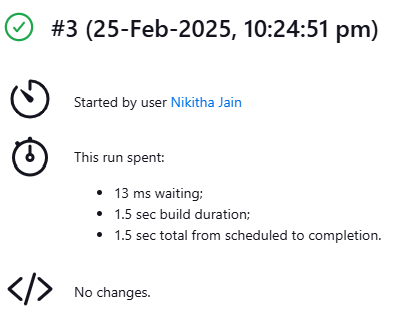
Jenkins will execute the pipeline, running each stage (build, test, Deploy) sequentially.
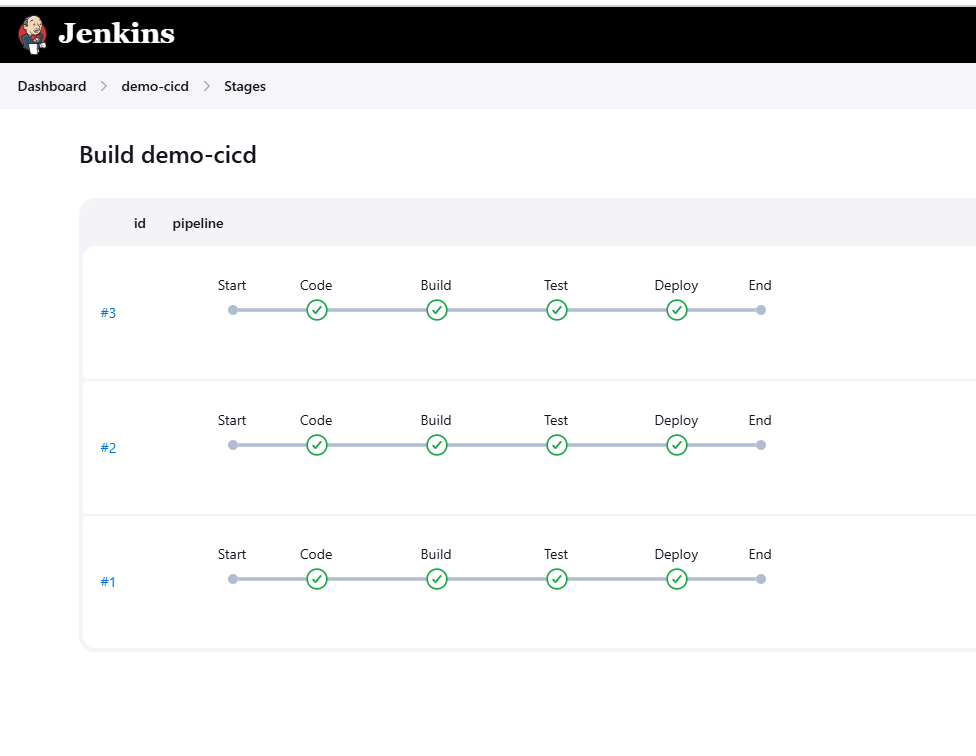
Now go to #1 and then to console, where we can see all the details and the stages here.

Example: Building a two-tier-flask app
Now let’s write a real code
Install,
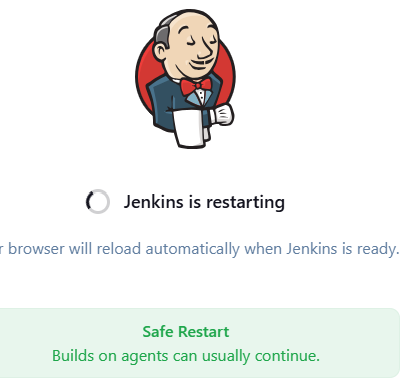
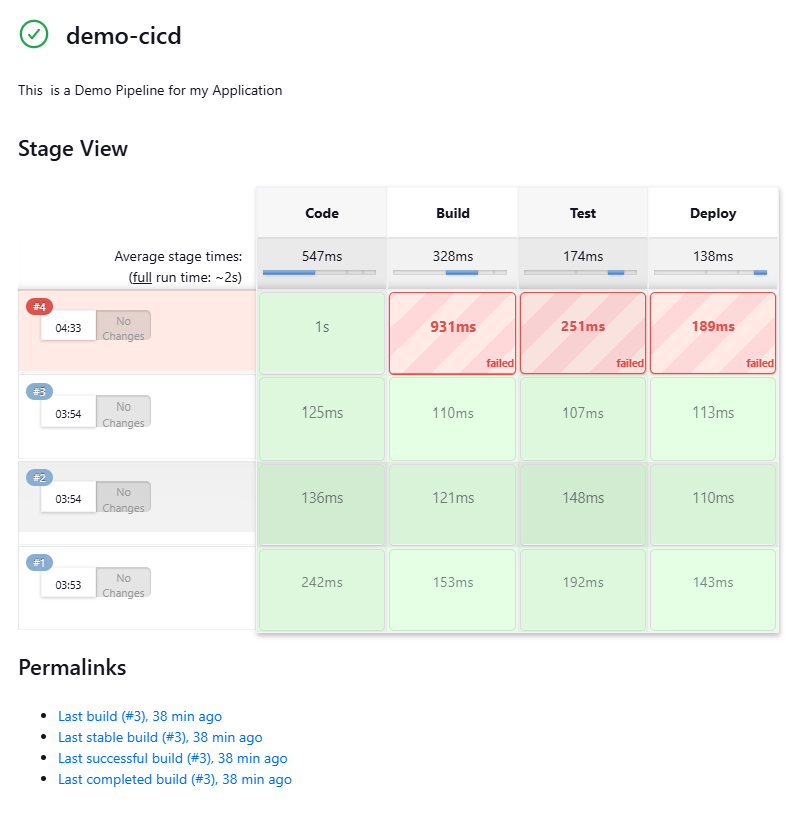
sudo apt-get install docker-compose-v2Add pipeline stage view plugin and then install, perform restart, to view the stage view as below,
pipeline {

    agent any;
    stages {
        stage("Code") {
            steps {
                git url: "https://github.com/LondheShubham153/two-tier-flask-app.git",branch: "master"
            }
        }
        stage("Build") {
            steps {
                sh "docker build -t myapp ."
            }
        }
        stage("Test") {
            steps {
                echo "Developer/Tester tests likh ke dega.."
            }
        }
        stage("Deploy") {
            steps {
                sh "docker compose up -d"
            }
        }
   }
}
Once you build the first two stages, then you can see an error as docker not found and docker daemon permission denied.
Install docker using sudo apt-get install docker.io
Now, run these commands in CLI to fix the errors in
sudo usermod -aG docker jenkins
sudo usermod -aG docker $USER
newgrp docker
sudo systemctl restart jenkins


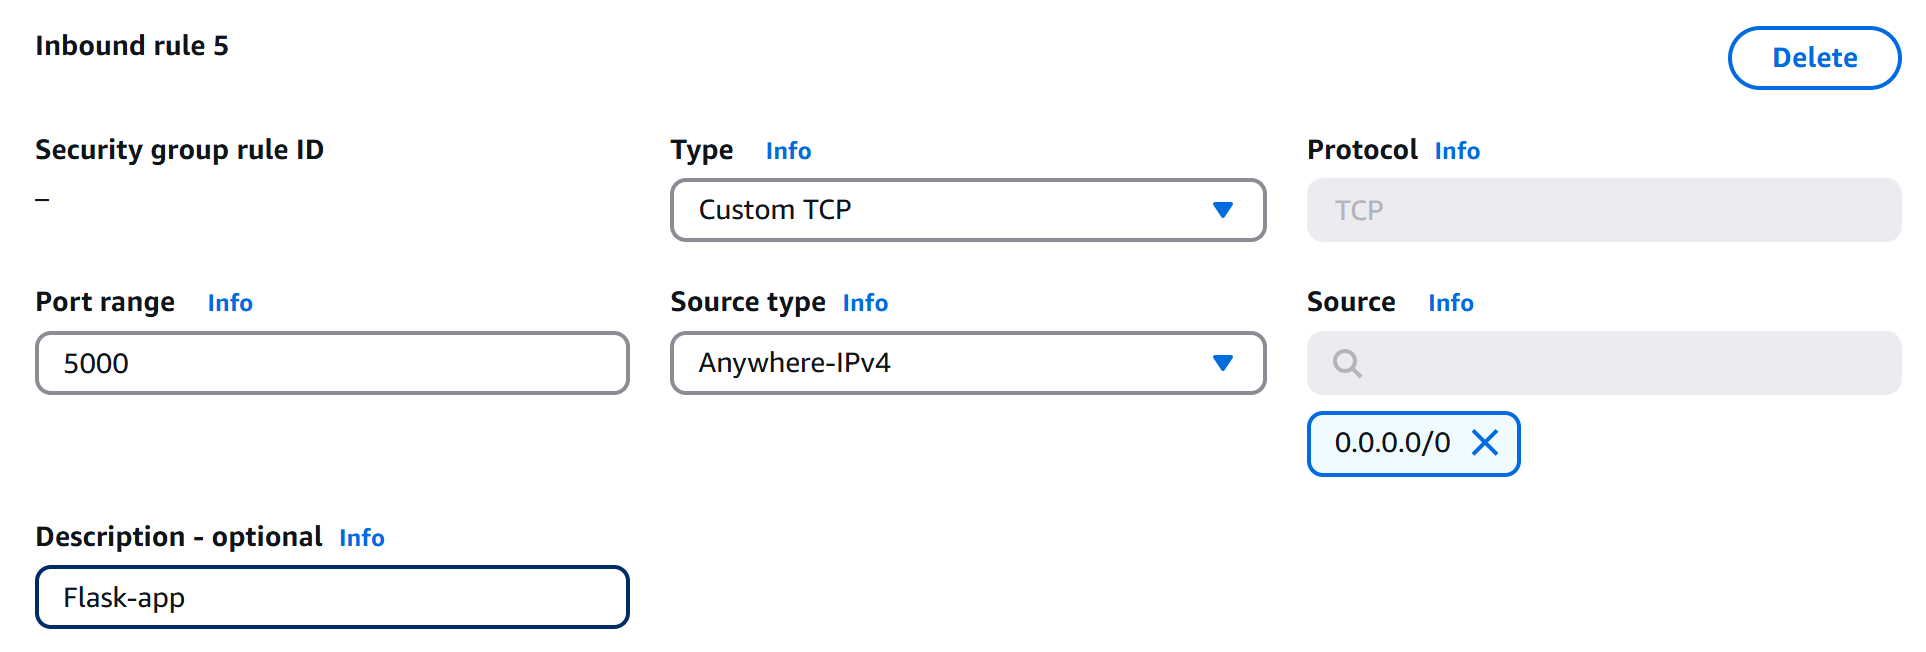
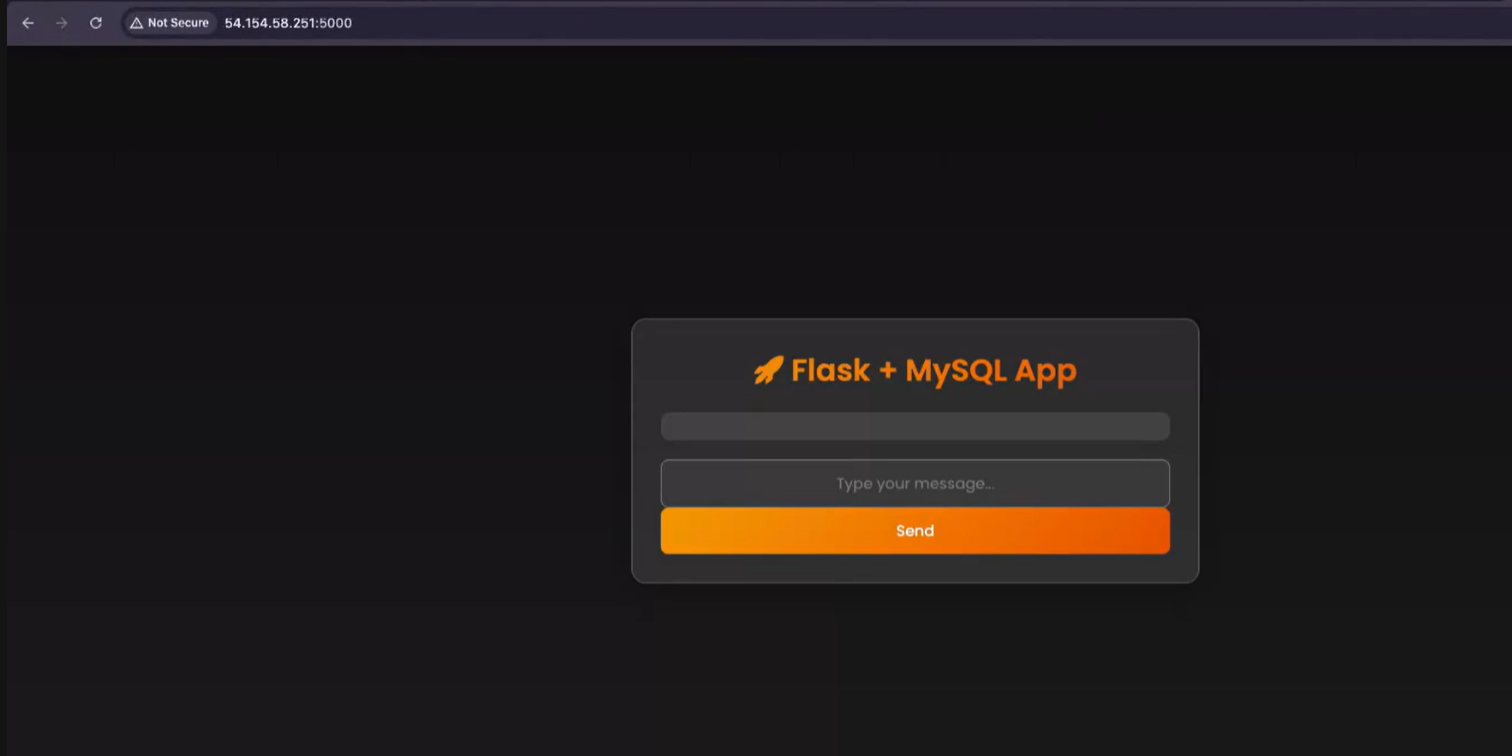
Now go, to security group and open port 5000 as the app runs on port 5000
Conclusion:
Jenkins is a Open-source tool that acts as a Heart of the Devops tool and it integrates all other tools.
Subscribe to my newsletter
Read articles from Nikitha Jain directly inside your inbox. Subscribe to the newsletter, and don't miss out.
Written by
