How to Stage, Commit, and Push Code to GitHub Using CLI and Deploy to Azure
 Bukunmi Samson Okunola
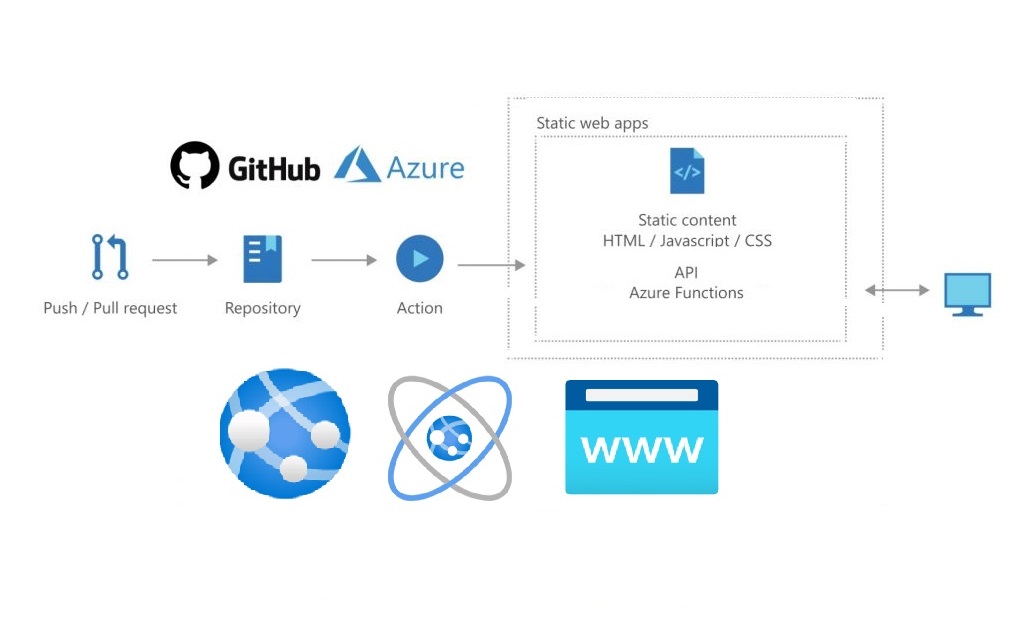
In this blog, we will take you through a step-by-step journey to mastering the art of creating projects on GitHub. We will cover how to initialize a Git repository using Git Bash, stage and commit your project code, and push it to a new GitHub repository.
Additionally, we will guide you through setting up Azure App Service. This includes using the Azure CLI to create a Resource Group and an App Service Plan, as well as creating an Azure Web Service via the CLI. Finally, we will deploy the web application from GitHub to Azure and test the deployment by accessing the application URL.
Before we begin, ensure that Git Bash is installed on your desktop and that you have a GitHub account set up. Now, let's dive in and get started.
The first thing to do is to configure the local environment on GitBash
a) input the command git config --global user.name , press enter

b) Input git config --global user.email press enter

Create Your Folder/Directory
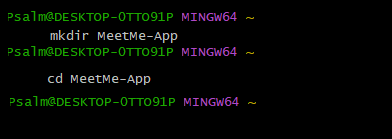
a)To create your directory input the command mkdir, leave a space and give it a name. mkdir which means make a directory. "mkdir MeetMe-App"
b) Input the command "cd (your directory)" and press enter to open your directory
c) Input the command "git init" and press enter. The command initializes a new Git repository in the current working directory. Just like a subdirectory named "git
Create Your Code File And Input Your Code
a)To create a new html file named index.html, input the command "touch index.html" and press enter.
b) To input code in the file, input the command vi

c)A blank space will appear, Click on the letter "i" on your keyboard to edit the file. Right-click and click on paste, to input your code.
d)To continue with your commands, press the esc button on your desktop.
e)To close the index.html file input :wq and press enter.
f) To view your code, input the command cat
Now, we need a repository to house our code -let's quickly create one by going to our GitHub account.
Create Your Repository
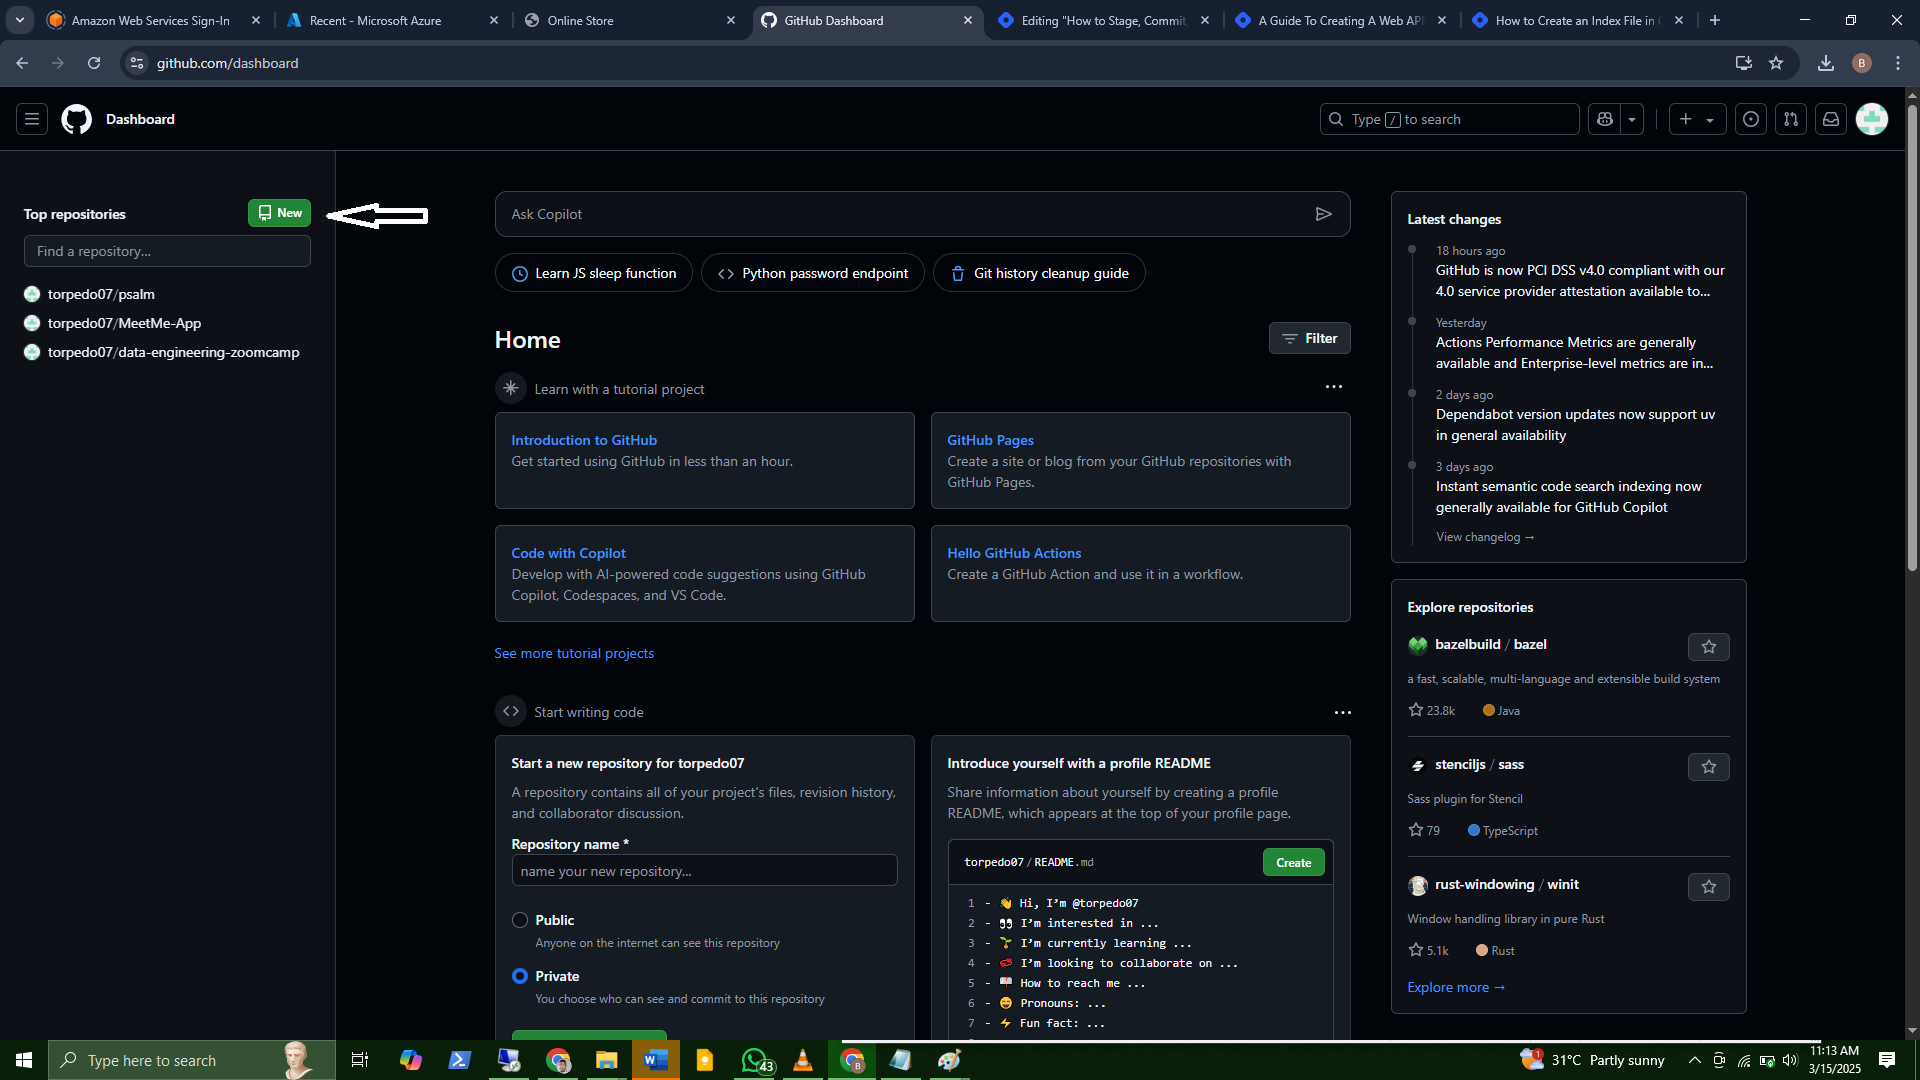
a)To create a new repository, log in to your git account, on the upper-left corner of your page click on the + sign and select "New repository"
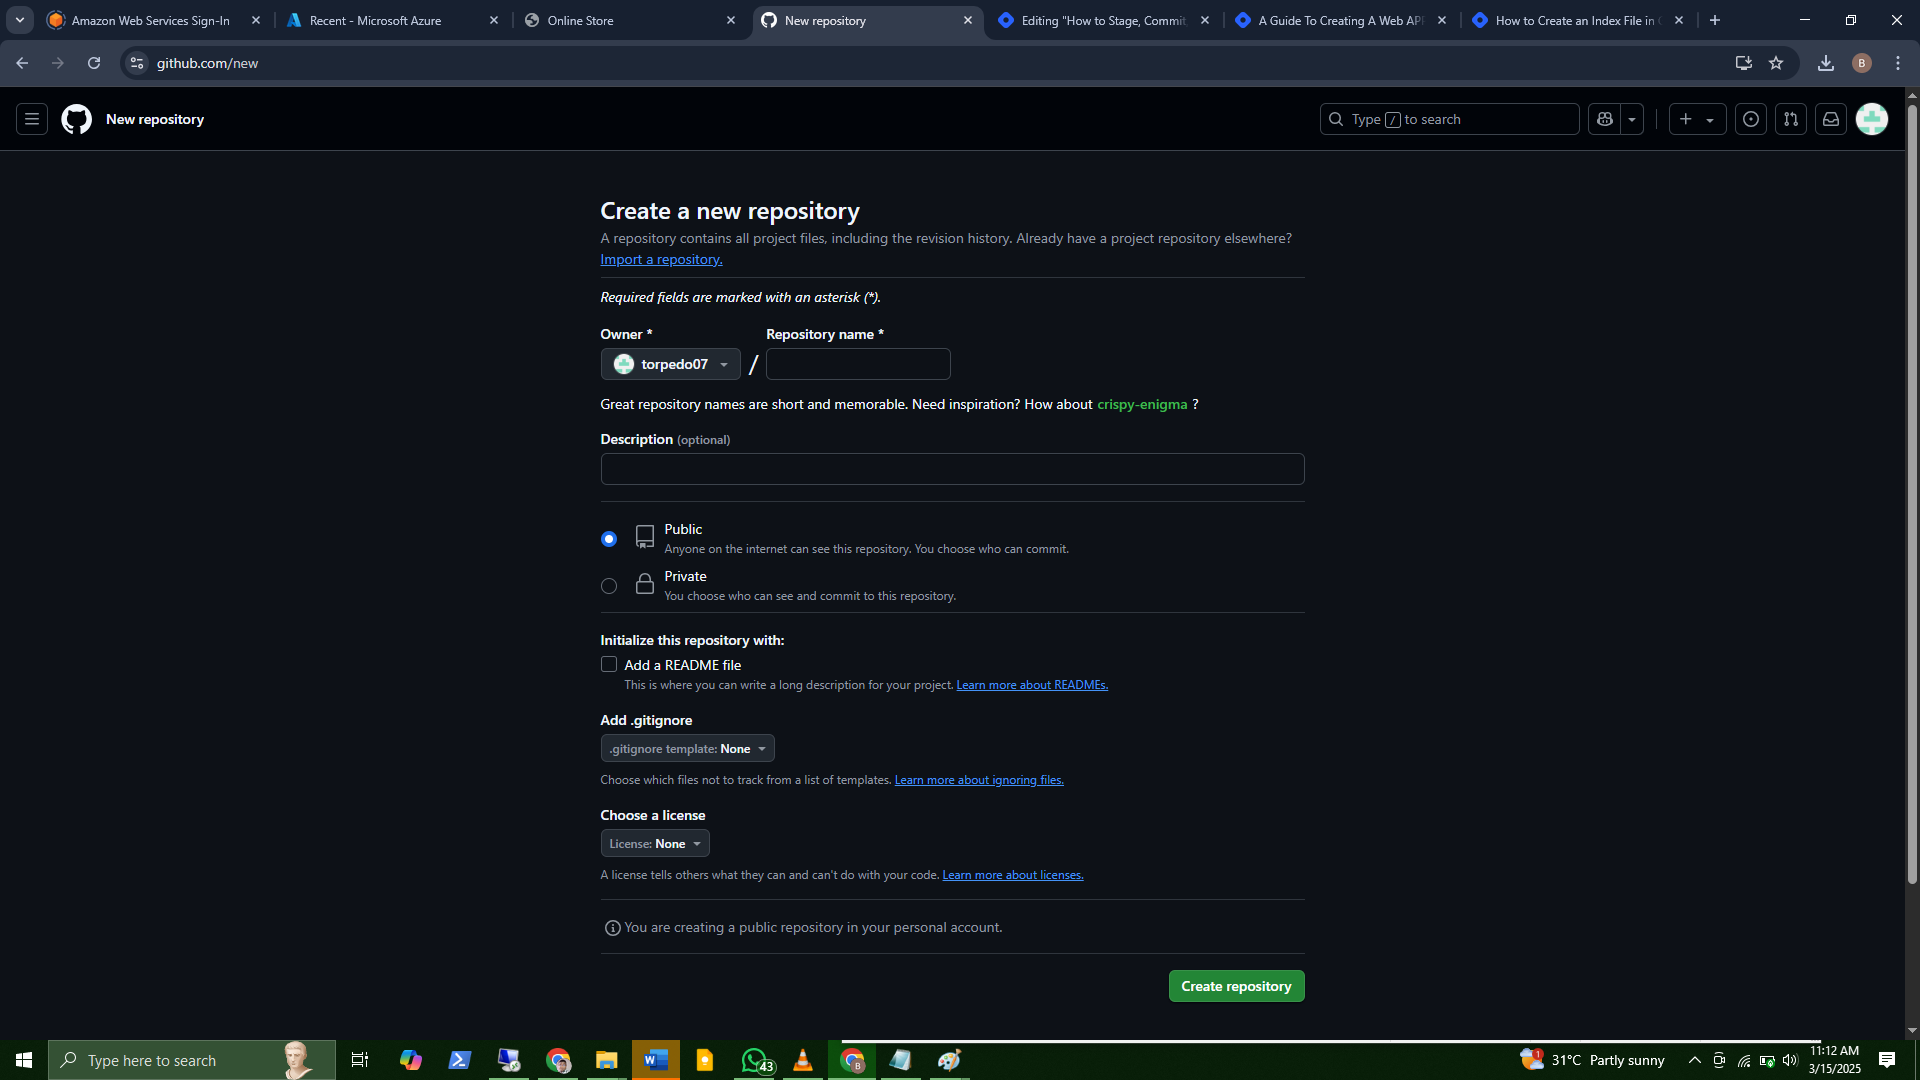
b) Give your repo a name, ensure its public, and tick the "Add a ReadME file" box
c) Click on Create a repository
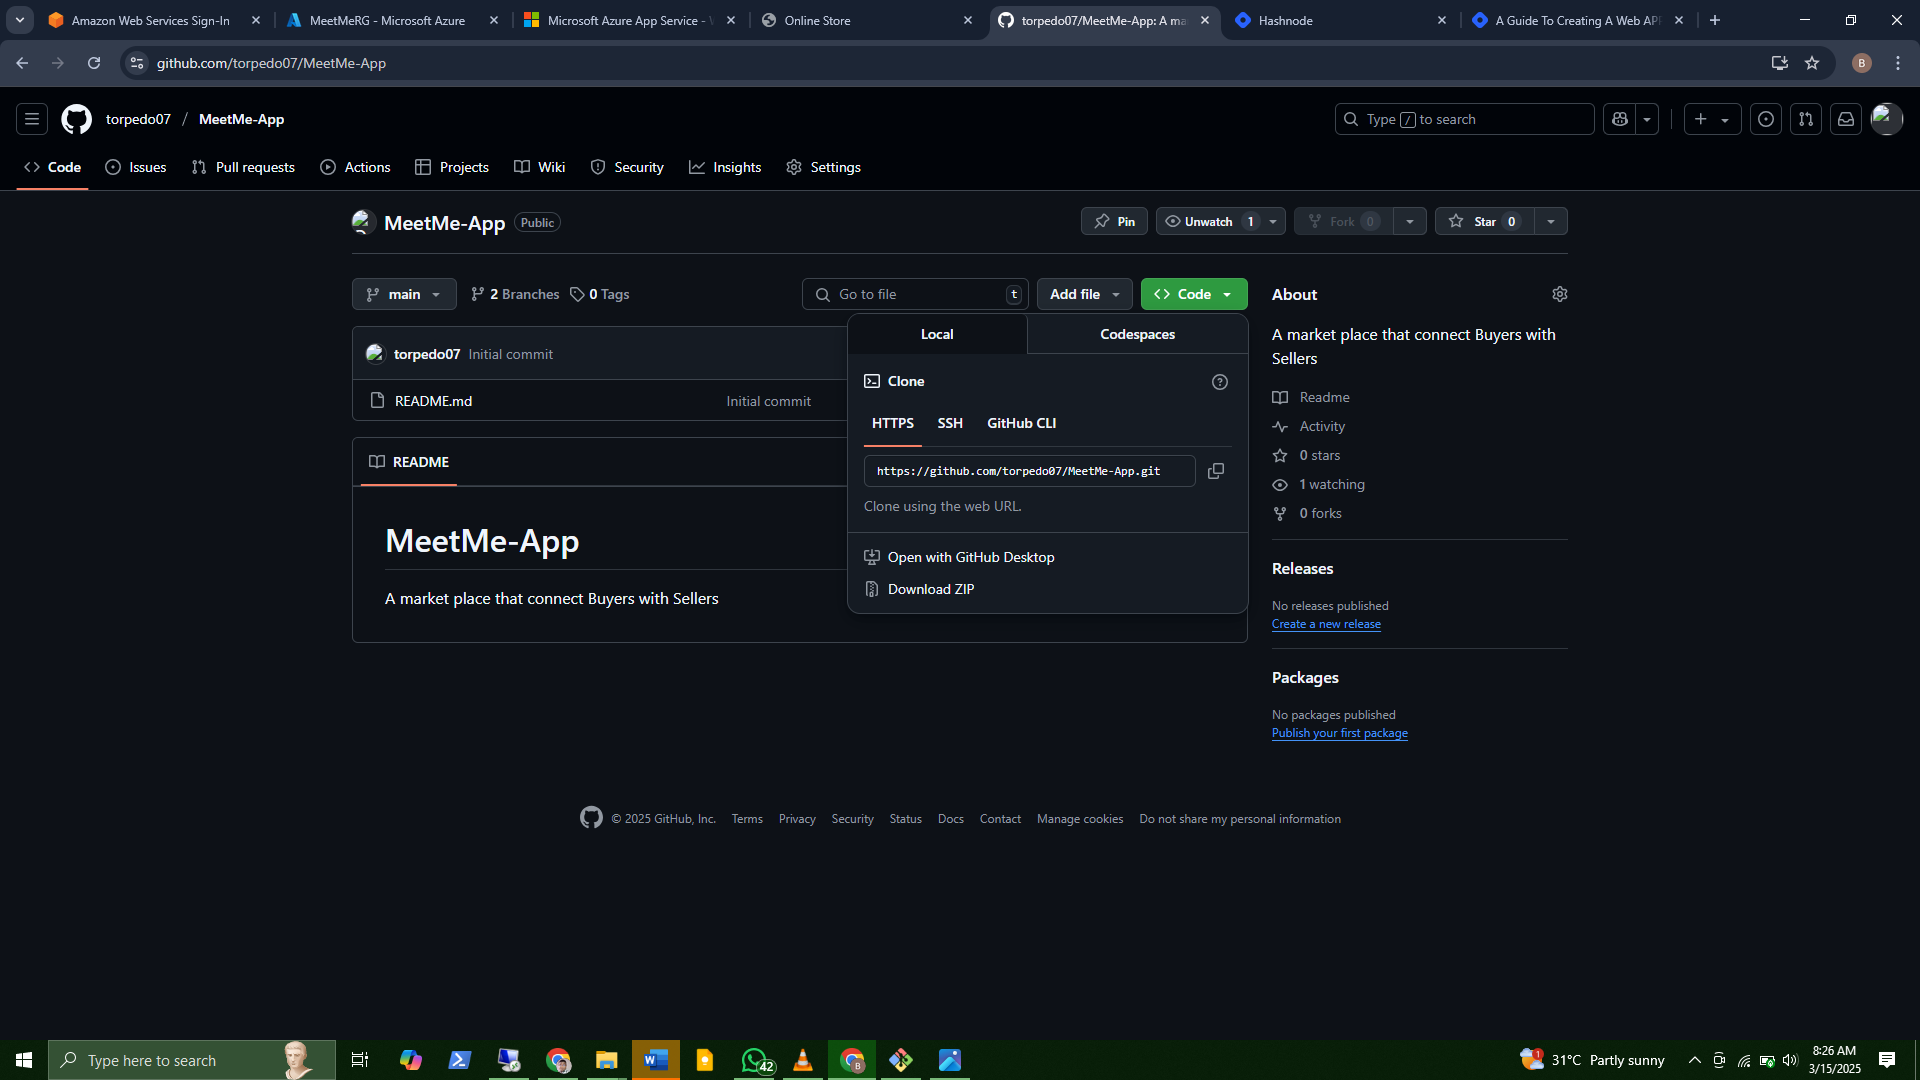
d) On your repository page, click on "Code", and copy the link by clicking on the copy sign and go back to your git bash.
Push To Github using Gitbash
a) To add a remote repository’s origin (named ‘origin’) with its link to your Git repository, you can use the "git remote add origin" command followed by the remote name ("origin") and the URL of the remote repository.
input git remote add origin <remote_repository_url>

b) To add the file input "git add index.html" and enter, also, to check if the file has been added, type "git status". From the information provided, we can see that the new file has been added and can be tracked
To create a new commit in your Git repository with a commit message, input the command git commit -m <the message>. You can check the status by inputting the "git status" command. The next stage is to input the command git push origin master and press enter.

This command pushes the commits from your local "master" branch to the remote repository specified by the remote name "origin". After executing the push command, Git will upload your local commits to the GitHub repository in your master branch as shown in the generated command
Creating A Web APP Using Azure CLI
The first thing to do is to login into your azure portal using the azure CLI
a) Open Powershell terminal on your desktop and type the command az login and press the Enter button on your desktop. You will be redirected to a web browser to sign in to your Azure account. Click on your account.
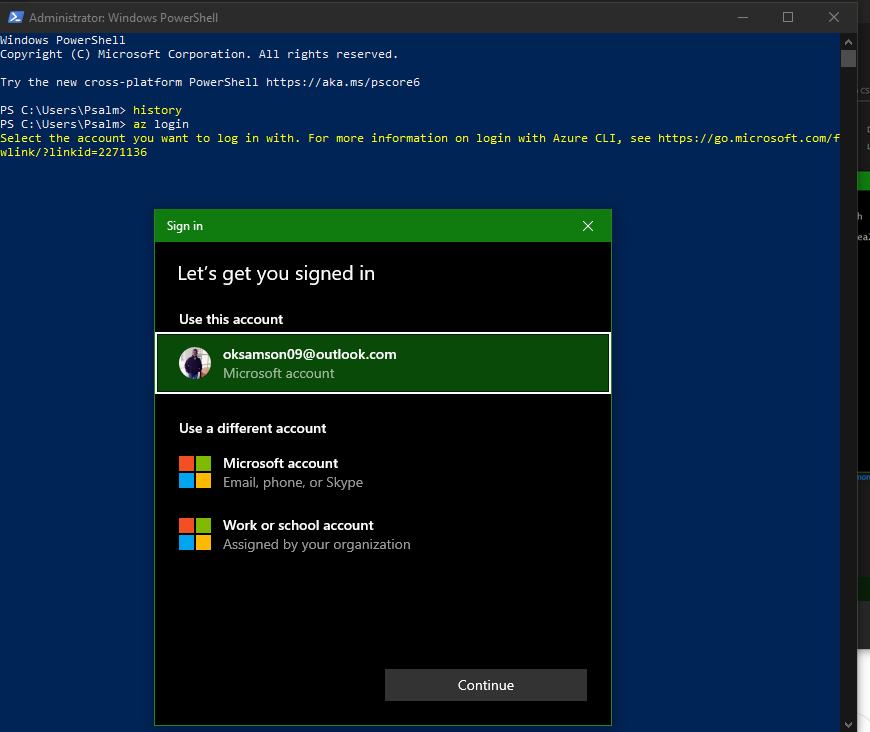
Now that you’ve logged into your azure account using CLI, you can proceed with creating resources
Create Your Resource Group
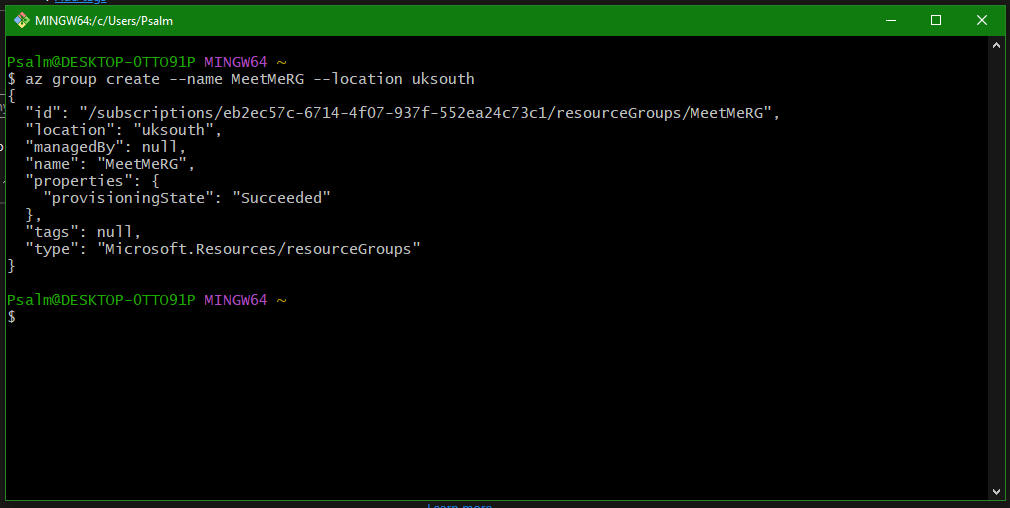
a) To create your resource group that will accommodate your Web App and your App Service Plan.
b) Input the command: az group create --name (name your resource) --location (input the location you want your resource to be) and press enter
Create App Service Plan
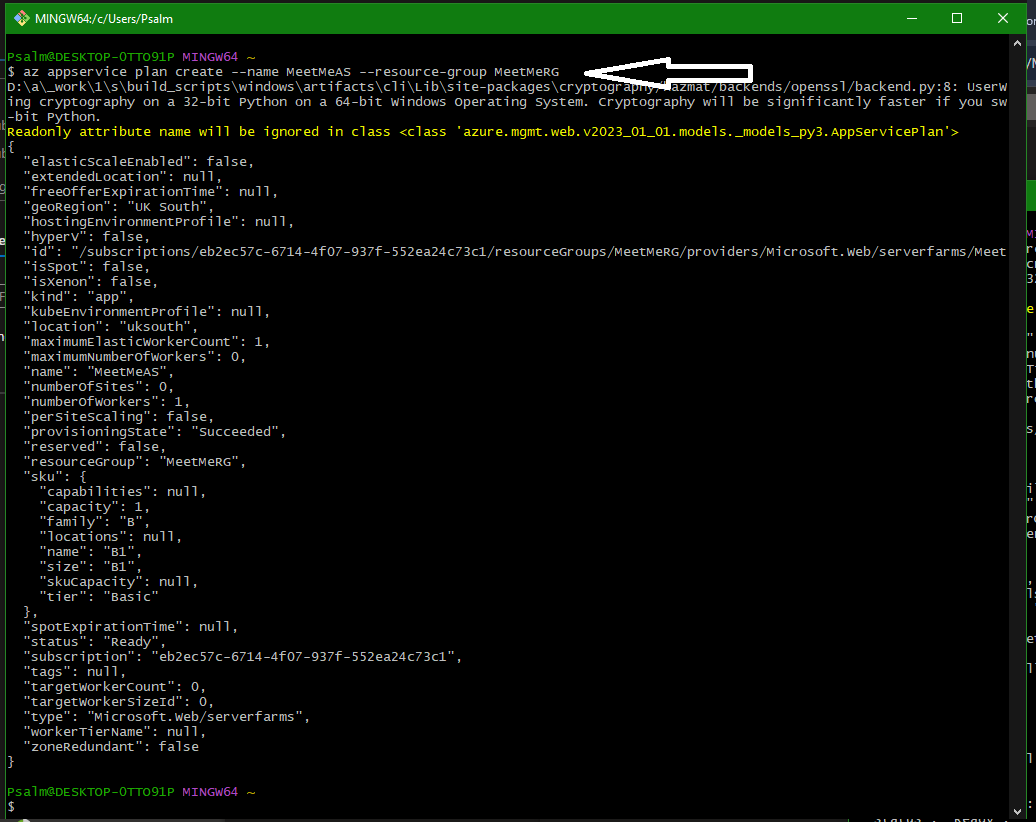
The next step is to create your App service plan, which can be termed an operating system that hosts your web application. It provides the infrastructure and resources needed to run and scale your apps. Input the command:
az appservice plan create --name <name your plan> --resource-group <name of your resource group> and press enter
Create Your Web Application
After successfully creating the app service plan, the next command to input is to create our web application itself.
az webapp create --name <name your web app> --resource-group <resource group name> --plan <name of your plan>
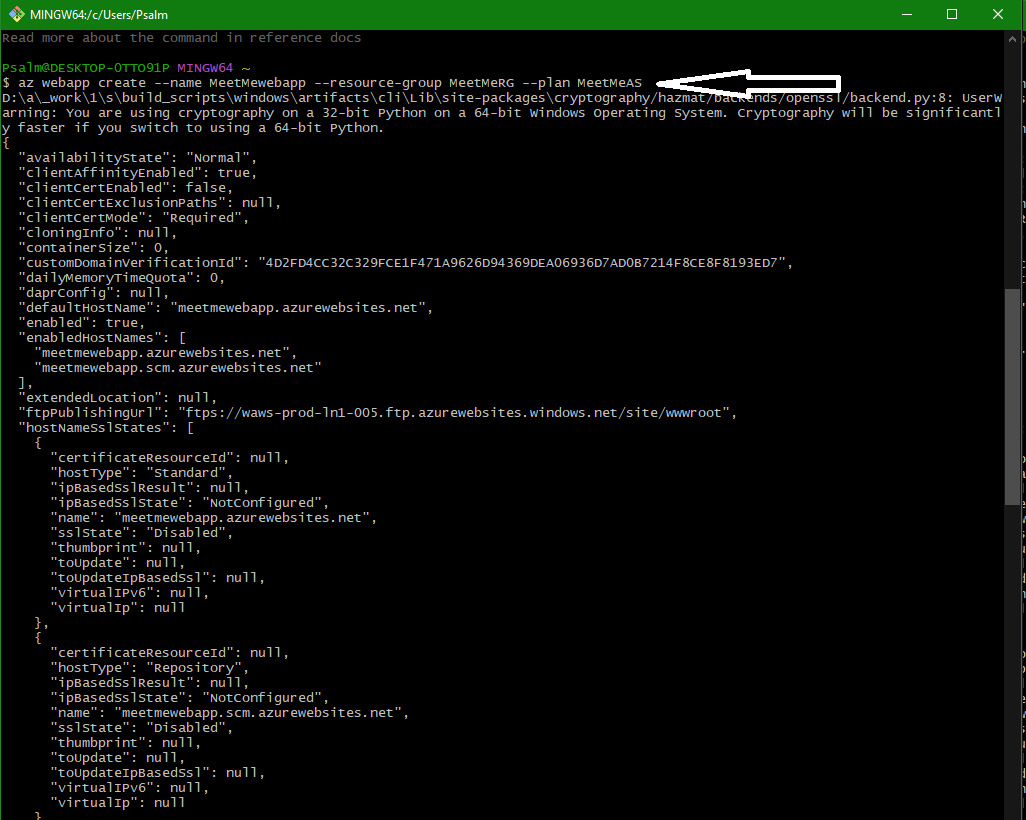
Configure The Deployment Source of Your Web Application
Ensure you copy the URL of your app repository on GitHub like we did when we are trying to push out code to GitHub. Now that you have the URL, input the following command and press enter;
az webapp deployment source config --name <name of your web app> --resource-group <name of your resource group> --repo-url <the HTTPS URL of the web app repo that contains your index file> --branch master --manual-integration.

To view our Web App, navigate to the App Services on the Azure portal, there you have your Web App. Click on your App to see the overview.

Click on the Web App you created to show the details and status of the App.
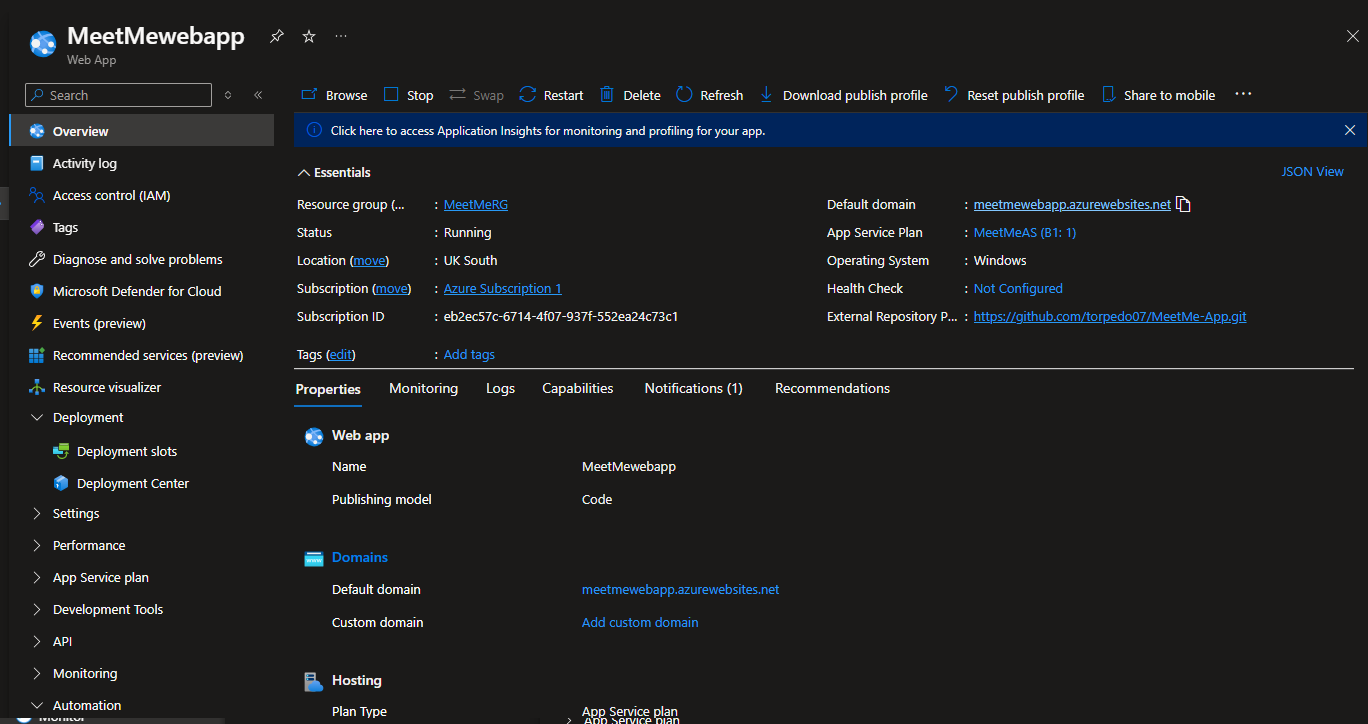
Then click on the default domain link to view your domain.
There you have your default domain reflecting your index.html file.
Subscribe to my newsletter
Read articles from Bukunmi Samson Okunola directly inside your inbox. Subscribe to the newsletter, and don't miss out.
Written by
