IT Help Desk Project: Ticketing Systems
 Mark Downs
Introduction
As someone new to ticketing systems, I wanted to immerse myself in the entire process—from creating a ticket to resolving it and documenting the steps for future reference. My goal was to gain hands-on experience so that, when I enter the workforce, I'll be fully prepared and familiar with how ticketing software operates.
Logging Into Spiceworks
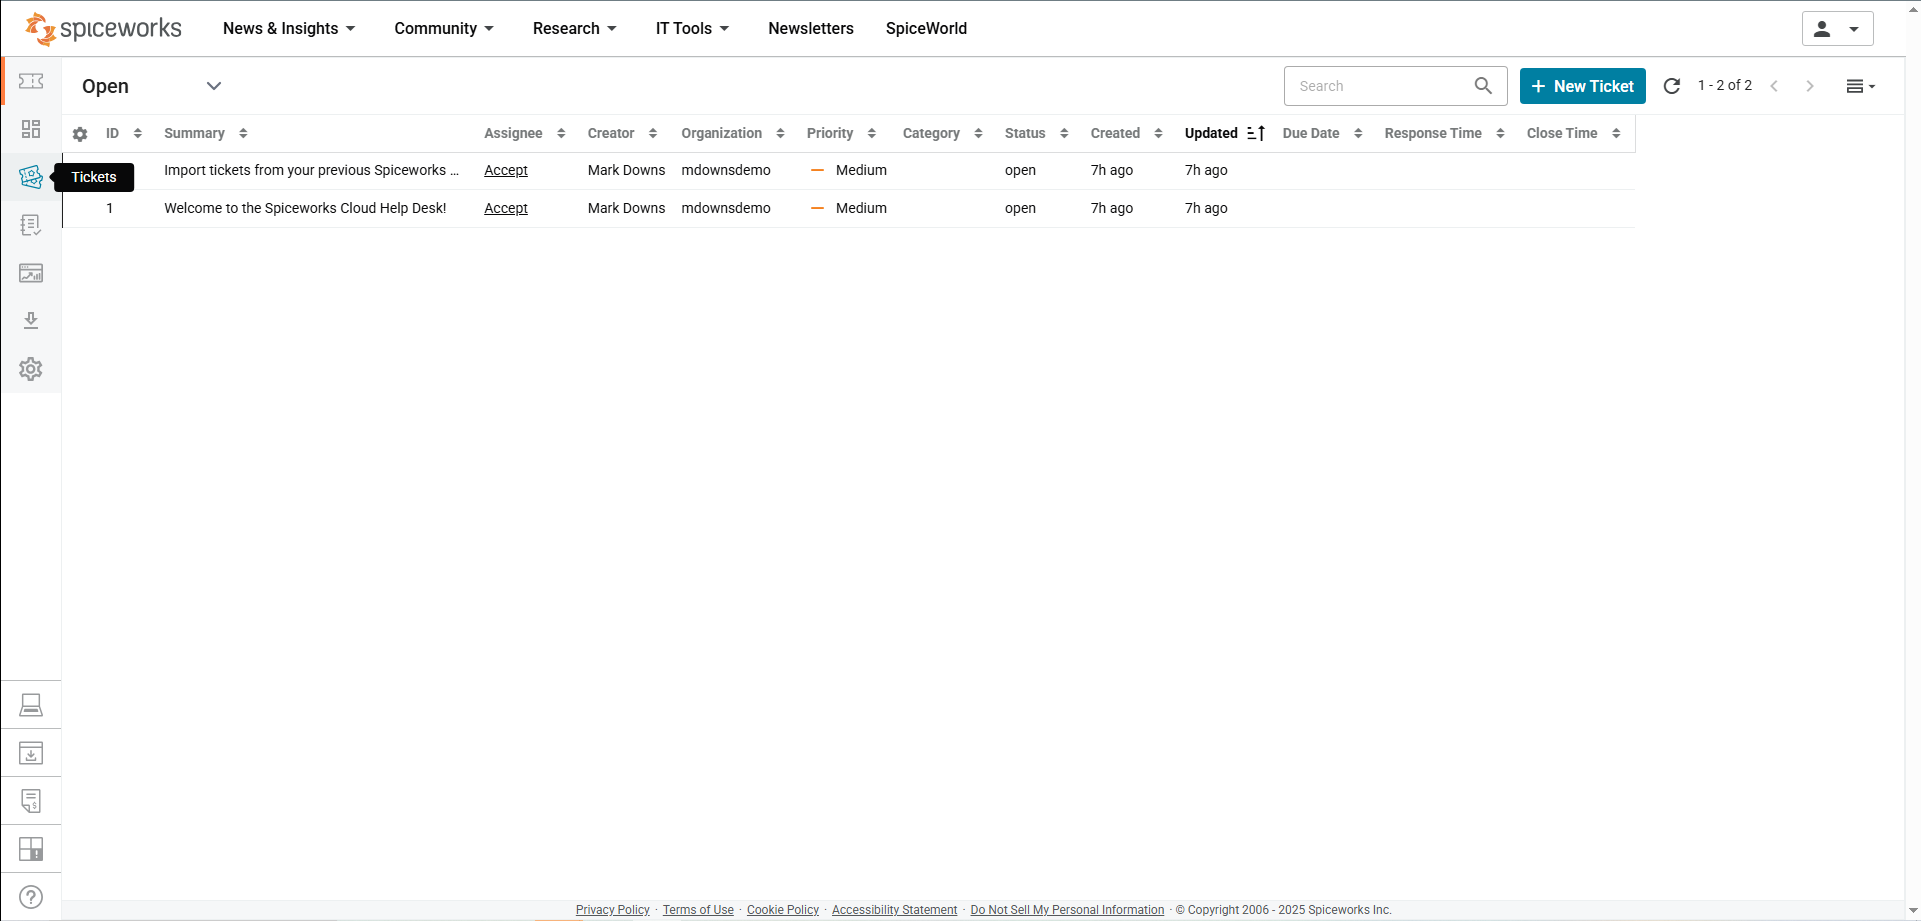
Upon logging into Spiceworks Cloud Help Desk, I was greeted by its dashboard, where I immediately noticed tabs for open tickets, closed tickets, the knowledge base, and settings.
Creating a Ticket
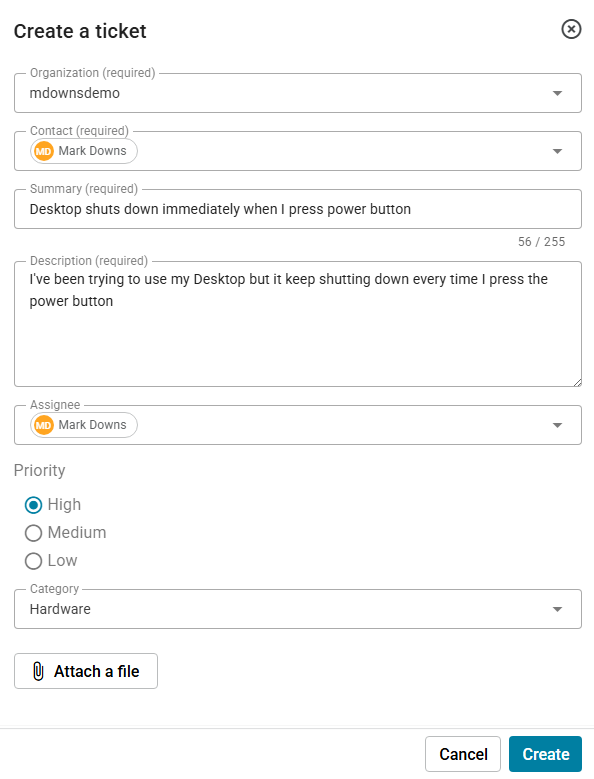
I created a ticket and was presented with various criteria to fill out. I used a previous issue I had resolved on my own desktop computer as an example. I noticed that I could assign the ticket, so I assigned it to myself. There were three priority levels, and since my PC wasn’t turning on, I selected 'High' priority. For the category, I chose 'Hardware,' as the problem was related to my GPU. I also saw that I could attach files to the ticket, such as pictures or screenshots, which could be useful for better illustrating the issue.
Ticket Features and Commands
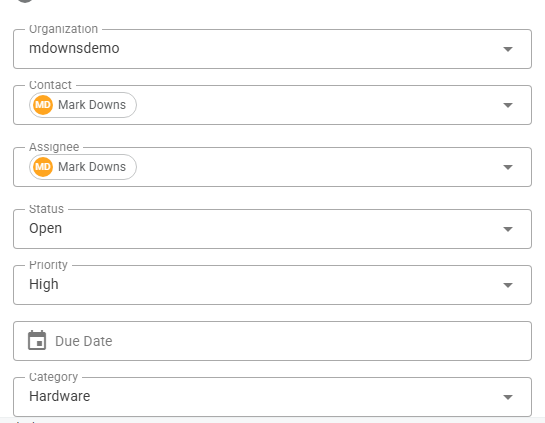
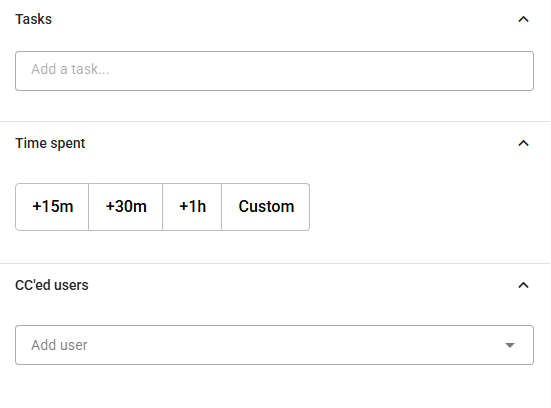
Once the ticket was created, I noticed I could edit the assignee, status, priority, due date, and category, allowing me to adjust the ticket for better accuracy if needed. I could also track the time spent resolving the ticket, which is helpful for keeping a record of my work.
Closing Ticket
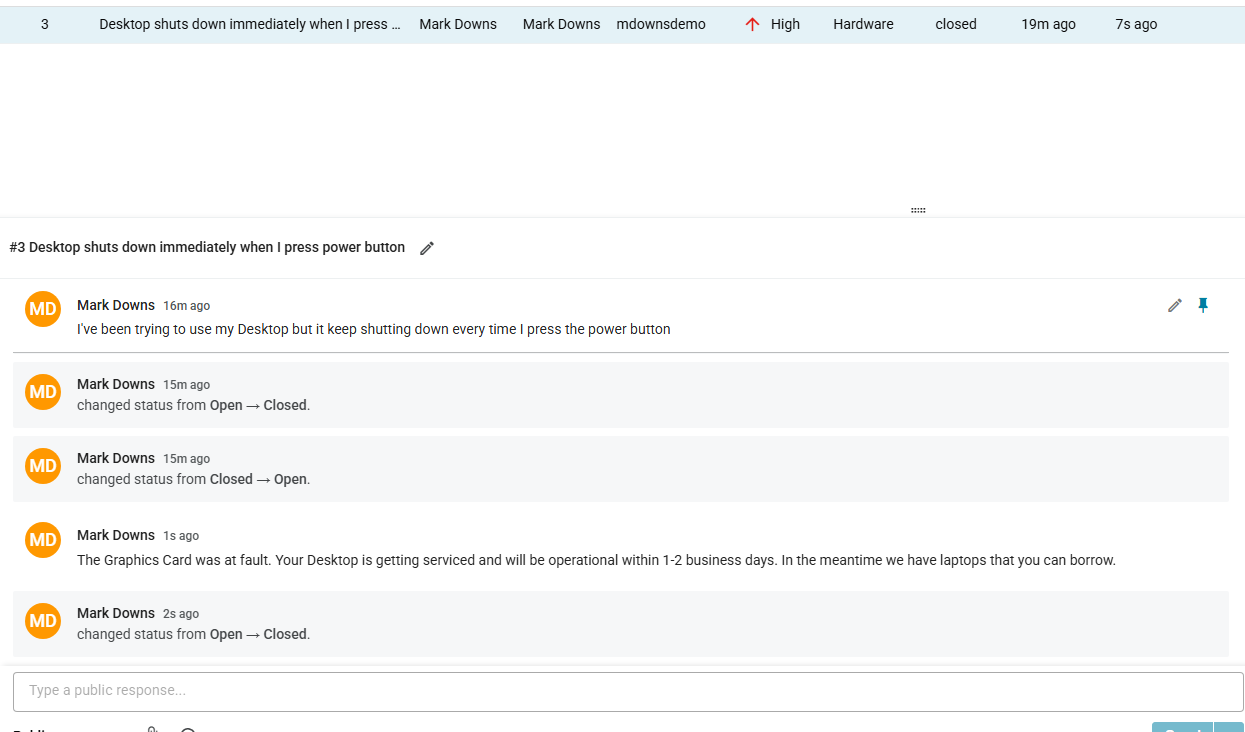
When closing the ticket, I noticed I could leave a public response for the user who submitted it. This feature is useful for keeping the user informed and ensuring a positive customer service experience. I could also attach files to the public response and use canned responses, making the process more efficient.

Upon closing the ticket, I could view a log of all communication and status changes in the same response thread. This feature helps me track my work more effectively by maintaining a clear log of the ticket's progress.
Knowledge Base
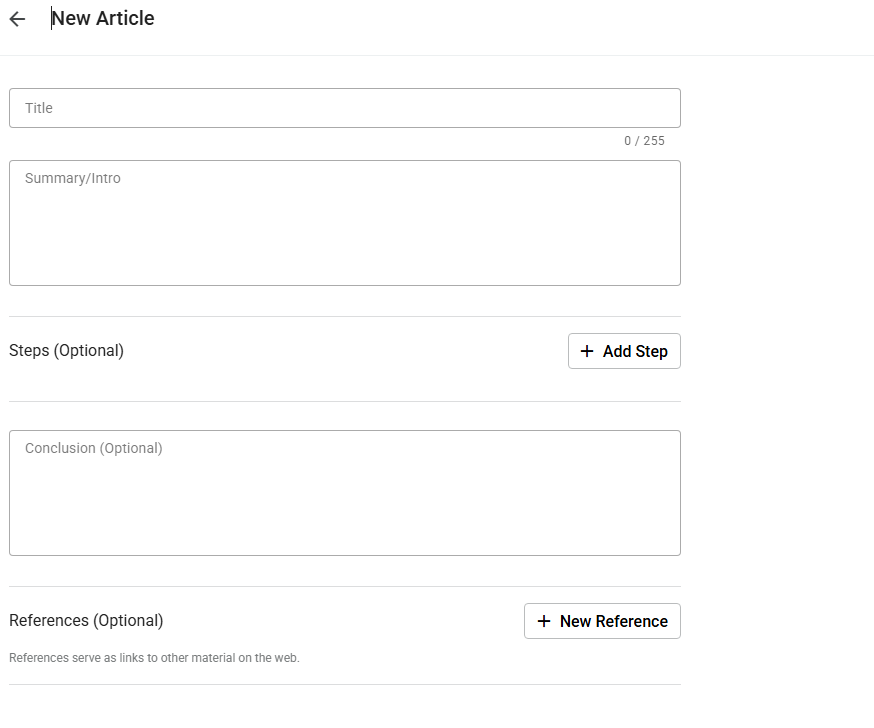
After closing the ticket, I moved on to the Knowledge Base tab to create an article. When creating it, I was prompted to add a title, summary, steps to resolve the issue, a conclusion, and references.
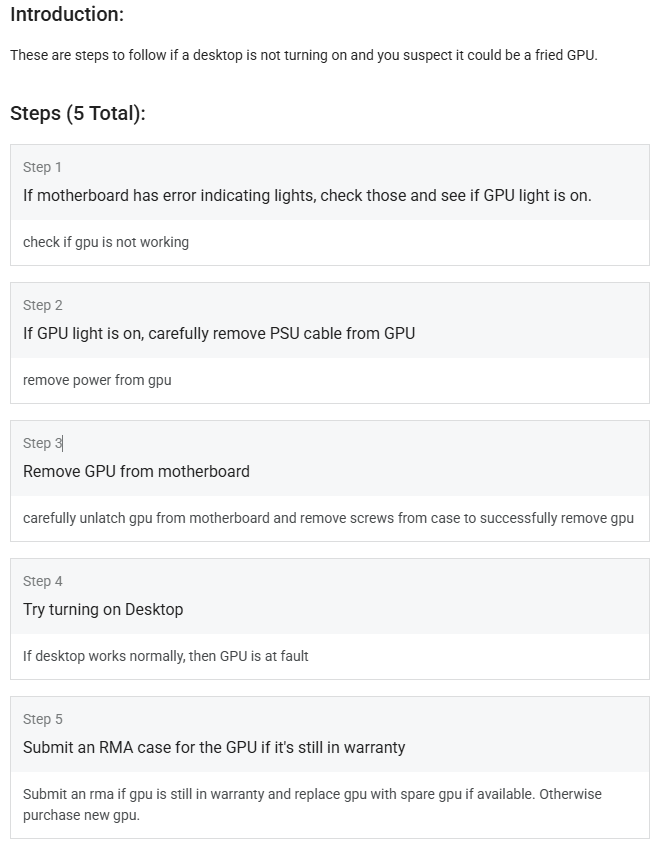
I quickly wrote an introduction to the issue and documented the steps I took to resolve it for future reference. This feature is clearly valuable, as it helps make the help desk more efficient in addressing issues. If a similar problem arises in the future, the team can provide optimal customer service by quickly resolving the issue using the steps outlined in the knowledge base article.
Project Learnings and Achievements
Completing this project taught me how to effectively navigate a ticketing system, from creating and resolving tickets to logging my work for future reference. I realized how crucial it is to document your work to track progress and ensure continuity. I also gained an appreciation for the knowledge base as a powerful tool that helps in resolving issues by providing documentation and step-by-step guidance on previous solutions. Overall, this experience has boosted my confidence in using ticketing systems, and I’m now confident I can handle the process in my first IT support role.
Subscribe to my newsletter
Read articles from Mark Downs directly inside your inbox. Subscribe to the newsletter, and don't miss out.
Written by