Azure Computer Vision - Dense Captions
 Vipul Malhotra
I am currently in the process of developing a personal AI assistant designed to streamline the management and retrieval of my personal data. This assistant will be capable of handling a variety of tasks, such as searching through documents to retrieve specific files containing a given keyword, recalling dates of past events or visits, and enabling text-based searches through a collection of images.
One of the key features of this project involves leveraging the Azure Computer Vision library to enhance image search capabilities. Specifically, I am utilising its ability to generate captions and dense captions for images. Since I use an iPhone, all my images are synced to iCloud. The system reads these images from iCloud and generates dense captions for each one.
To optimize performance, the system pre-generates dense captions for all images. During a search, it performs a vector search on the pre-existing caption list to quickly identify and retrieve matching images. While the repository for this project is currently private, I would like to highlight how straightforward it is to generate dense captions using the Azure Computer Vision service.
Getting Started with Azure Computer Vision
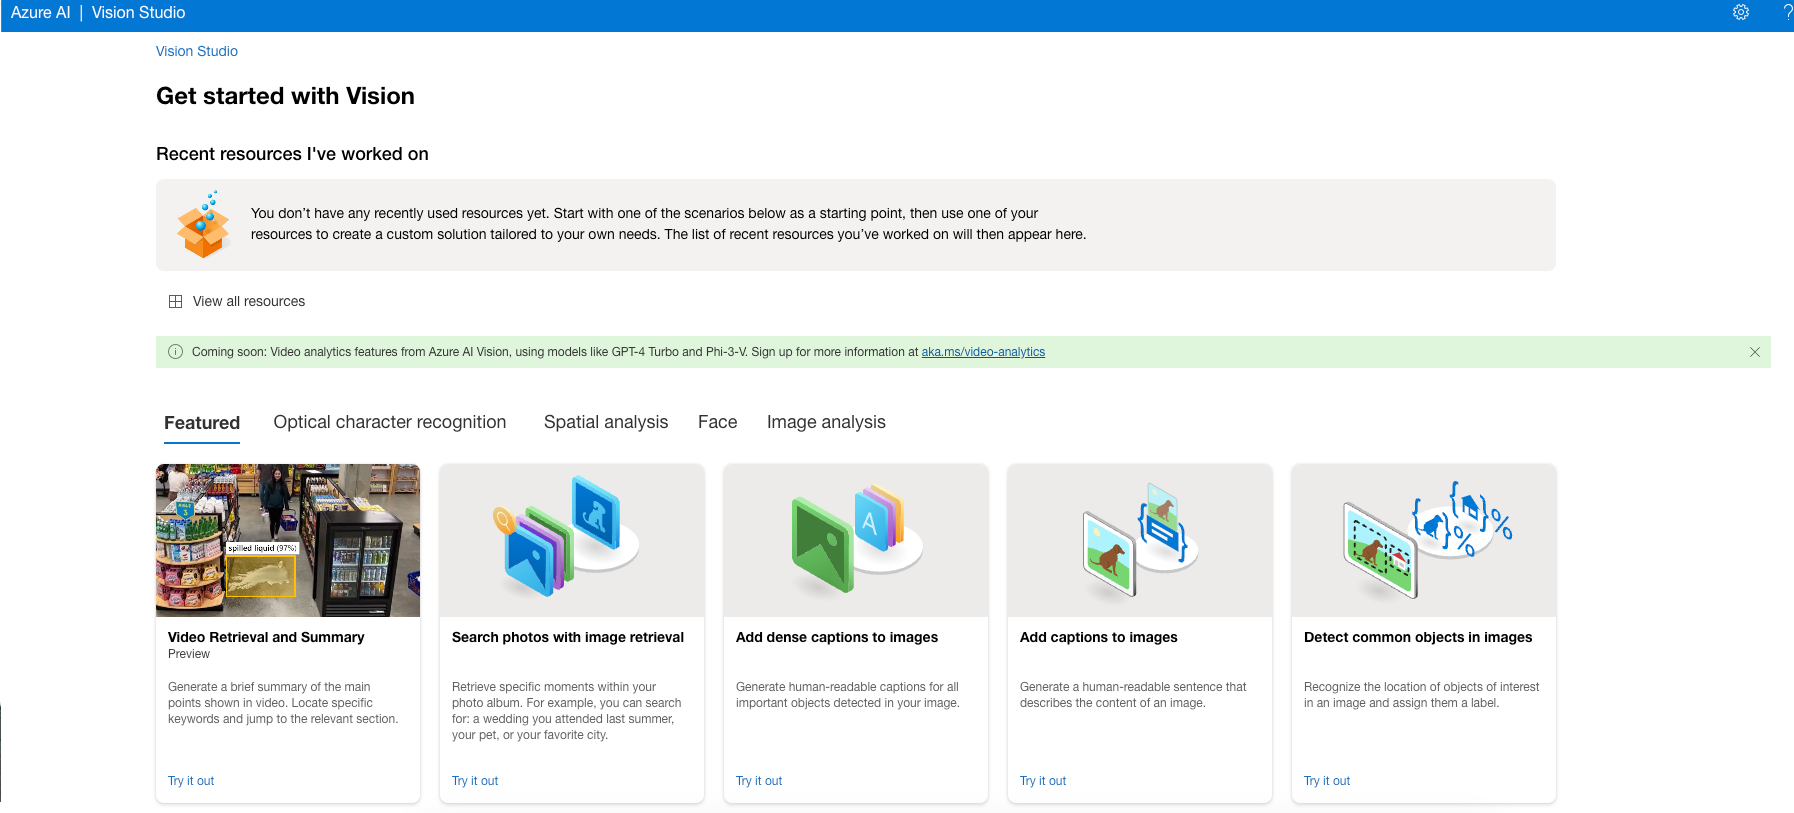
To begin, you need to create a resource in Azure and obtain the Endpoint URL and Azure Key. These credentials are essential for accessing the Azure Computer Vision API. Azure also provides a Vision Studio, a user-friendly interface where you can upload images and extract various attributes such as captions, object tags, and text. This is a great way to explore the capabilities of the service before integrating it into your application.

Implementation Workflow
Once the Azure resource is set up and the necessary credentials are obtained, the implementation process involves the following steps:
Read Image as Bytes: The system reads the image from the specified input path and converts it into a byte format.
API Call to Azure Computer Vision: The image bytes are then passed to the Azure Computer Vision API to generate dense captions.
Store Dense Captions: The generated captions are stored for future reference, enabling efficient search and retrieval.
This workflow is both straightforward and efficient, making it an ideal solution for managing large collections of images.
Example Code
Below is a simplified example of how to integrate Azure Computer Vision into a Python application:
import requests
import os
import json
from dotenv import load_dotenv

load_dotenv()


# Replace with your Azure Computer Vision endpoint and key
endpoint = os.getenv("AZURE_VISION_ENDPOINT")
subscription_key = os.getenv("AZURE_VISION_KEY")

# URL for the Computer Vision API (dense captions feature)
vision_url = f"{endpoint}computervision/imageanalysis:analyze?api-version=2023-02-01-preview&features=denseCaptions"

# Set up the headers and parameters
headers = {
    "Ocp-Apim-Subscription-Key": subscription_key,
    "Content-Type": "application/octet-stream"
}

def get_dense_captions(image_data):
    caption_list = []
    try:
        response = requests.post(vision_url, headers=headers, data=image_data)
        if response.status_code == 200:
            result = response.json()
            dense_captions = result.get("denseCaptionsResult", {}).get("values", [])

            for caption in dense_captions:
                caption_list.append(caption)
        else:
            print(f"Error: {response.status_code}")
            print(response.text)

        return caption_list
    except Exception as ex:
        print(f"Got an exception: {ex}")


image_path = "/Users/vipulmalhotra/Documents/source/repo/azure-vision-object-detection/images/2ppl1.jpeg"
with open(image_path, 'rb') as file:
    image_data = file.read()

    captions = get_dense_captions(image_data=image_data)
    print(captions)
The image that we are getting captions for in the above example is below:

The captions generated for the above images are below:
[
    {
        "text": "a man and woman sitting on a car",
        "confidence": 0.9101179838180542,
        "boundingBox": {
            "x": 0,
            "y": 0,
            "w": 600,
            "h": 450
        }
    },
    {
        "text": "a man leaning on a car",
        "confidence": 0.8040546774864197,
        "boundingBox": {
            "x": 279,
            "y": 51,
            "w": 231,
            "h": 334
        }
    },
    {
        "text": "a man and woman sitting on a car",
        "confidence": 0.8921634554862976,
        "boundingBox": {
            "x": 170,
            "y": 23,
            "w": 185,
            "h": 290
        }
    },
    {
        "text": "a man and woman sitting on a car",
        "confidence": 0.8212131857872009,
        "boundingBox": {
            "x": 0,
            "y": 141,
            "w": 506,
            "h": 252
        }
    }
]
Conclusion
By leveraging Azure Computer Vision, it is possible to create a powerful and efficient system for managing and retrieving personal data, particularly images. The ability to generate dense captions and perform vector searches on pre-processed data significantly enhances the speed and accuracy of search operations. This project demonstrates the potential of integrating AI services into personal data management systems, paving the way for more intuitive and intelligent assistants in the future.
While the current implementation is tailored to my personal use case, the underlying principles and techniques can be adapted to a wide range of applications, from personal productivity tools to enterprise-level data management solutions.
Subscribe to my newsletter
Read articles from Vipul Malhotra directly inside your inbox. Subscribe to the newsletter, and don't miss out.
Written by
