Making Your Own Website for Free
 Asanka Akash Sovis
Having your own website can be an advantage, whether you’re a small business owner, a freelancer, or even a student. A personal website will allow you to stand out from the rest of the crowd while giving you the freedom to express yourself however you want. However, most people don’t consider making their own personal website, sometimes due to a lack of time, money or even technical know-how. But the thing is, there are modern ways to make a website quickly and efficiently, so it doesn’t matter what technical background you have.
Making the Website Itself
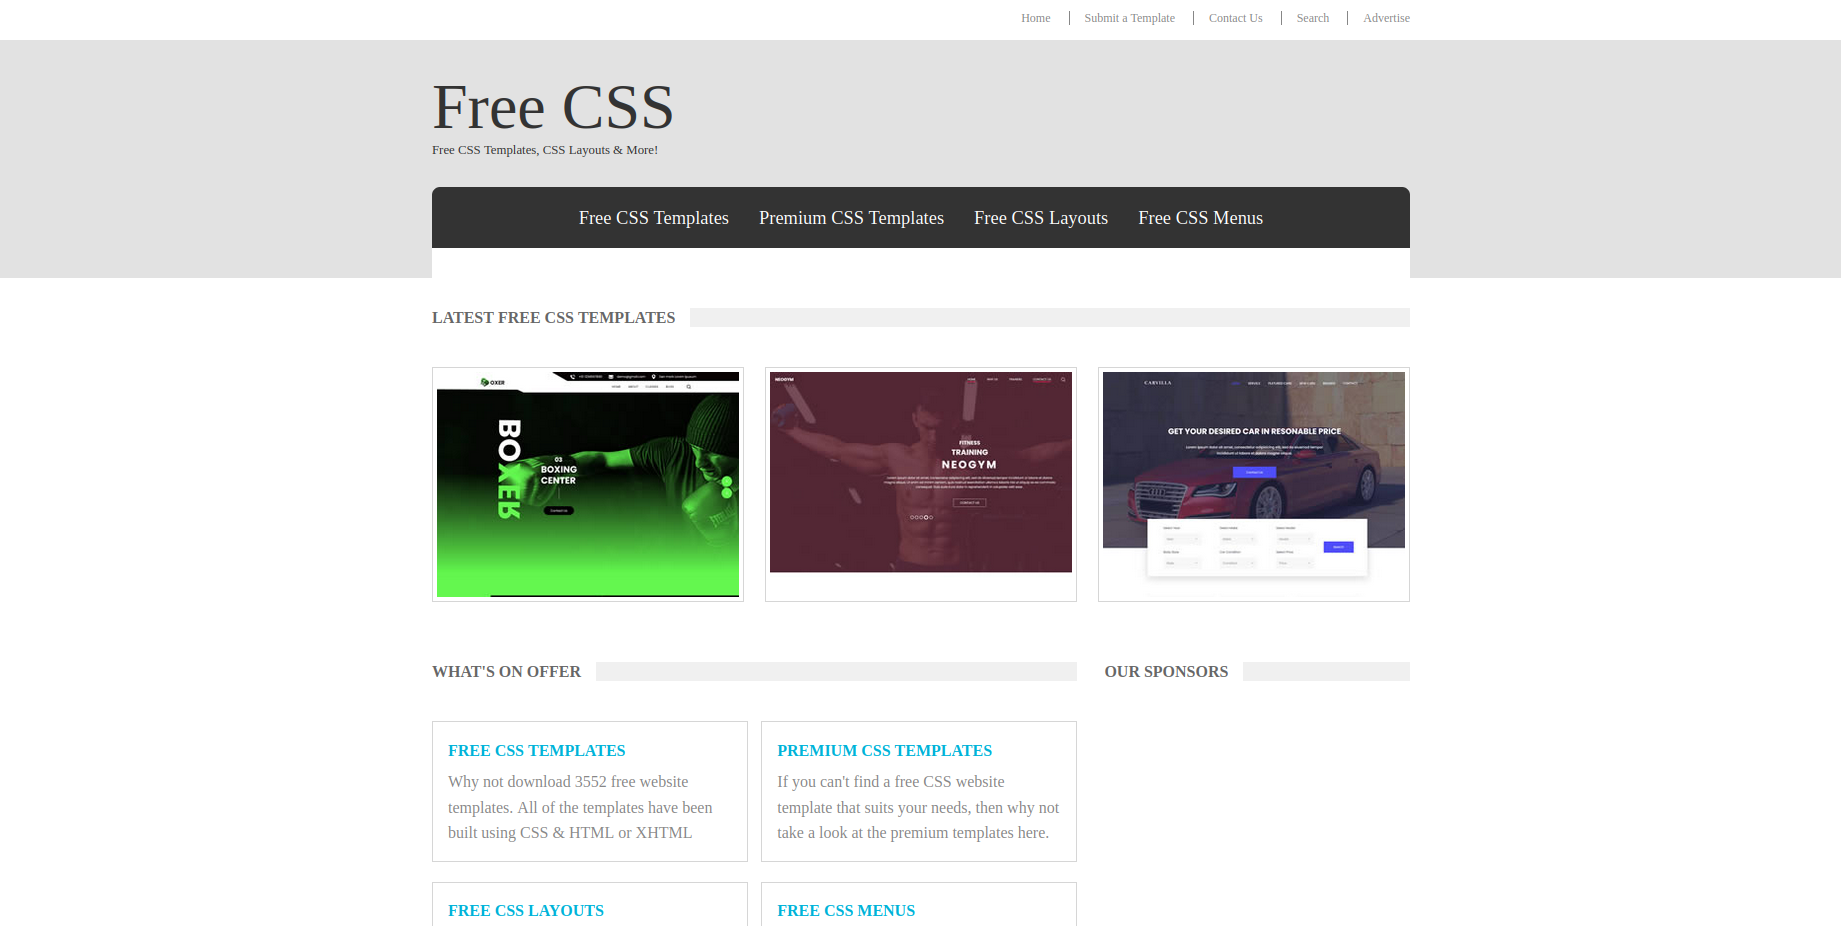
There are multiple ways to make a website. You can use WordPress, download a website from the internet or even make one yourself from scratch. If you want to go with WordPress, you can follow the online resources and get a working website up quickly. If you prefer to develop your own website from scratch, it might be a bit more complicated; I’d suggest you go on this route only if you know what you’re doing. An easy way is to download a sample website from the internet. There are great sites like www.free-css.com. Simply download one and modify it according to your liking.
Hosting the Website
This is where most people get confused. While there are so many hosting providers - Microsoft Azure, Google Firebase, Amazon AWS, Hostinger, etc, there’s one hosting provider that you might not be considered or even know about: GitHub. That’s right, you can host your personal website on Github with little to no effort, costing zero money.
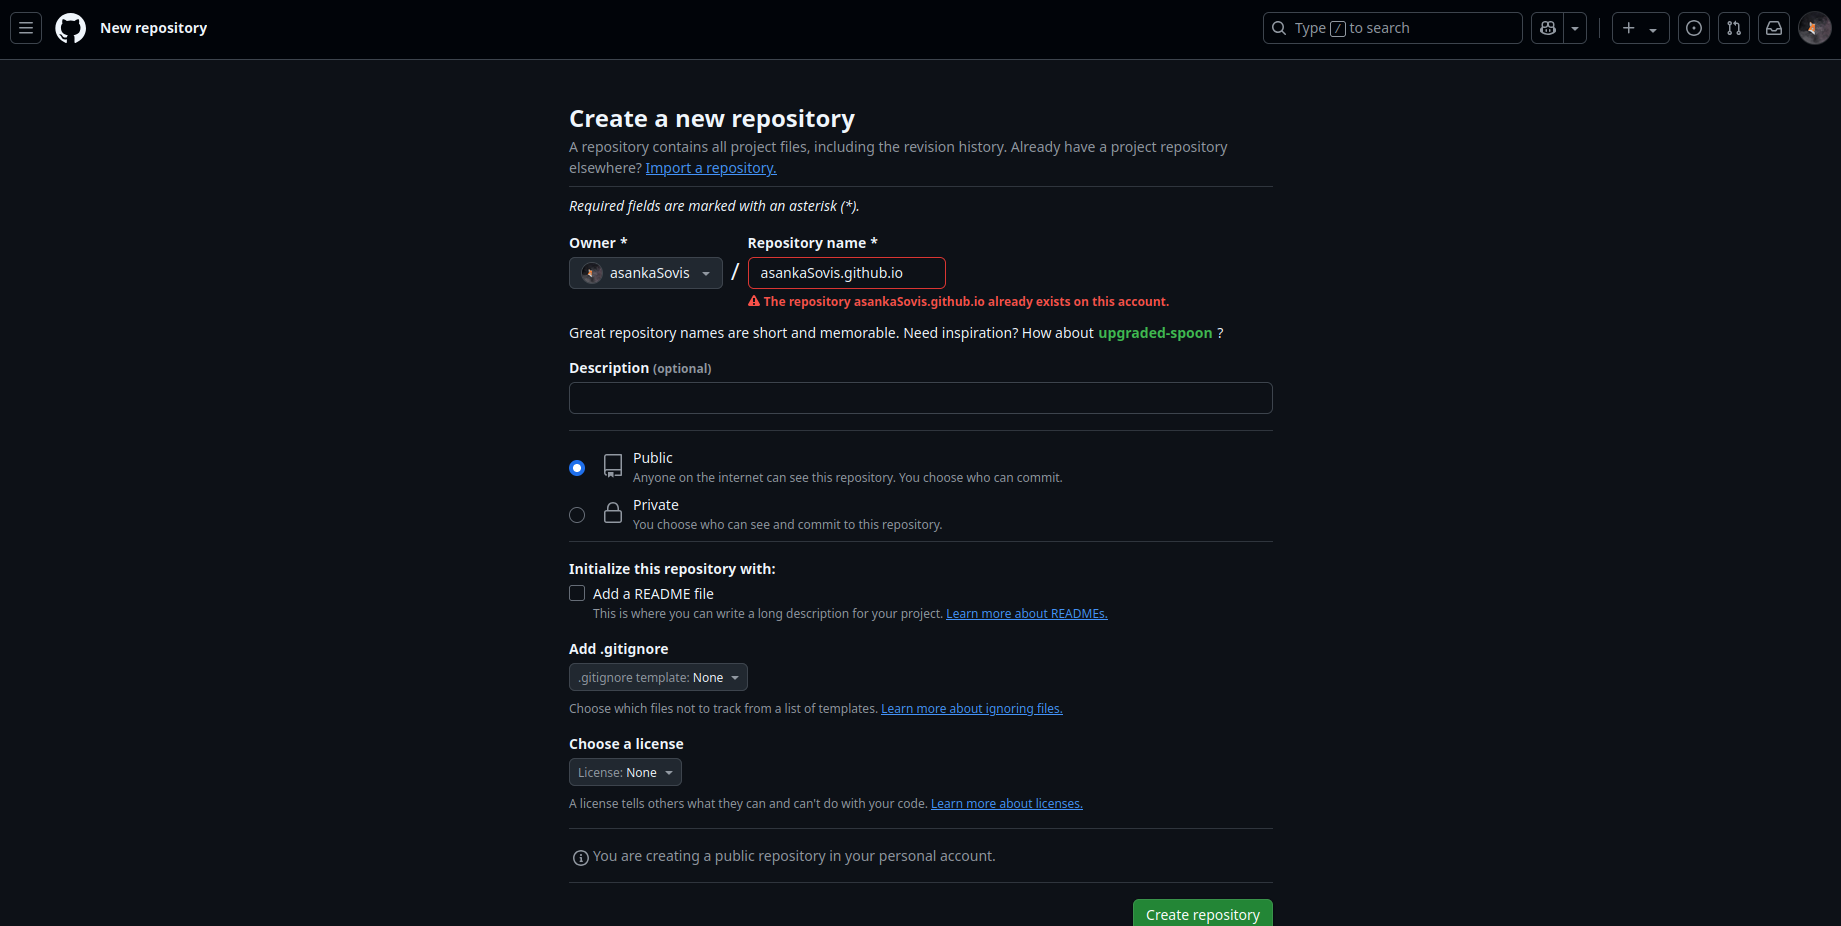
What you have to do is go to your GitHub account and create a new repository. This repository should be named <your-github-name>.github.io. Here <your-github-name> refers to your Github profile name. For example, my GitHub name is asankaSovis, so I have my repository titled asankaSovis.github.io. Make sure that the repository is Public. You can choose to initialize the repo with a README, add a .gitignore file or even choose a license; it doesn’t matter.
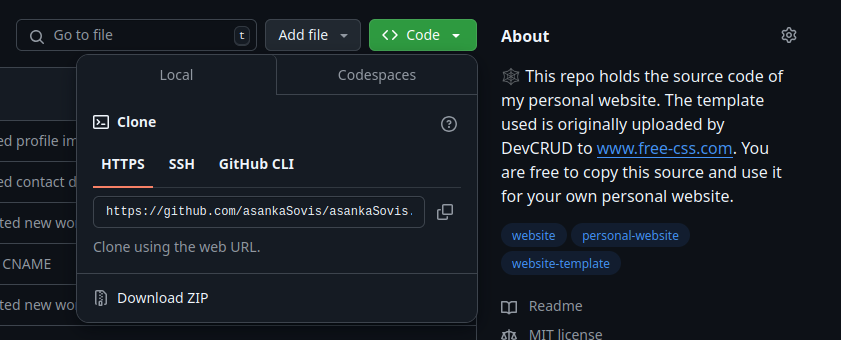
Once the repository is created, you can clone the repo to your computer. For this, you can use the Code > Clone > HTTPS option as below. Under this, click on the copy button to copy the URL and paste it into your terminal with the below command. Note that <URL> refers to the URL that we copied before.
git clone <URL>
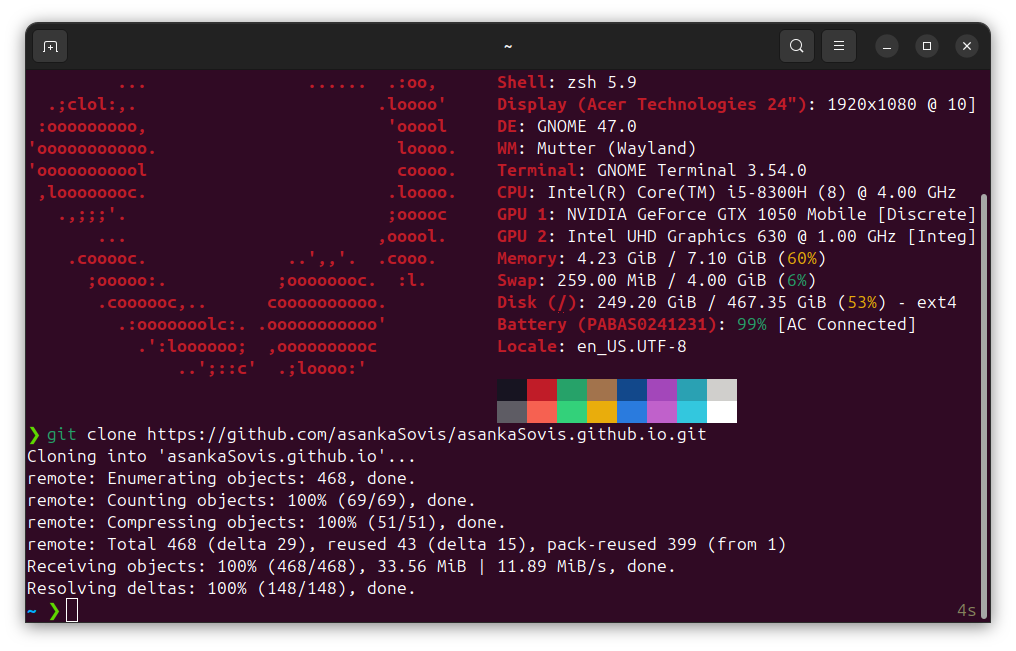
If you’re using Mac or Linux, you will have Git installed by default, so providing the above command would be sufficient. If you’re using Windows, you might need to install Git. Refer to the official documentation for how you can install Git. Also, you have to make sure that Git is initialized with your GitHub username and password. Refer to the Github documentation for this.
Once cloned, open the directory in your file browser. Copy your website to this directory while making sure that the index.html file is at the root of this cloned directory.
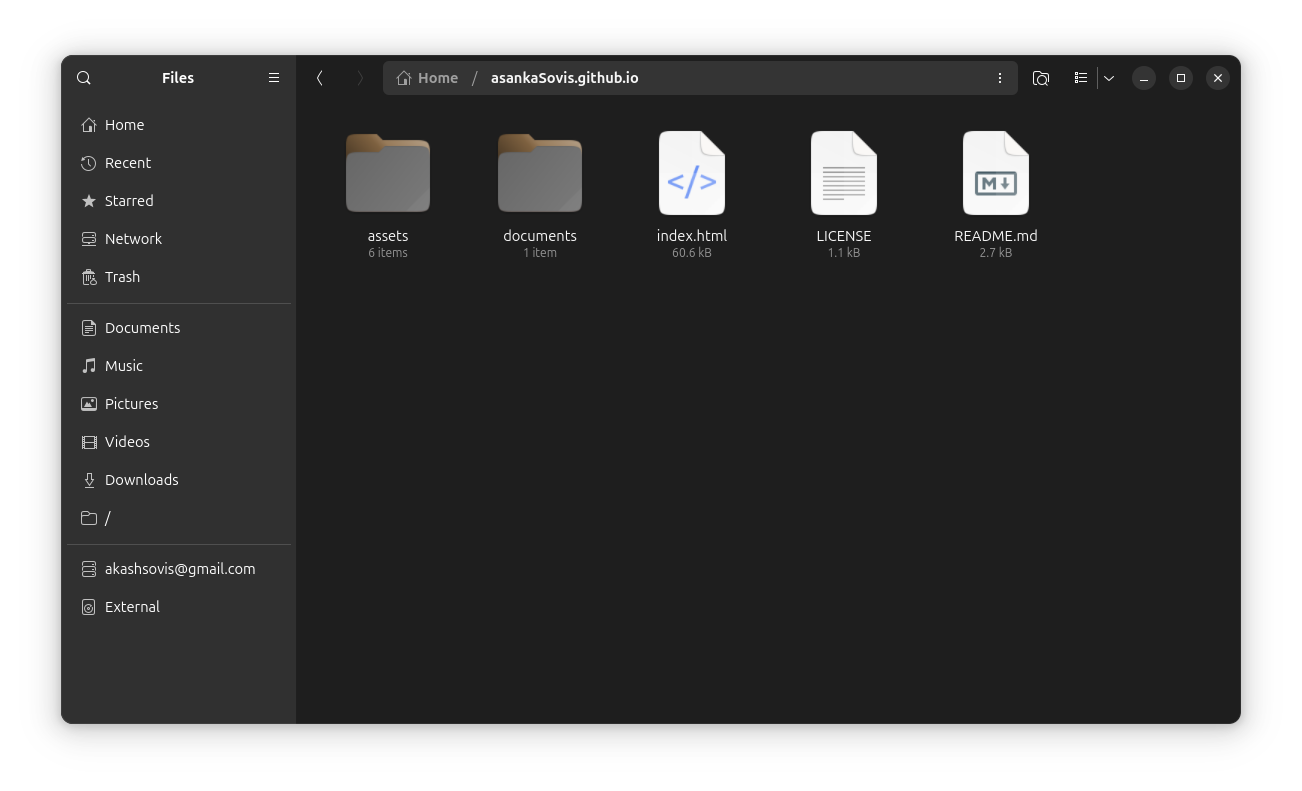
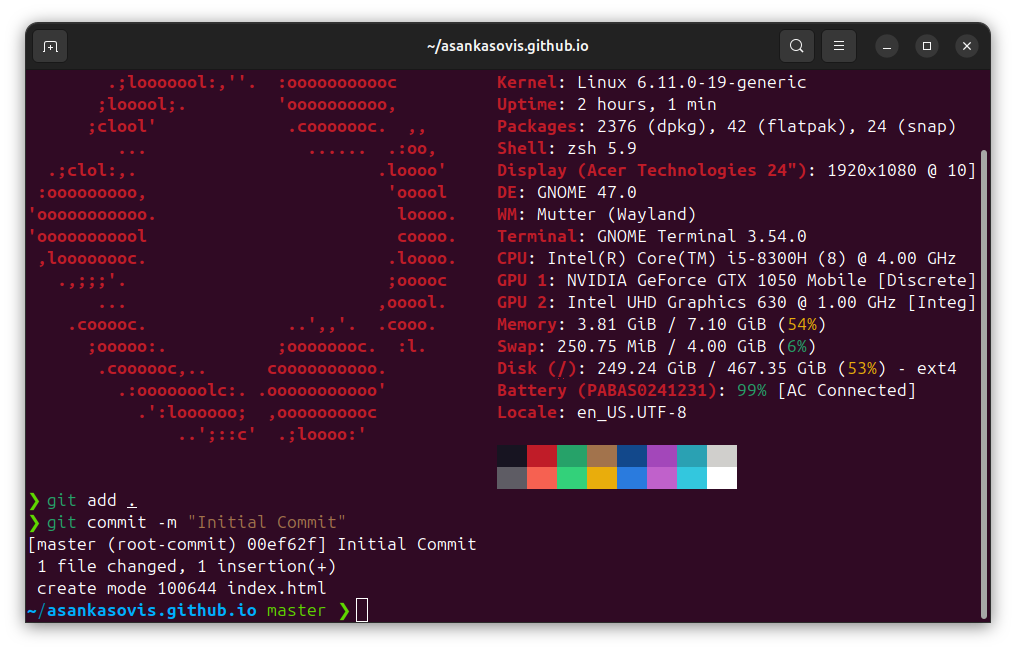
Now, we have to commit the changes and sync the changes to the source. To do this, you can use the following commands in order.
git add .
git commit -m "Initial Commit"
git push && git pull
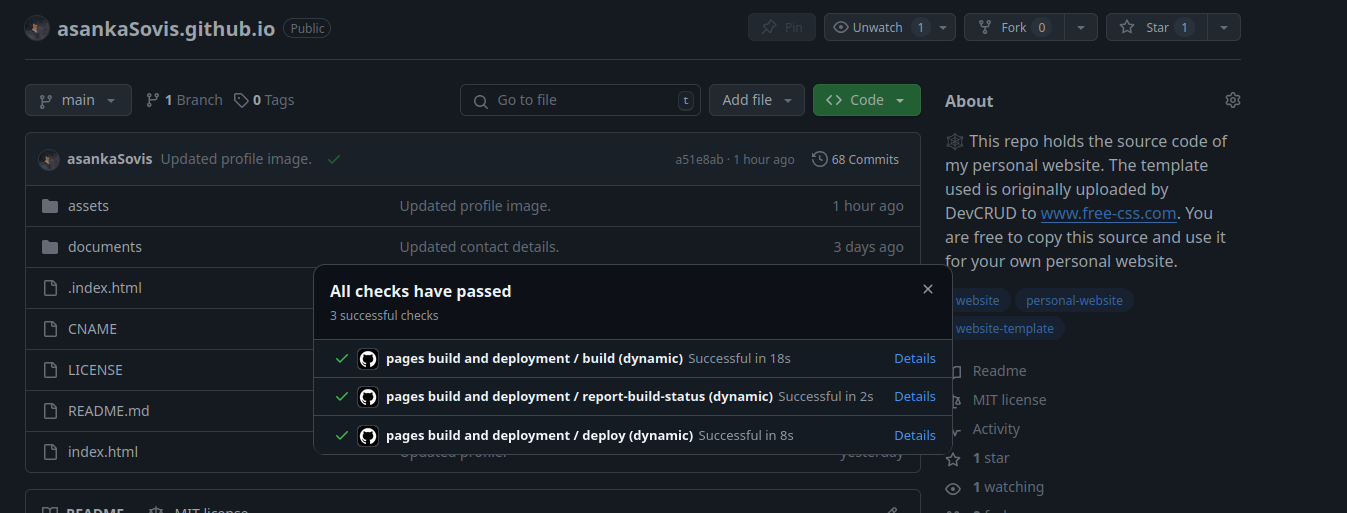
Now if you open the GitHub repo on your browser, you will see a yellow dot in the interface. Clicking on this will reveal the status of publishing your website. When this yellow dot turns into a green checkmark, the website is online.
That’s it, your website is now online. Visiting the <your-github-name>.github.io website will reveal your very own personal website. Here <your-github-name> refers to your Github profile name, as mentioned before.
Adding Our Own Custom Domain
You don’t have to stop here; you can host the website on your own URL as well, with no need for the <your-github-name>.github.io URL at all. To do this, we need our very own domain, and it will cost you a bit. You can use any domain provider: GoDaddy, Hostinger, Bluehost, etc. Here, I will be using Namecheap.
Visit the Namecheap website and create your account. After logging back into your account, go to the homepage. Here, you can search for whatever domain name you want.
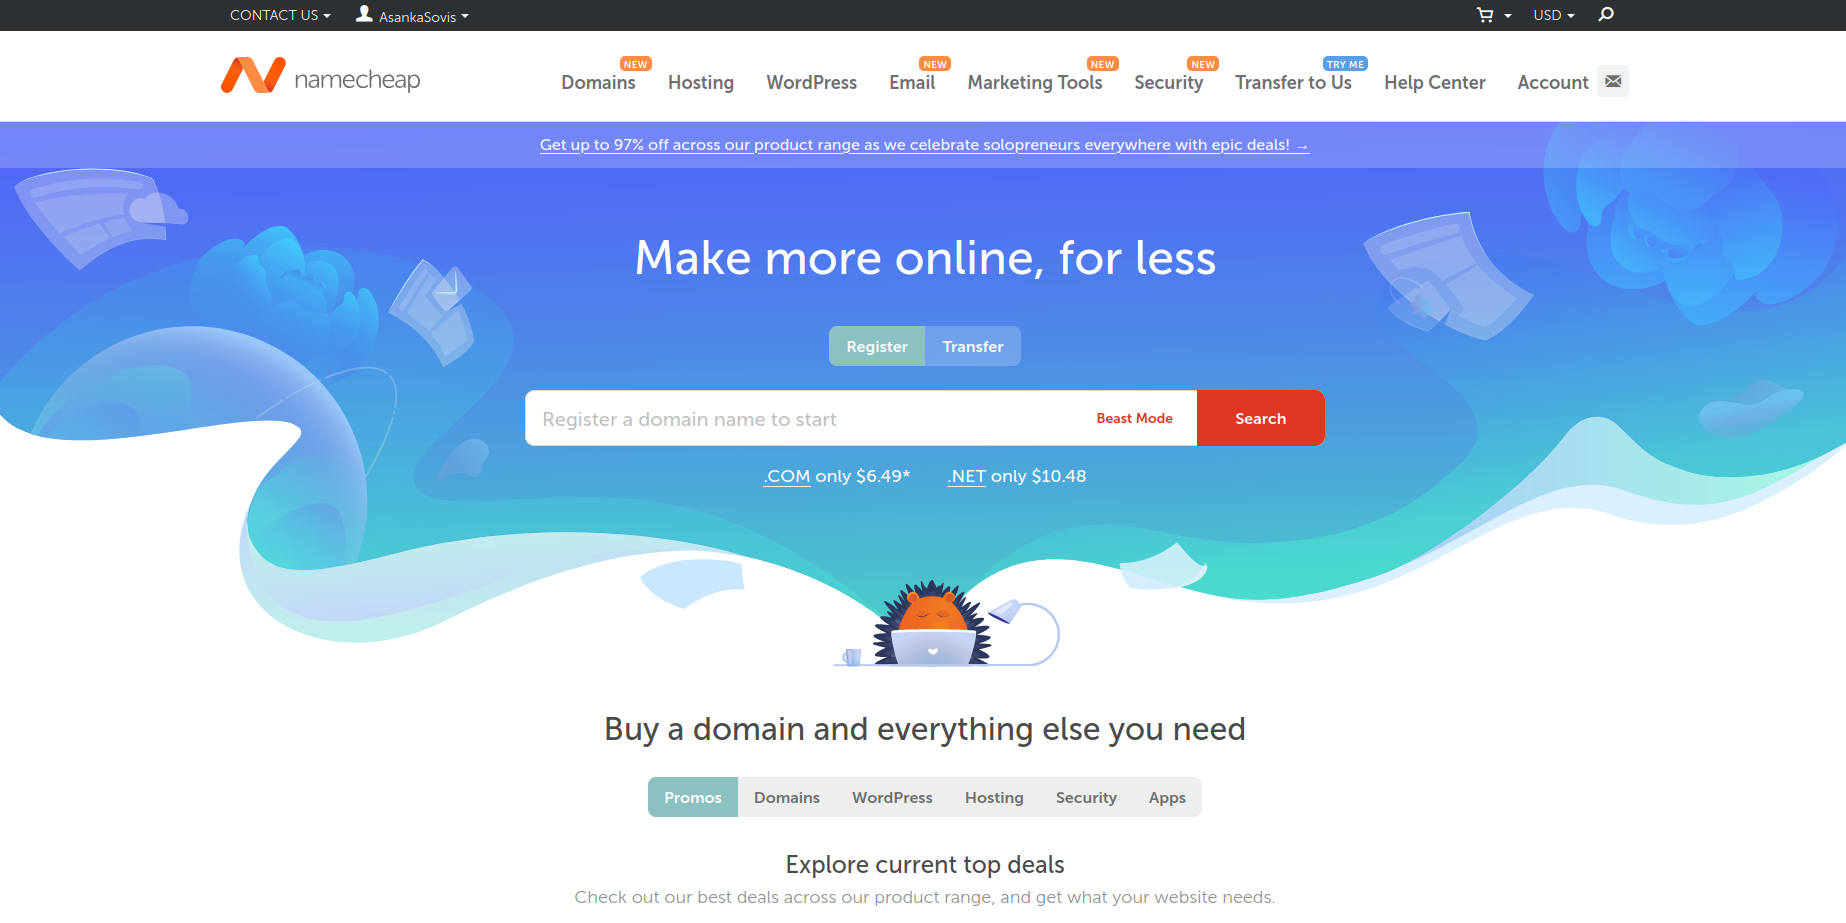
Once you search for a name for your domain, Namecheap will show you a list of domains available for your purchase. Double-check carefully and choose a domain that suits you well. You must consider the intended audience, initial cost, yearly payment, etc. when you buy a domain.
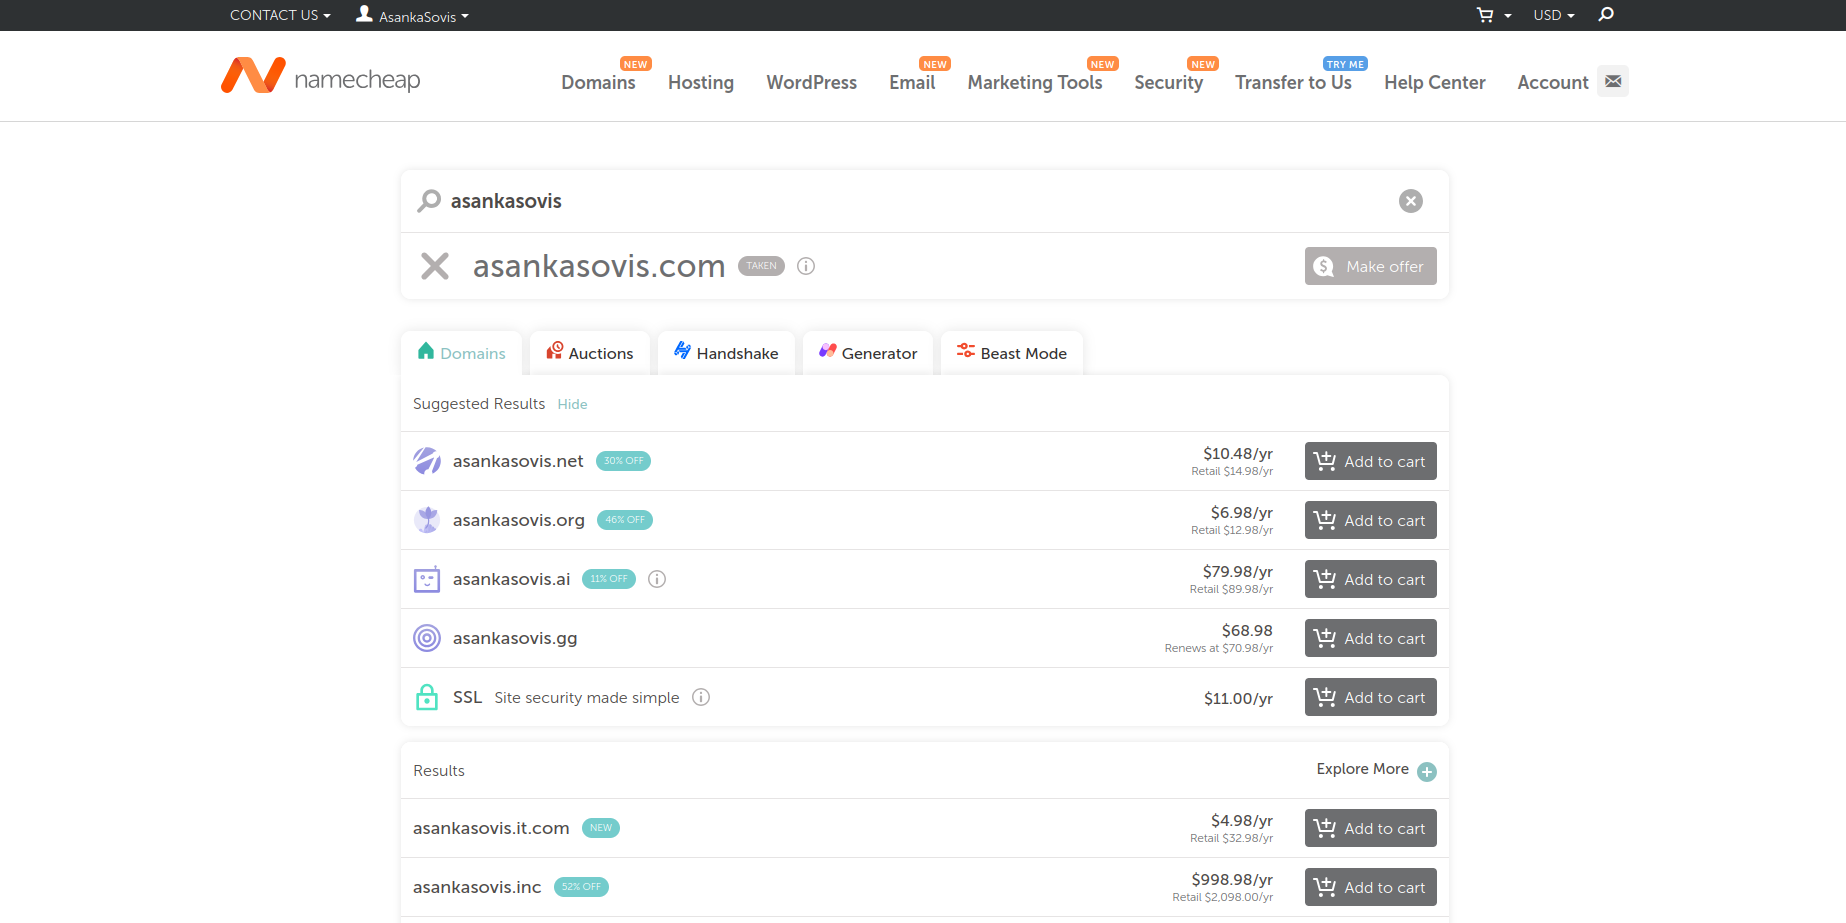
Once you have the right domain, add it to the cart, go to checkout and buy it. You will need to provide your card details at checkout. After you complete your transaction, go to Your Account > Dashboard to view the newly registered domain. Under Dashboard > Recently Active in Your Account, you will see the domain.

Click on Manage, and under this, you have to click on Advanced DNS. Here, add the following under Host Records. You can use the ADD NEW RECORD button.
A Record         @        185.199.108.153                30 min
A Record         @        185.199.109.153                Automatic
A Record         @        185.199.110.153                Automatic
A Record         @        185.199.111.153                Automatic
CNAME Record     www    <your-github-name>.github.io.    Automatic
Once this is done, go to your website’s Github repository again. Here, go to Settings > Pages > Custom Domain. In the textbox, enter the domain you just registered. Under this, a yellow dot will appear, followed by a text that reads ‘DNS Check in Progress. ’ Wait for a few minutes and if all is well, this will turn into a green tick mark followed by a text that reads ‘DNS check successful’. If not, review the steps again to see if you have followed everything correctly. Sometimes, it will take several hours for domains to start working correctly, so consider giving it some time.

Now if you visit your domain on your browser, you will see your website hosted. The following variations of the URL will be working as expected.
http://<your-domain>.<TLD-domain>
http://www.<your-domain>.<TLD-domain>
https://<your-domain>.<TLD-domain>
https://www.<your-domain>.<TLD-domain>
<your-domain>.<TLD-domain>
www.<your-domain>.<TLD-domain>
Here, <your-domain> refers to your registered domain and the <TLD-domain>. refers to the Top Level Domain (TLD) you registered it under. For example, .com, .org, .it, etc.
Extending the Domain to Your Hashnode Blog
If you have an active blog in Hashnode, you can do the same thing to host your blog under your custom domain. Go to your Hashnode profile and go to the dashboard of your blog. Under Blog Dashboard > Domain, you will find the required settings. Click on Custom domain and in the text box, enter a variant of <sub-domain>.<your-domain>.<TLD-domain>. A good option would be blog.<your-domain>.<TLD-domain>. Click on Add domain.

Now you have to go back to you Namecheap Dashboard, and update the Host Records again as we did before to include the blog URL as well.
A Record         @        185.199.108.153                30 min
A Record         @        185.199.109.153                Automatic
A Record         @        185.199.110.153                Automatic
A Record         @        185.199.111.153                Automatic
CNAME Record     www    <your-github-name>.github.io.    Automatic
CNAME Record     blog    hashnode.network.               Automatic
Once updated, you can visit the Hashnode settings page we were in before and it should show a green check mark followed by Valid under the Status tab as below.
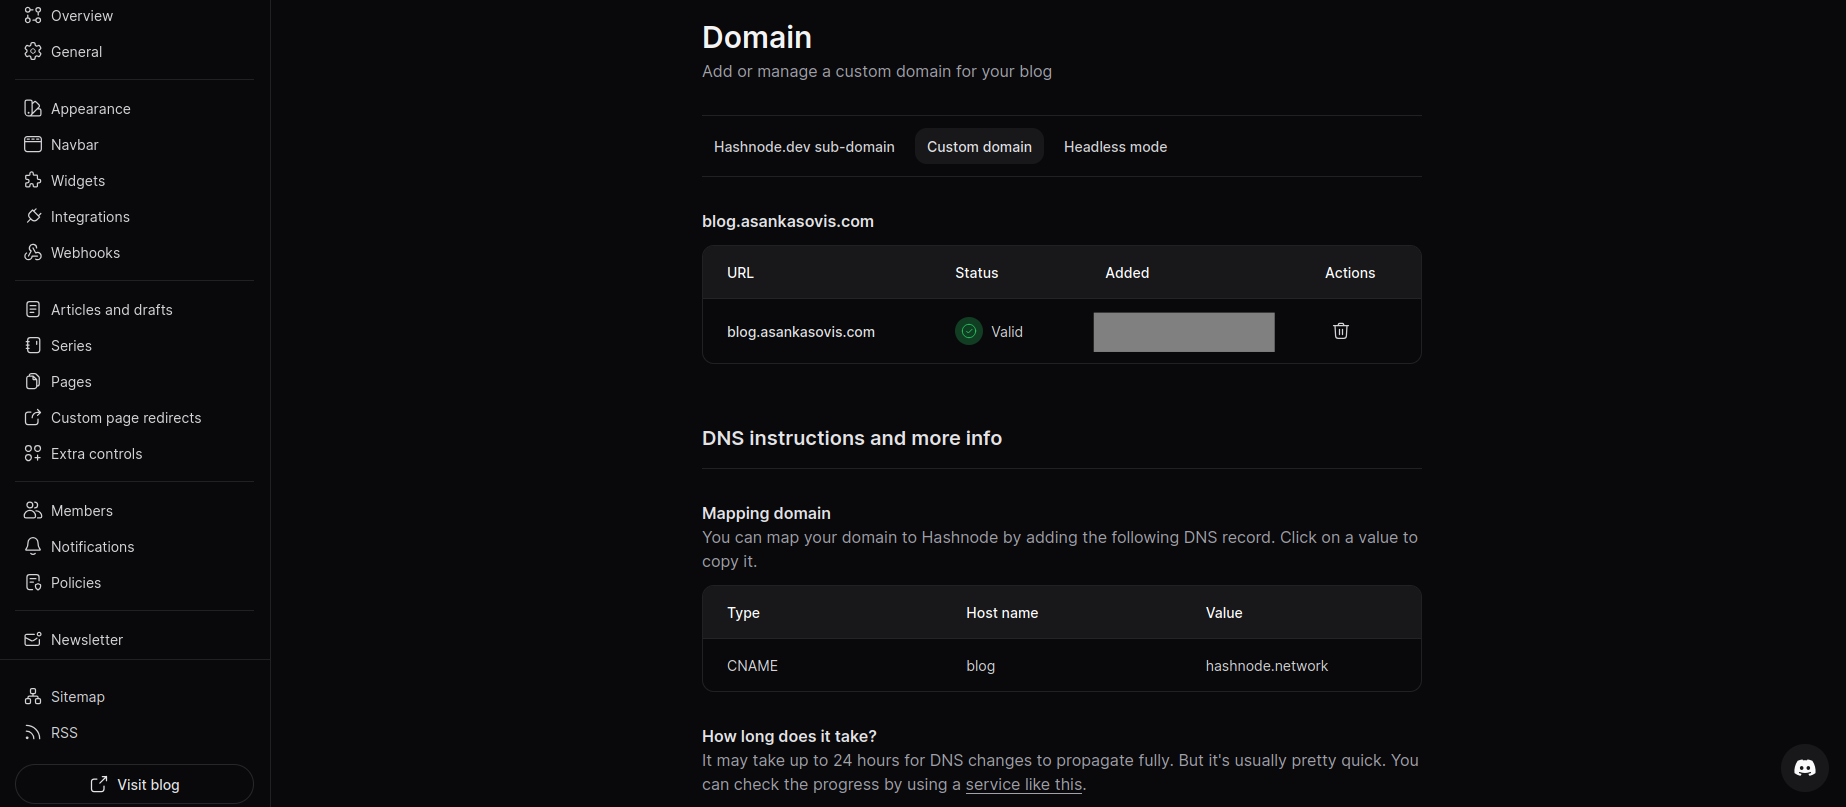
This indicates that the new domain is ready to be used. Visiting blog.<your-domain>.<TLD-domain> or whatever you chose before will show your Hashnode blog. If not, review the steps again to see if you have followed everything correctly. Sometimes, it will take several hours for domains to start working correctly, so consider giving it some time.
Create Redirects to Your Socials
We do not have to end there. You can also create redirects to your social media as well using your custom domain. To do this, instead of Advanced DNS, go to Domain under your Domains List in Namecheap like we did for the personal website. Here, under Redirect Domain, you can set URLs to redirect from your domain. For example, let’s say you want the URL facebook.<your-domain>.<TLD-domain> to automatically redirect to your Facebook profile, simply click on ADD REDIRECT and enter facebook.<your-domain>.<TLD-domain> as the Source URL and the URL to your Facebook profile under Destination URL. Now if you visit, facebook.<your-domain>.<TLD-domain>, the URL will be automatically forwarded to your Facebook profile. You can add as many redirects as you want like this.
Create Custom Email Redirects
Another awesome feature you will get is the option to redirect emails. No need to use your personal email to advertise yourself. You can create your email address using your domain. Note that this will not be a brand-new email address but rather a forwarding email address. You will still need a proper email address set up to receive emails.
Under the same setting Domain we were in before, go to Redirect Email. Here, click on ADD FORWARDER and add an alias under Alias and your email address under Forward to. An alias could be, for example, contact, hello, or enquiries. Let’s say you entered ‘contact’ as an alias. Any emails sent to contact@<your-domain>.<TLD-domain> will be forwarded to the personal email you entered under Forward to. You can add as many aliases to as many emails as you want like this.
Conclusion
Having your own website is important to increase your reach and advertise yourself as an individual on this ever-expanding internet. Here, I discussed a way you can make your small home in this vast network. On the other hand, buying your domain will also have its advantages, as we discussed. So, make the best out of this great opportunity.
Reference
Github Homepage: https://github.com/
Namecheap Homepage: https://www.namecheap.com/
Hashnode Homepage: https://hashnode.com/
Git Homepage: https://git-scm.com/
Git Documentation: https://git-scm.com/doc
Git Tutorials: https://git-scm.com/docs/gittutorial
Configuring a custom domain for your GitHub Pages site: https://docs.github.com/en/pages/configuring-a-custom-domain-for-your-github-pages-site
How to Map a Custom Domain?: https://docs.hashnode.com/help-center/blog-domain/how-to-map-a-custom-domain
Free CSS: https://www.free-css.com/
WordPress Builder: https://wordpress.com/go/
Subscribe to my newsletter
Read articles from Asanka Akash Sovis directly inside your inbox. Subscribe to the newsletter, and don't miss out.
Written by

Asanka Akash Sovis
Asanka Akash Sovis
🤔 Knowing how to code makes you look at the world from a different perspective 🌏. That's why I'm so passionate about coding. Hello World 👋; welcome to my Blog. I'm still a student and am 23 years of age, so there's a long journey ahead of me 🙆. I like to dream 💬 big and to see other peoples dreams come true. I'm a tech nerd 🐱💻 and a coding enthusiast. Hope you might find me amusing.🤩