Integrate Google Sheets with Your Web App Effortlessly: Step-by-Step Instructions
 Supriya Saha
Imagine having Google Sheets in your web app—automating data, enhancing collaboration, and simplifying workflows. Whether for personal or enterprise projects, integrating Google Sheets can elevate your app. This tutorial will guide you through integration using React, JavaScript, and Node.js. Get ready for real-time data updates and powerful automation. Say goodbye to manual data handling and hello to a streamlined experience. Let's unlock the full potential of Google Sheets in your app!
Prerequisites:
Ensure you have Node.js installed. You can download it from nodejs.org.
Ensure you have npm (Node Package Manager) installed, which comes with Node.js.
To get started with integrating Google Sheets into your web application, we’ll first set up a React app using Vite. Vite is a fast, modern build tool that offers a smoother development experience compared to traditional tools like Create React App.
Open a folder in your code editor of choice, here we are using VS Code and create two separate folders one for the frontend and another for the server.
We will handle the client part first so open the client directory and open the terminal using ctrl+~

Now set up a React template project using Vite or any other bundler you prefer. Set up Tailwind CSS if needed, and let's begin with the App.jsx file.
import React, { useState } from 'react';

const App = () => {
  const [formData, setFormData] = useState({
    name: '',
    email: '',
    contact: ''
  });

  const handleChange = (e) => {
    const { name, value } = e.target;
    setFormData({
      ...formData,
      [name]: value
    });
  };

  const handleSubmit = (e) => {
    e.preventDefault();
    console.log(formData);
  };

  return (
    <div className="min-h-screen flex items-center justify-center bg-gray-100">
      <form
        onSubmit={handleSubmit}
        className="bg-white p-8 rounded-lg shadow-lg w-full max-w-md"
      >
        <h2 className="text-2xl font-bold mb-6 text-gray-800">Contact Form</h2>
        <div className="mb-4">
          <label className="block text-gray-700 mb-2" htmlFor="name">
            Name
          </label>
          <input
            type="text"
            id="name"
            name="name"
            value={formData.name}
            onChange={handleChange}
            className="w-full px-3 py-2 border rounded-lg focus:outline-none focus:ring focus:border-blue-300"
            required
          />
        </div>
        <div className="mb-4">
          <label className="block text-gray-700 mb-2" htmlFor="email">
            Email
          </label>
          <input
            type="email"
            id="email"
            name="email"
            value={formData.email}
            onChange={handleChange}
            className="w-full px-3 py-2 border rounded-lg focus:outline-none focus:ring focus:border-blue-300"
            required
          />
        </div>
        <div className="mb-4">
          <label className="block text-gray-700 mb-2" htmlFor="contact">
            Contact
          </label>
          <input
            type="text"
            id="contact"
            name="contact"
            value={formData.contact}
            onChange={handleChange}
            className="w-full px-3 py-2 border rounded-lg focus:outline-none focus:ring focus:border-blue-300"
            required
          />
        </div>
        <button
          type="submit"
          className="w-full bg-blue-500 text-white py-2 px-4 rounded-lg hover:bg-blue-700 focus:outline-none focus:ring focus:border-blue-300"
        >
          Submit
        </button>
      </form>
    </div>
  );
};

export default App;
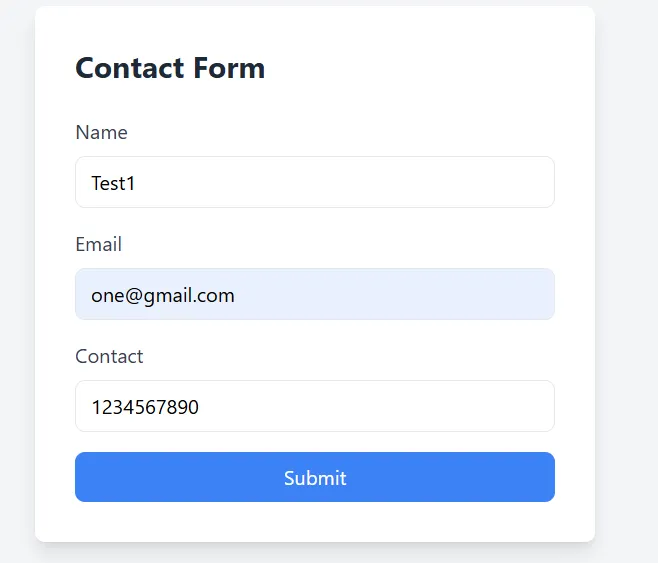
Spin up the client with npm run dev and see the result in your localhost.
Now we will start with the backend server, open another terminal and write cd server and then write npm init
The terminal will prompt you some messages, you can provide values according to you need or just press enter until you see a package.json file is created in your server folder. Now rewrite the package.json file with the given code
{
  "name": "gsheet-react",
  "version": "1.0.0",
  "description": "",
  "main": "index.js",
  "type": "module",
  "scripts": {
    "dev": "nodemon src/index.js"
  },
  "keywords": [],
  "author": "",
  "license": "ISC",
  "dependencies": {
    "cors": "^2.8.5",
    "express": "^4.18.2",
    "google-spreadsheet": "^3.3.0",
    "googleapis": "^111.0.0",
    "zod": "^3.20.6"
  },
  "devDependencies": {
    "@types/express": "^4.17.17",
    "nodemon": "^2.0.20"
  }
}
Now open the terminal and run npm install
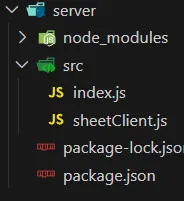
As soon as the node modules are installed, in your root server folder create a src folder and inside the src folder create a file named index.js and another called sheetClient.js
Now rewrite the index.js file with the given code snippet
import express from "express";
import cors from "cors";

import { z, ZodError } from "zod";
import sheets, { SHEET_ID } from "./sheetClient.js";

const app = express();
app.use(cors());
const contactFormSchema = z.object({
    name: z.string(),
    email:z.string().email(),
    contact:z.string().min(10).max(10)
});

app.use(express.json());

app.get("/", (req, res) => {
  res.send("Hello World");
});
app.post("/send-text", async (req, res) => {
  try {
    const body = contactFormSchema.parse(req.body);
    const rows = Object.values(body);
    console.log(rows);
    await sheets.spreadsheets.values.append({
      spreadsheetId: SHEET_ID,
      range: "Sheet1!A1:B2",
      valueInputOption: "RAW",
      insertDataOption: "INSERT_ROWS",
      requestBody: {
        values: [rows],
      },
    });
    res.send("Data received");
  } catch (error) {
    if (error instanceof ZodError) {
      res.status(400).json({ error: error.message });
    } else {
      res.status(400).json({ error });
      console.log(error.message);
    }
  }
});

app.listen(5000, () => {
  console.log("Server is listening on port 5000");
});
And rewrite the sheetClient.js file as given
import { google } from "googleapis";

export const SHEET_ID = "your sheet id will go here";

const client = new google.auth.JWT(
    "place for the service account",
    null,
    "private key",
    ["https://www.googleapis.com/auth/spreadsheets"]
);

const sheets = google.sheets({
    version: "v4",
    auth: client,
  });

  export default sheets;
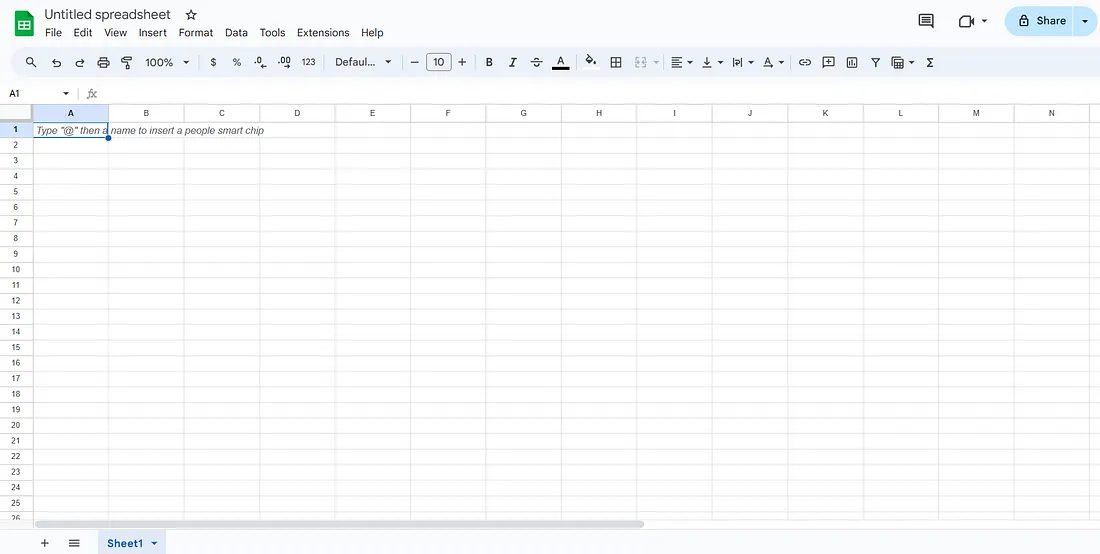
Now as you can see we need the SHEET_ID first. So open the google sheets and create a new sheet where you want to receive the data and copy the sheet id as given below

so it will go as
export const SHEET_ID = "1Nsl2xFJETjtgBX84MpKkMdY1m9AfKOtr12cVCNClTD4";
Now open your google cloud console from here
create a new project as shown below
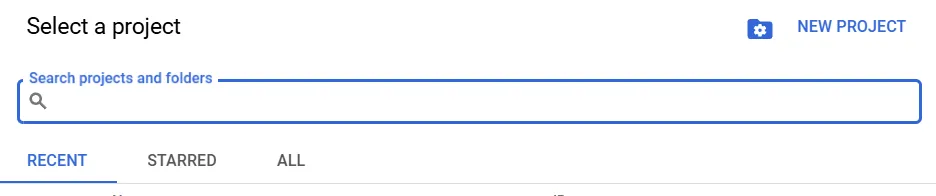
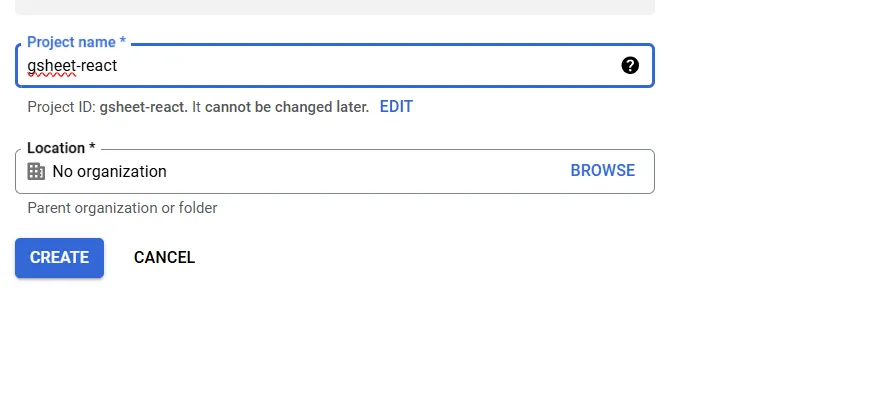
Create the project and follow as shown below

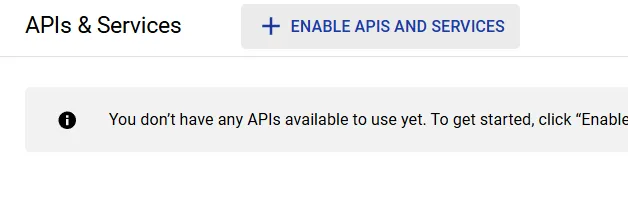
From this navigation menu select APIs and Services and then click on enable apis and services
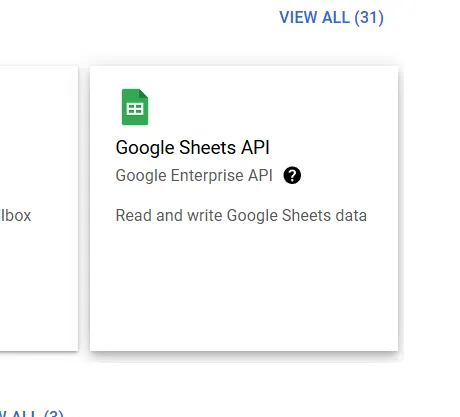
There select google sheet api
As soon as you click there you will be redurested to a page where you have the option to Enable the api. Click on that and enable it.
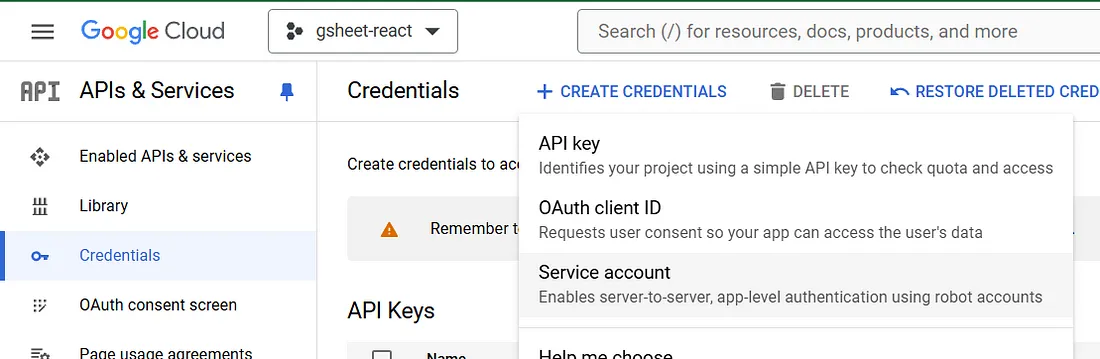
After enabling it you will see a button called credentials and when you click on that you will se “+create credentials” for creating the api credentials, click on that button. Then select service account.
Now you will be redirected to a form. There give the service account a name and click continue and done without changing anything.
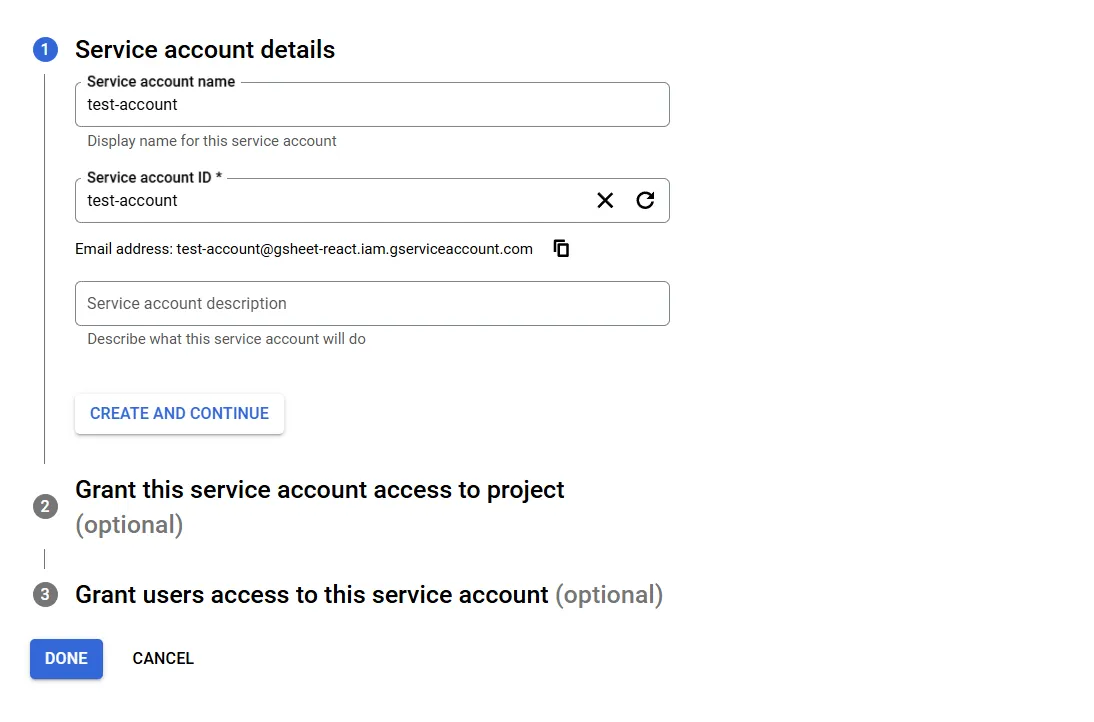
Now you will be redirected to the credentials page and there you will get an email id for the service account. Just copy that.

Now open the server folder in your vs code and open the sheetClient file, there you will see a comment stating “place for your service account”. Relace that comment with the copied service email id.
Now return to your cloud console and click on the service email id to generate private key and download the other required credentials.
Navigate to the Keys and press on Add Key.
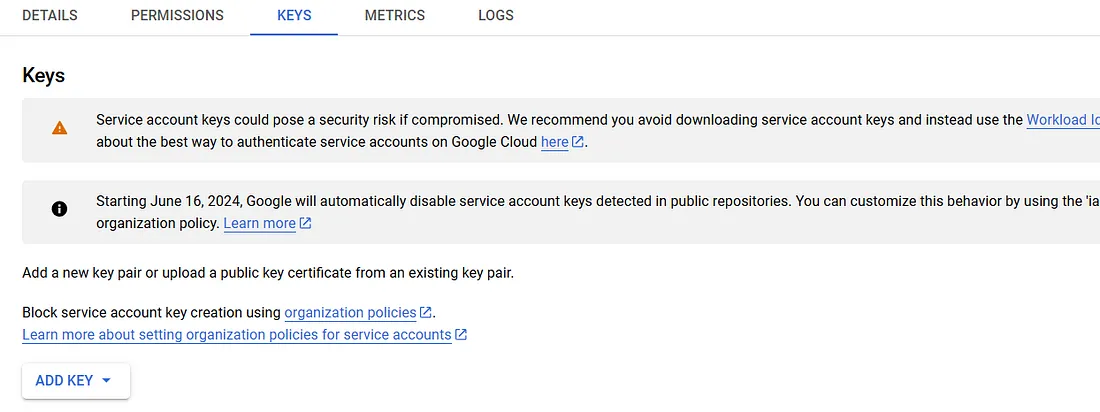
There you will click on create a new key. Select Json and click on create.
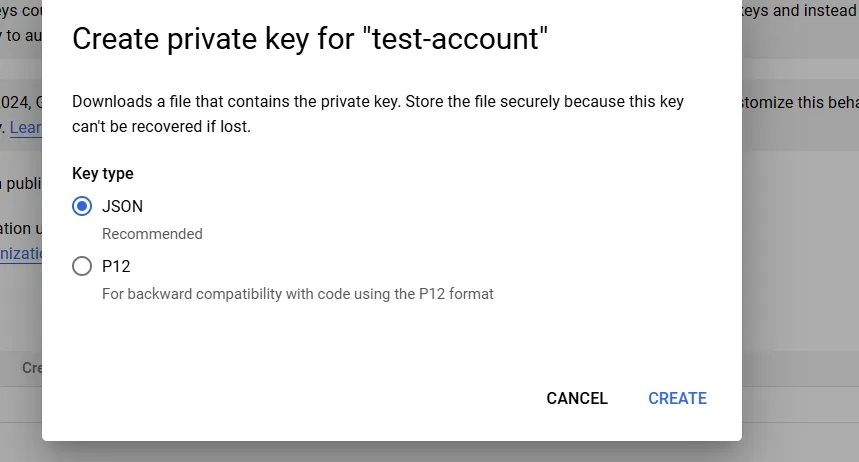
A json file will be downloaded. Open that file in your Vs code. It will contain certain access keys.
From there select only the “private key” and copy its value. It will generally contain the largest value and look like “ — — -BEGIN PRIVATE KEY — — -\n………….\n — — -END PRIVATE KEY — — -\n”. Copy the whole key value. Now you can exit your cloud console.
Now again open your server folder and navigate to the sheetClient file. There you will see a comment “private key”, replace this comment with the copied key.
Now your backend is ready to spin up and accept requests at the path /send-text. Open the terminal for the server and run the command npm run dev
You will see your server is listing to the port 5000 successfully.
Now its time for the frontend to send the data to the backend. For that we have to set up a connection between the frontend and the backend. So open the client folder and replace the whole app.jsx with the given code.
import React, { useEffect, useState } from 'react';
const App = () => {
const [formData, setFormData] = useState({
name: '',
email: '',
contact: ''
});
const [loading, setLoading] = useState(false);
useEffect(() => {}, []);
const handleChange = (e) => {
const { name, value } = e.target;
setFormData({
...formData,
[name]: value
});
};
const handleSubmit = async (e) => {
setLoading(true);
e.preventDefault();
try {
const response = await fetch("http://localhost:5000/send-text", {
method: "POST",
headers: {
"Content-Type": "application/json",
},
body: JSON.stringify(formData),
});
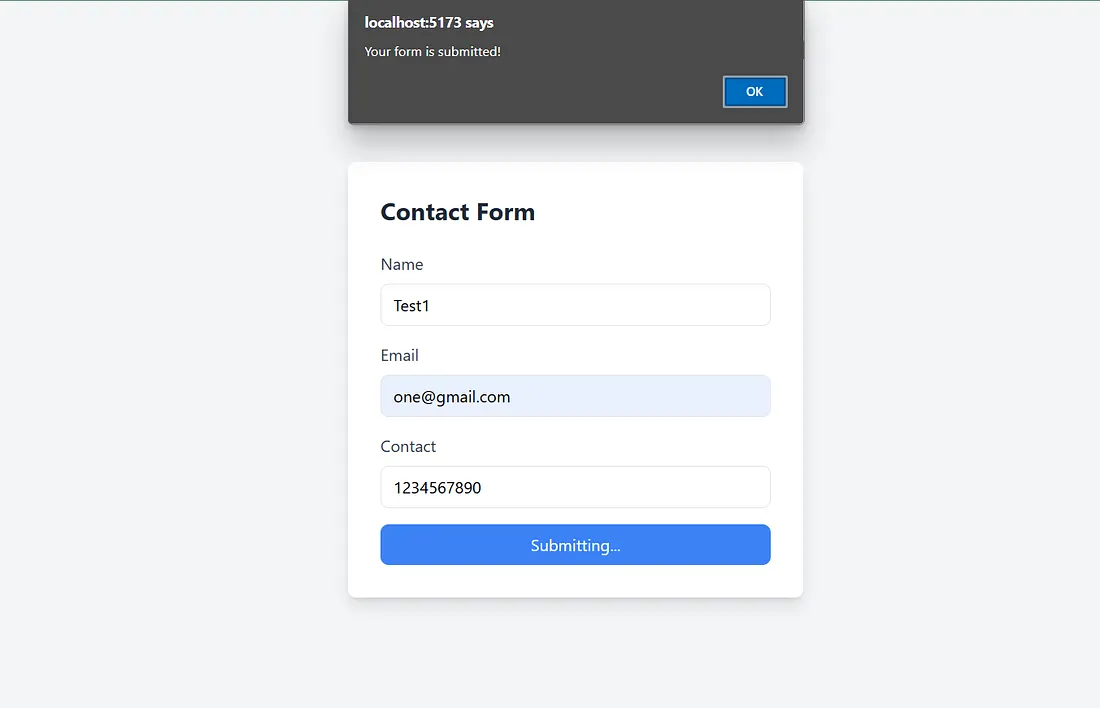
if (response.ok) {
window.alert("Your form is submitted!");
} else {
const errorData = await response.json();
throw new Error(errorData.error);
}
} catch (error) {
console.log(error);
window.alert("Error submitting the form. Please try again.");
} finally {
setLoading(false);
}
};
return (
<div className="min-h-screen flex items-center justify-center bg-gray-100">
<form
onSubmit={handleSubmit}
className="bg-white p-8 rounded-lg shadow-lg w-full max-w-md"
>
<h2 className="text-2xl font-bold mb-6 text-gray-800">Contact Form</h2>
<div className="mb-4">
<label className="block text-gray-700 mb-2" htmlFor="name">
Name
</label>
<input
type="text"
id="name"
name="name"
value={formData.name}
onChange={handleChange}
className="w-full px-3 py-2 border rounded-lg focus:outline-none focus:ring focus:border-blue-300"
required
/>
</div>
<div className="mb-4">
<label className="block text-gray-700 mb-2" htmlFor="email">
Email
</label>
<input
type="email"
id="email"
name="email"
value={formData.email}
onChange={handleChange}
className="w-full px-3 py-2 border rounded-lg focus:outline-none focus:ring focus:border-blue-300"
required
/>
</div>
<div className="mb-4">
<label className="block text-gray-700 mb-2" htmlFor="contact">
Contact
</label>
<input
type="text"
id="contact"
name="contact"
value={formData.contact}
onChange={handleChange}
className="w-full px-3 py-2 border rounded-lg focus:outline-none focus:ring focus:border-blue-300"
required
/>
</div>
<button
type="submit"
disabled={loading}
className="w-full bg-blue-500 text-white py-2 px-4 rounded-lg hover:bg-blue-700 focus:outline-none focus:ring focus:border-blue-300"
>
{loading ? "Submitting..." : "Submit"}
</button>
</form>
</div>
);
};
export default App;
Now the last part, open the google sheet you just created and click on the share button.
There you have to give the service email an editor access. This step is very important so carefully do that.
Now you are all set to send the responses to your google sheet.
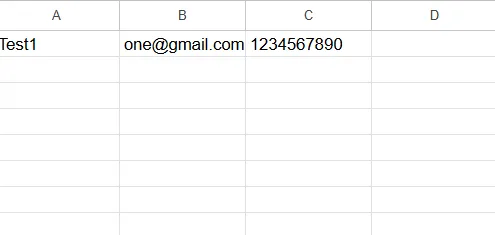
So here you can see we have succesfully received the data in our Google sheet directly from our form.
You can modify the code according to your need and to maintain best practices anytime.
Subscribe to my newsletter
Read articles from Supriya Saha directly inside your inbox. Subscribe to the newsletter, and don't miss out.
Written by