Tailwind v4 update: Troubleshooting Tailwind Config Issues in Grow Earth Django Project
 ThankYouCode
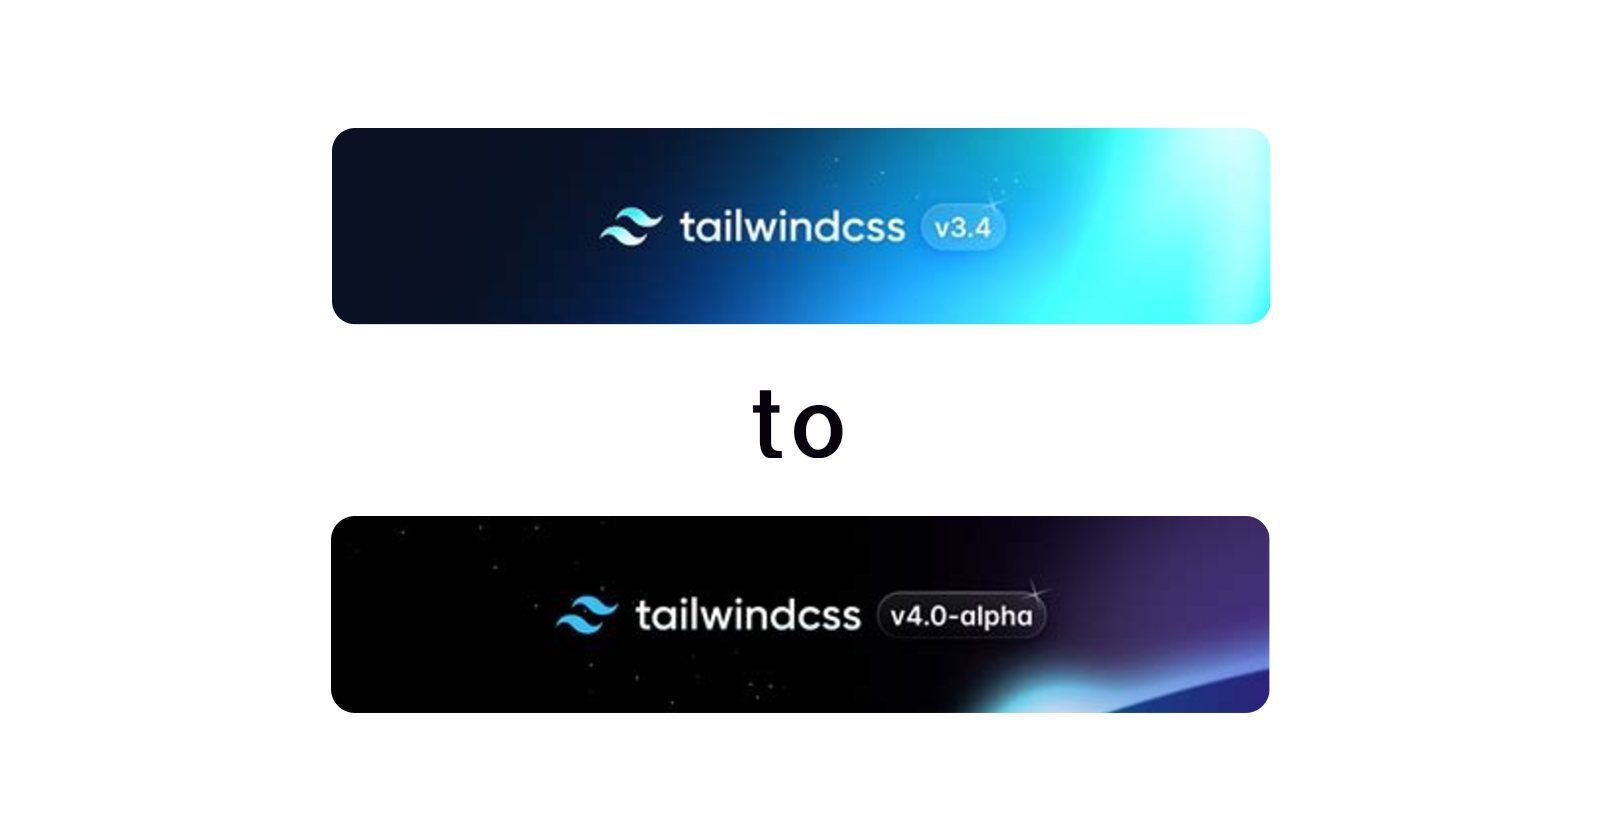
March 10, 2025: A Day of Debugging
Today was a challenging day for my Grow Earth project. I started my computer, ran the project as usual, and noticed something strange: my custom colors defined in tailwind.config.js were no longer working. The styles were completely off, and I couldn’t figure out why.
What followed was an entire day of debugging, searching for answers, and experimenting with solutions. Along the way, I also faced unrelated connectivity issues with GitHub, which added to the frustration. However, by the end of the day, I managed to resolve everything and learned some valuable lessons.
Here’s a detailed account of what happened and how I fixed it.
The Root Cause: Tailwind CSS v4 Update
After hours of debugging and searching online, I discovered that the issue stemmed from an update to Tailwind CSS v4. This update introduced significant changes in how configurations are handled:
Configuration Changes:
In Tailwind CSS v3, customization were defined in
tailwind.config.js.In Tailwind CSS v4, customization are now defined directly in your CSS file using the
@themedirective.
Class Name Changes:
Some utility classes were renamed or deprecated.
For example:
overflow-ellipsis→text-ellipsisbg-opacity-*→ Use/syntax (e.g.,bg-black/50).
Since my project was still relying on Tailwind CSS v3 configurations while using Tailwind CSS v4 CLI, it caused a mismatch that broke my styles.
Understanding Configuration Changes
As I delved deeper into the problem, I realized that comparing my old configuration with the new requirements could provide clarity on what needed to change.
Here’s a look at how my configuration evolved from Tailwind CSS v3 to v4:
tailwind.config.js for v3
This configuration file was where I defined all my customization:
module.exports = {
  content: [
    "./templates/**/*.html", // Include all HTML templates
    "./apps/**/*.html", // Include app-specific templates
    "./static/js/**/*.js", // Include JavaScript files in static
    "./src/static/**/*.css", // Include CSS files in static/src
    "./**/*.py", // Include Python files for inline classes
  ],
  theme: {
    extend: {
      colors: {
        primary: "#A2A915", // apple-green
        secondary: "#547131", // fern-green
        tertiary: "#6C92B6", // blue-gray
        saffron: "#EDC363", // saffron
        darkBrown: "#3F3929", // dark-brown
      },
      backgroundColor: {
        "alert-success": "#48bb78",
        "alert-error": "#f56565",
        "alert-warning": "#ecc94b",
        "alert-info": "#4299e1",
      },
      textColor: {
        "alert-text": "#ffffff",
      },
    },
  },
  plugins: [],
};
Transitioning to Source Code in v4
With Tailwind CSS v4, the approach shifted significantly towards a more CSS-centric methodology using variables within the @theme directive:
@import "tailwindcss";

@theme {
  --color-primary: #a2a915;
  --color-secondary: #547131;
  --color-tertiary: #6c92b6;
  --color-saffron: #edc363;
  --color-darkBrown: #3f3929;
  --color-alert-success: #48bb78;
  --color-alert-error: #f56565;
  --color-alert-warning: #ecc94b;
  --color-alert-info: #4299e1;
  --color-alert-text": #ffffff;
}
This shift meant that instead of managing configurations through JavaScript files, I would now handle them directly within my CSS files as custom properties.
Solution 1: Downgrading to Tailwind CSS v3
To fix this issue without rewriting all my configurations immediately, I decided to downgrade my project back to Tailwind CSS v3 (v3.4.2) using Node.js.
Steps to Downgrade Tailwind CSS
- Uninstall Current Version: First, I removed the existing version of Tailwind CSS from my project:
npm uninstall tailwindcss
- Install Tailwind CSS v3.4.2: Next, I installed the specific version of Tailwind CSS (v3.4.2) as a development dependency:
npm install -D tailwindcss@3.4.2
- Reinitialize Configuration (If Needed): Since my project already had a
tailwind.config.js, this step wasn’t necessary for me. However, if you don’t have one, you can generate it using:
npx tailwindcss init
- Verify Installation: To confirm that Tailwind CSS v3 was installed correctly, I ran:
npx tailwindcss --version
The output showed:
tailwindcss v3.4.2
- Update Build Process: I ensured that my build process was properly configured to use Tailwind CSS by adding the following directives to my main CSS file (e.g.,
src/styles.css):
@tailwind base;
@tailwind components;
@tailwind utilities;
- Run Build Command: Finally, I updated my
package.jsonscripts to include a build command for Tailwind CSS:
"scripts": {
  "build:css": "npx tailwindcss -i ./src/input.css -o ./dist/output.css --watch"
}
Solution 2: Using Django-Tailwind-CLI in Django project
To simplify future upgrades and avoid manually managing CLI versions and configurations, I explored using django-tailwind-cli, which provides seamless integration for Django projects without requiring Node.js.
Steps for Integration with Django-Tailwind-CLI
- Install django-tailwind-cli via pip:
python -m pip install django-tailwind-cli
- Add it to your Django settings:
INSTALLED_APPS = [
    # other Django apps
    "django_tailwind_cli",
]
- Configure static files in your settings.py if not already done:
STATICFILES_DIRS = [BASE_DIR / "assets"]
- Use management commands for CLI operations:
- Download CLI (default version is latest):
python manage.py tailwind download_cli
- Remove CLI if needed:
python manage.py tailwind remove_cli
- Start development server with Tailwind watcher process:
python manage.py tailwind runserver
- Build production-ready CSS file before deployment:
python manage.py tailwind build
With django-tailwind-cli, switching between versions is easier because it handles CLI downloads directly without requiring manual intervention.
Lessons Learned
Framework Updates Can Be Tricky: Always read release notes when upgrading frameworks like Tailwind CSS because major updates often introduce breaking changes.
Debugging Requires Patience: It’s easy to get frustrated when things don’t work as expected, but persistence pays off.
Documentation Is Your Best Friend: Reading through official documentation helped me understand why things broke and how to fix them.
Conclusion
Switching from Tailwind CSS v3 to v4 can be challenging due to its new configuration approach and class name changes, but with careful planning and debugging steps like those outlined above—and tools like django-tailwind-cli—you can make it work seamlessly in your project.
If you’re facing similar issues or planning an upgrade from v3 to v4 in your project, follow these steps and let me know how it works for you!
Subscribe to my newsletter
Read articles from ThankYouCode directly inside your inbox. Subscribe to the newsletter, and don't miss out.
Written by