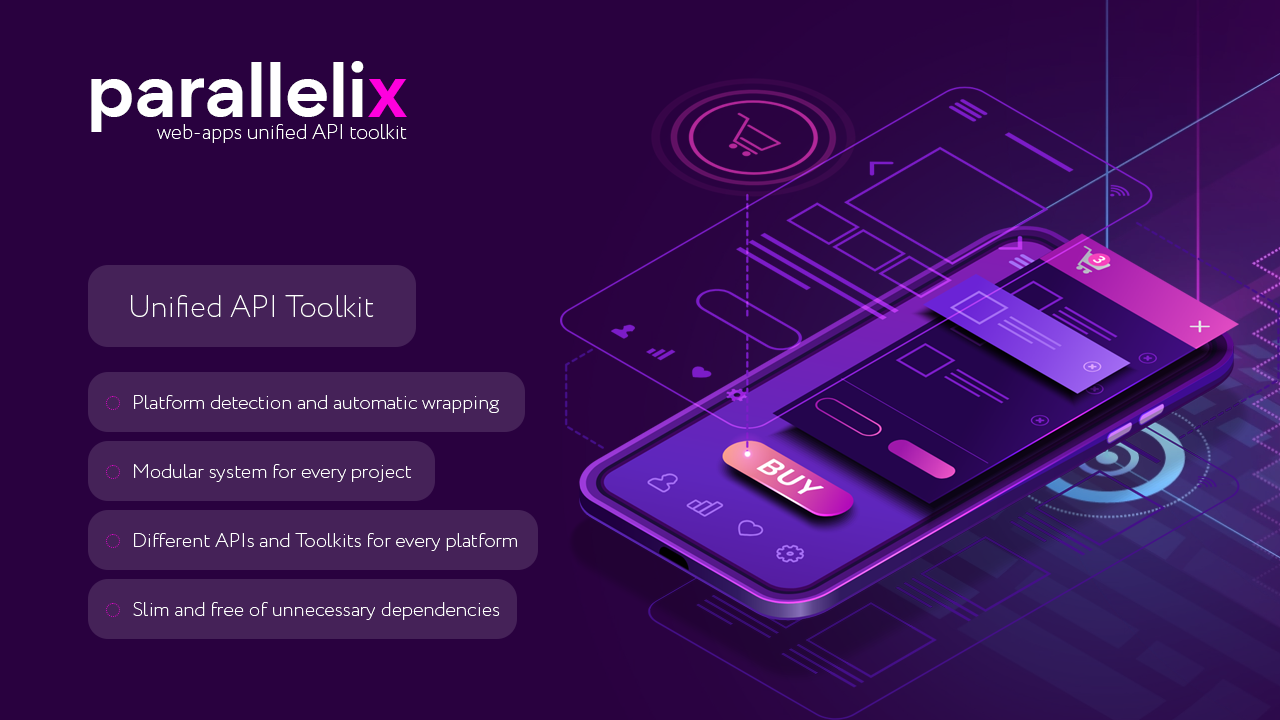
Launched a new set of tools for web applications - Parallelix
 Elijah Brown
Introduction
Hi everyone. Today we have launched in beta a new toolkit for cross-platform web application development called Parallelix. This toolkit was born as a separate library, important in modernization of our products, as we daily face the problem of controlling dozens of SDKs for different platforms of our web applications.
So - meet a unified library for working with your projects.
GitHub Repo | Documentation | Demo | Roadmap
About Parallelix
Parallelix Toolkit - Written in Vanilla JS, a modular library that allows you to forget about the existence of different client SDKs when developing your cross-platform web applications, be it VK Mini Apps, WeChat Mini Apps, Progressive Web App or Apache Cordova based applications.

Write the same code for all platforms, changing only the parameters to execute methods according to the platforms' documentation.
Why Parallelix?
Cross-platform operation of your web applications on different platforms (VK Mini Apss, Telegram Mini Apps, Cordova etc.);
Unified API for working with authorization and other functionality of platforms;
Modular connection of various libraries required for platforms' operation (for example: VK Bridge);
Simple to use and easy to learn;
Get Started with Parallelix
Before you start, download Parallelix libraries from the release page from our official GitHub.
Or clone repository into your project:
git clone https://github.com/Neurosell/parallelix.git
Now connect the main script to work with Parallelix in body tag:
<script type="text/javascript" src="/libraries/parallelix.js"></script>
And start connecting the client in your JS application:
// Configure Parallelix
const client = new Parallelix({
    baseModulesPath: "/libraries/",            // Where your modules located
    supportedPlatforms: ["vk", "telegram"],    // Modules to initialize
    vk: {},                                    // VK Module Config Example
    telegram: {}                               // Telegram Module Config Example
});

// Add Error and Initialization Handler
client.OnError = (error) => {};
client.OnInitialized = (data) => {
    // Work with Parallelix Here
};

// Initialize Client
client.Initialize();
Done. We've got the basic connection sorted out. If you want to learn more about configuration options - visit our section in API Reference.
Connect your Modules and Usage
Modules are connected automatically when you specify their name in the Parallelix object configuration. The module name is also contained in the script (parallelix.MODULE_NAME.js).
If you don't need a particular module, you can simply remove it from the configuration.
Once connected and initialized, you are notified that the client is ready for use. This is how you can start using it:
// Your Client Initialization Handler
client.OnInitialized = (data) => {
    // Publish story to social Network
    client.Platform.PublishStory("mediaURL", {
        vk: {
            // Platform Specific Request Parameters from VK Bridge Docs
        },
        telegram: {
            // Platform Specific Request Parameters from Telegram SDK Docs
        }
    }, (data)=> {
        console.log(data);
    }, (error)=> {
        console.error(error.message);
    });
};
What’s Next?
We look forward to your comments, feedback and of course - new ideas. All detailed information can be found in our GitHub.
Subscribe to my newsletter
Read articles from Elijah Brown directly inside your inbox. Subscribe to the newsletter, and don't miss out.
Written by

Elijah Brown
Elijah Brown
🤔 My name is Elijah, I've been working in the game development industry for more than 10 years and I love to solve various problems related to my field. 🔭 My main tool as a person working with both mobile and console games is of course Unity. ⚡I also worked with WebGL and used mostly C# or NodeJS as a server language. I would be glad to share my experience - you can always write to me in Discord (SodaBoom).