Github Repo Monitoring using Grafana dashboard 🌟🖥📈
 Yash Israni
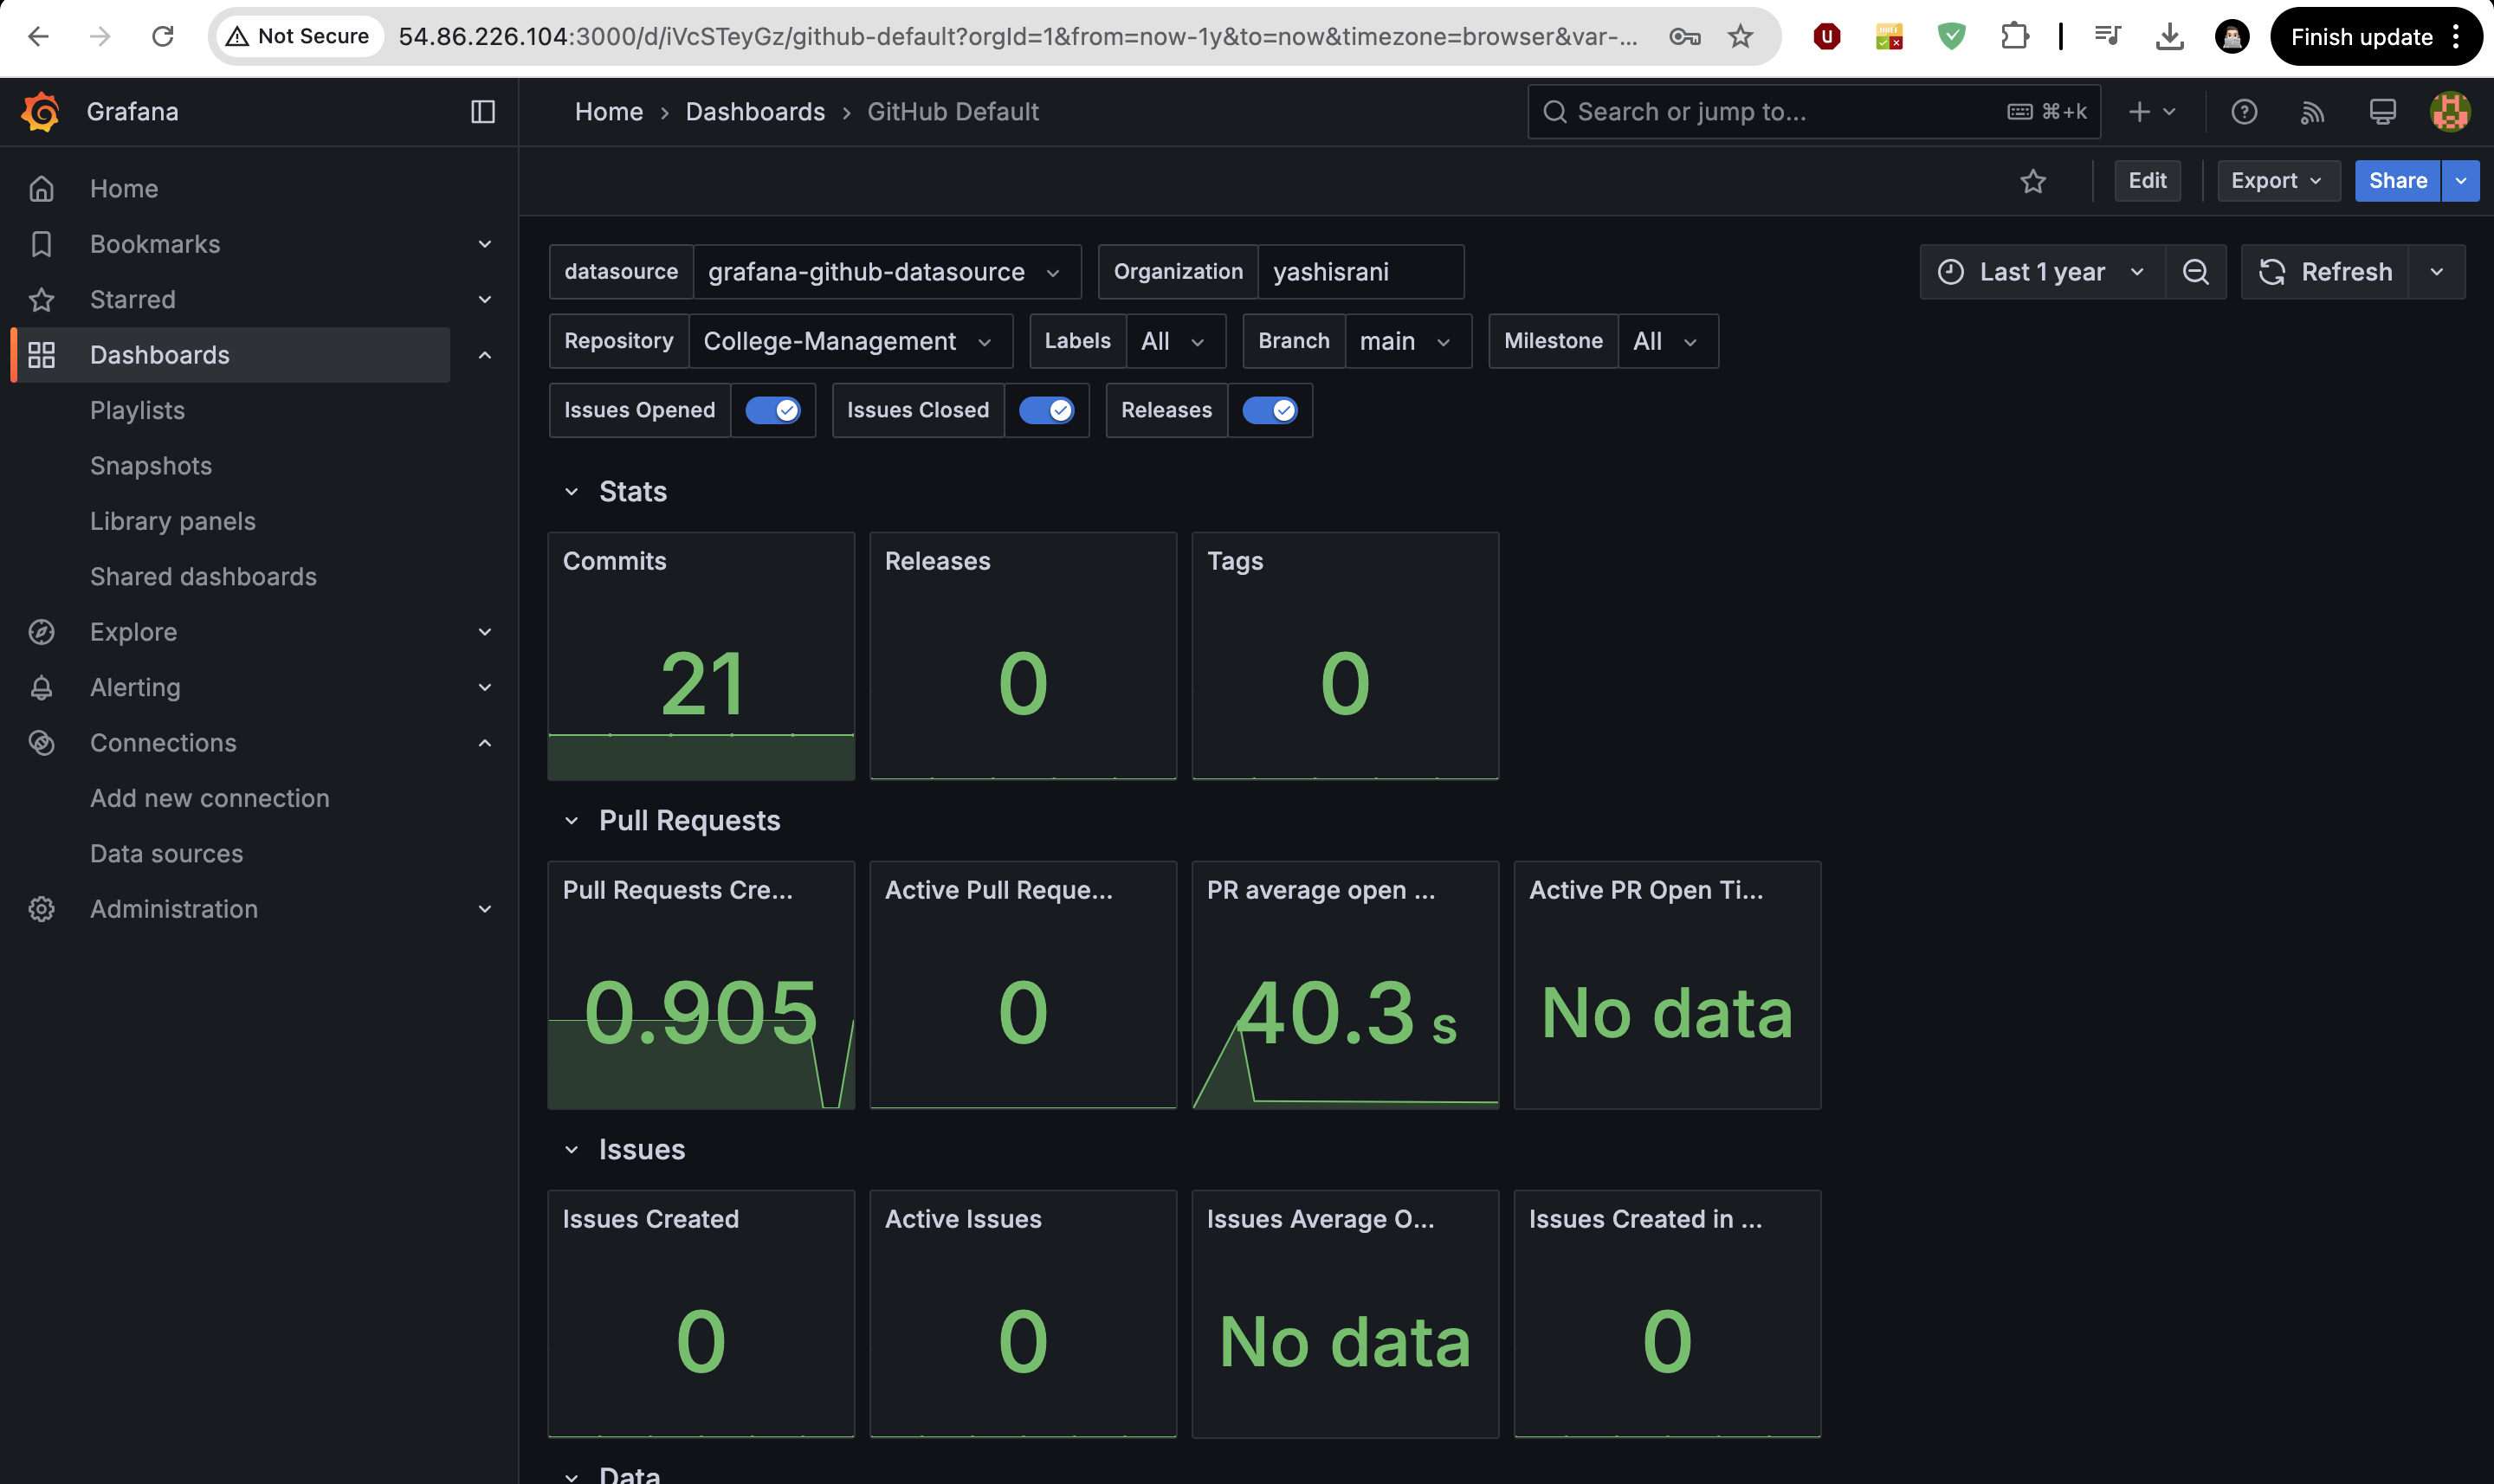
🚀 Overview
This project is a Github Repo Monitoring project created using Github tokens and Grafana dashboard*. It allows user to see data in form of visualization and graphs. The application demonstrates the core **concepts of Grafana*, *connection between github and grafana**.*
🏗️ Project Architecture

📥 Setup Guide
Create a Virtual Machine in AWS.
(Select Ubuntu OS & t2.medium Instance type and Select 25 GB storage.)
Connect your VM using MobaXterm or Mac Terminal.
Then, First of all, Update the Ubuntu Machine.
sudo apt update -y
After that, go to grafana download page and download grafana for your vm. Grafana Website
 sudo apt-get install -y adduser libfontconfig1 musl
 wget https://dl.grafana.com/enterprise/release/grafana-enterprise_11.5.2_amd64.deb
 sudo dpkg -i grafana-enterprise_11.5.2_amd64.deb
Run this commands to figure grafana to start automatically using systemd
  sudo /bin/systemctl daemon-reload
  sudo /bin/systemctl enable grafana-server
Run this command to start grafana-server.
sudo /bin/systemctl start grafana-serverNow, Copy your VM IP-address and paste on browser. do not forgot to add :3000 port at the end of IP-address. This link will open Grafana Login Page.
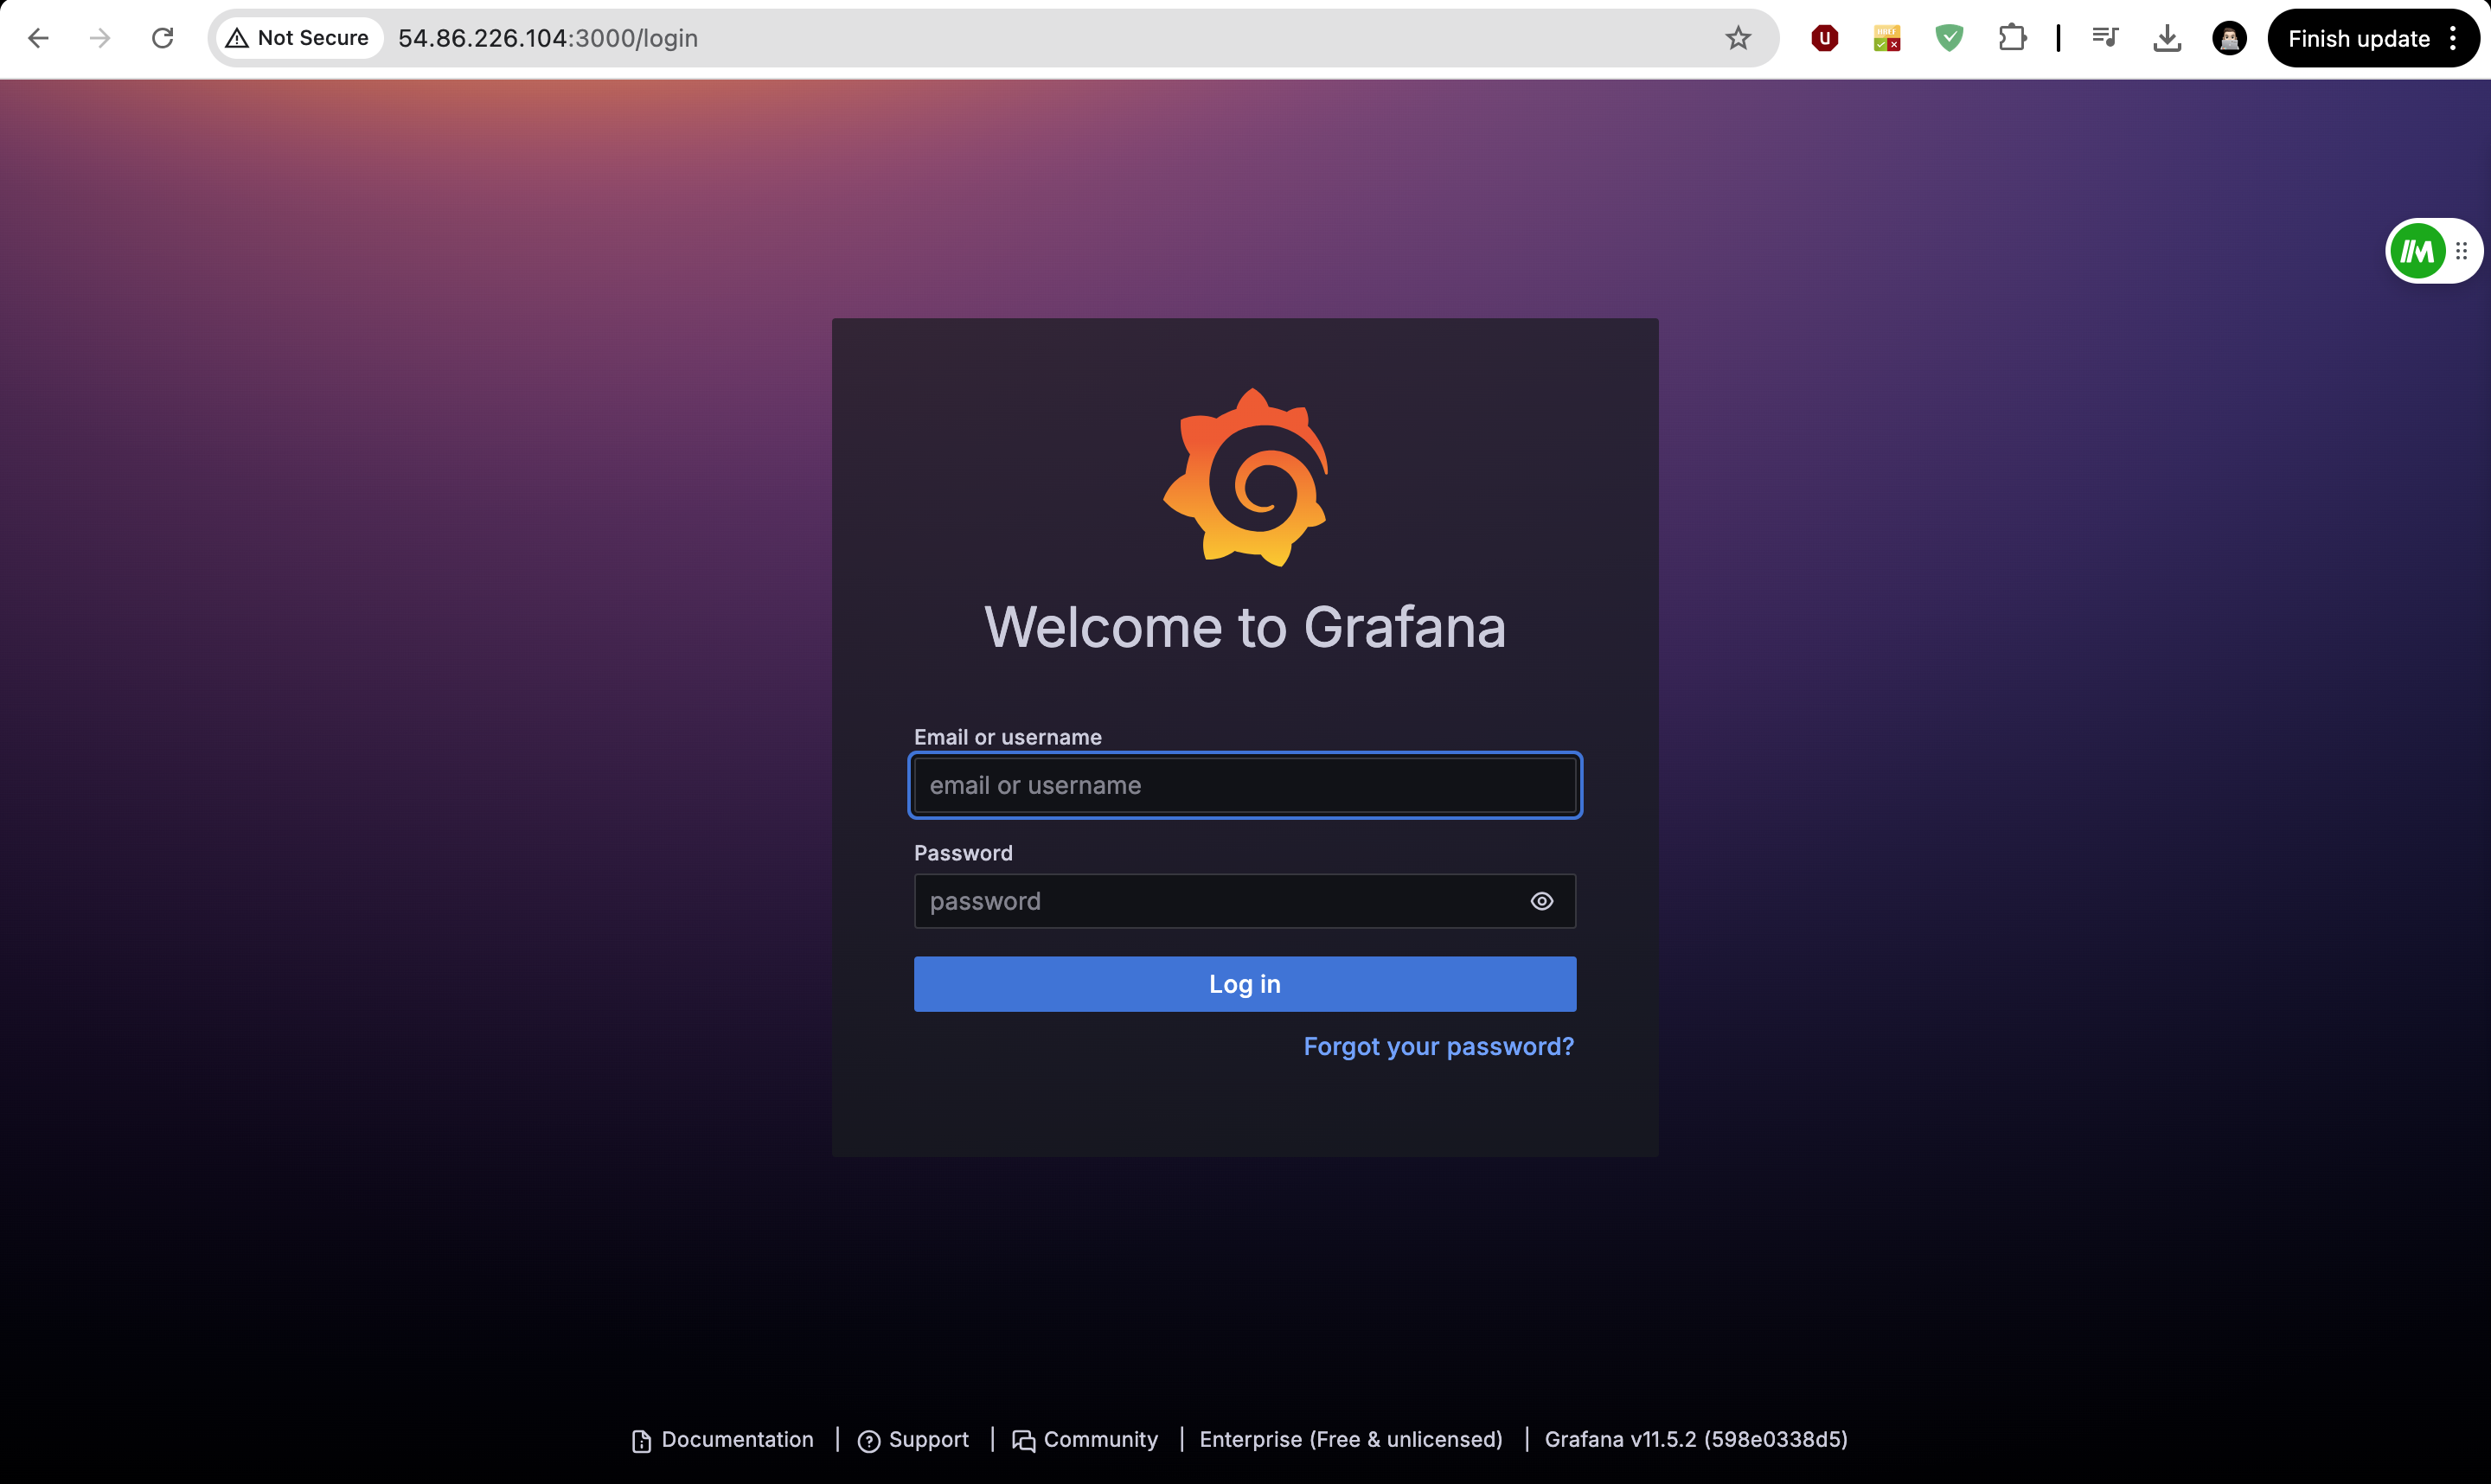
The default username and password is “admin“. add admin on both text fields and click on “log in“. after that setup new password.
Then, Open your Github Account. and go to settings. and click on “Developer settings“
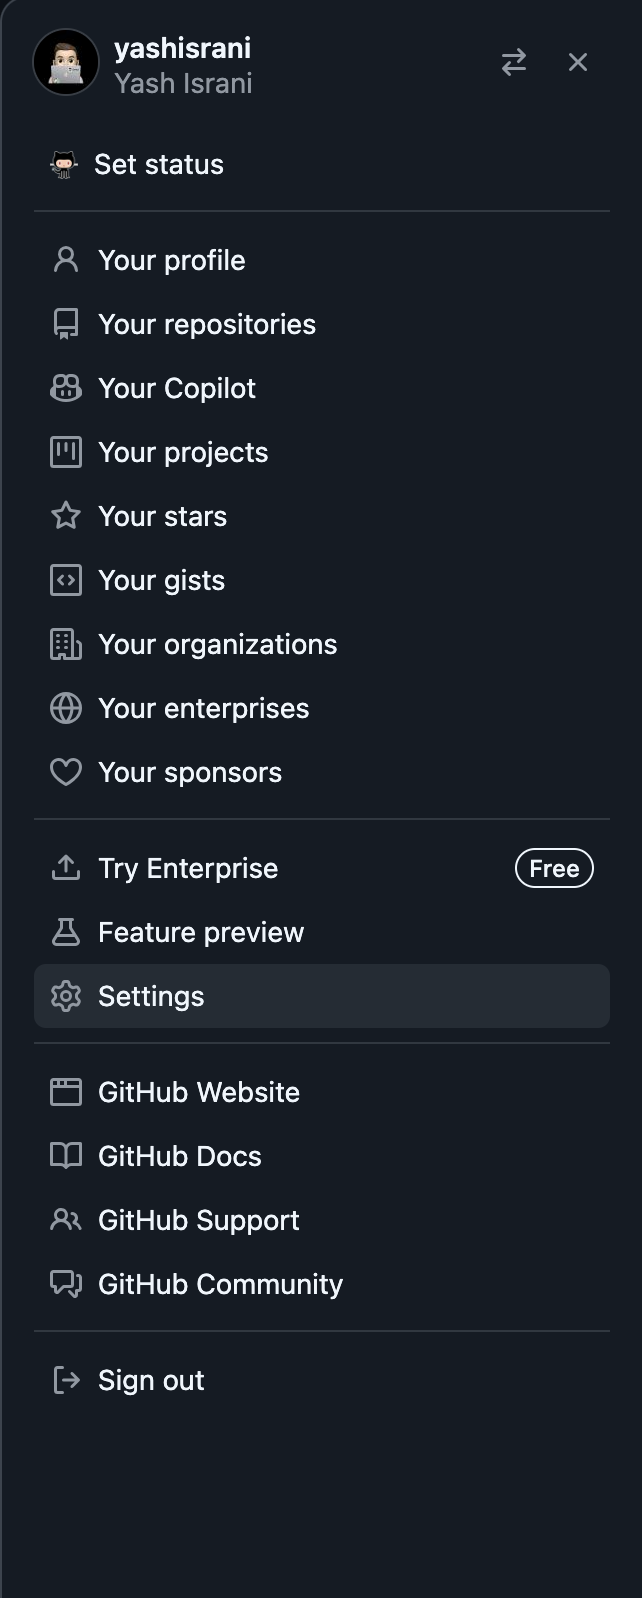
now, click on “Personal access tokens“ and select “tokens (classics)“ & “Generate new tokens“.
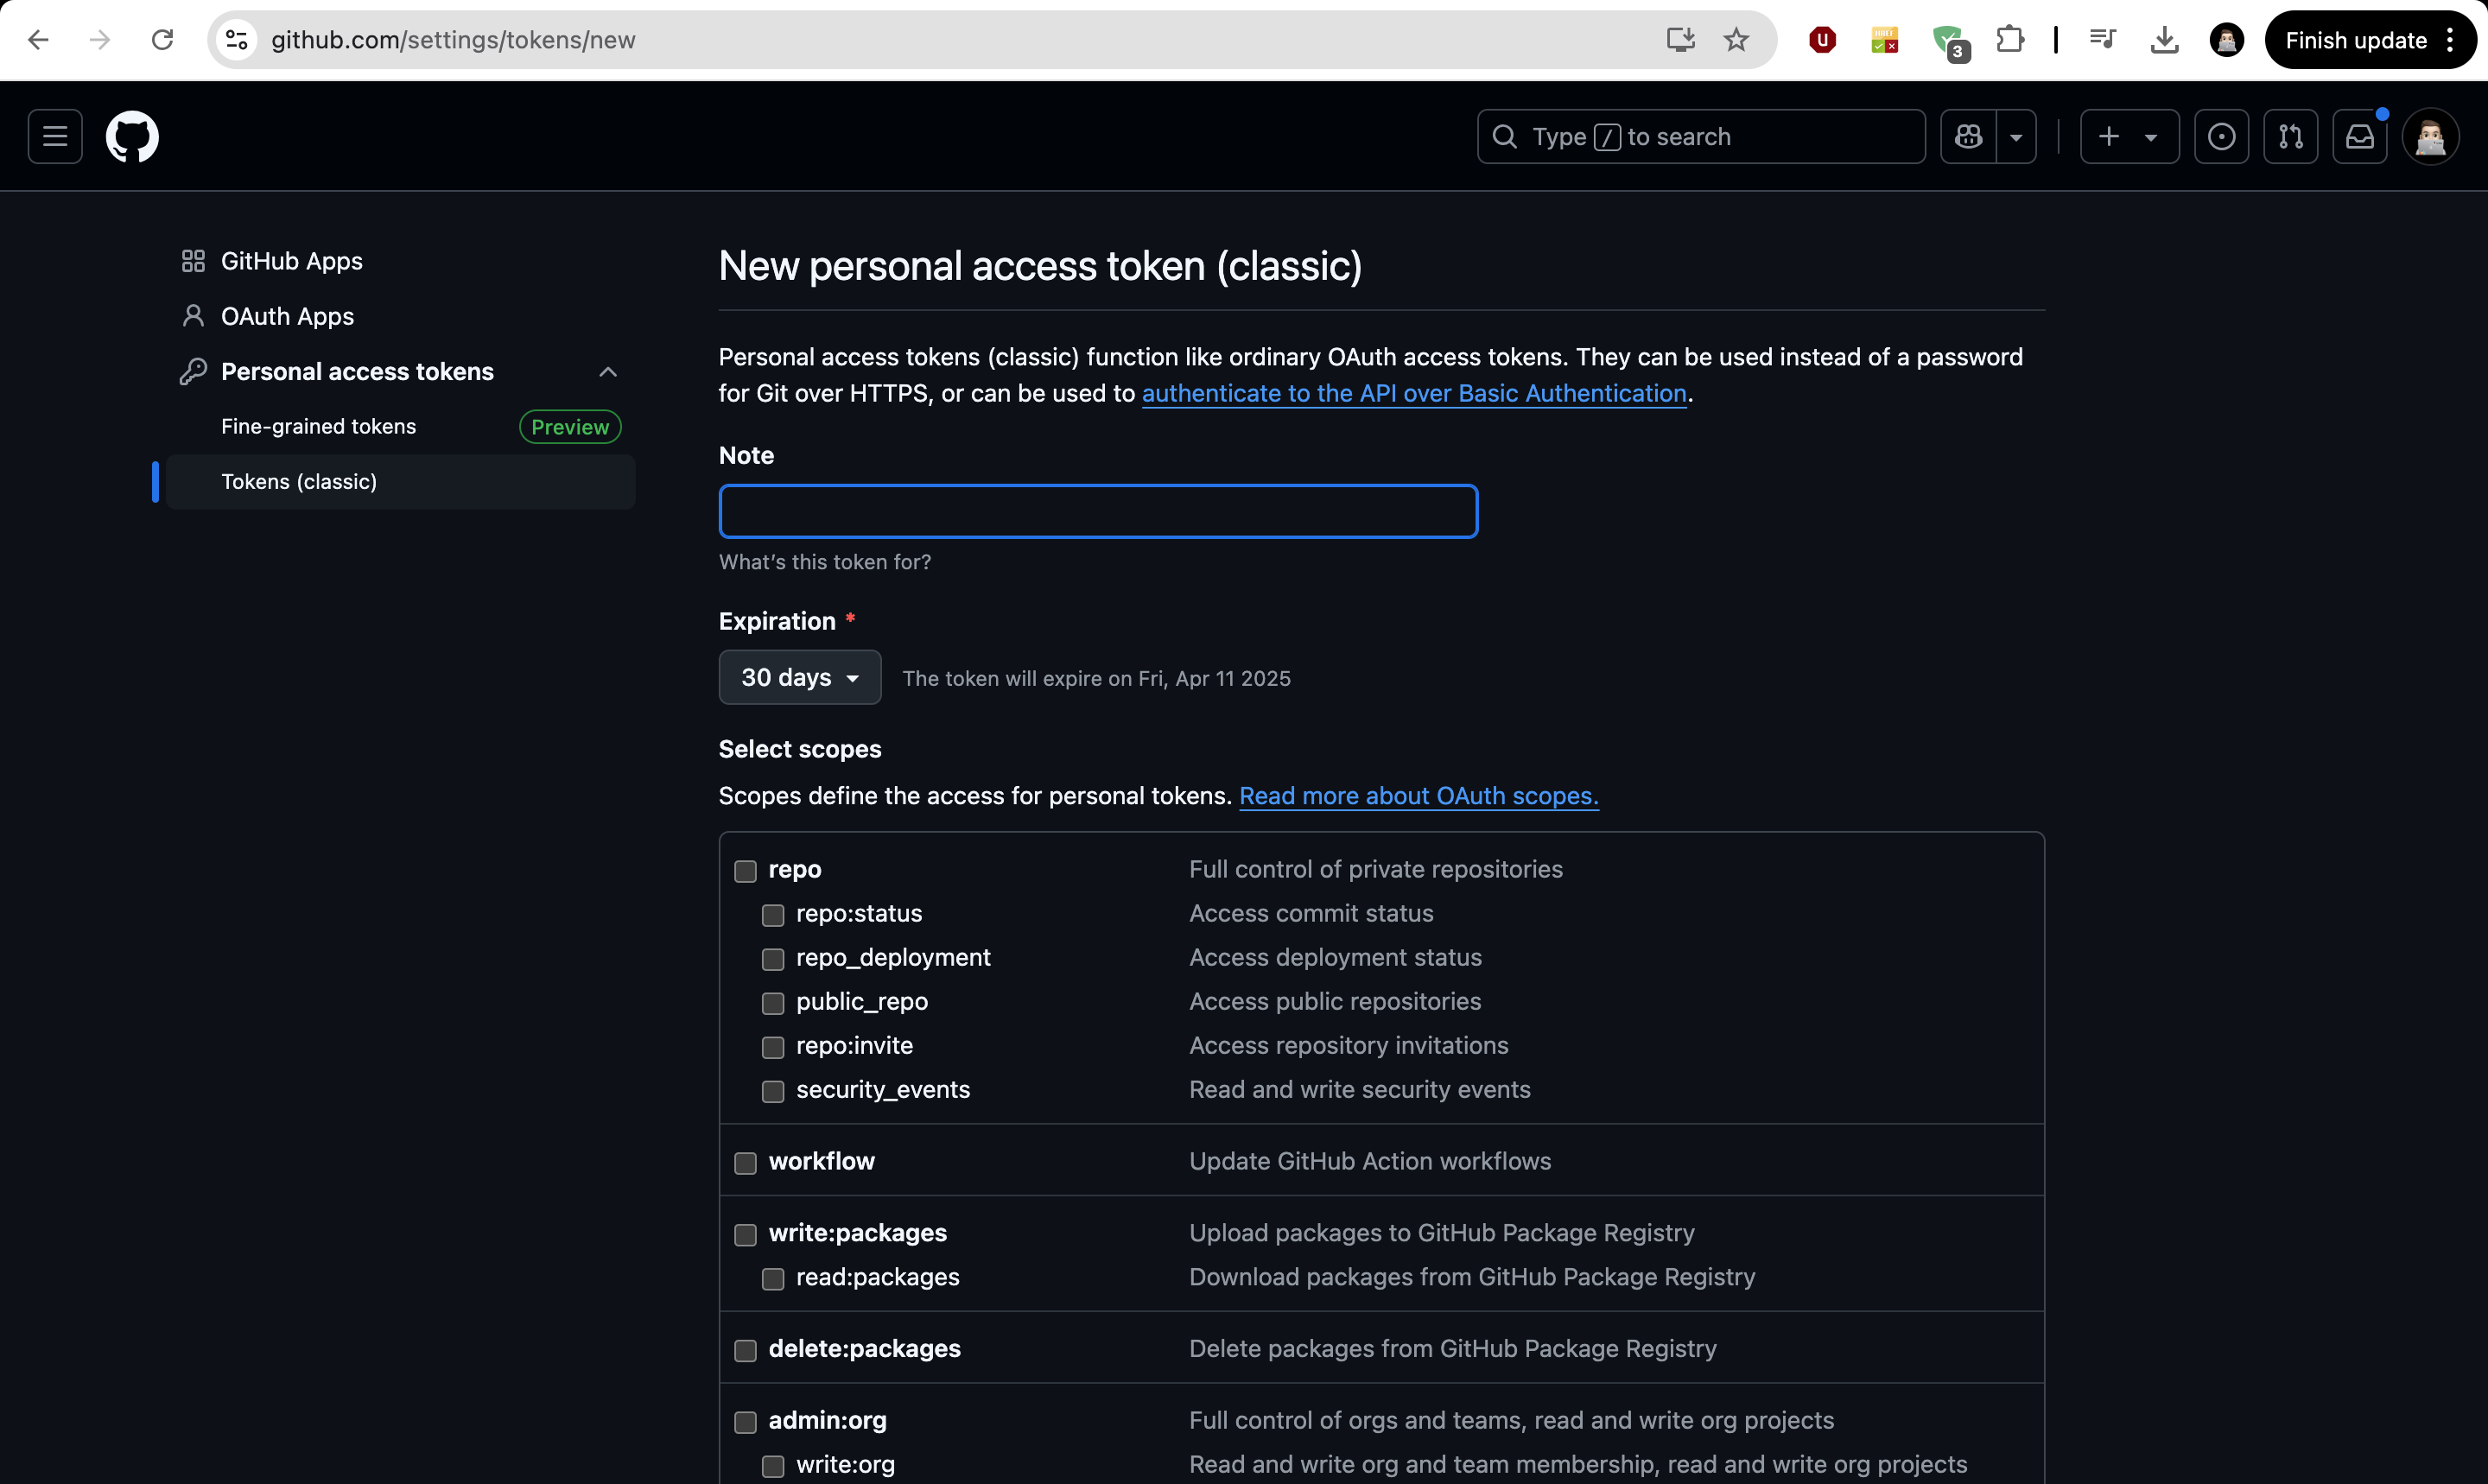
Now, We want to select scopes to create tokens. so, select below shown scopes.
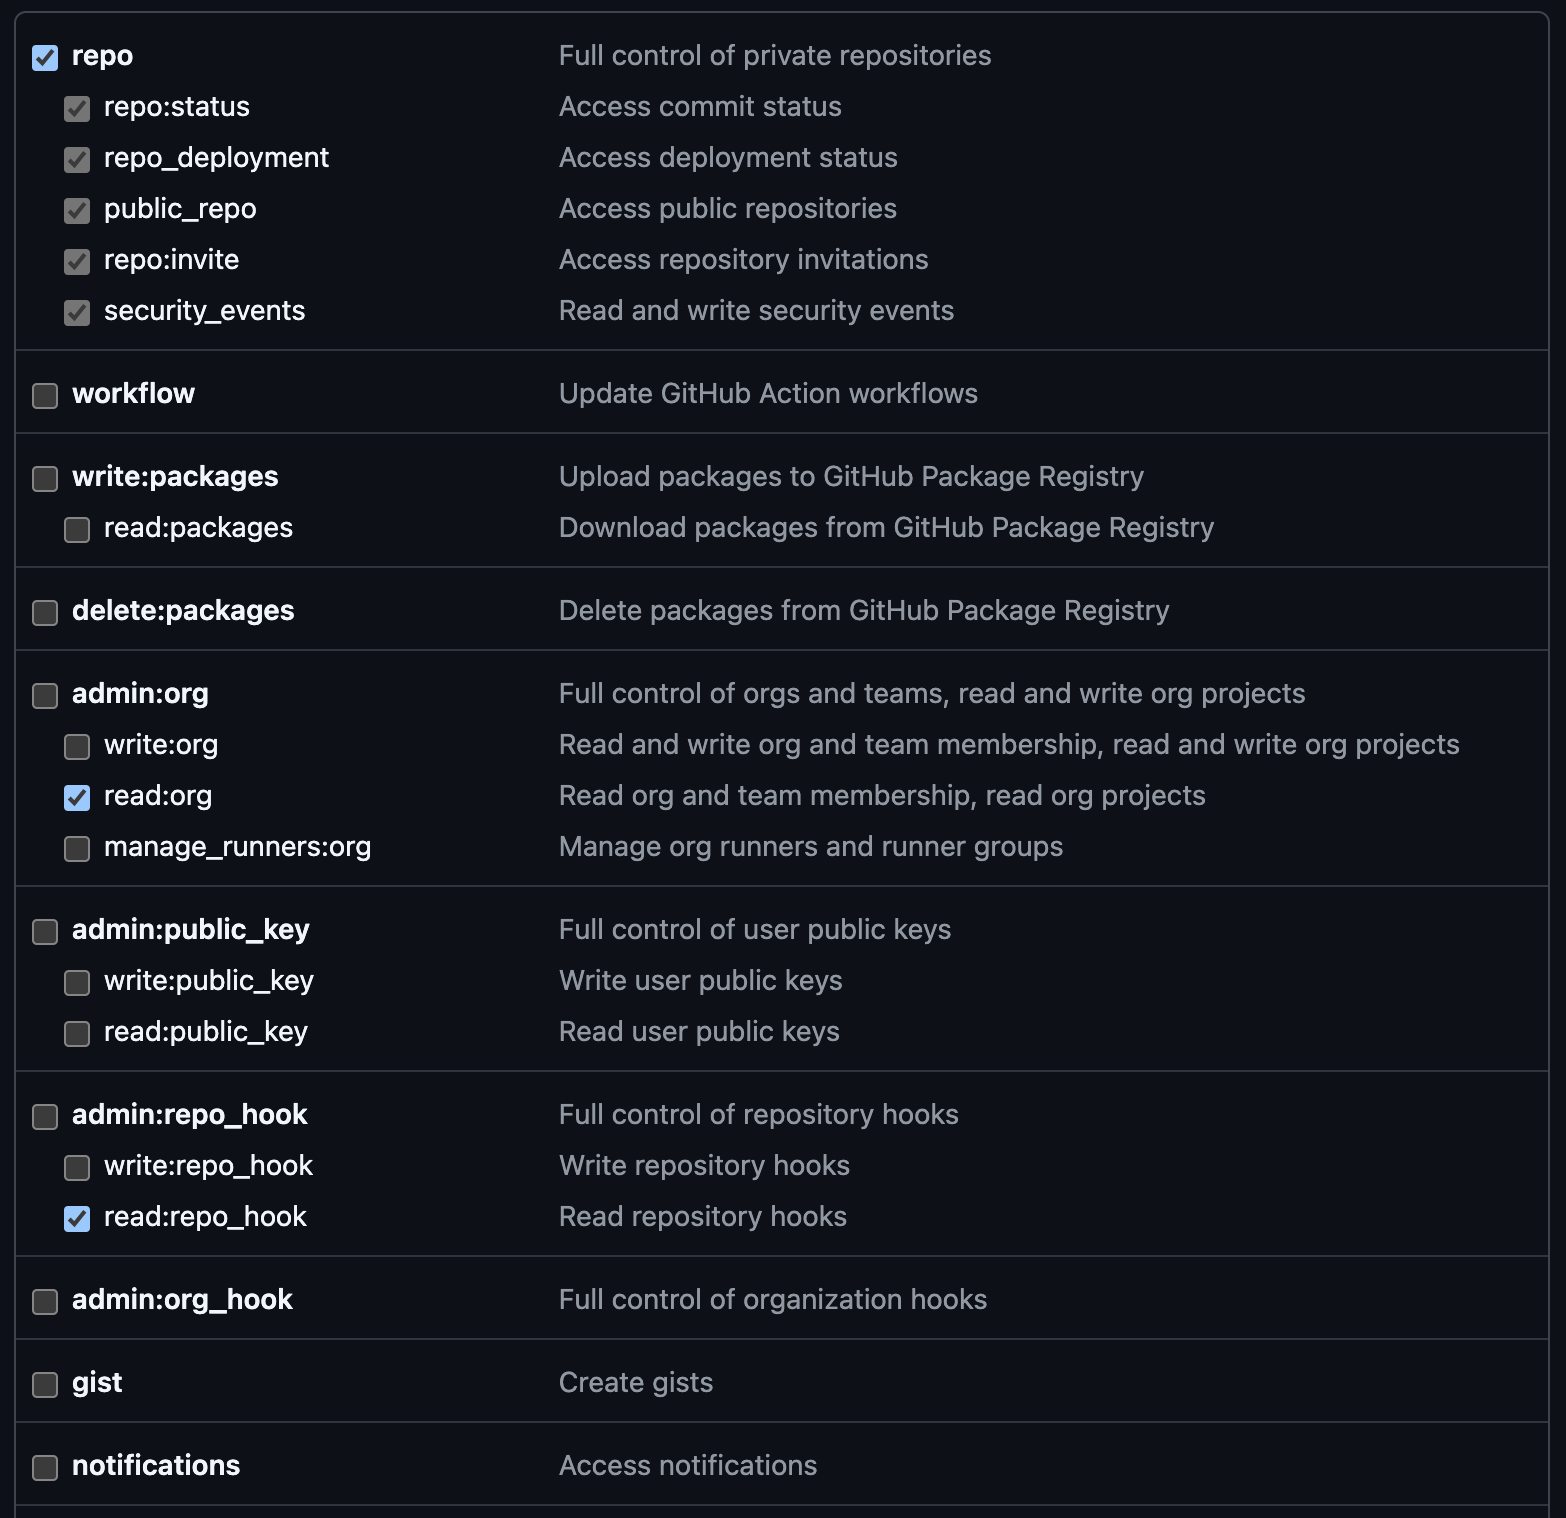
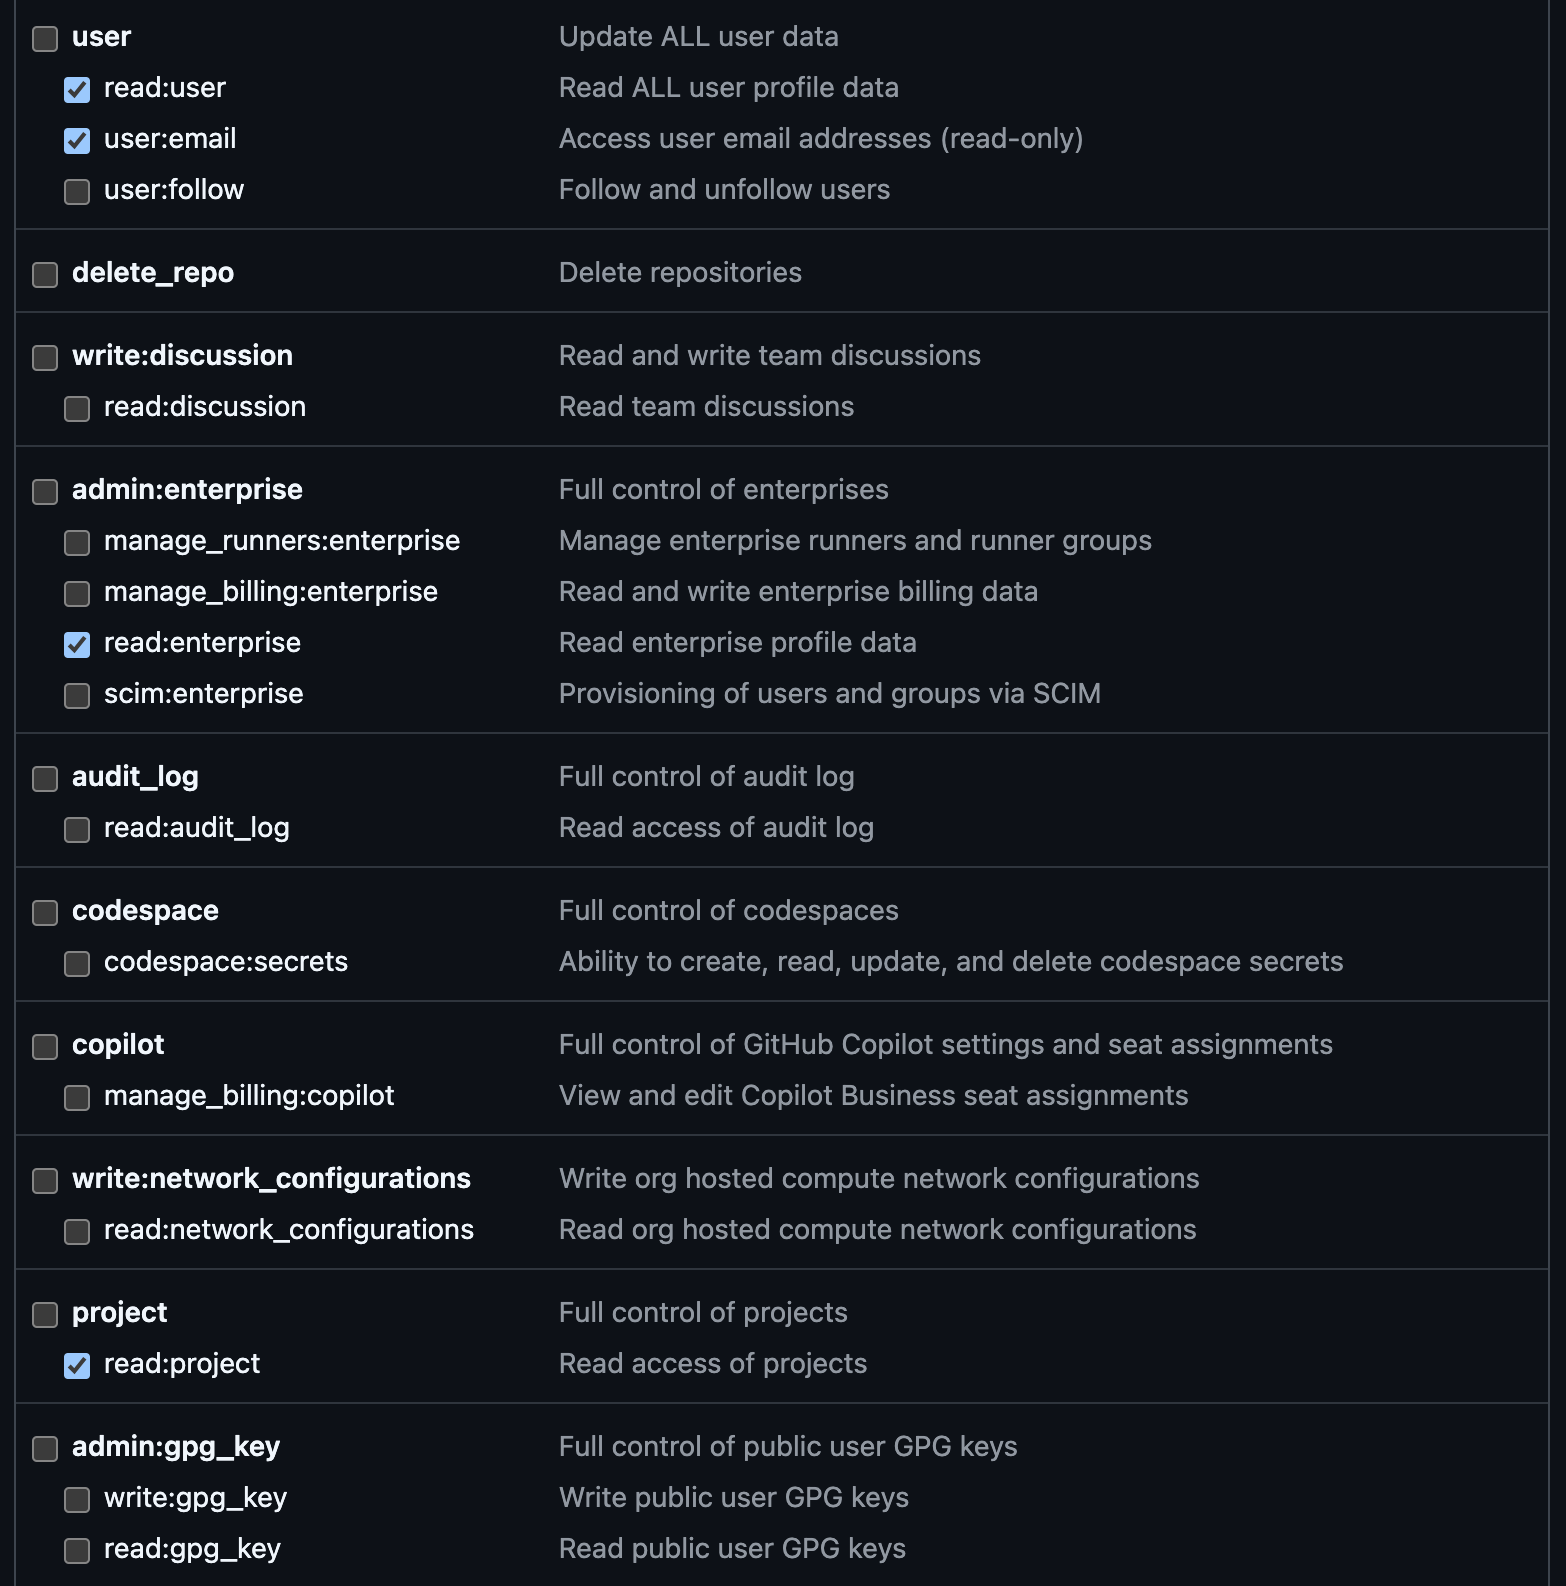
Click on “Generate Tokens“ and save this token on Notepad or Notes.
After that, Go to Grafana & click on Connections < data sources < Add Data source. then scroll down and select “Find more data source plugins“.
and Search Github and click on that and install it.
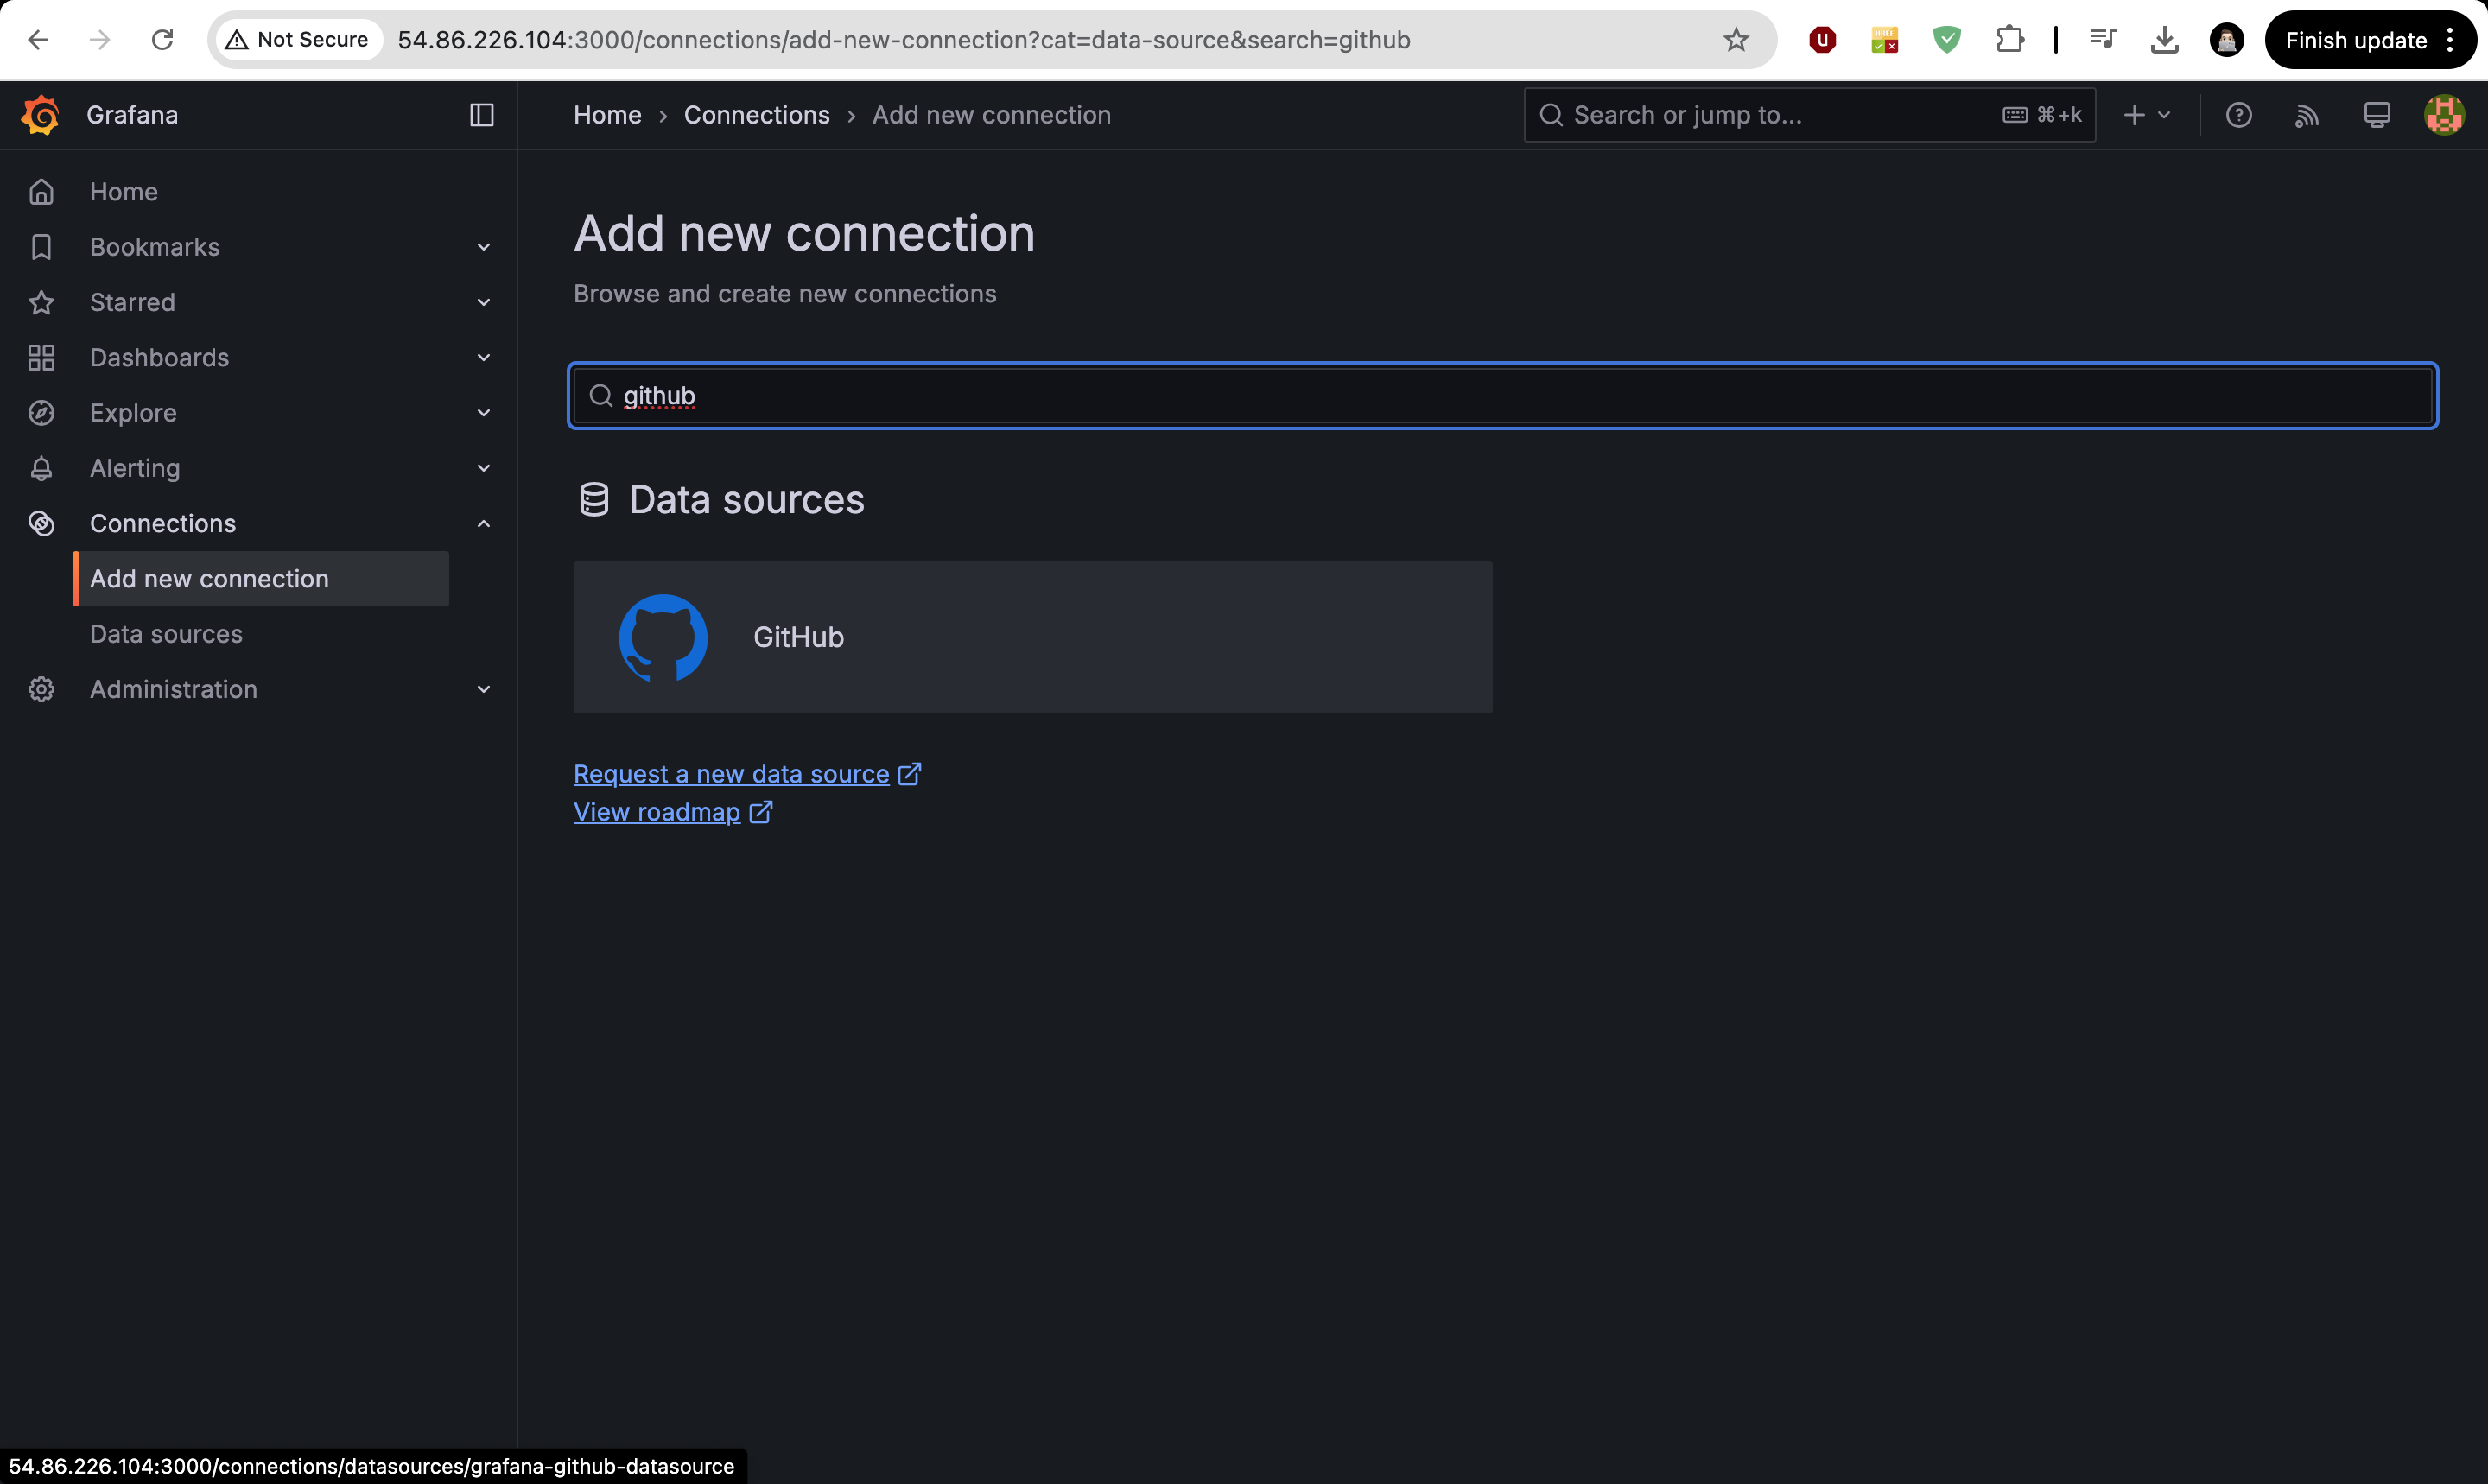
After that , paste “personal access tokens“ in plugin. click on “save and test“.
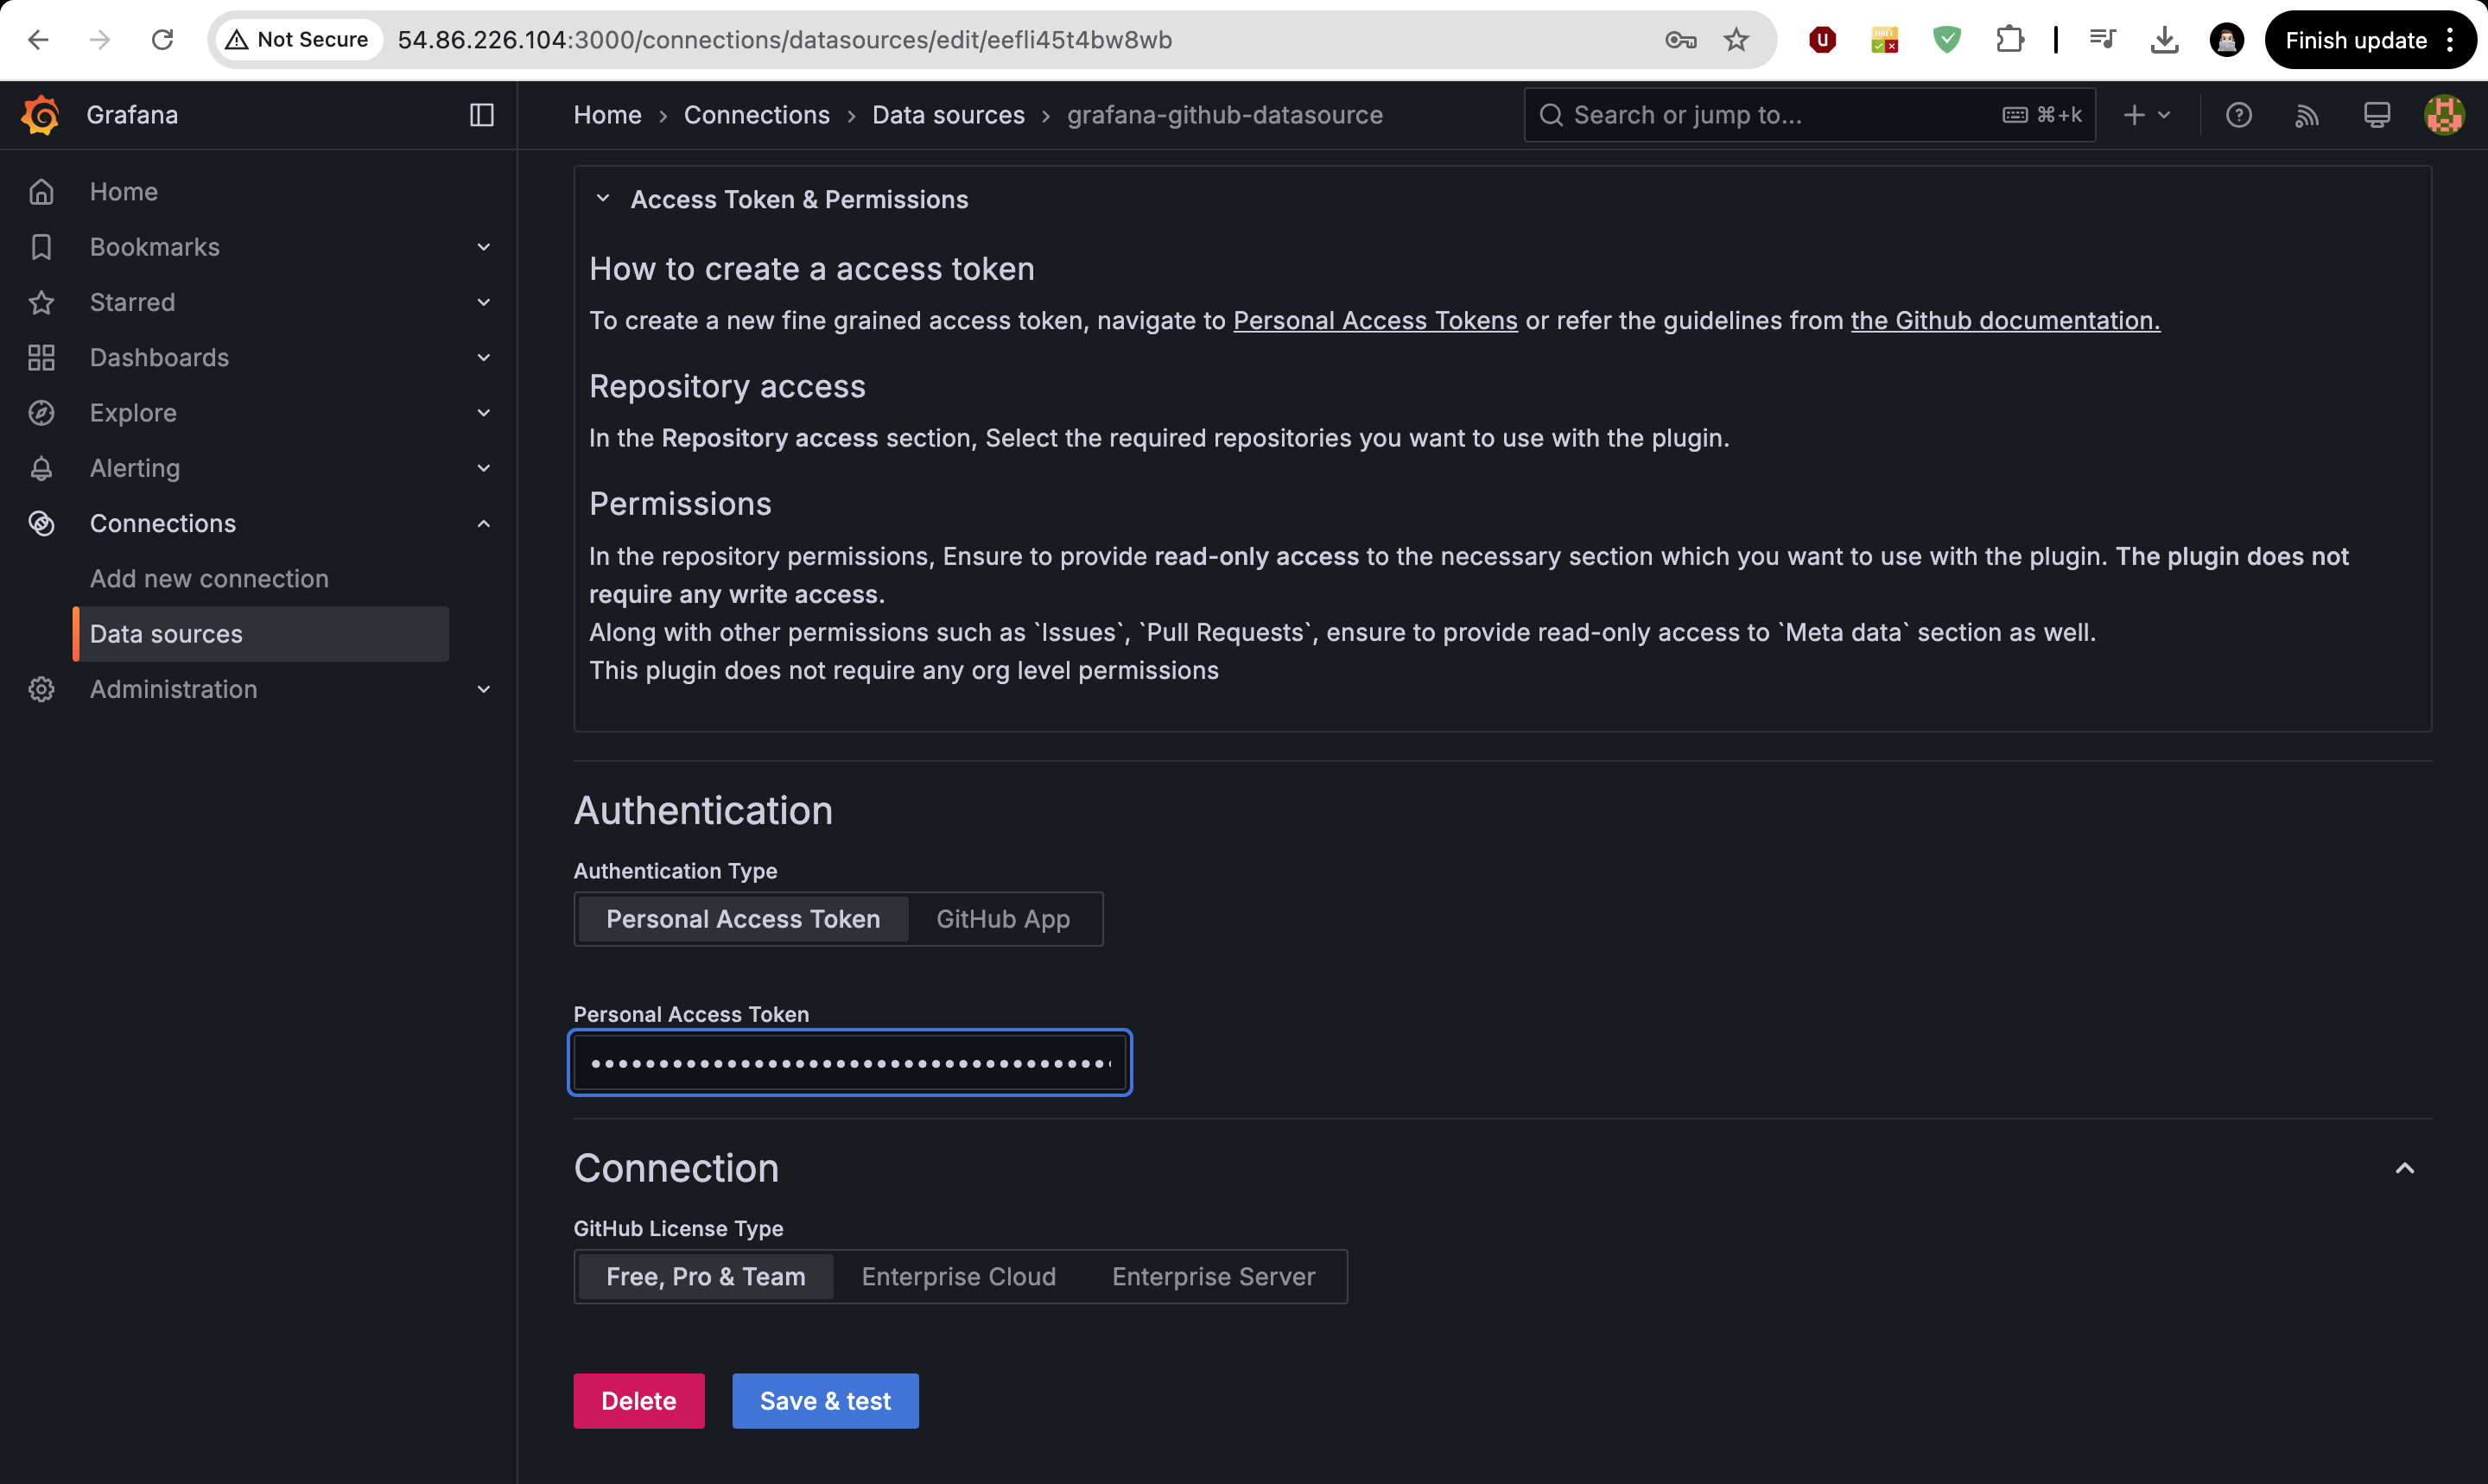
Now, we want to create a dashboard. Now click on Dashboard and click on import.
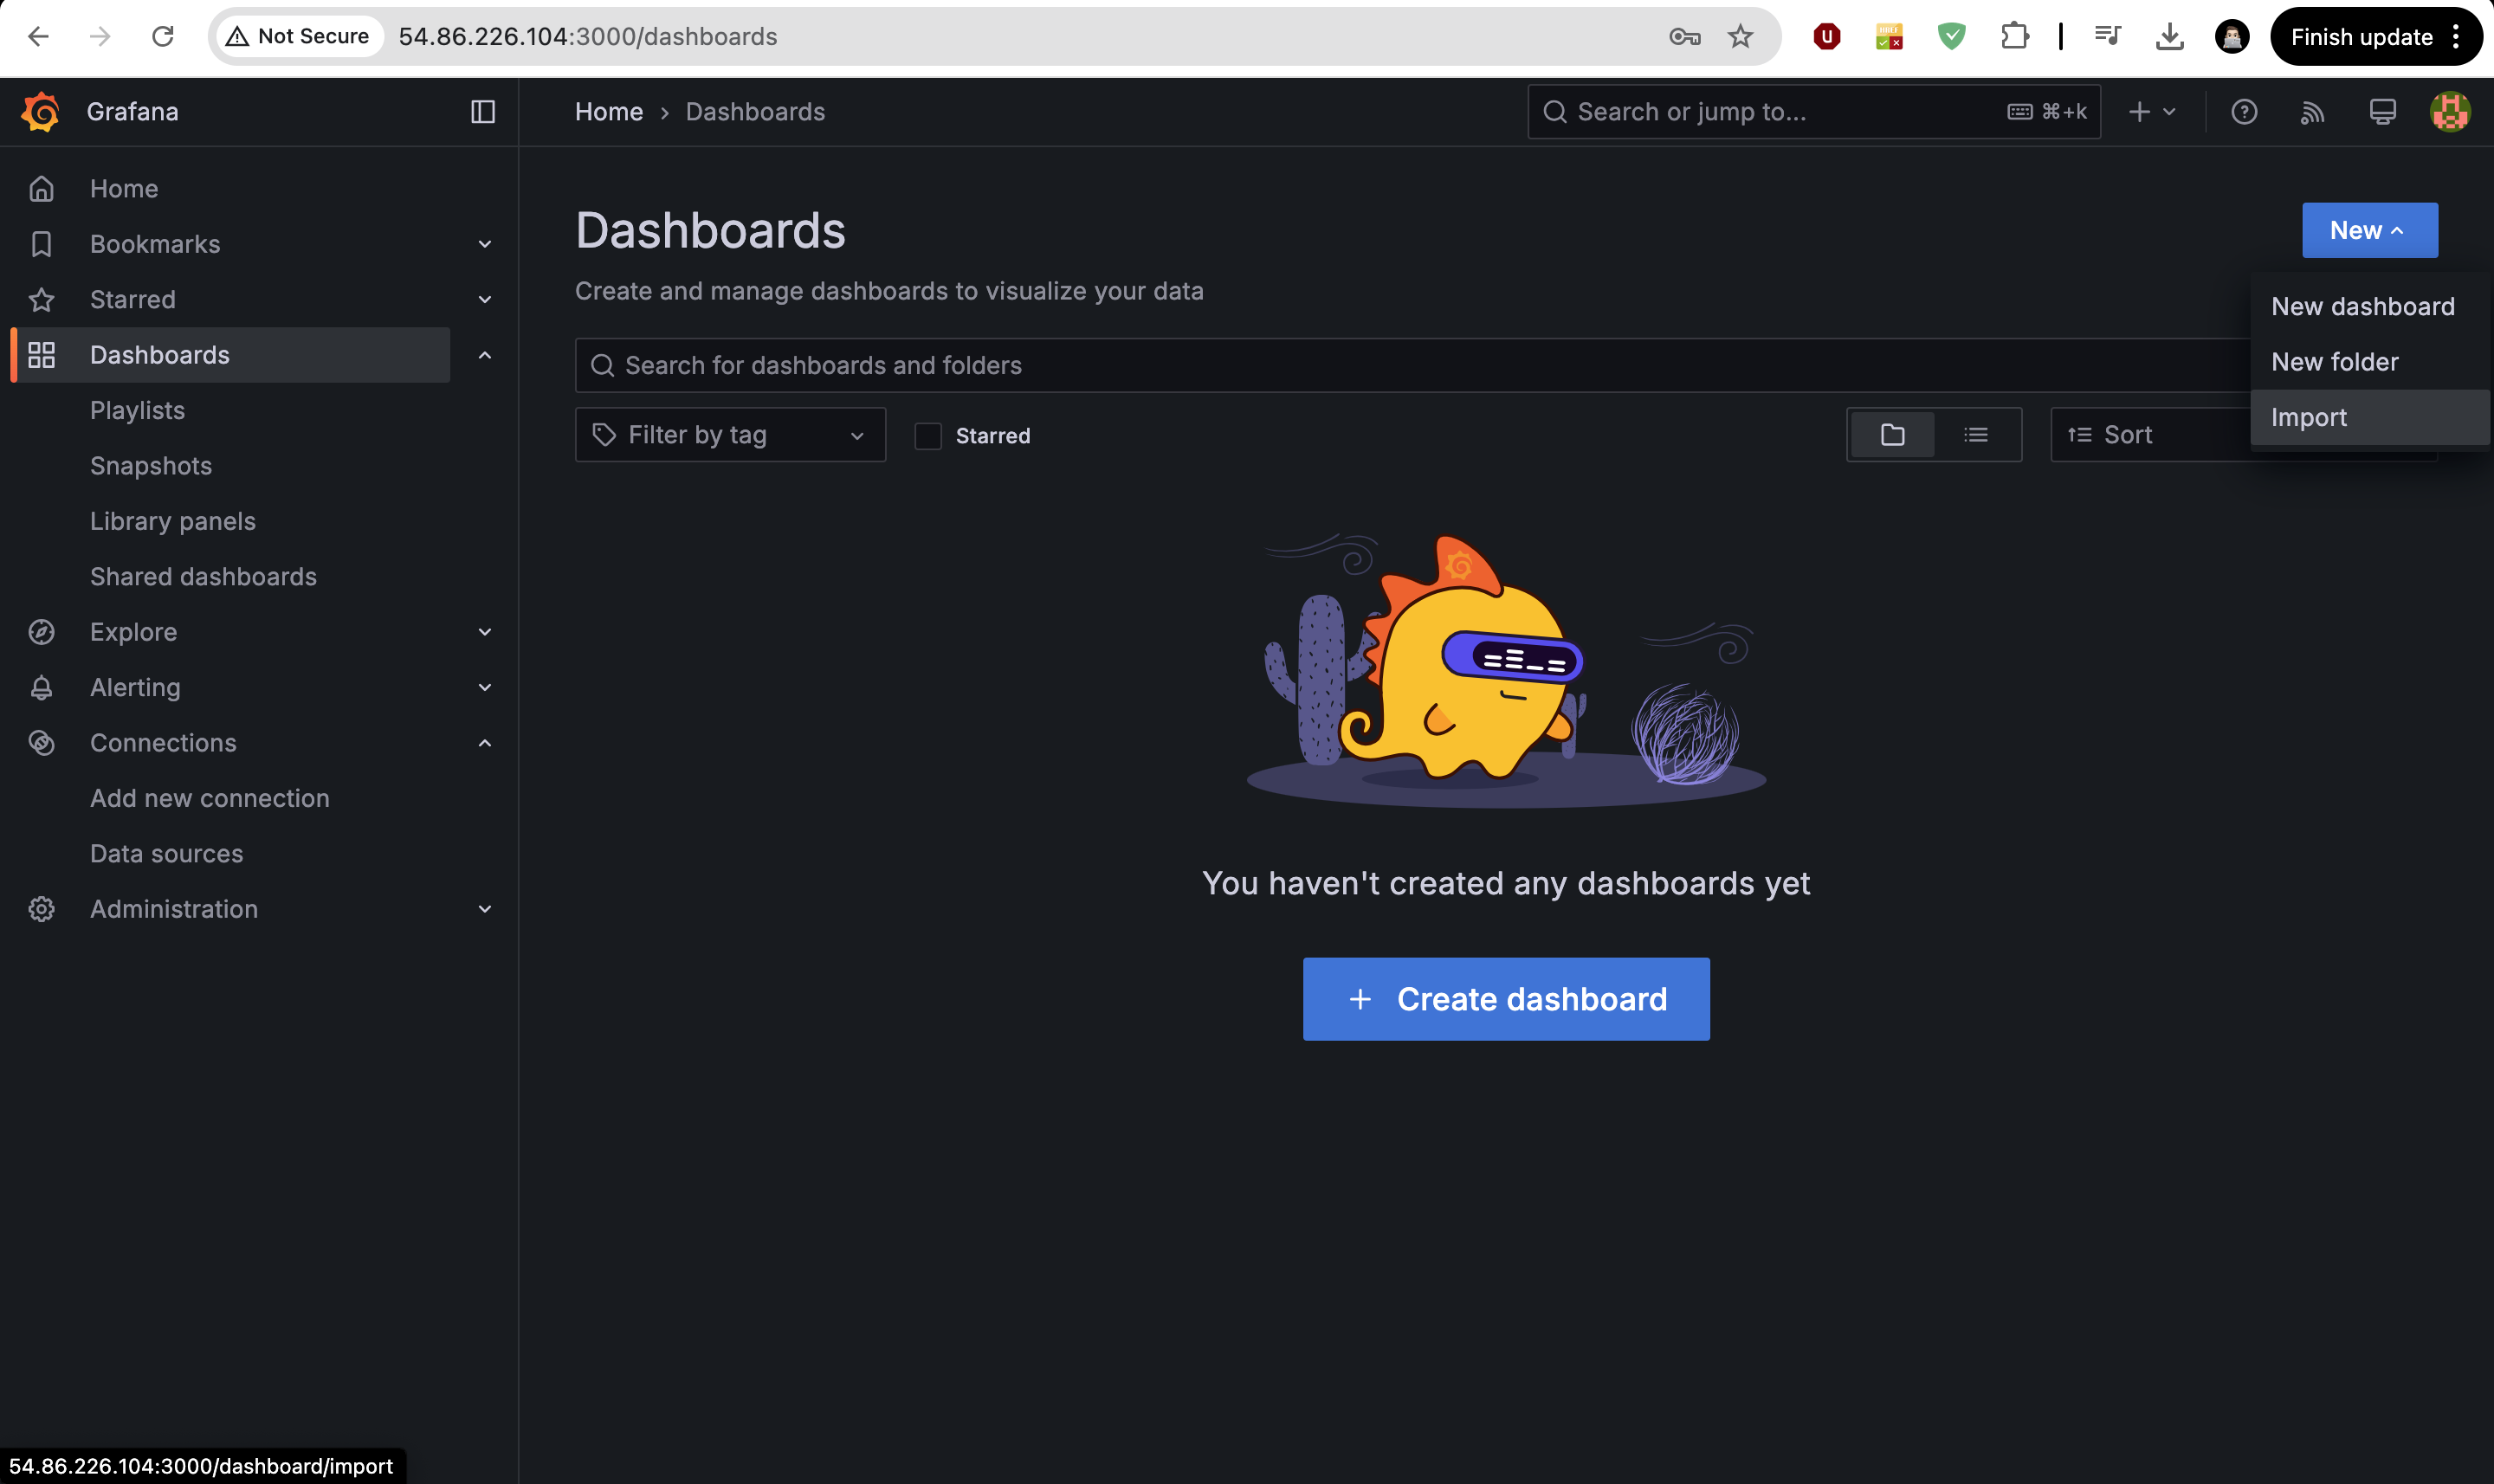
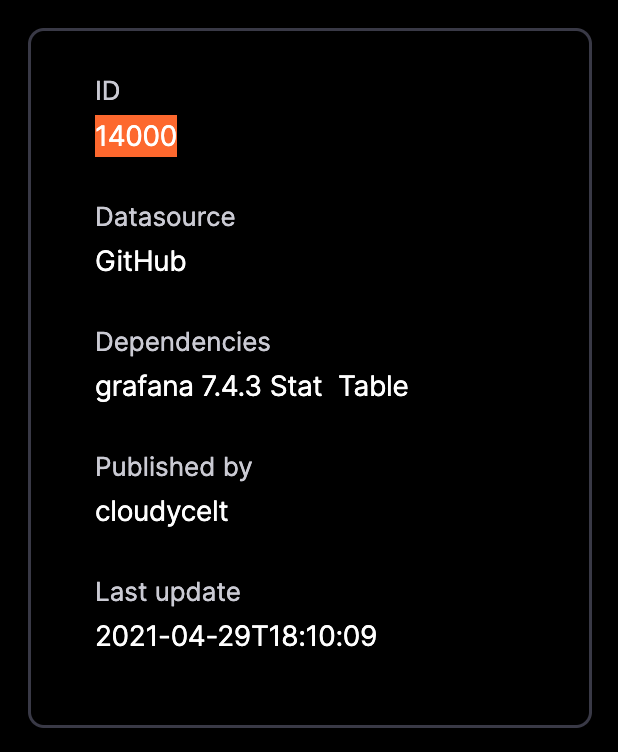
Paste this Dashboard id (14000) . click on load & import.
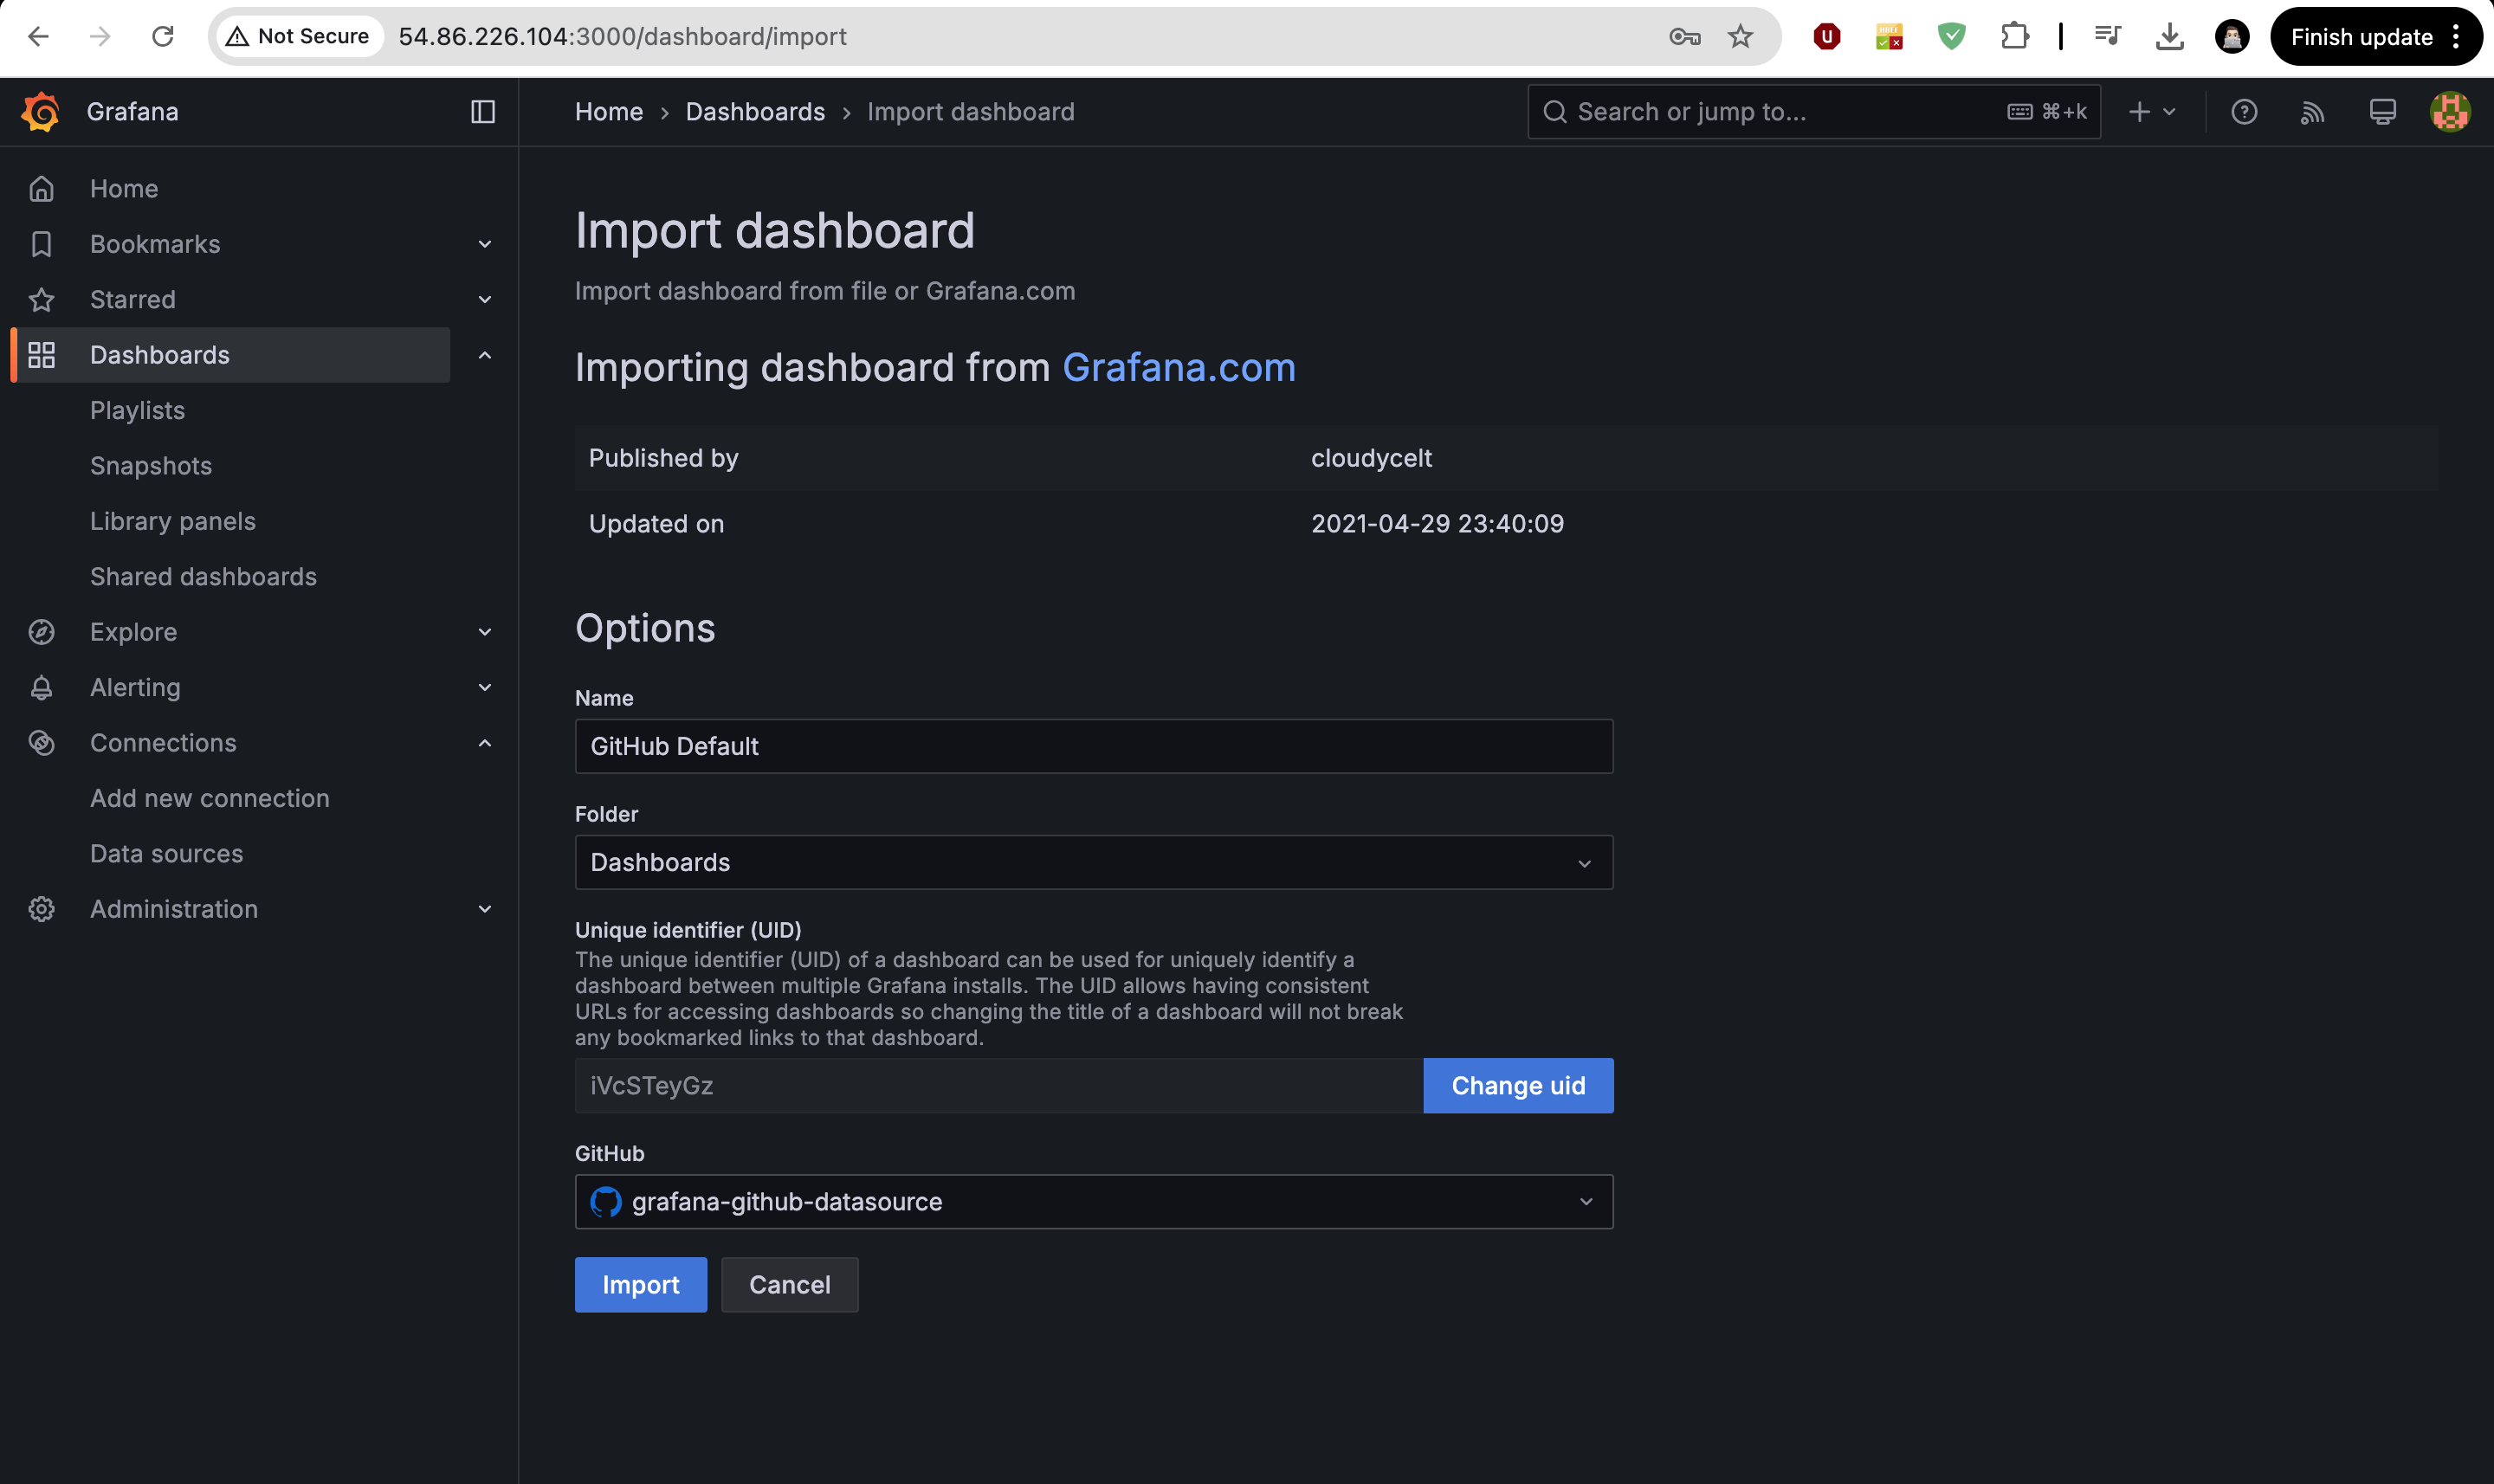
It will show this type of screen and don’ t forget to select “grafana-github-dashboard“
After that, Dashboard is created successfully. but we want to make some modifications on that.
In Organization , Add your github username & repository name. It wil look like this.
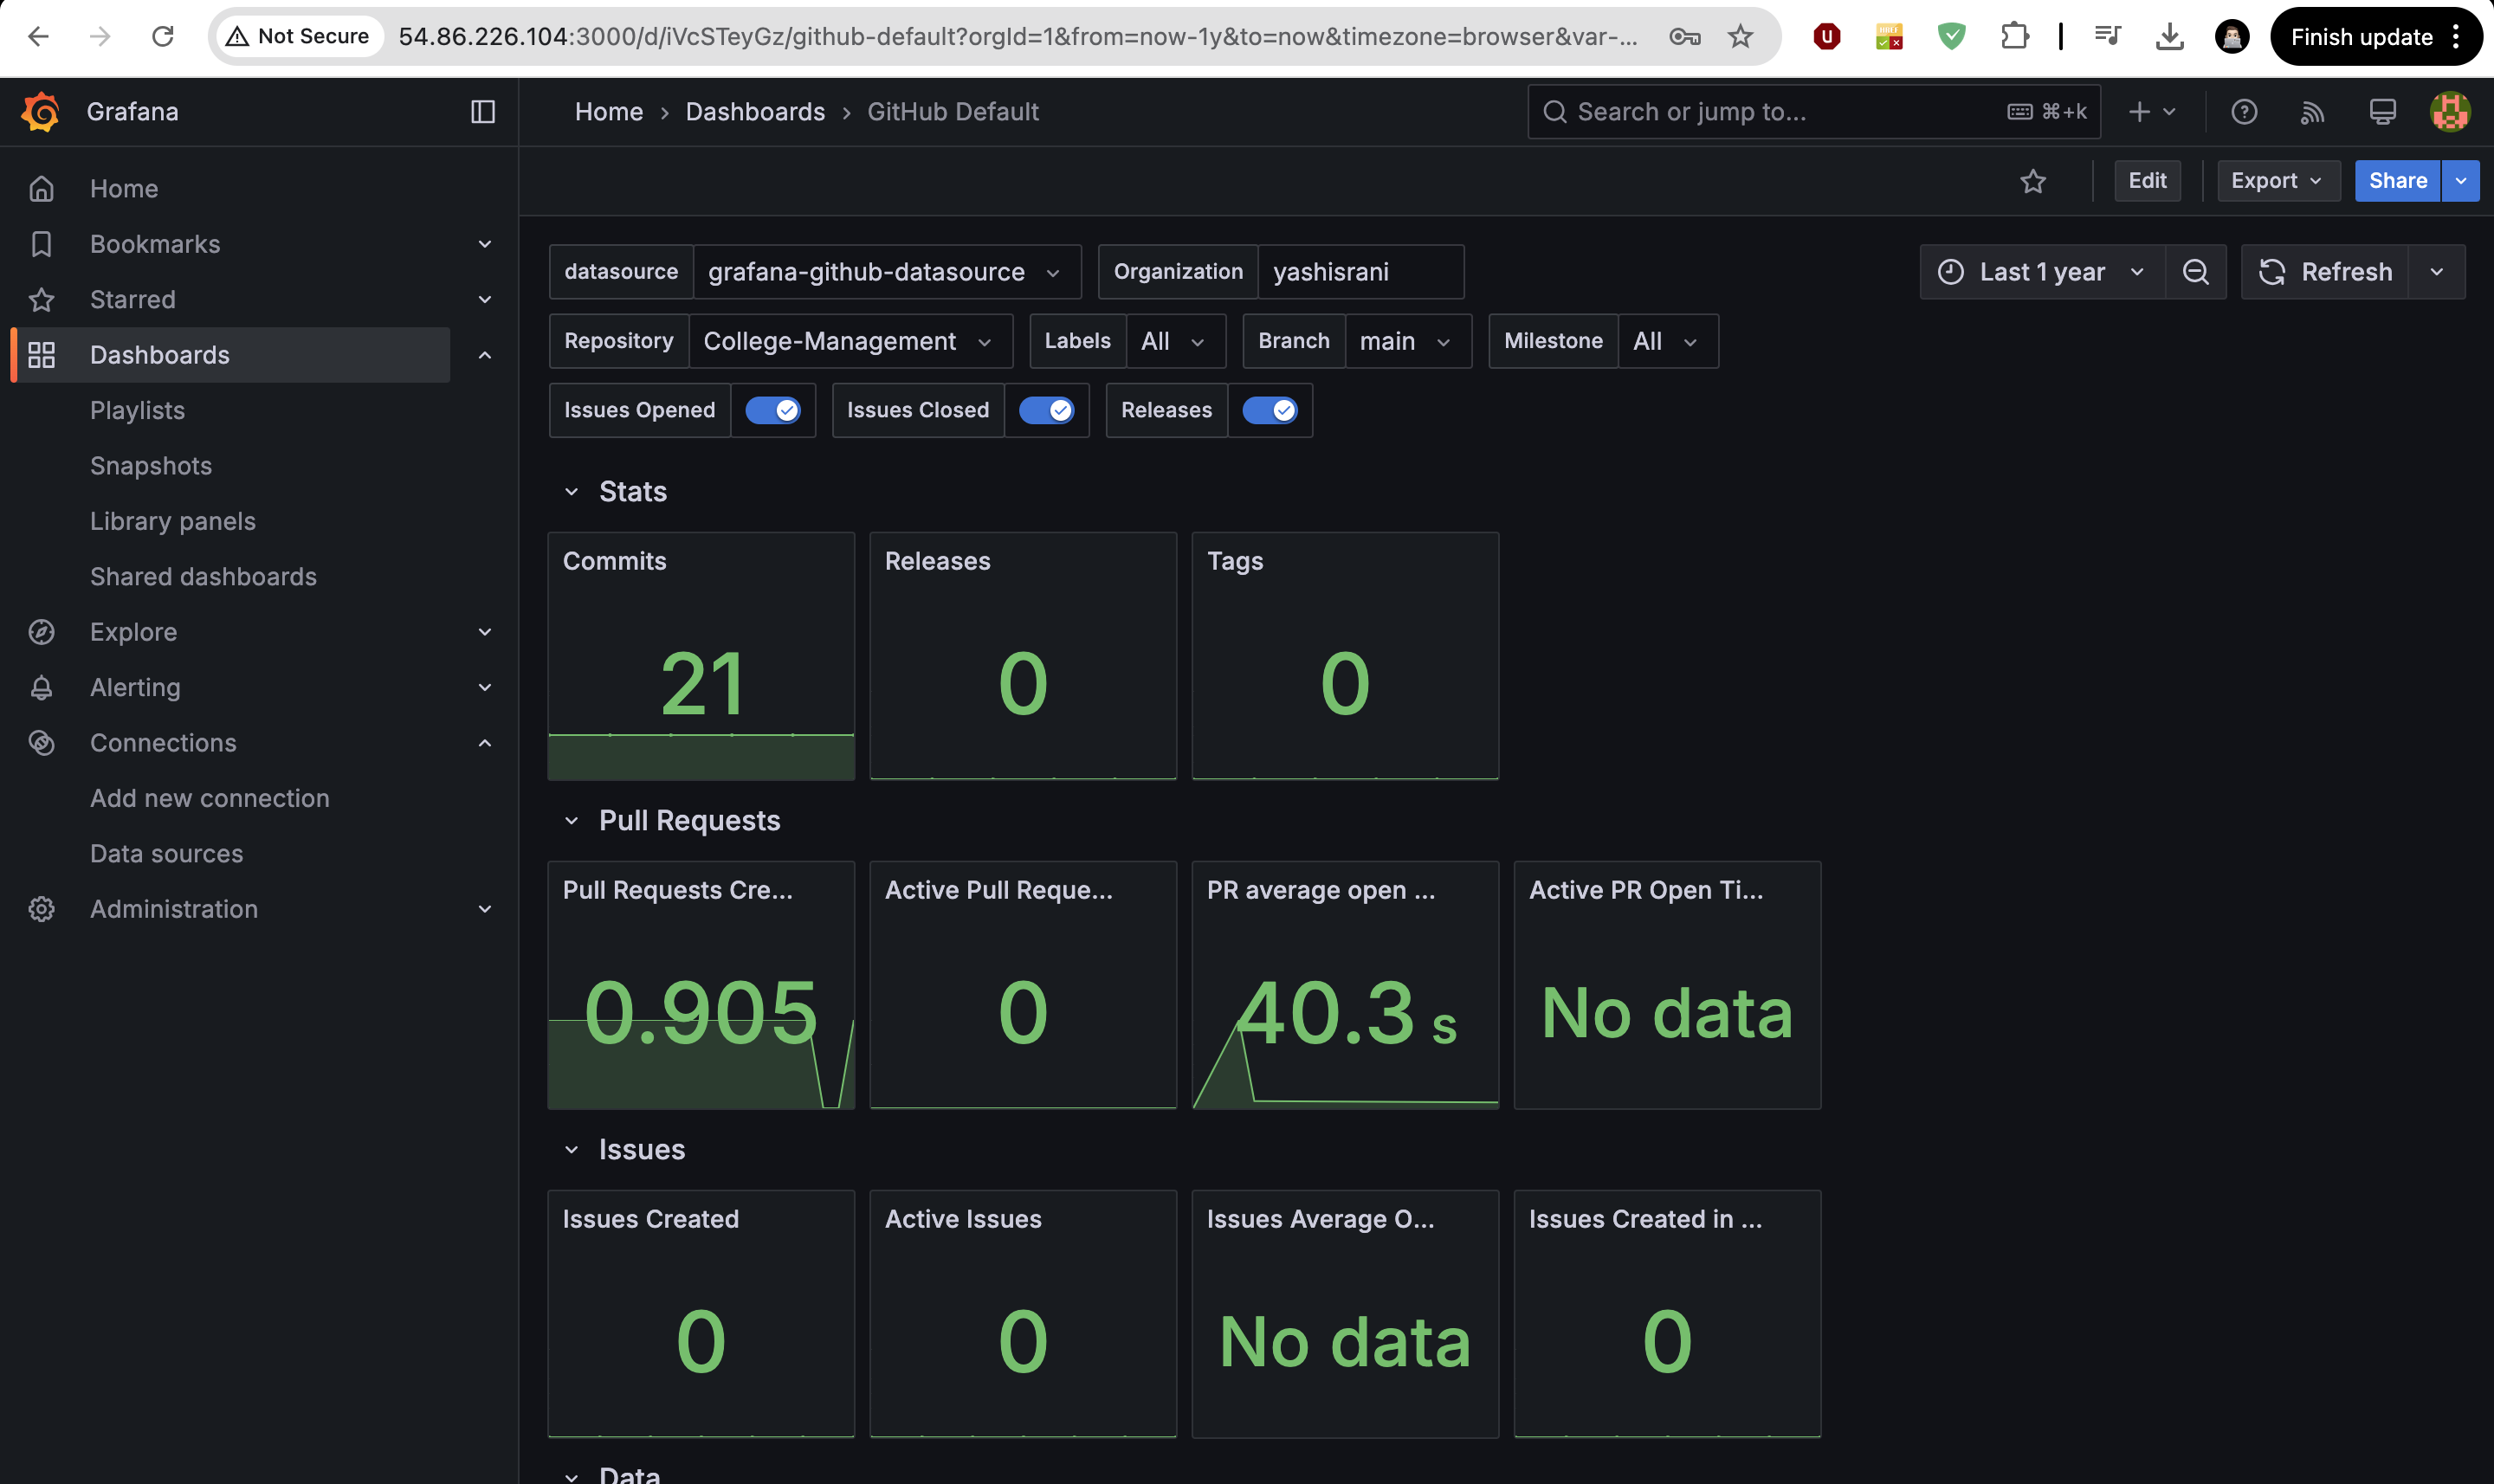
This way, we implement this project .
Subscribe to my newsletter
Read articles from Yash Israni directly inside your inbox. Subscribe to the newsletter, and don't miss out.
Written by

Yash Israni
Yash Israni
👋 Hey there! I'm Yash Israni, a passionate developer on a mission to build meaningful and impactful software solutions. 🚀 With a love for coding and a knack for problem-solving, I dive deep into the world of technology to craft elegant and efficient solutions. My journey in software development has been fueled by curiosity, innovation, and a relentless pursuit of excellence. 💻 As a full-stack developer, I thrive in both frontend and backend environments, leveraging a diverse set of tools and technologies to bring ideas to life. From crafting intuitive user interfaces to architecting scalable backend systems, I'm committed to delivering high-quality software that exceeds expectations. 🌱 I'm always eager to learn and explore emerging technologies, constantly sharpening my skills to stay ahead in this ever-evolving landscape. Whether it's mastering new programming languages, diving into cloud computing, or experimenting with cutting-edge frameworks, I'm up for the challenge. 📝 On Hashnode, I share my insights, experiences, and lessons learned along the way. Join me on this journey as we explore the fascinating world of software development together. Let's code, collaborate, and create something extraordinary! 🌟 Connect with me to discuss all things tech, exchange ideas, or embark on exciting projects. Together, let's build the future, one line of code at a time!