Deploying a Static Website on AWS EC2 Using Apache2 Web Server: A Beginner's Guide
 SUBAIR NURUDEEN ADEWALE
In this project, we will explore the process of deploying a static website on AWS EC2 instance using the Apache2 web server. By following this beginner-friendly guide, we will successfully set up an EC2 instance, installed and configured Apache2, and deployed a static website to make it accessible over the internet. This project not only demonstrated the fundamental steps of web server configuration but also highlighted the power and flexibility of AWS cloud services for hosting web applications. This guide assumes you have basic knowledge of AWS, Linux, and web servers.
1. Set Up an AWS Linux VM (EC2 Instance)
Launch an EC2 instance using Amazon Linux or Ubuntu.
Configure security groups to allow SSH (port 22) and HTTP (port 80) traffic.
Connect to the instance using SSH and your .PEM key file.
To learn more about how to create an EC2 instance in AWS. You can also check out my previous article Here on creating an EC2 instance in AWS for a step-by-step guide.
Step 2: Connect to the EC2 Instance
Use the Ls command to list the contents of your home directory to confirm the Downloads folder exists
You should see a folder named Downloads.

Get into the Downloads folder using the Cd command

For security reasons, the .Pem key file must have restricted permissions. Run the Chmod 400 following command to set the correct permissions:
The Chmod 400 command is used to set file permissions so that the file is read-only for the owner and no permissions for others. This is a security best practice for .Pem key files used to connect to EC2 instances.

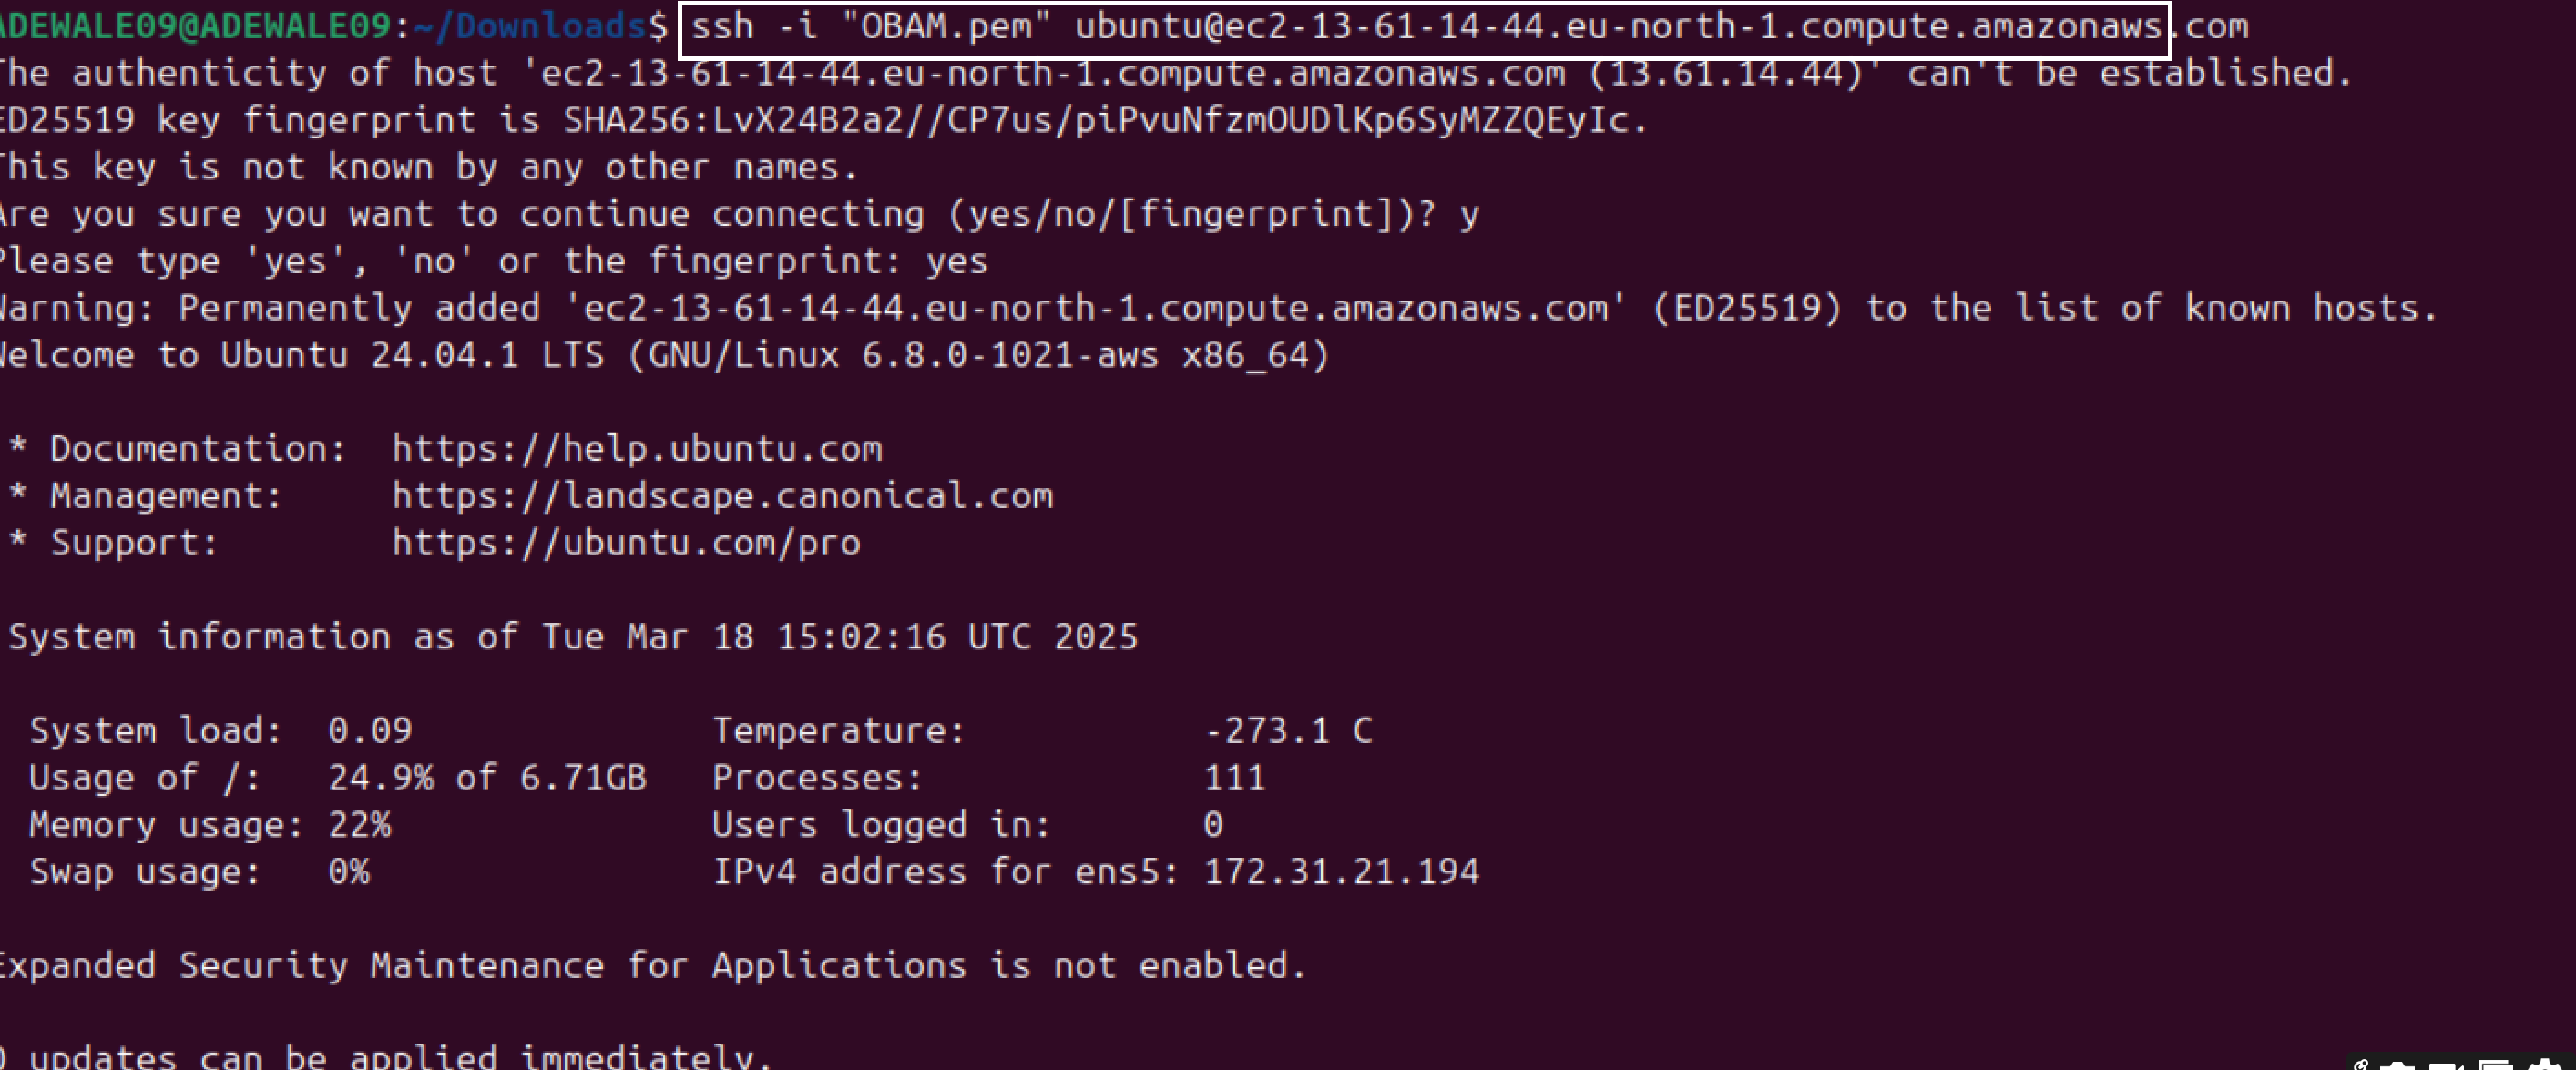
4 Run ssh command to connect to your EC2 instance, Once you SSH into the EC2 instance, your terminal session is connected to the remote server, not your local machine. Any commands you run will execute on the remote server, not your local computer. The terminal prompt will reflect the remote server's hostname or IP address. i.e. ubuntu@ip-172-31-21-194
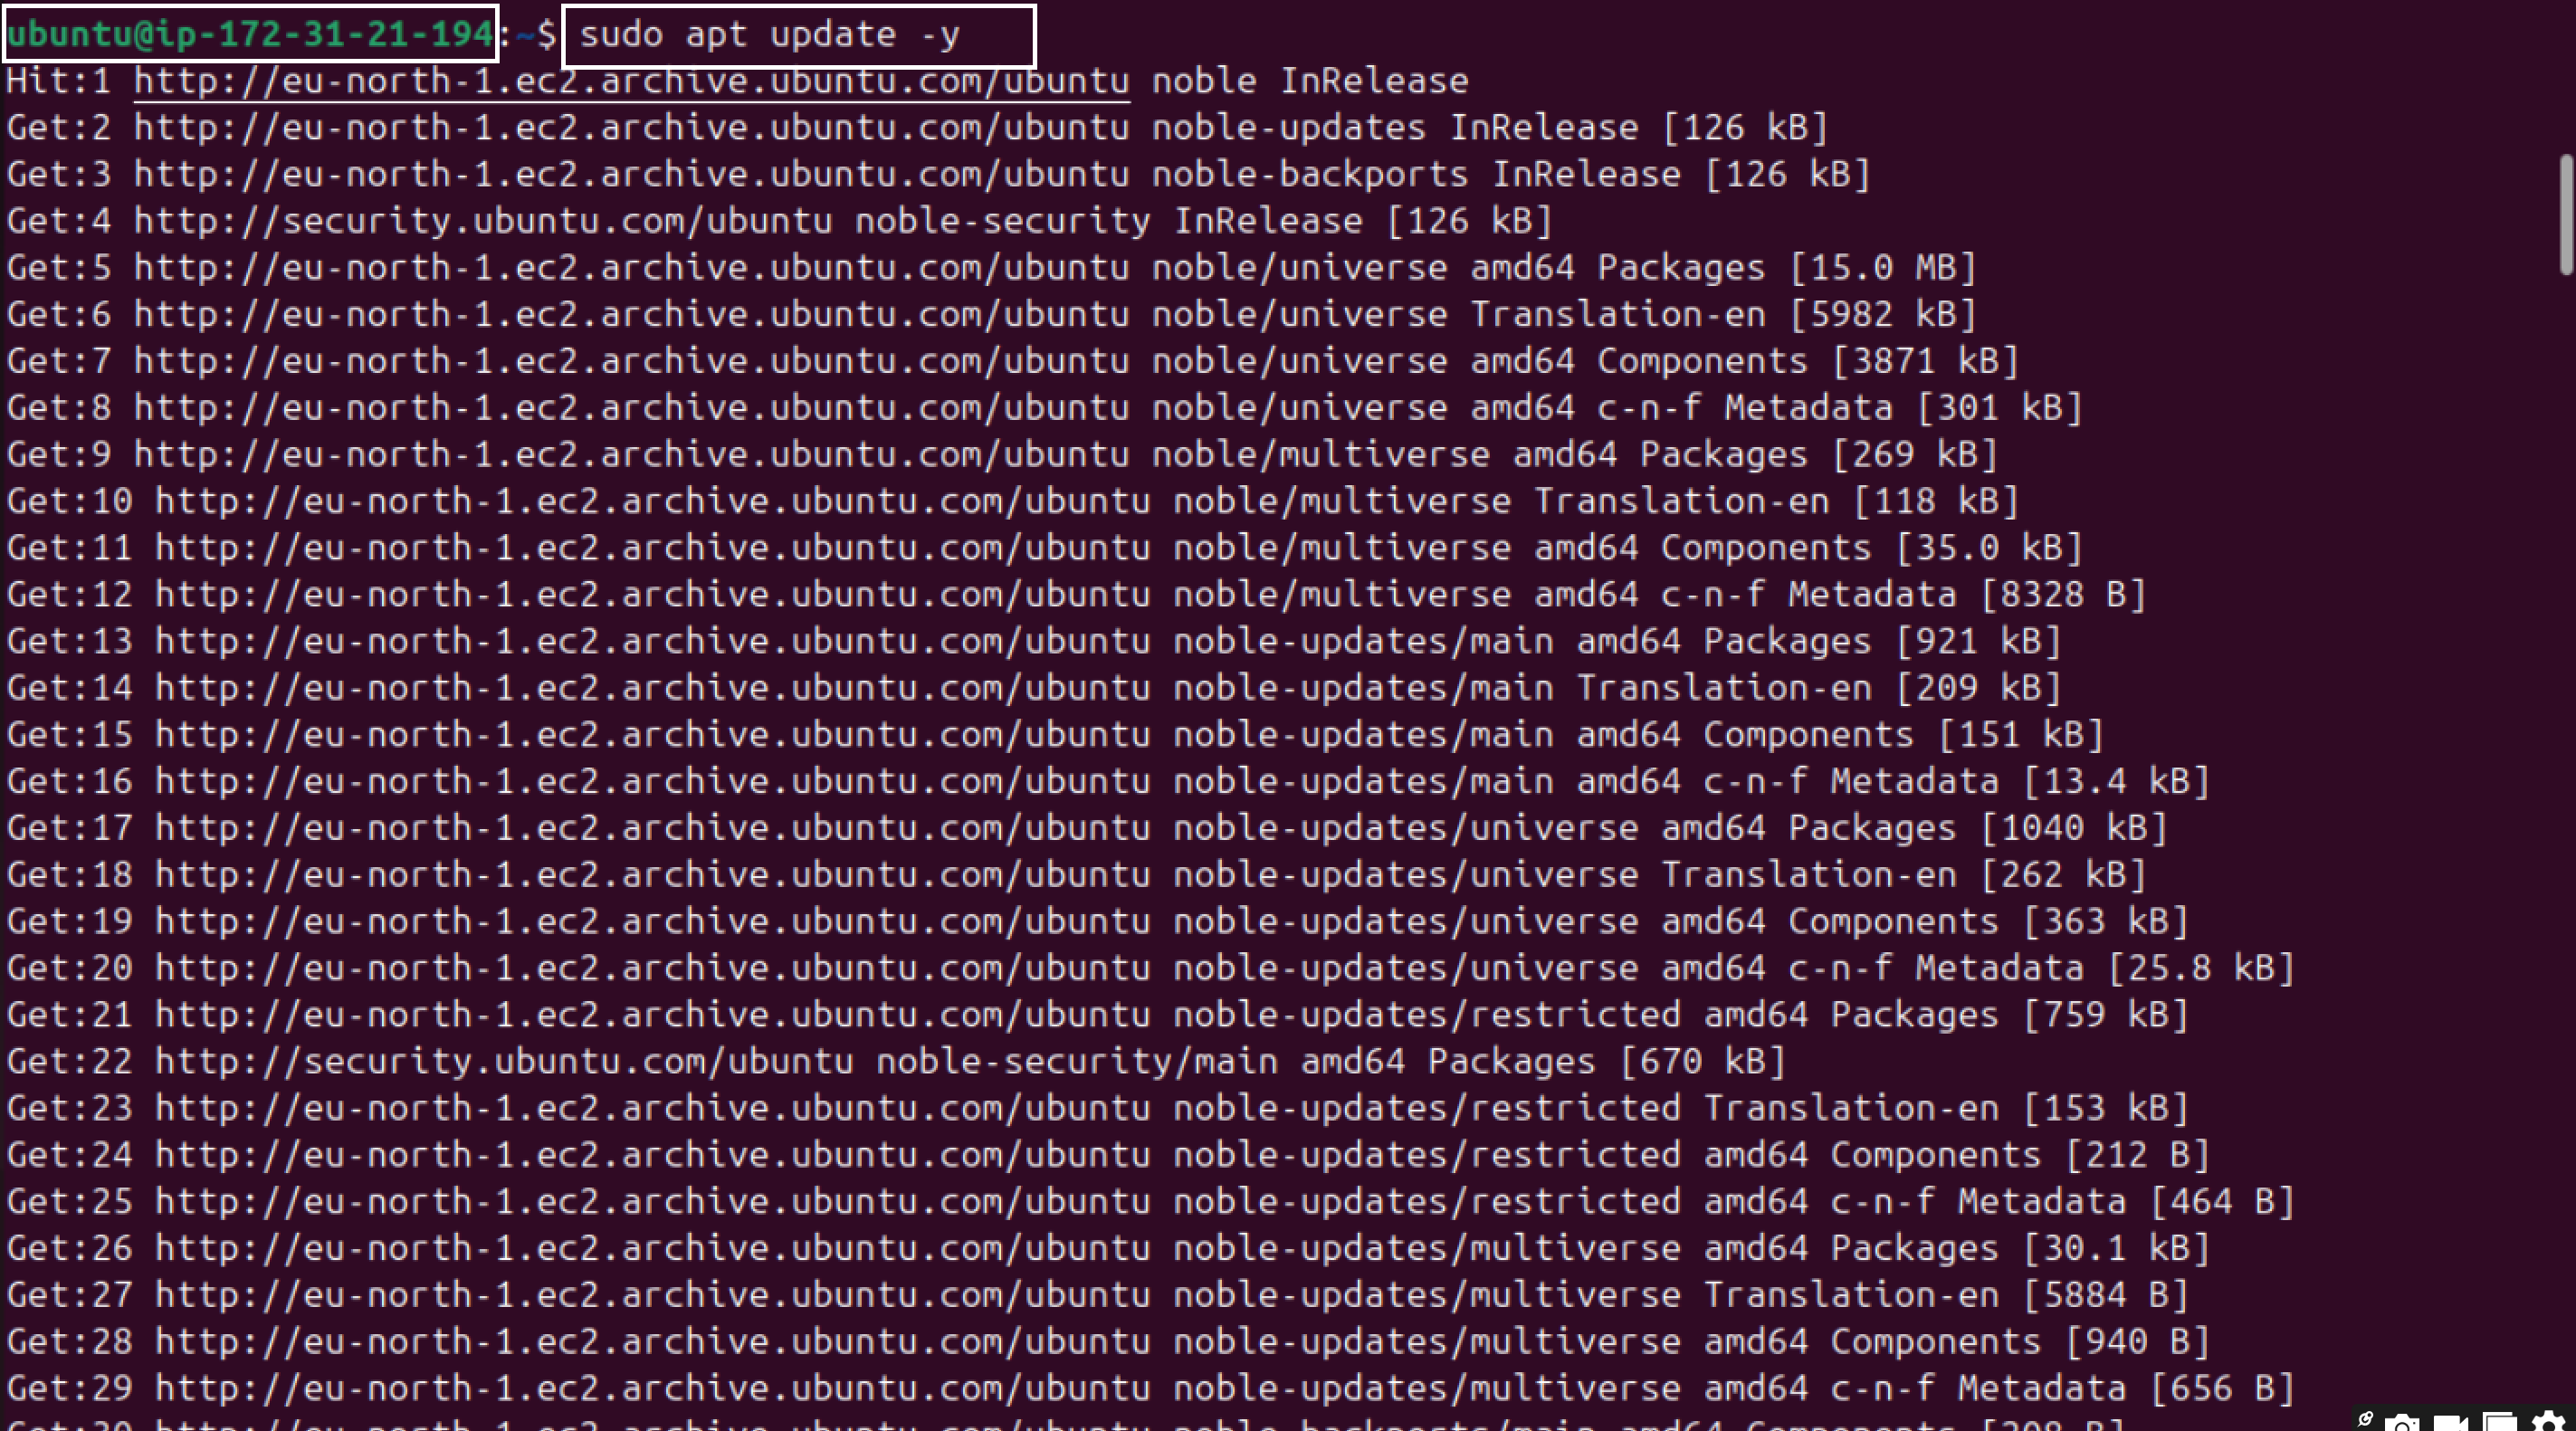
5. Run sudo apt update -y command to refresh the list of available packages and their versions from the repositories configured on your system.
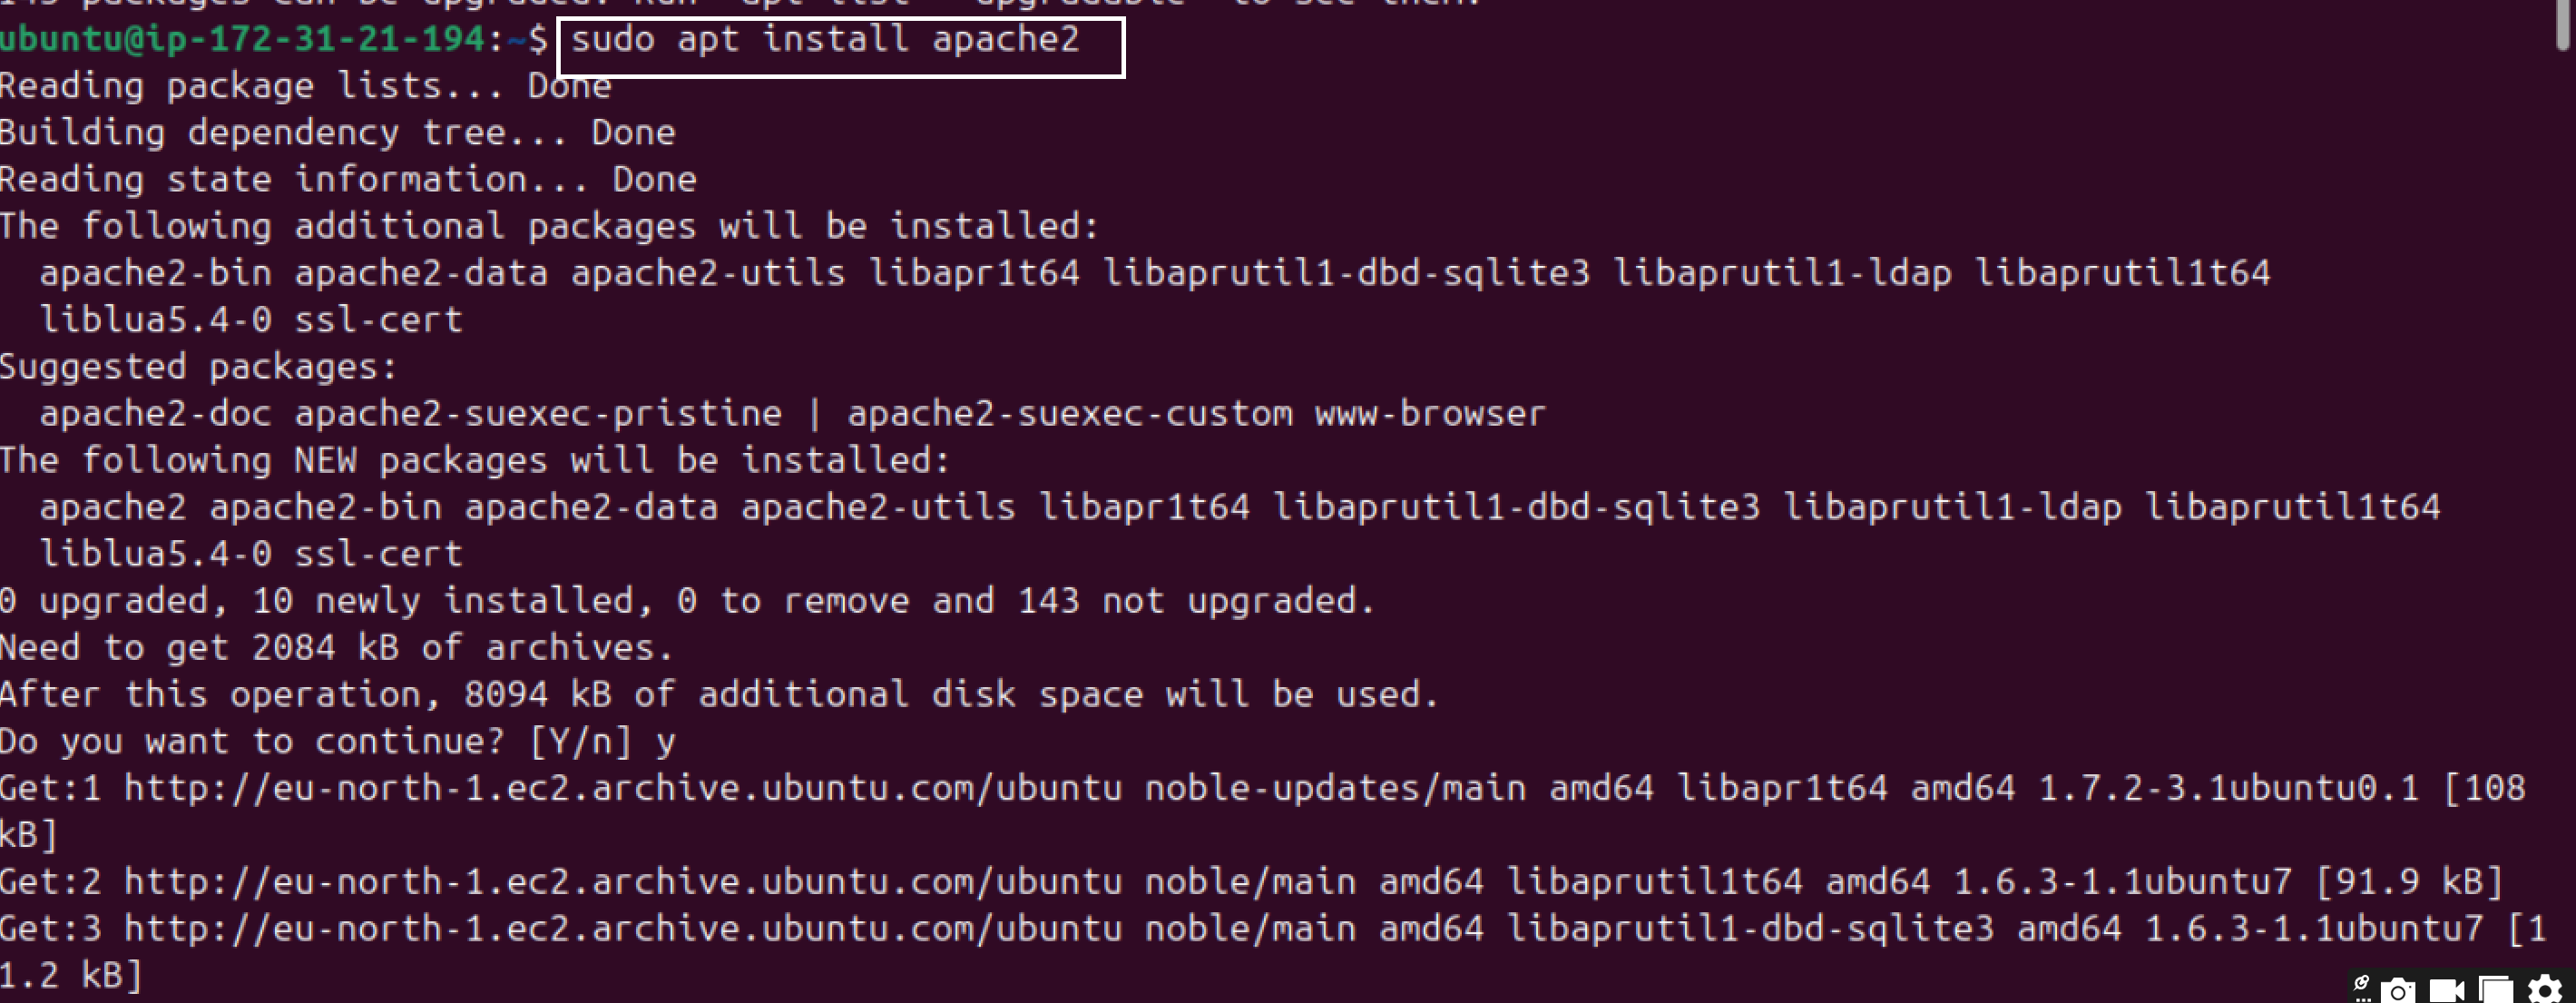
6. Install apache2 using the command sudo apt install apache2
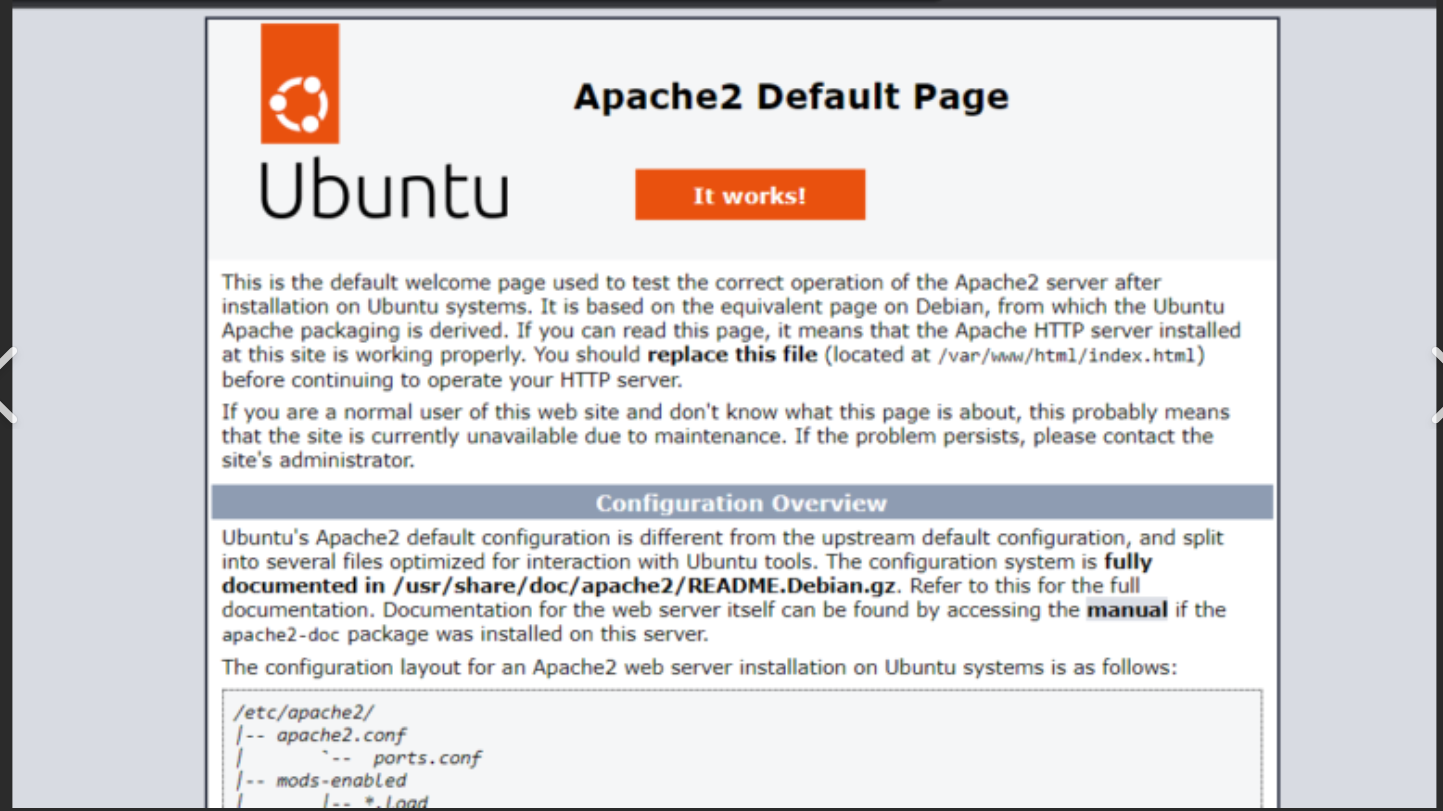
Change to the default Apache document root directory by using cd /var/www/html, Check the contents of the directory /var/www/html by using the command ls to list and conform the index.html file that populate the apache webserver default page.
use the sudo rm -rf to delete the index.html file that populate the default page of apache2 webserver and use the ls command to confirm deletion
Now that we are inside the Apache webserver directory /var/www/html, we need too download and replace our static website template files into this directory using the command wget followed by the download link to our static website.

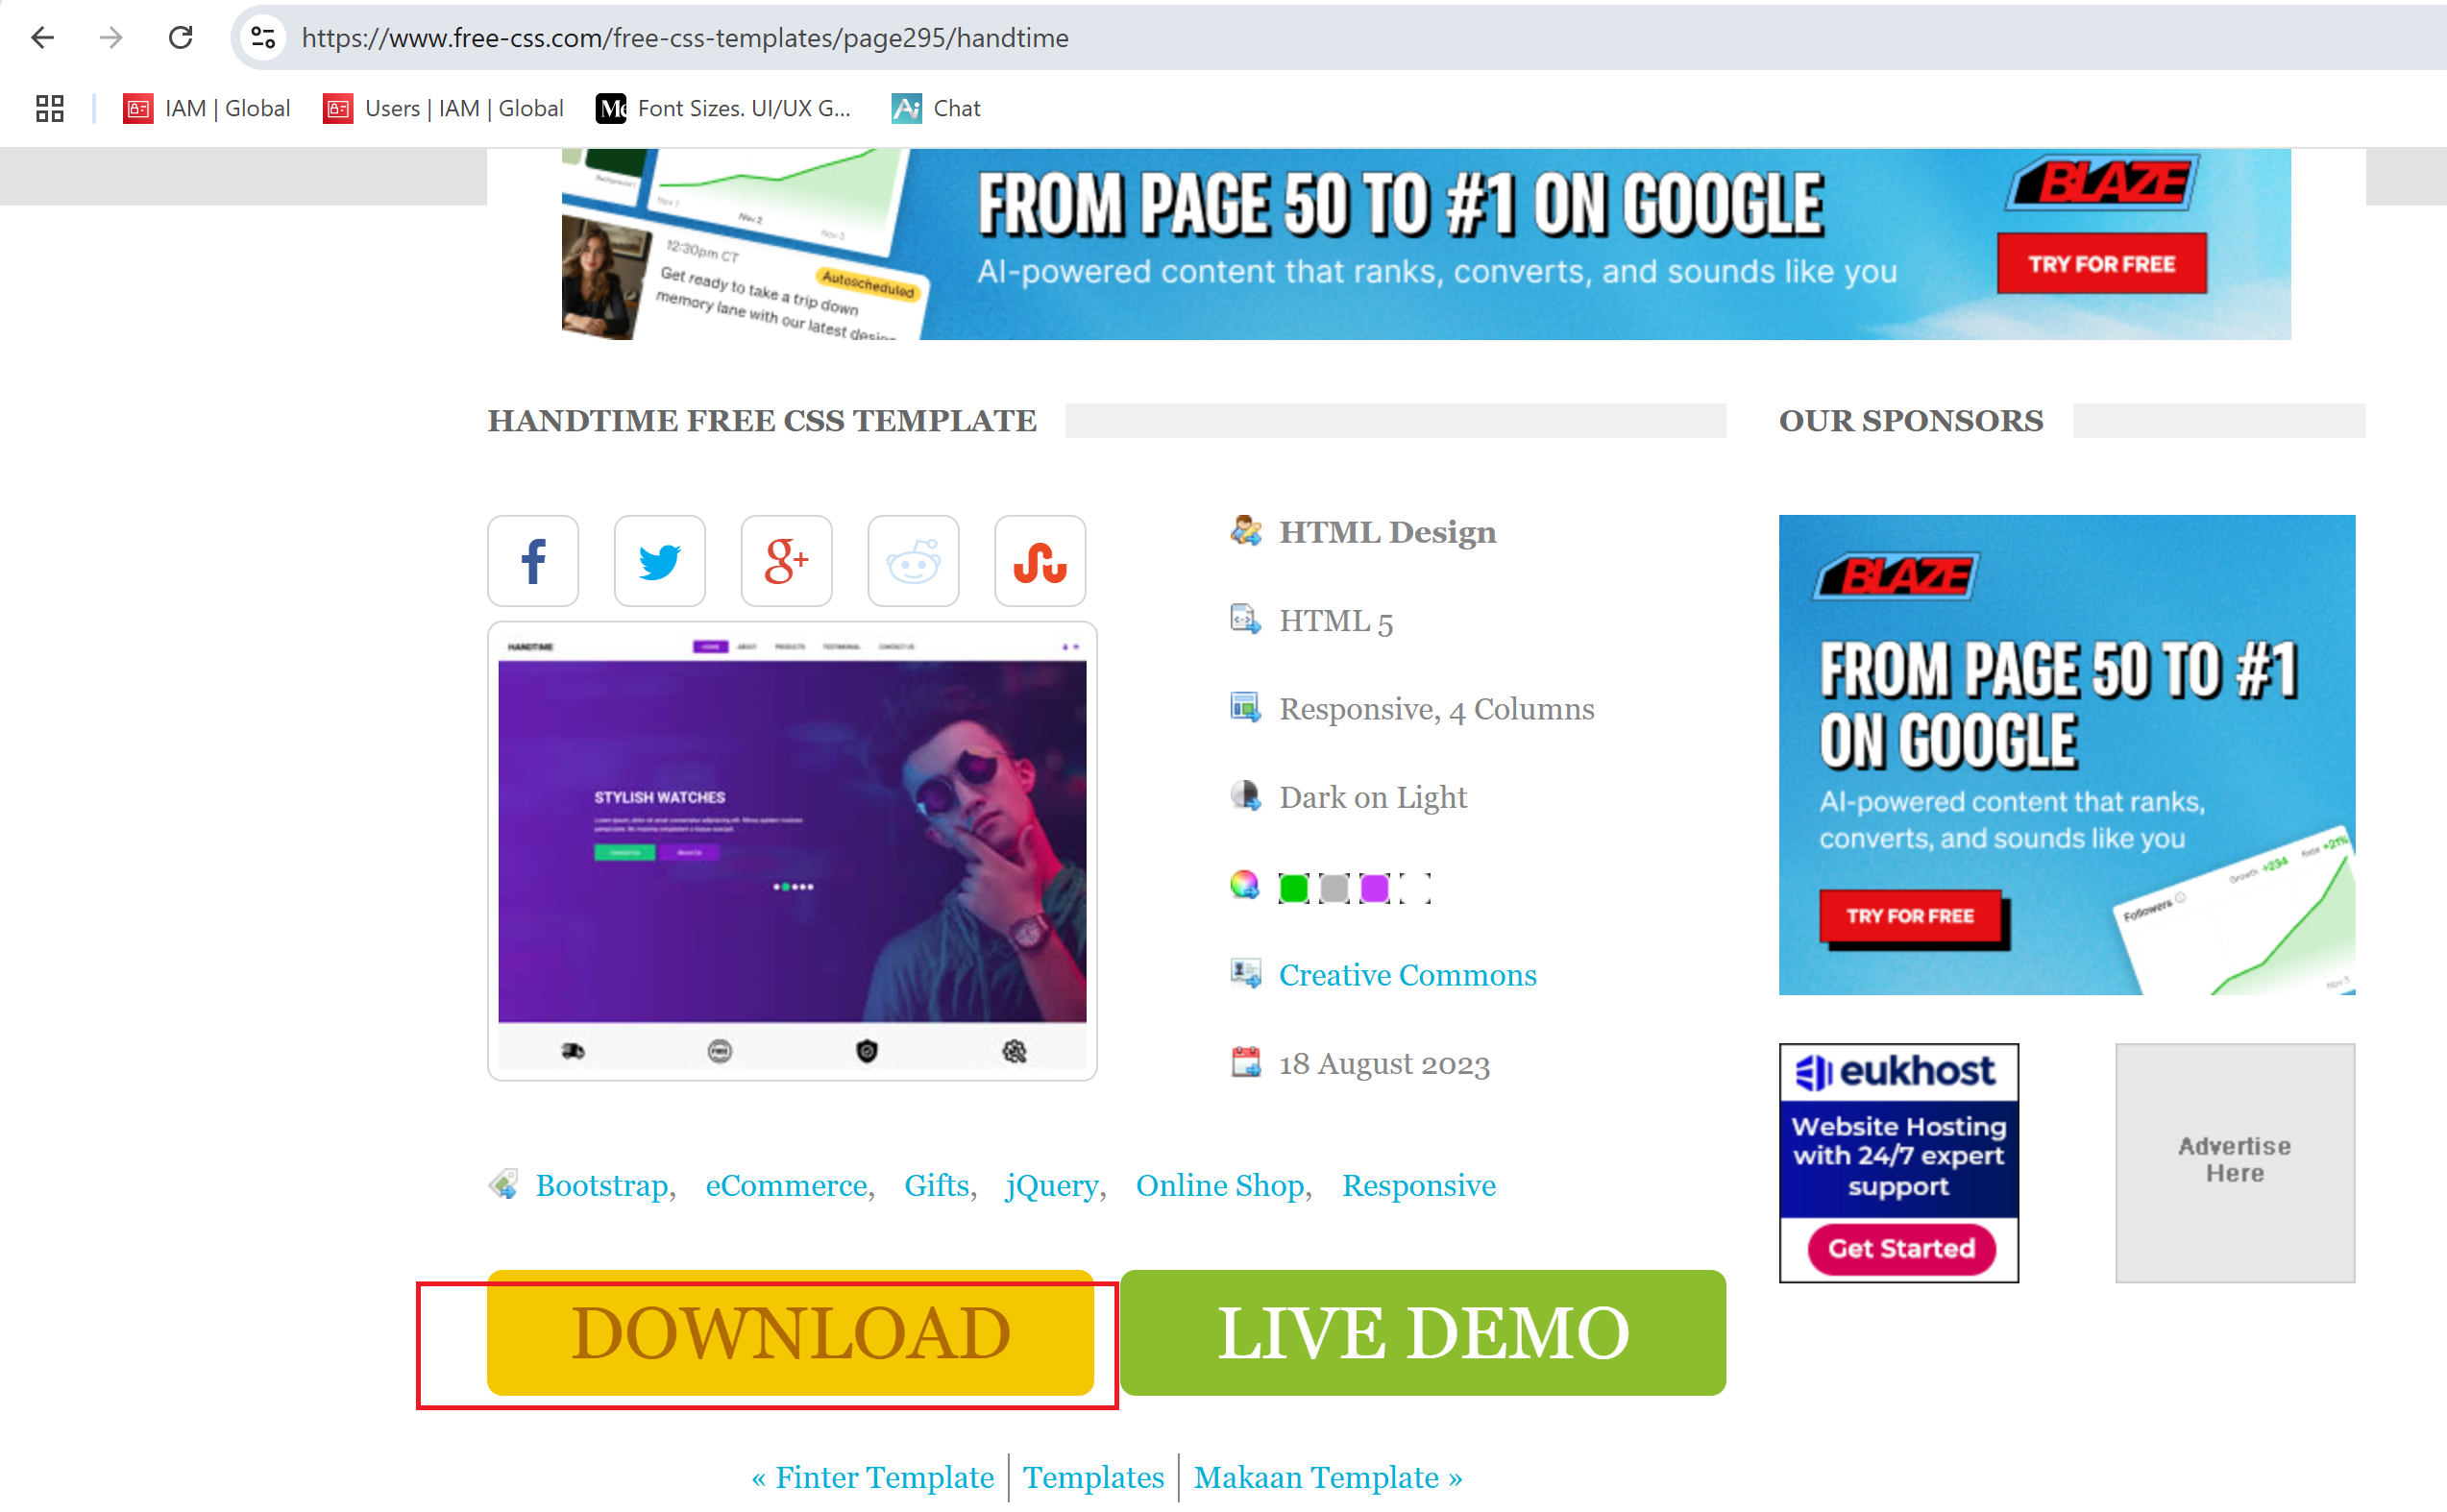
Now that we have downloaded our template using wget, and since the file is a zip file, we need to install the unzip utility on Ubuntu. Use the command sudo apt install unzip to do this and use the command sudo apt unzip to unzip our template folder.
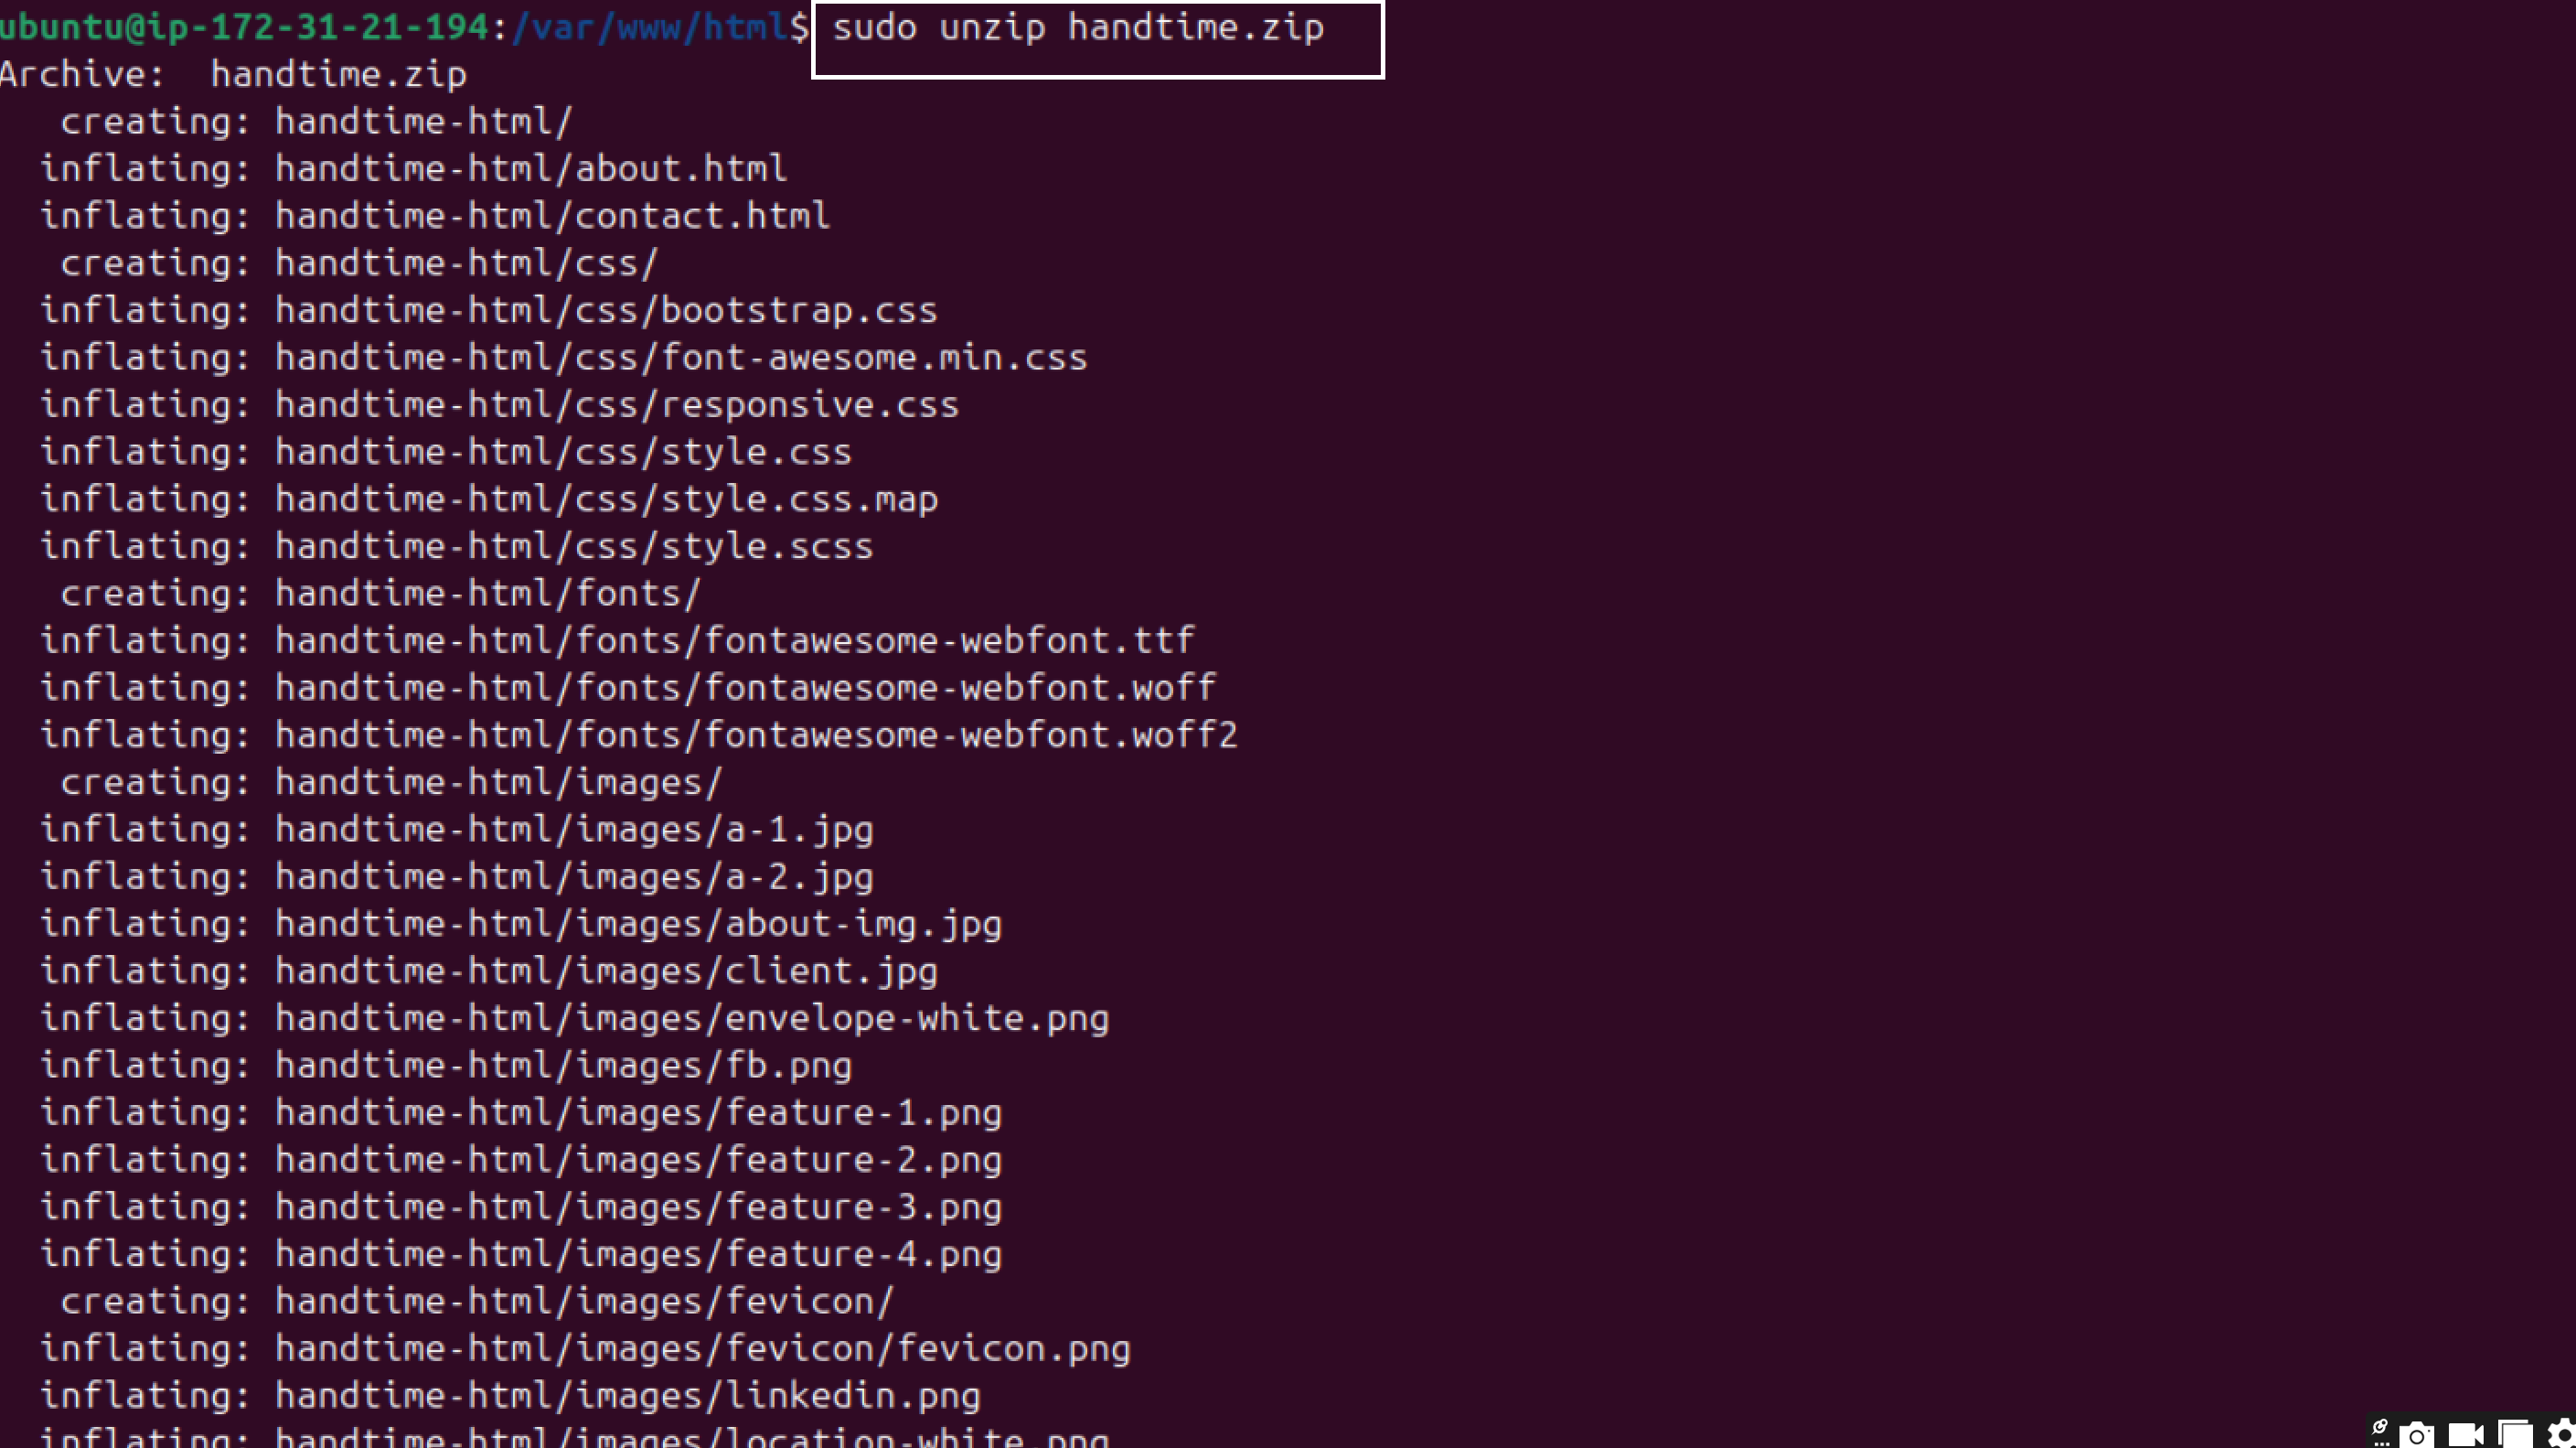
Use the ls command to list the contents of our folder that was downloaded into /var/www/html.

- Use the cd command to enter the handtime-html directory, and then use the ls command to list all the files and folders that make up our static website, such as about.html, contact.html, index.html, and so on.

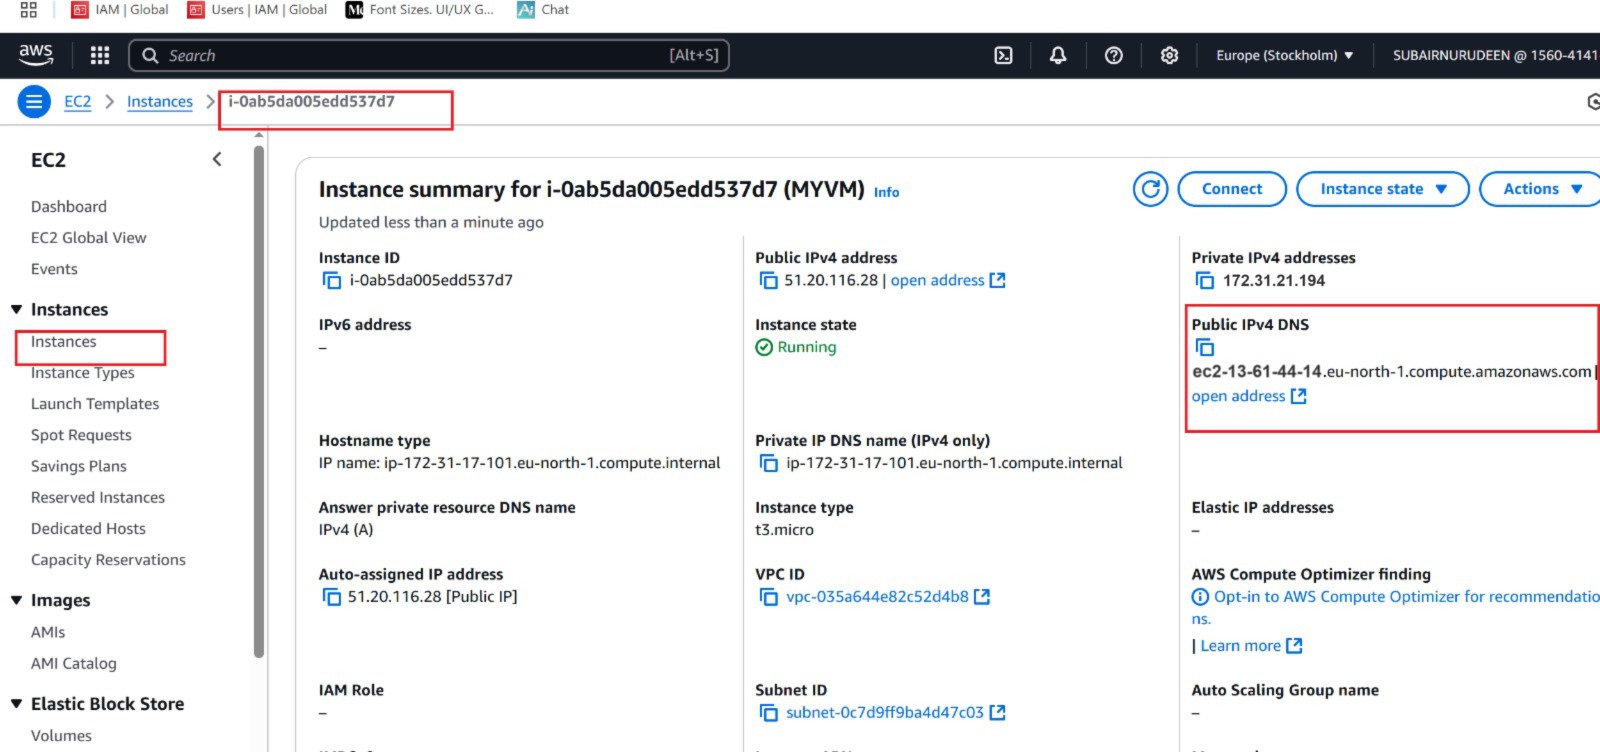
Step 3: Navigate to the EC2 Dashboard and Copy the Public DNS Address
Select your EC2 instance by clicking the checkbox next to it.
In the Details tab at the bottom of the page, look for the Public IPv4 DNS field.
The Public IPv4 DNS will look something like this:
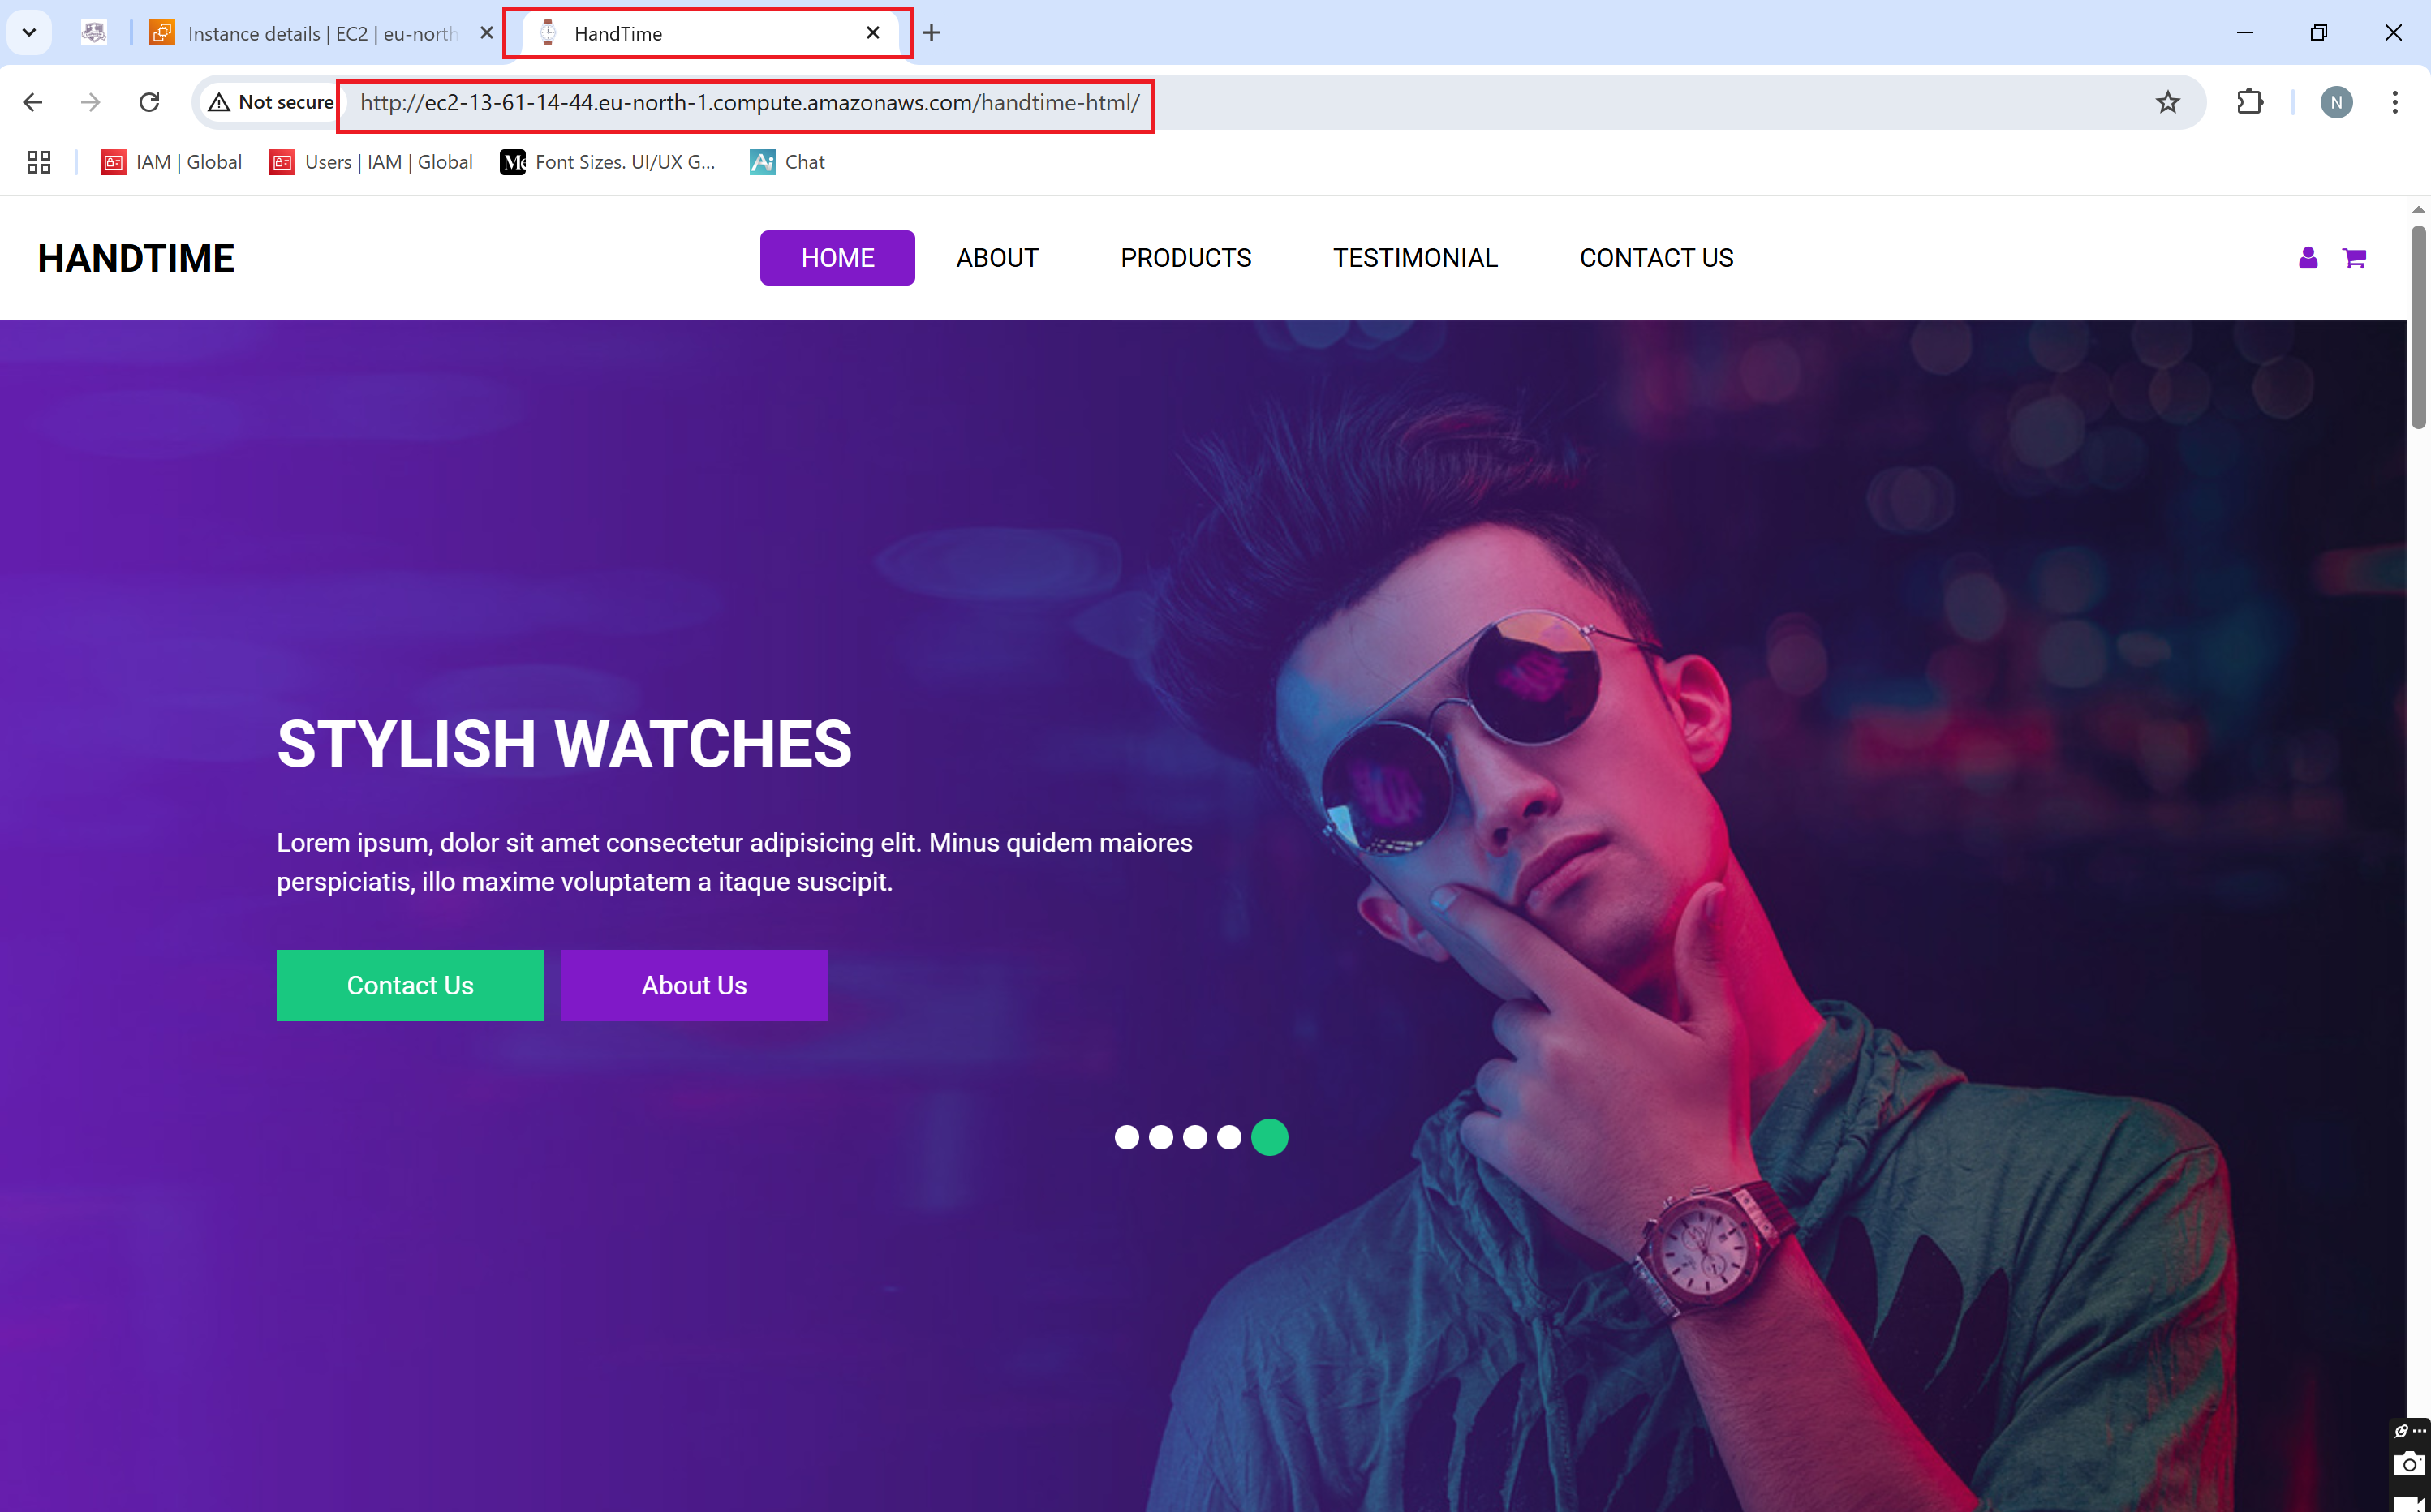
Step 4: Navigate to your browser and paste the Public DNS Address to display our static website.
Copy and paste the Public DNS address into your browser to display our static website.
Conclusion
This project demonstrated how to install and configure Apache2 on an AWS Linux virtual machine (EC2 instance) and successfully host a static website. By following this step-by-step guide, we walked through the process of setting up an EC2 instance, installing Apache2, and deploying a static website to make it accessible online. This hands-on approach not only provided a clear understanding of web server management but also highlighted the simplicity and power of using AWS for hosting web applications.
If you found this guide helpful, make sure to follow my page for more technical tutorials and in-depth guides on cloud computing, web development, and other tech-related topics. Stay tuned for more projects that will help you expand your skills and knowledge in the ever-evolving world of technology!
Subscribe to my newsletter
Read articles from SUBAIR NURUDEEN ADEWALE directly inside your inbox. Subscribe to the newsletter, and don't miss out.
Written by

SUBAIR NURUDEEN ADEWALE
SUBAIR NURUDEEN ADEWALE
Hello! I'm Subair Nurudeen Adewale, a cloud computing enthusiast and the founder of Nucloud Blog. I'm passionate about sharing knowledge and insights on cloud infrastructure, security, innovation, and the intersection of technology and design. As a cloud expert with a keen eye for user experience, I explore the latest trends and best practices in UI/UX, and how they can be applied to create intuitive, user-friendly, and seamless experiences for cloud-based applications and services. Follow Nucloud Blog for the latest updates and insights from the world of cloud computing and UI/UX design.