🚀 Jenkins for Beginners: Automate Like a Pro!
 Priyanka Patil
📌 Introduction
Ever wondered how big tech companies deploy updates so fast? 🤔 The secret weapon is Jenkins—an open-source automation server that helps developers integrate code changes, test applications, and deploy updates effortlessly!
In this beginner-friendly guide, we'll break down Jenkins, explain why it's useful, and walk you through setting it up. By the end, you'll be ready to automate your workflows like a DevOps pro! 💡
Jenkins – the automation superhero of the DevOps world!
🎯 What is Jenkins?
Jenkins is a continuous integration and continuous deployment (CI/CD) tool that automates repetitive tasks in software development. Whether it's building, testing, or deploying code, Jenkins makes everything faster and more reliable. 🚀
💡 Think of Jenkins as a robot that takes your code, checks if it works, and delivers it without human intervention.
🛠️ Features of Jenkins
✅ Open-Source – Free to use and backed by a strong community!
✅ Highly Extensible – Supports 1,800+ plugins for integrations.
✅ Platform-Independent – Works on Windows, macOS, and Linux.
✅ Distributed Build System – Runs tasks across multiple machines.
✅ Scalable & Flexible – Ideal for startups and enterprises alike.
🌟 Fun Fact: Jenkins was originally developed as "Hudson" by Sun Microsystems in 2004 but was later renamed after an open-source split!
What is Jenkins? 🤔
Jenkins is an open-source automation server used for continuous integration (CI) and continuous delivery (CD) in DevOps. It helps automate software development processes like building, testing, and deploying applications.
Jenkins follows the principles of Continuous Integration (CI) and Continuous Deployment (CD), meaning it constantly checks for changes in the code and ensures the application is always in a deployable state.
⚡ Why Use Jenkins?
Imagine you're a developer working on a large project. Every time a new feature is added, you need to:
1️⃣ Manually pull the latest code
2️⃣ Compile and build the application
3️⃣ Test if it works correctly
4️⃣ Deploy it to production
😓 Sounds exhausting, right? That's where Jenkins saves the day! It automates these steps, reducing errors and improving efficiency.
Here’s why it’s a game-changer:
✔ Saves Time: No need for manual testing and deployment
✔ Reduces Errors: Automates repetitive tasks, reducing human mistakes
✔ Enhances Team Collaboration: Teams get instant feedback on code changes
✔ Flexible & Scalable: Works with different programming languages and tools
Speeds up development and deployment.
Reduces human errors with automation.
Ensures software is always in a deployable state.
🔧 Installing Jenkins
Let’s get our hands dirty and set up Jenkins! 🛠️
1️⃣ Install Java (Required for Jenkins)
Run the following command to install Java (for Ubuntu):
sudo apt update && sudo apt install openjdk-11-jdk -y
Check the Java version:
java -version
2️⃣ Download & Install Jenkins
On Ubuntu/Debian
wget -q -O - https://pkg.jenkins.io/debian/jenkins.io.key | sudo apt-key add -
sudo sh -c 'echo deb http://pkg.jenkins.io/debian binary/ > /etc/apt/sources.list.d/jenkins.list'
sudo apt update
sudo apt install jenkins -y
On Windows
Download Jenkins from the official site.
Run the installer and follow the setup wizard.
3️⃣ Start Jenkins
For Linux:
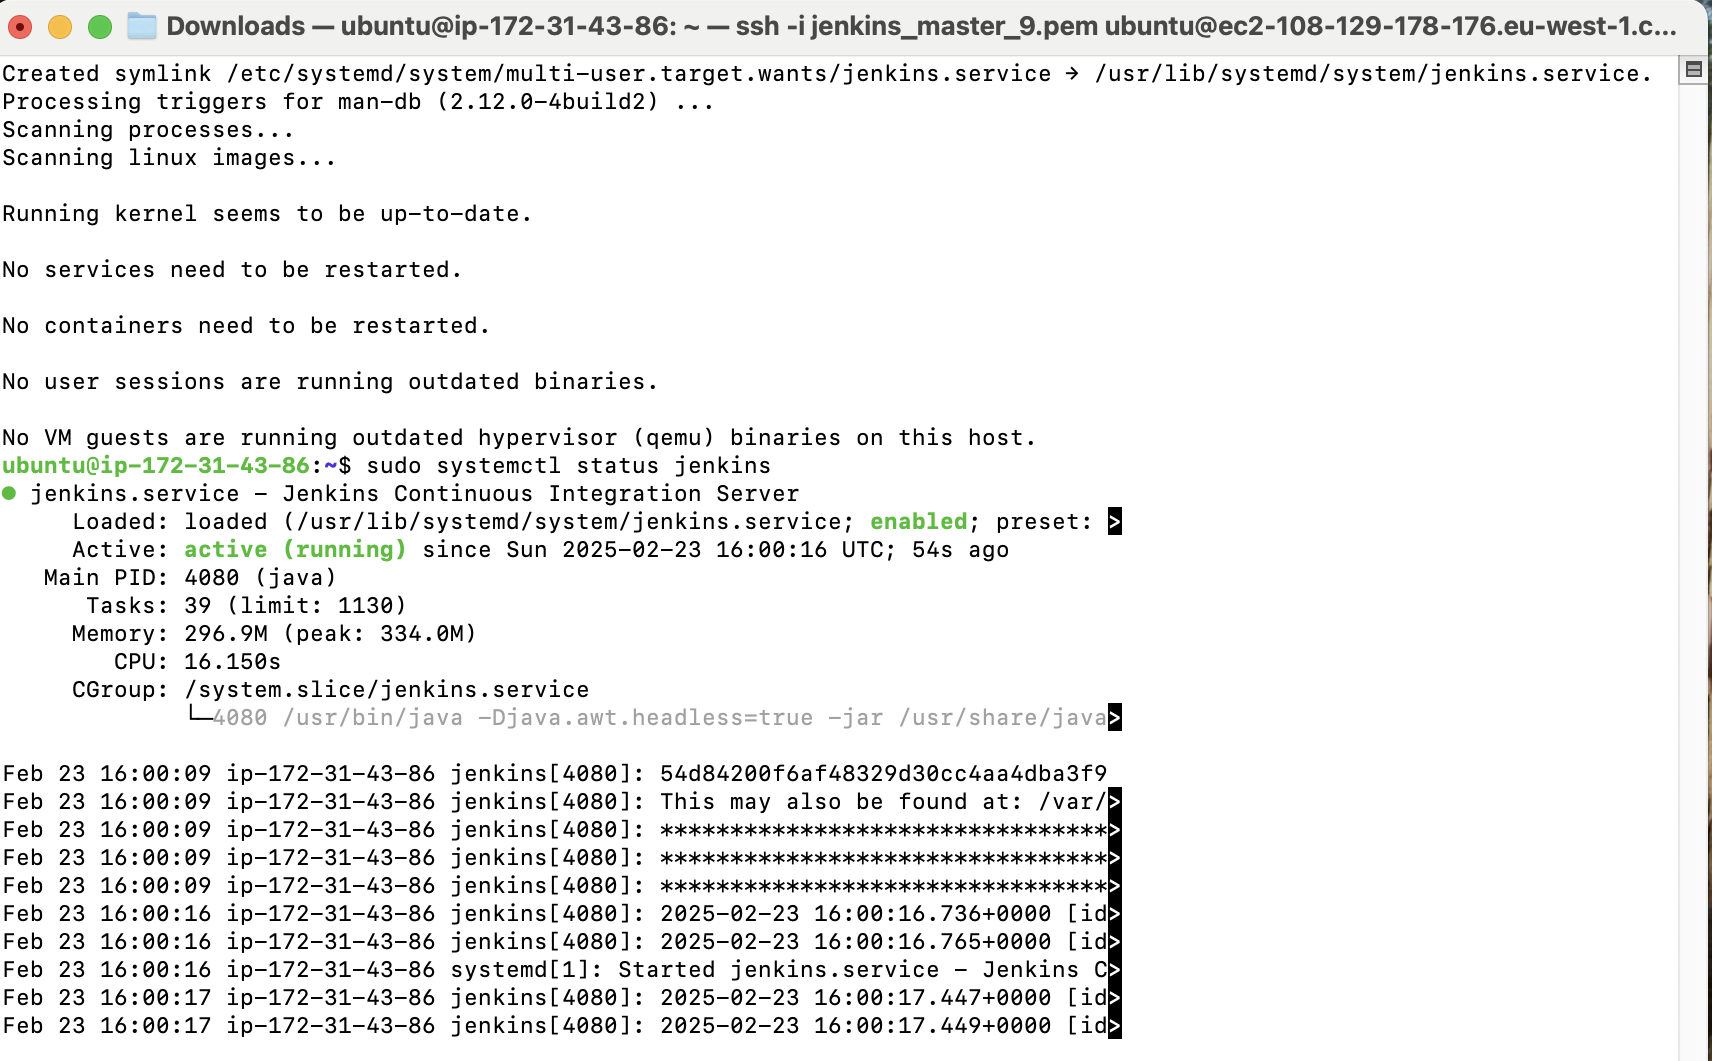
sudo systemctl start jenkins
sudo systemctl status jenkins
You should see the active status is running as shown in the image below.

For Windows, Jenkins will start automatically after installation.
4️⃣ Access Jenkins Dashboard
Open your browser and go to:
http://localhost:8080
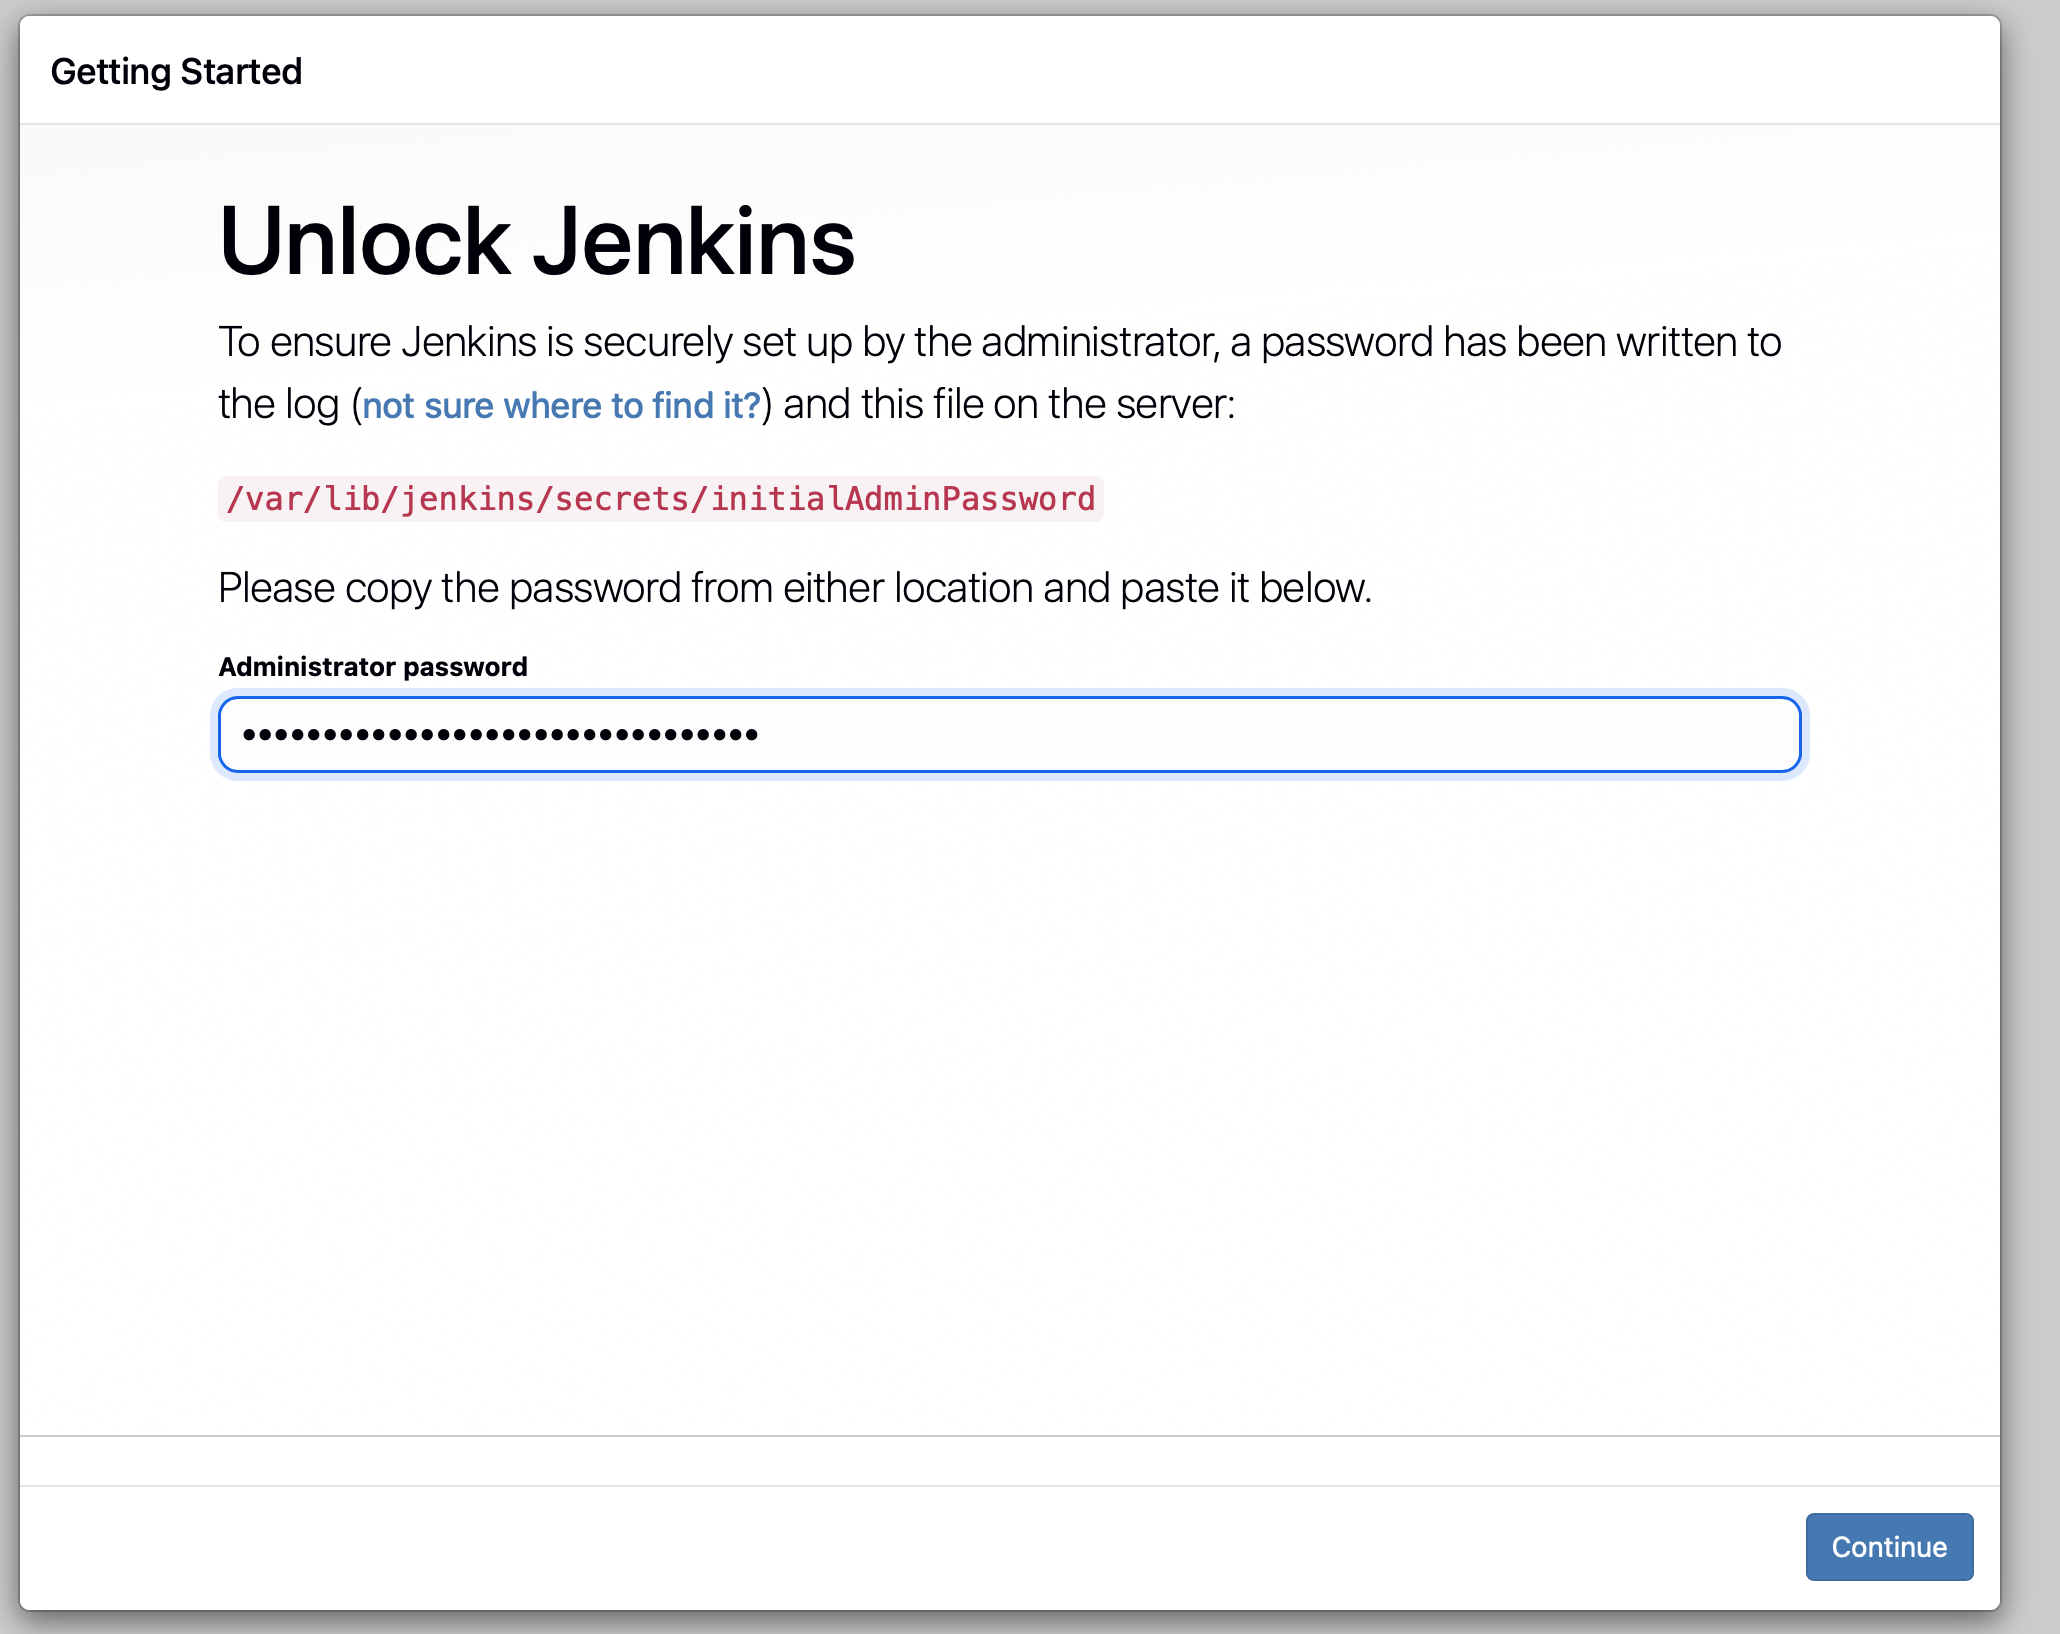
You should be able to see the below screen

You'll see a "Unlock Jenkins" screen asking for an admin password. To get it, run:
sudo cat /var/lib/jenkins/secrets/initialAdminPassword
Copy-paste the password and proceed! 🎉
Next, click on install suggested plugins.
Once the installation is done, you will see a page to create your first Jenkins admin user account.
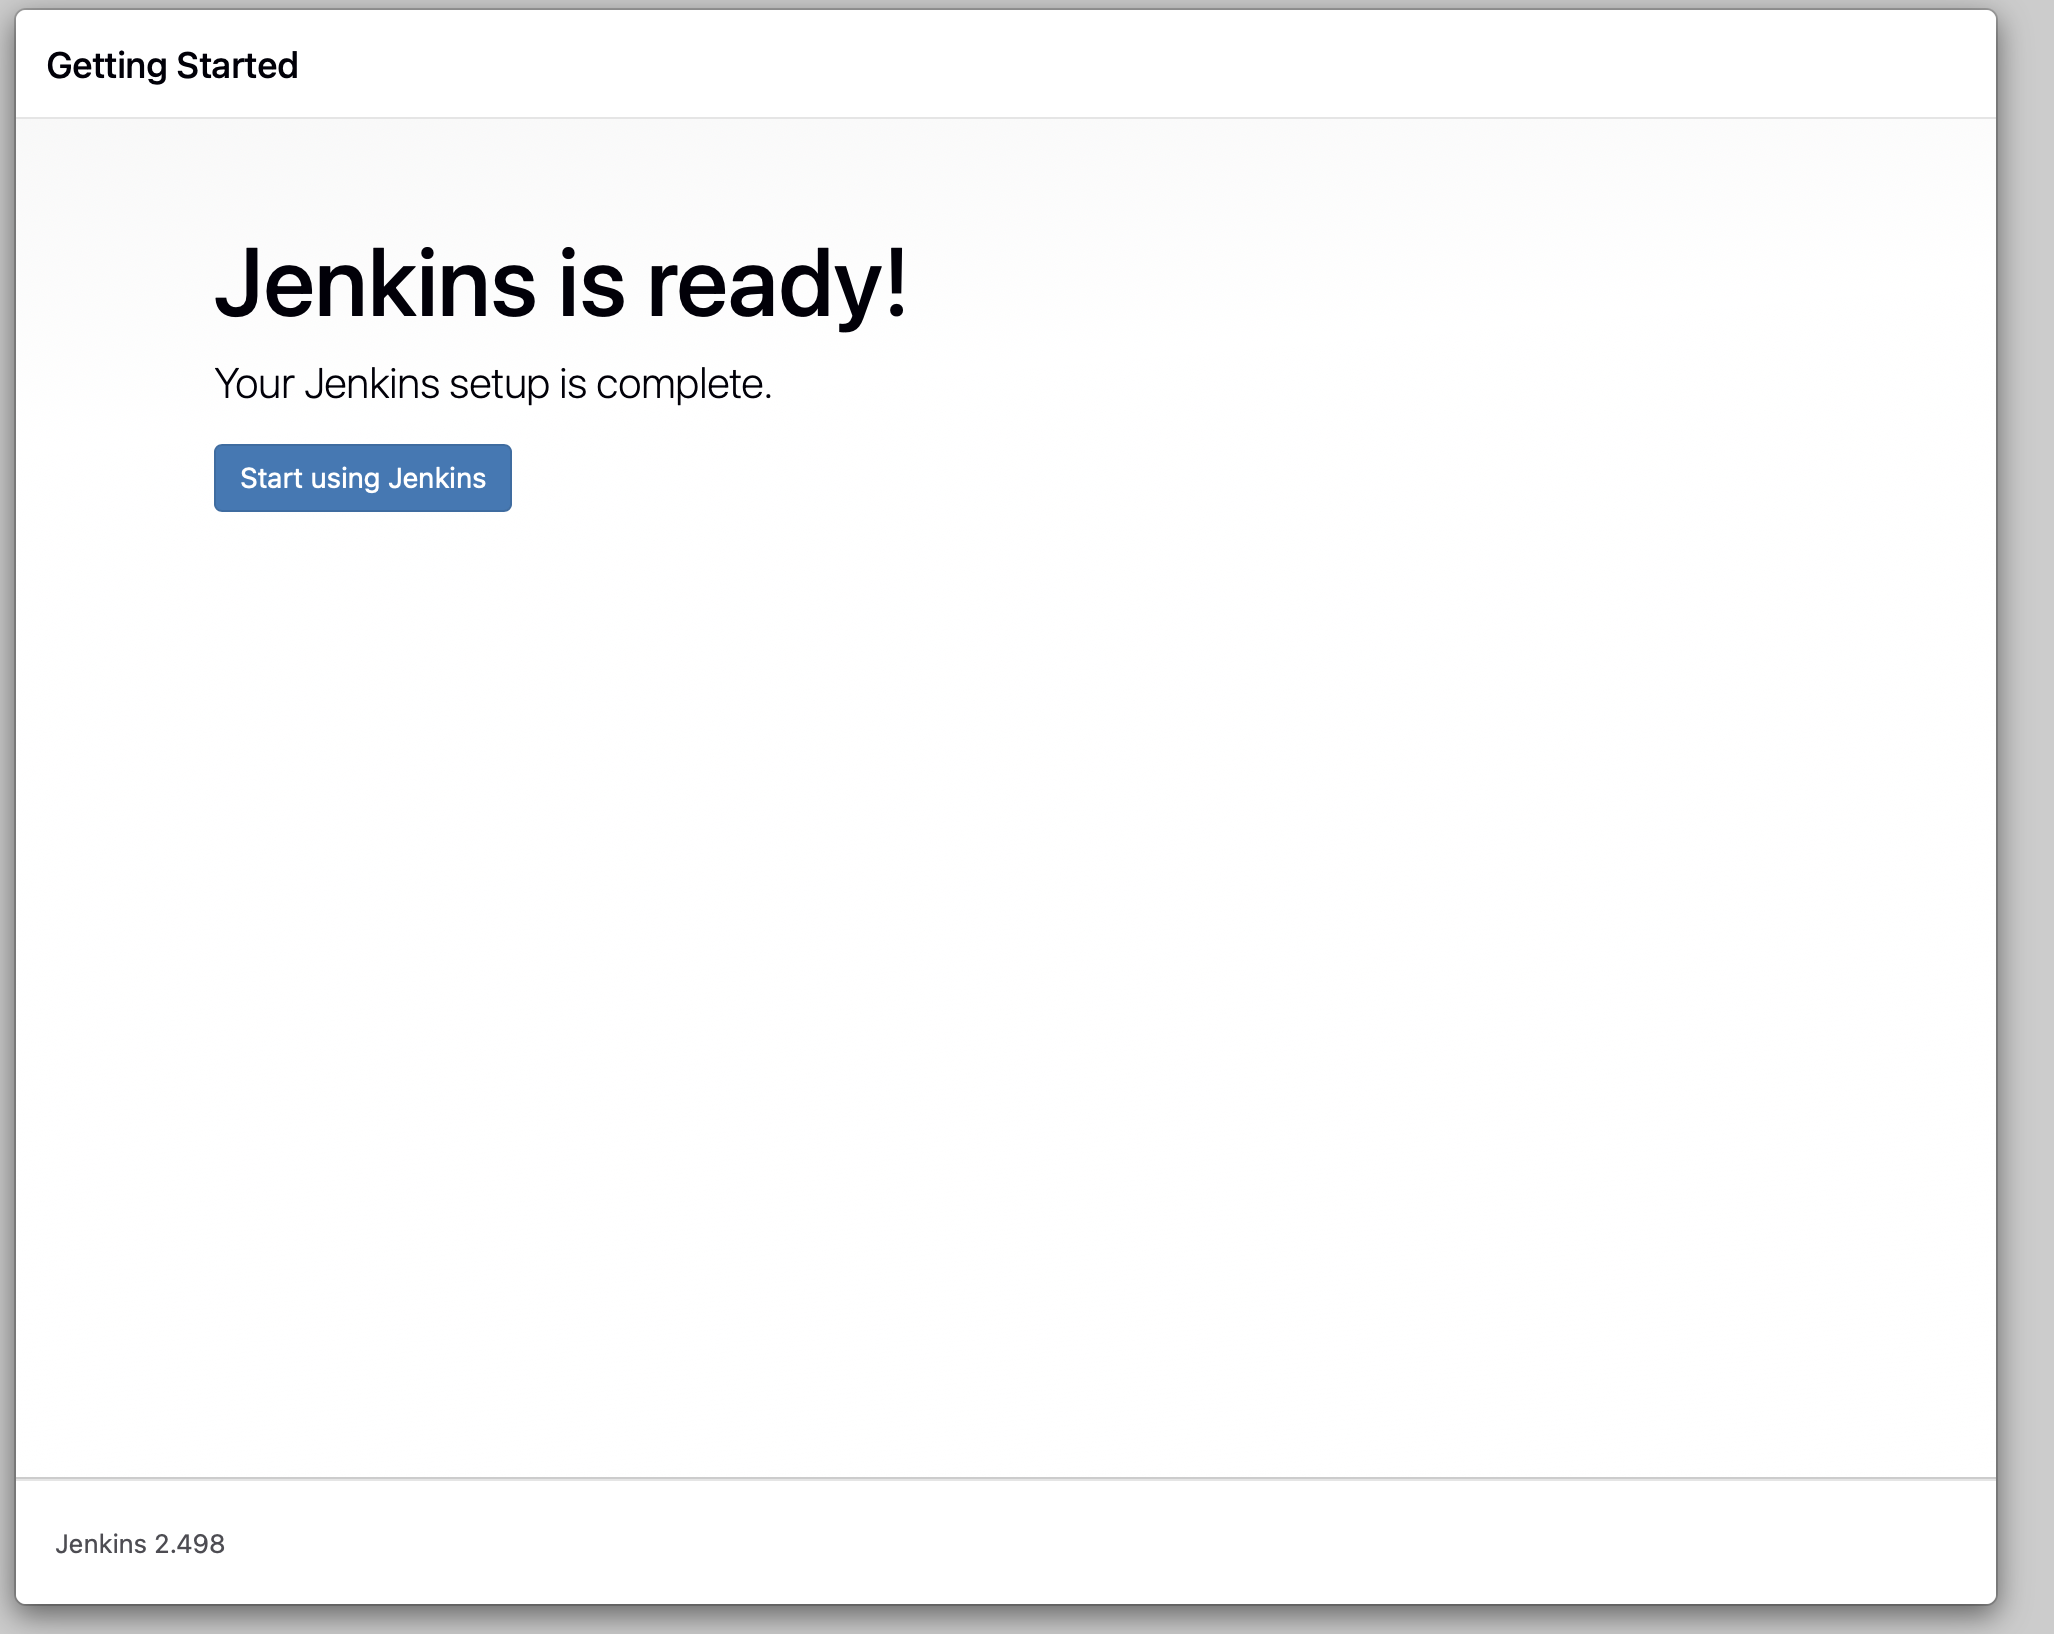
Go ahead and fill in the details. Once everything is done you are all set to use Jenkins.

🚦 Creating Your First Job in Jenkins
A "Job" in Jenkins is an automation task—it can be building code, running tests, or deploying an app. Let's create a simple job!
Step 1: Create a New Job
1️⃣ Click "New Item" on the Jenkins dashboard.
2️⃣ Enter a Job Name (e.g., "My First Build").
3️⃣ Select "Freestyle project" and click OK.
Step 2: Configure the Job
1️⃣ Scroll to "Build" section.
2️⃣ Click "Add build step" → "Execute shell".
3️⃣ Enter the following command:
echo "Hello, Jenkins! 🚀"
Step 3: Run the Job
1️⃣ Click "Save".
2️⃣ Click "Build Now".
🎉 You just created your first Jenkins job! Check the Console Output to see "Hello, Jenkins!" printed!
🔌 Jenkins Plugins – Supercharge Your CI/CD
Jenkins becomes even more powerful with plugins! Here are some must-haves:
🔹 Git Plugin – Integrates Git repositories.
🔹 Pipeline Plugin – Enables CI/CD pipelines.
🔹 Docker Plugin – Automates Docker builds.
🔹 Slack Plugin – Sends notifications to Slack.
To install plugins:
1️⃣ Go to Manage Jenkins → Manage Plugins
2️⃣ Search for a plugin and click Install
🛠️ Jenkins Pipelines – Automate Like a Pro
A Jenkins Pipeline is a script that defines an entire CI/CD workflow. Here’s an example:
pipeline {
    agent any
    stages {
        stage('Build') {
            steps {
                echo 'Building the application...'
            }
        }
        stage('Test') {
            steps {
                echo 'Running tests...'
            }
        }
        stage('Deploy') {
            steps {
                echo 'Deploying to production! 🚀'
            }
        }
    }
}
To create a Pipeline:
1️⃣ Click New Item → Pipeline
2️⃣ Add the script above
3️⃣ Click Save → Build Now
👏 Boom! Your first automated CI/CD pipeline is live!
🛡️ Jenkins Security Best Practices
🔒 Change Default Admin Password – Go to Manage Jenkins → Configure Global Security.
🔒 Enable Role-Based Access Control – Install "Role-Based Authorization Strategy" plugin.
🔒 Run Jenkins as a Non-Root User – Improves security on Linux.
🔒 Keep Jenkins Updated – Use the latest version for security patches.
🚀 Conclusion
🎉 Congrats! You’ve learned the basics of Jenkins—how to install it, create jobs, use plugins, and automate workflows!
Jenkins is a game-changer in DevOps, making CI/CD effortless. Now go ahead and automate your world! 🚀
Got questions? Drop them in the comments! Happy Coding! 😃💻
📢 Did you find this guide helpful? Share it with your fellow DevOps enthusiasts! 💙
📌 Disclaimer:
This blog is for educational purposes only. While I strive for accuracy, always verify commands and best practices before applying them in production. For official documentation and updates, visit Jenkins.io. 🚀
Subscribe to my newsletter
Read articles from Priyanka Patil directly inside your inbox. Subscribe to the newsletter, and don't miss out.
Written by
