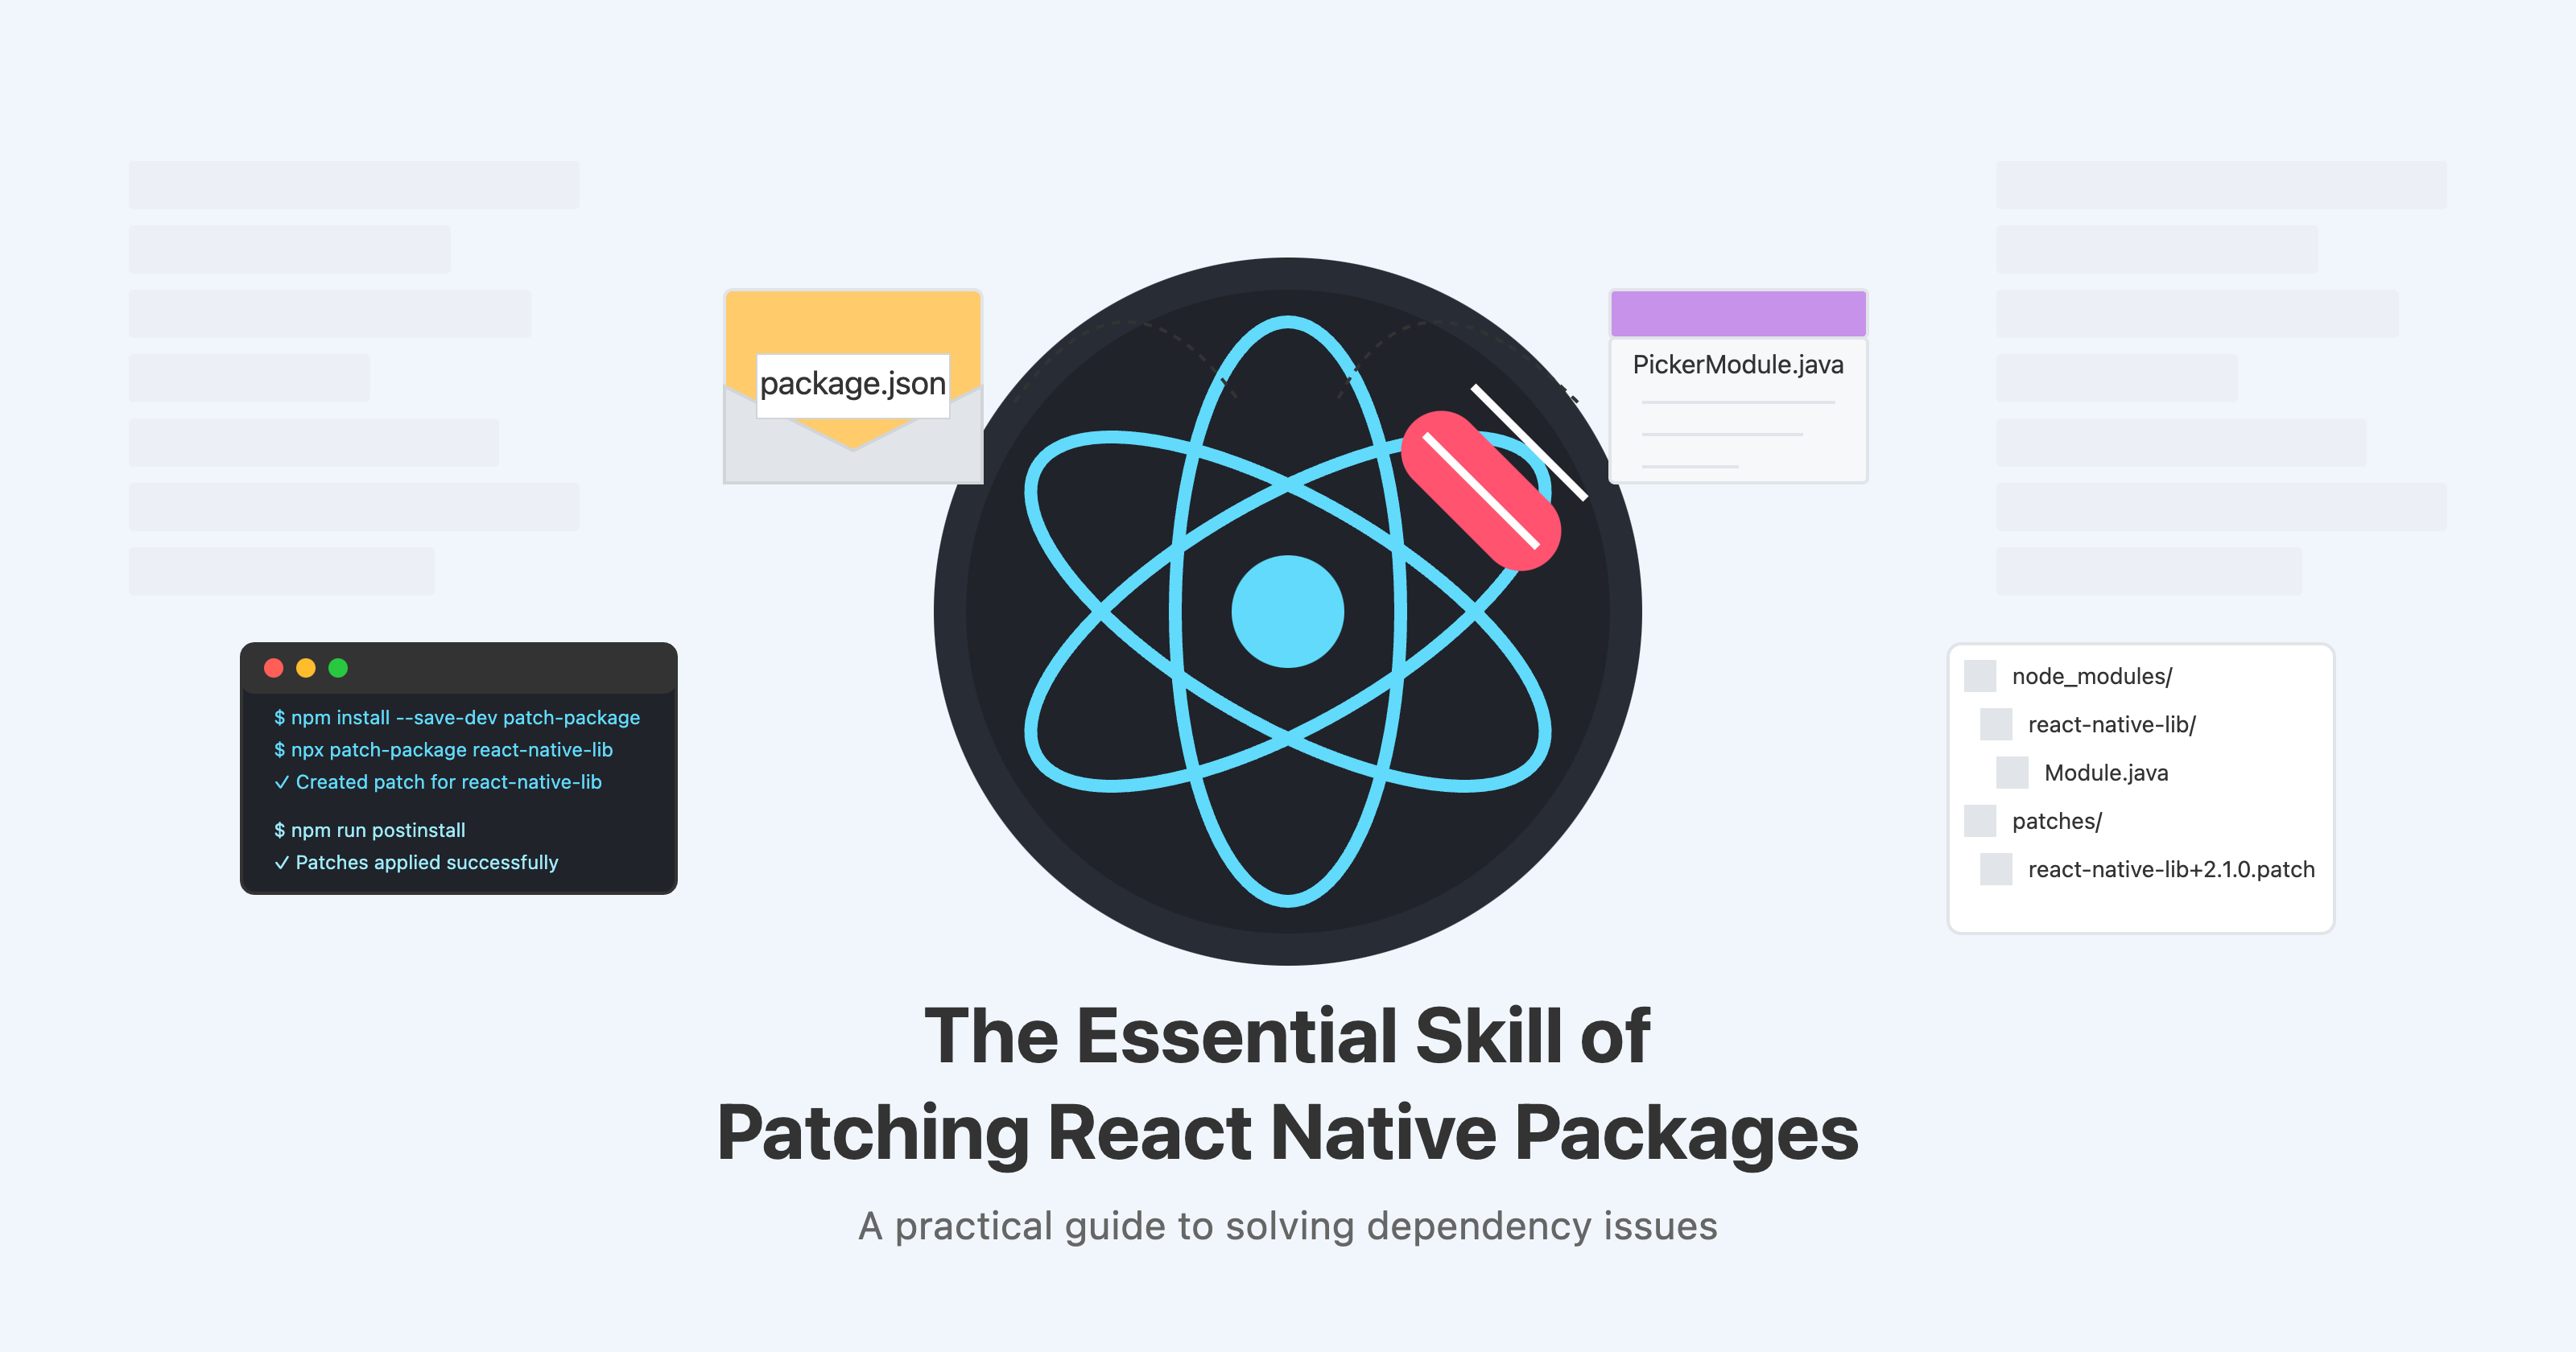
Mastering Package Patching in React Native: A Developer's Essential Skill
 Subramanya M Rao
Preface
As someone who has been working with React Native for about a year, I've come to believe that one of the most valuable skills every React Native developer should have in their toolkit is the ability to patch third-party packages and libraries. This approach has saved me countless hours of frustration and helped me solve problems that would otherwise have blocked my projects entirely.
Why Package Patching Matters
If you've spent any time working with React Native, you've likely encountered situations where a third-party library almost meets your needs but has a small bug or missing feature that prevents it from working perfectly in your specific use case. You might face issues like:
A UI component that renders incorrectly on certain devices
A function that crashes under specific conditions
Missing platform-specific implementations
Performance issues that affect only your particular use case
Incompatibilities between different library versions
In these situations, you generally have four options:
Wait for an official fix - which could take weeks or months
Fork the entire library - creating maintenance headaches
Find an alternative library - potentially requiring significant code changes
Patch the existing library - making targeted modifications only where needed
The fourth option is often the most practical and efficient solution.
How to Patch React Native Packages
I'll share two effective approaches to patching: the standard method using the patch-package tool and a simpler direct file replacement approach using shell scripting.
Method 1: Using patch-package
The most common way to patch packages in the React Native ecosystem is using patch-package. This tool allows you to make changes to packages in your node_modules folder and then create patch files that can be applied automatically after installation.
Setup
- Install patch-package:
npm install --save-dev patch-package postinstall-postinstall
- Add this to your package.json scripts:
"scripts": {
  "postinstall": "patch-package"
}
Creating and Applying Patches
Modify the file you need to change in node_modules
Run
npx patch-package package-nameCommit the generated patch file to your repository
The patch file will be created in a patches directory and will be automatically applied whenever you run npm install or yarn
Method 2: Direct File Replacement via Shell Script
While patch-package is great, there's an even simpler approach that I've found particularly useful: direct file replacement. This method is more straightforward and doesn't require understanding patch/diff syntax.
Setup
- Create a patches directory structure that mirrors the files you want to patch:
/patches
  /react-native-image-crop-picker
    /PickerModule.java
- Create a postinstall.js script in your project root:
const shell = require('shelljs');

// Ensure the directory exists
shell.mkdir('-p', 'node_modules/react-native-image-crop-picker/android/src/main/java/com/reactnative/ivpusic/imagepicker');

// Copy the patched file
shell.cp(
  './patches/react-native-image-crop-picker/PickerModule.java',
  'node_modules/react-native-image-crop-picker/android/src/main/java/com/reactnative/ivpusic/imagepicker/PickerModule.java',
);

console.log('✅ Patches applied successfully');
- Install shelljs:
npm install --save-dev shelljs
- Add the postinstall script to your package.json:
"scripts": {
  "postinstall": "node postinstall.js"
}
Advantages of Direct File Replacement
This approach has several key benefits:
Simplicity: No need for complex patch files (.patch)
Readability: No need to understand patch/diff syntax
Debugging: Direct file replacement makes it easy to debug
Reliability: Works reliably across different environments
Version Control: Can be version controlled easily
Durability: Survives npm install operations
Usage Example
If you need to patch a third-party library:
Copy the file you want to modify from node_modules
Create the same path structure in your patches directory
Make your modifications to the copied file
Add the copy command to postinstall.js
Commit the changes
This approach is particularly useful when:
You need quick fixes for third-party libraries
The upstream fix might take time
You want to maintain custom functionality
You need to track modifications clearly
A Real-World Example
Let's say we need to modify the react-native-image-crop-picker library to fix an issue with image rotation on Android. Here's how we'd do it:
First, identify the file that needs to be patched. In this case, it's
PickerModule.java.Create your patches directory structure:
mkdir -p patches/react-native-image-crop-picker
- Copy the original file:
cp node_modules/react-native-image-crop-picker/android/src/main/java/com/reactnative/ivpusic/imagepicker/PickerModule.java patches/react-native-image-crop-picker/
Make your changes to the copied file in the patches directory.
Update your postinstall.js script:
const shell = require('shelljs');

// Apply the image picker patch
shell.cp(
  './patches/react-native-image-crop-picker/PickerModule.java',
  'node_modules/react-native-image-crop-picker/android/src/main/java/com/reactnative/ivpusic/imagepicker/PickerModule.java',
);
- Run your postinstall script:
npm run postinstall
Test your app to make sure the patch works.
Commit everything to version control.
Best Practices for Package Patching
Document your patches: Add comments to your patched files explaining what you changed and why.
Keep patches minimal: Change only what's absolutely necessary.
Check for updates: Regularly check if the original package has been updated with a fix for your issue.
Contribute back: Consider submitting a pull request to the original package with your fix.
Version control: Always commit your patches to version control so your team can use them.
Conclusion
Learning how to patch third-party packages in React Native is an essential skill that can save you significant time and frustration. Whether you choose to use patch-package or direct file replacement, having this capability allows you to overcome limitations in libraries without waiting for official fixes or maintaining complete forks.
As your React Native projects grow in complexity, you'll inevitably encounter situations where patching is the most efficient solution. Being prepared with these techniques will make you a more effective developer and help keep your projects moving forward, even when faced with challenging dependency issues.
Subscribe to my newsletter
Read articles from Subramanya M Rao directly inside your inbox. Subscribe to the newsletter, and don't miss out.
Written by

Subramanya M Rao
Subramanya M Rao
CS Undergrad pursuing Web Development. Keen Learner & Tech Enthusiast.