Deploy Web-app application on Kubernetes Cluster (EKS)
 Dharmendra Chourasiya
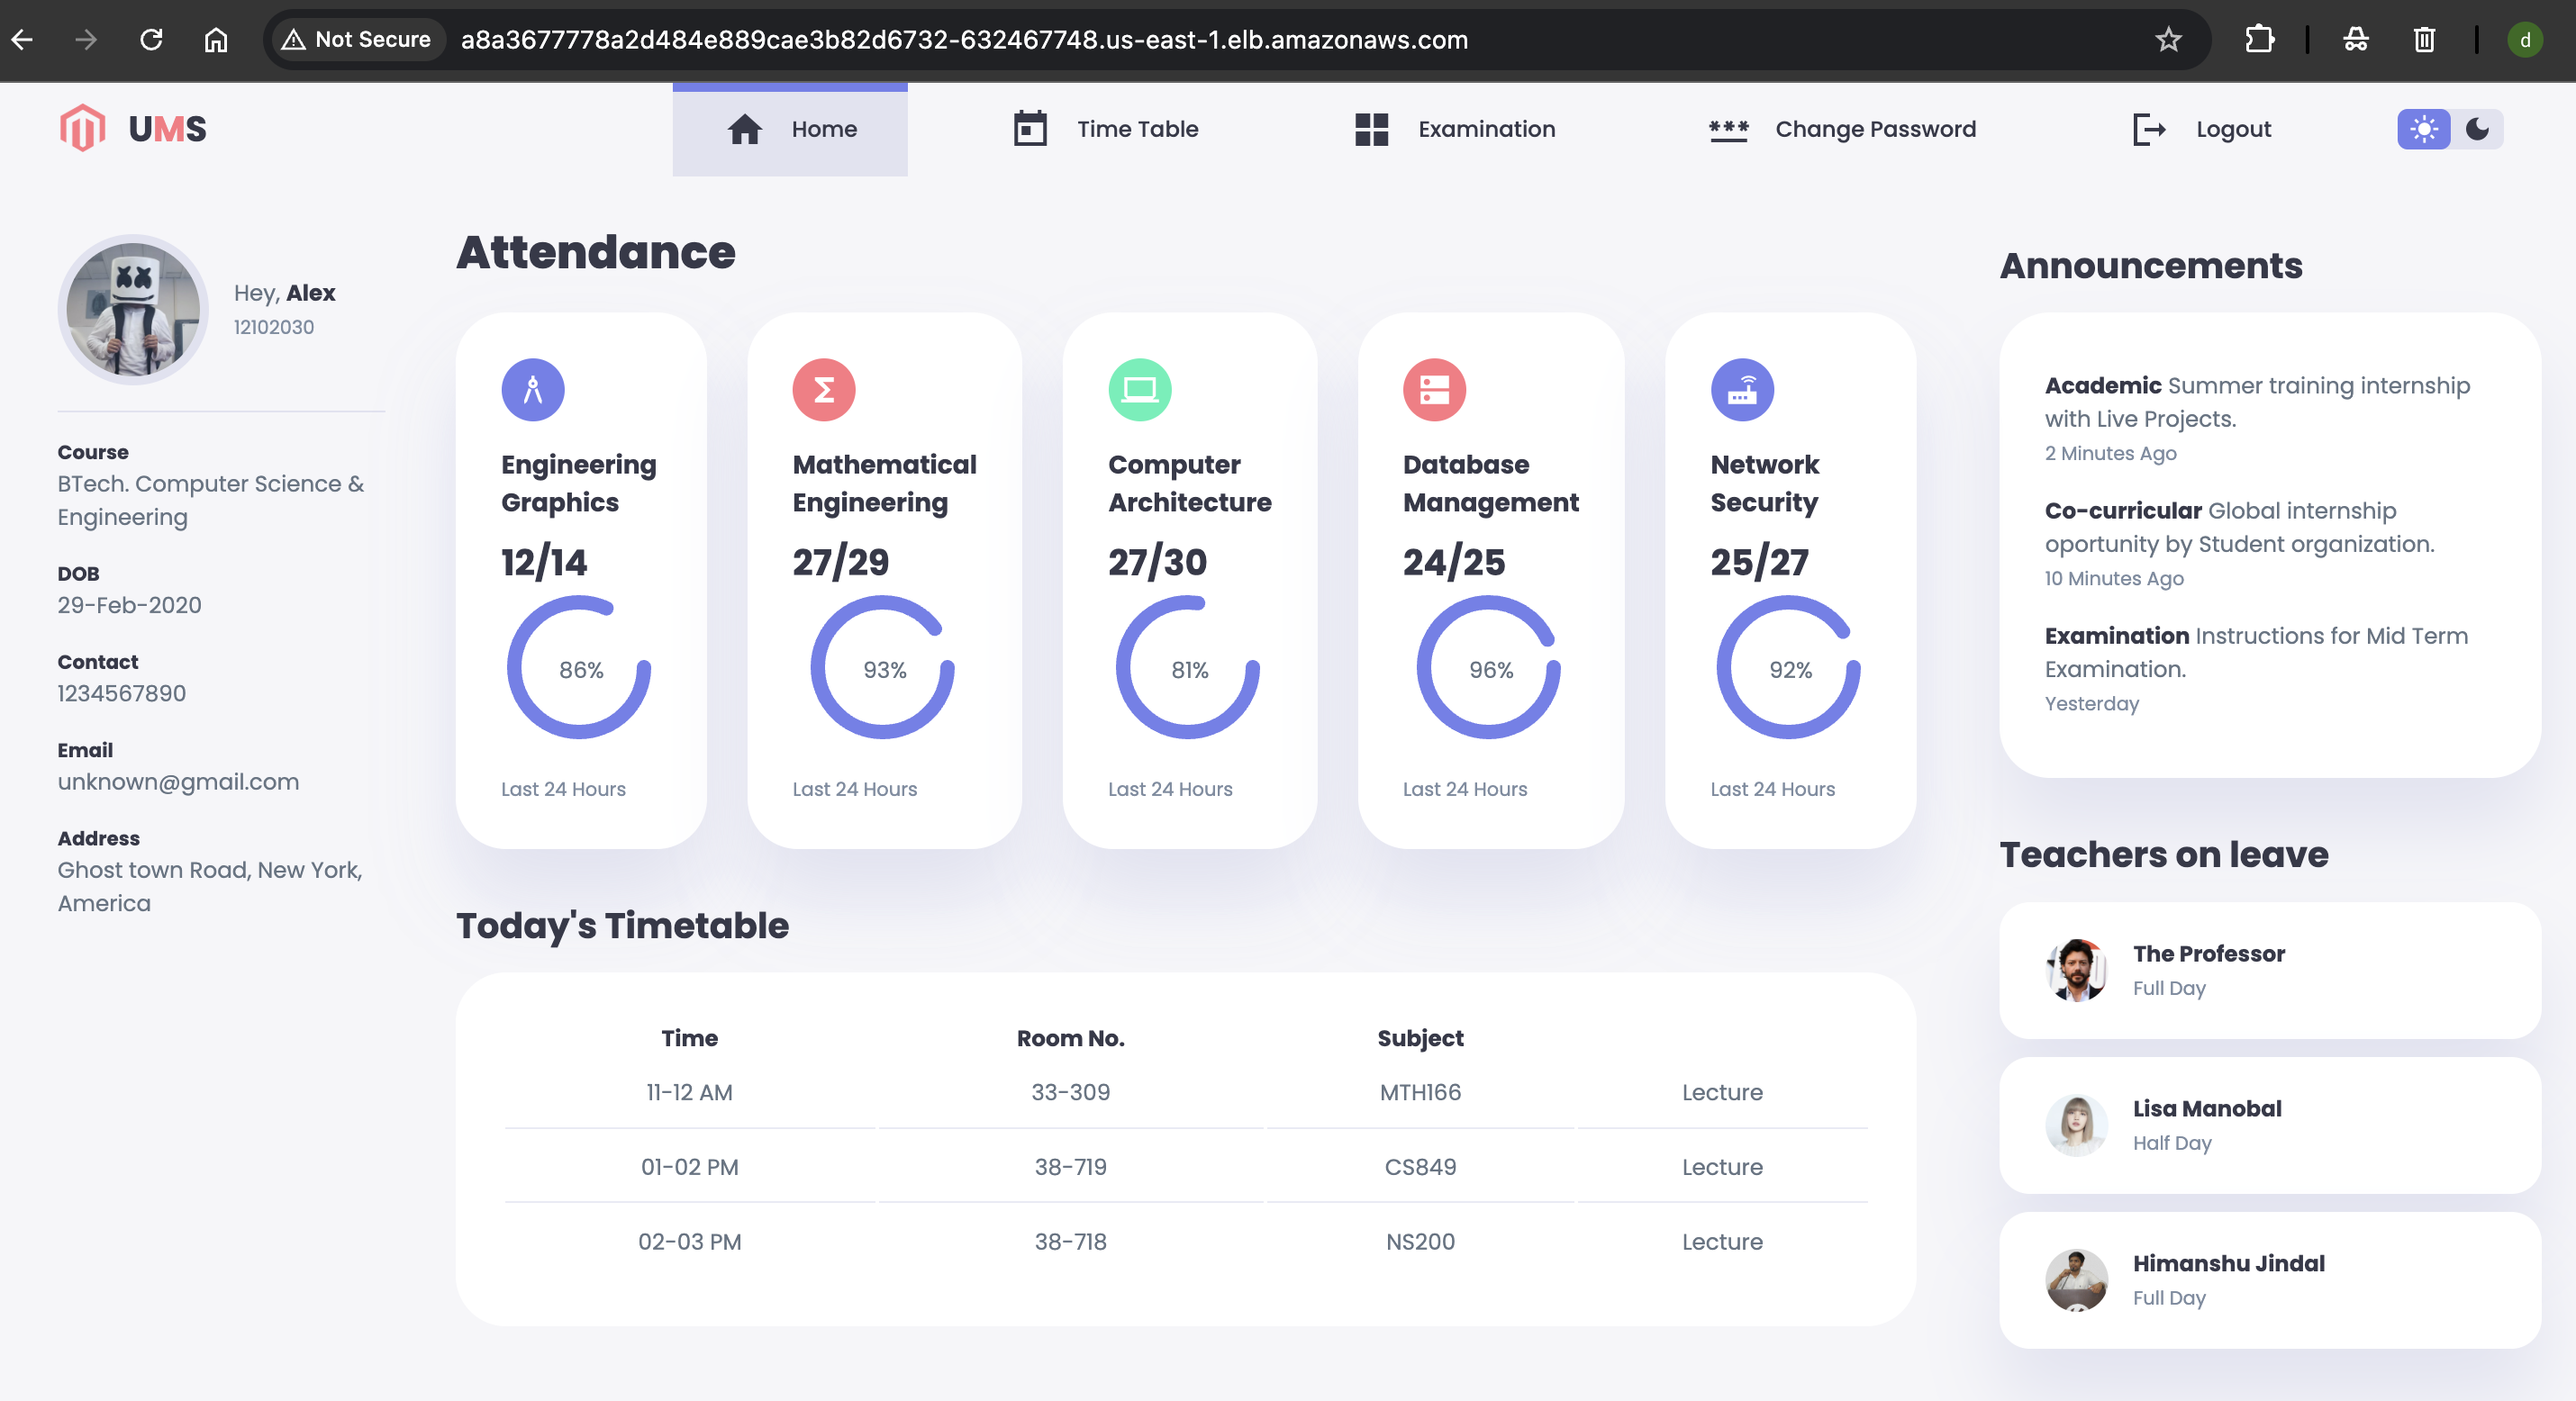
Agenda:
Setup an EC2 Instance to create a cluster
Setup kubectl
Setup eksctl
Create an IAM Role and attach it to the EC2 instance
Create your cluster and nodes
Create a Pod using Kubectl to Validate the Cluster
Deploying web-app Container
Delete the EKS cluster
Step 1: Setup Ec2 Instance to create Cluster
In this step, we will first set up a Bootstrap Image using AWS EC2 Instance.
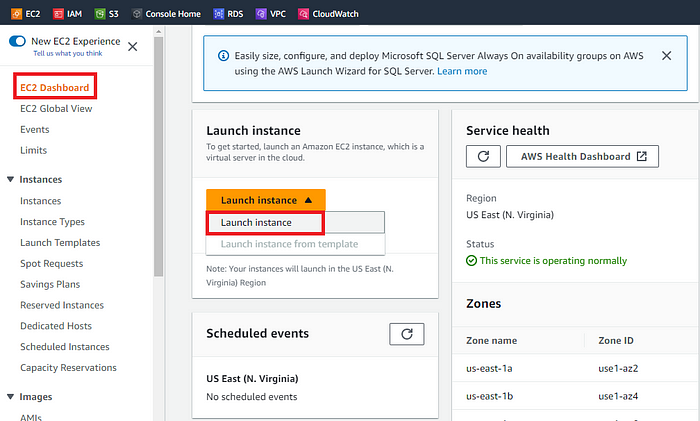
Log in to the Amazon management console, open EC2 Dashboard, click on the Launch Instance drop-down list, and click on Launch Instance as shown below:
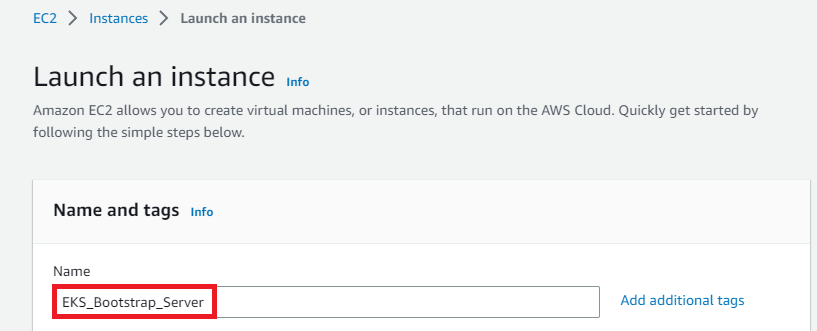
Once the Launch an instance window opens, provide the name of your EC2 Instance:
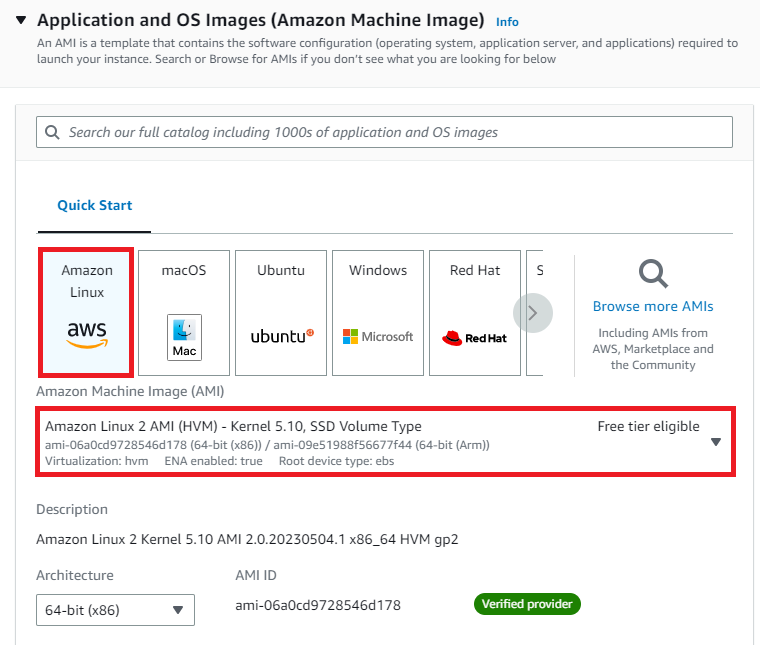
For this demo, we will select Amazon Linux 2 AMI which is free tier eligible.
Choose an Instance Type. Here you can select the type of machine, number of vCPUs, and memory that you want to have. Select t2.midium which is free-tier eligible.

For this demo, we will select an already existing key pair. You can create new key pair if you don’t have:

Now under Network Settings, Choose the default VPC with Auto-assign public IP in enable mode. We will select an existing security group that we have been using in our DevOps projects.
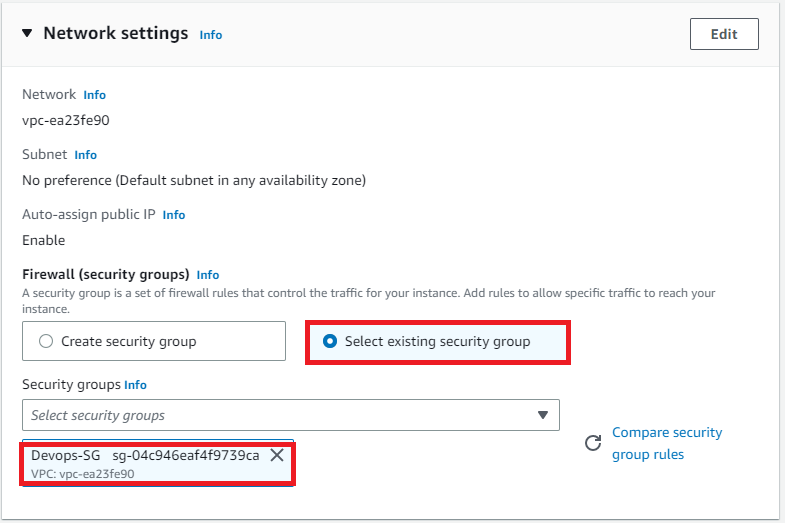
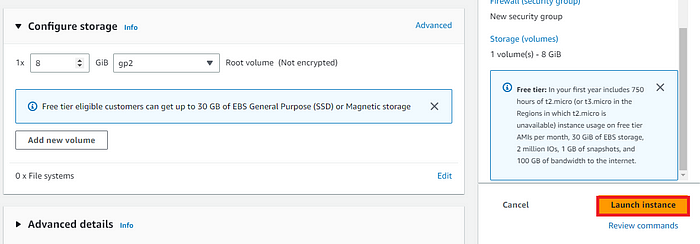
Rest of the settings we will keep them at default and go ahead and click on Launch Instance
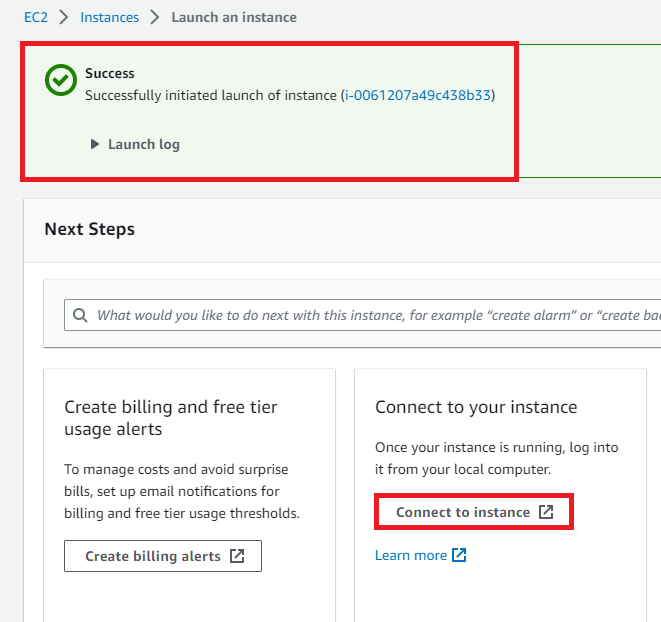
On the next screen you can see a success message after the successful creation of the EC2 instance, click on Connect to instance button:
Open any SSH Client in your local machine, take the public IP of your EC2 Instance, and add the pem key and you will be able to access your EC2 machine
ssh -i EKS-testing-2025.pem ec2-user@54.234.81.35

Once we are logged into our EC2 machine we will check the version AWS CLI:
[ec2-user@ip-172-31-17-5 ~]$ aws --version
aws-cli/2.24.27 Python/3.12.9 Linux/6.1.129-138.220.amzn2023.x86_64 exe/x86_64.amzn.2023
[ec2-user@ip-172-31-17-5 ~]$
Let’s first update the AWS CLI on our EC2 machine. The command for that is given below:
curl "https://awscli.amazonaws.com/awscli-exe-linux-x86_64.zip" -o "awscliv2.zip"
unzip awscliv2.zip
sudo ./aws/install
After installation, let’s check the AWS CLI version again and it should look something like this:
[root@ip-172-31-92-254 ~]# aws --versionaws-cli/2.11.21 Python/3.11.3 Linux/5.10.178-162.673.amzn2.x86_64 exe/x86_64.amzn.2 prompt/off
Step 2: Setup kubectl
a. Download kubectl version 1.26
b. Grant execution permissions to kubectl executable
c. Move kubectl onto /usr/local/bin
d. Test that your kubectl installation was successful
Let’s first Download the kubectl with the below command:
curl -O https://s3.us-west-2.amazonaws.com/amazon-eks/1.26.4/2023-05-11/bin/linux/amd64/kubectl

After it is downloaded let’s grant execution permissions to it and move kubectl to /usr/local/bin directory and also test the kubectl installation.

Step 3: Setup eksctl
a. Download and extract the latest release
b. Move the extracted binary to /usr/local/bin
c. Test that your eksclt installation was successful
Let’s first download eksctl and move to /usr/local/bin directory and check its version with the below commands:
curl --silent --location "https://github.com/weaveworks/eksctl/releases/latest/download/eksctl_$(uname -s)_amd64.tar.gz" | tar xz -C /tmp
sudo mv /tmp/eksctl /usr/local/bin
eksctl version
Output:

Step 4: Create an IAM Role and attach it to the EC2 instance
IAM user should have access to IAM, EC2, and CloudFormation
Go to your AWS console and search for IAM. Under Access management, Select Roles and then click on Create role:

On the next screen, we will select the EC2 service and click on Next:
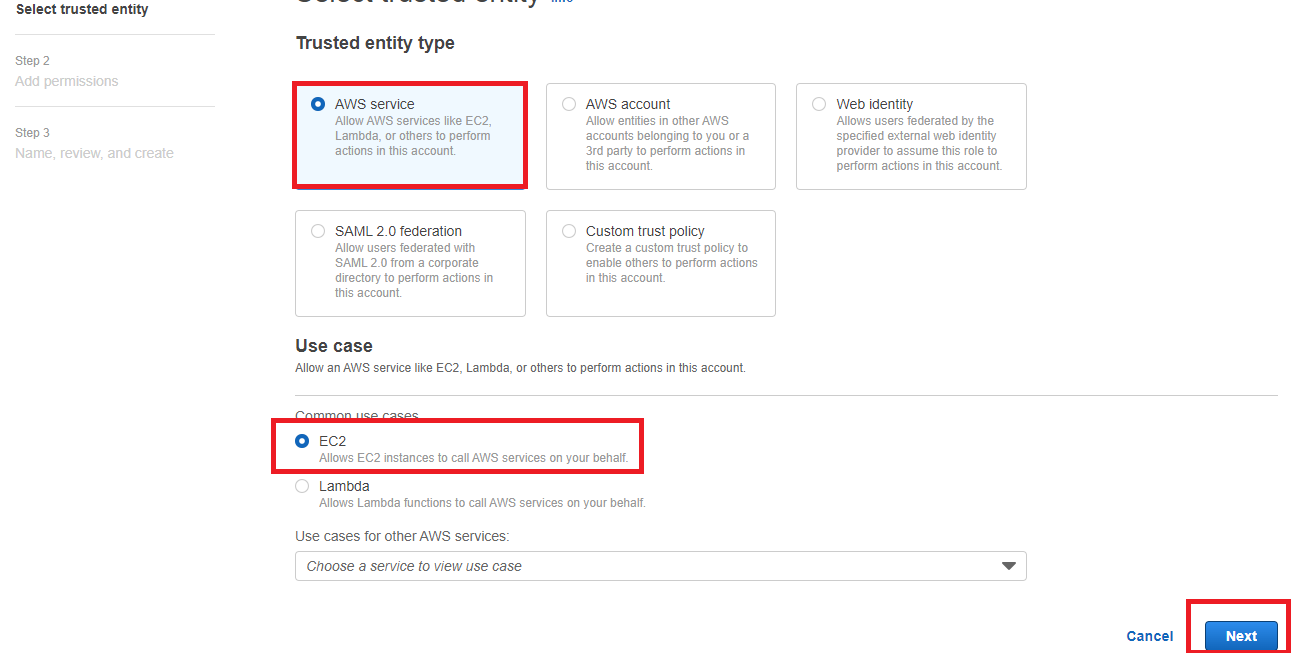
As mentioned earlier we need to provide the IAM user access to EC2, Cloudformation, and IAM, however, for the sake of this demo, we will provide full Administrative Access to the User(which is recommended in real-world scenarios):
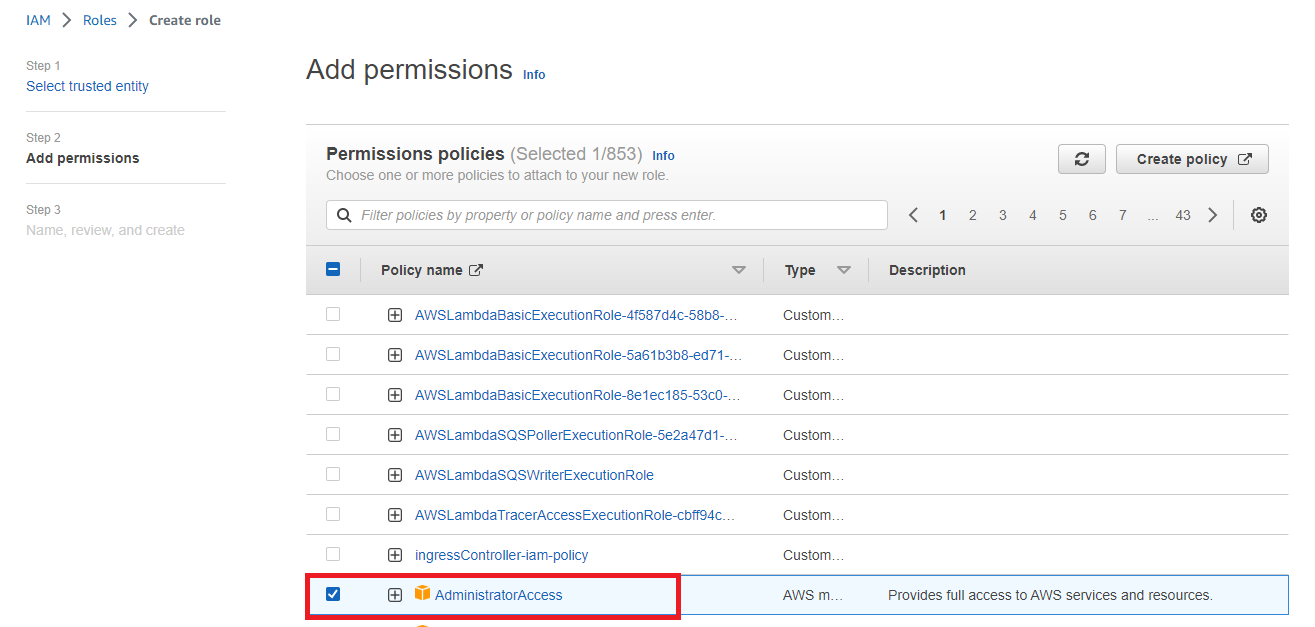
On the next page, provide the name of your role and finally click on Create Role to proceed:

After creating the role we need to add this role to our Bootstrap EC2 Instance:

Select the role and click on Update IAM role as shown below:
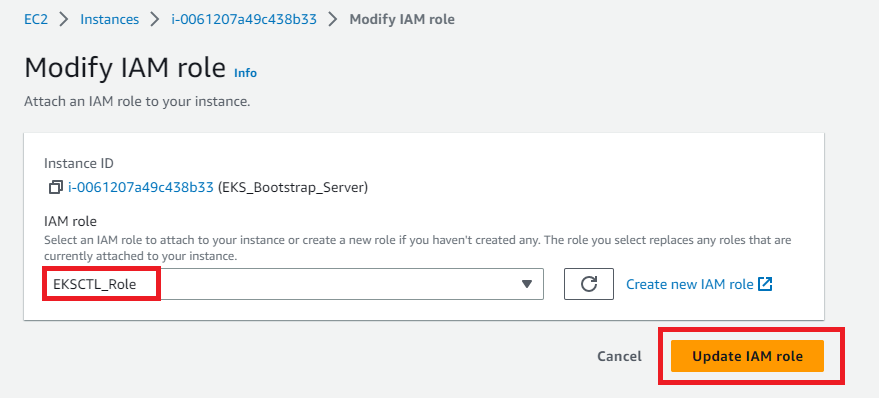
Step 5: Create your cluster and nodes
To set up our first Kubernetes cluster we will use the below command in which we have to provide the name of our cluster, the region in which it will be created, and the size of our Instance.
eksctl create cluster --name my-demo-cluster \
   --region us-east-1 \
--node-type t2.small \
The execution of this command will take at least 20 minutes and as you might know, eksctl utilizes Cloudformation at the backend to create the cluster so we should see a new template in Cloudformation.

Output:

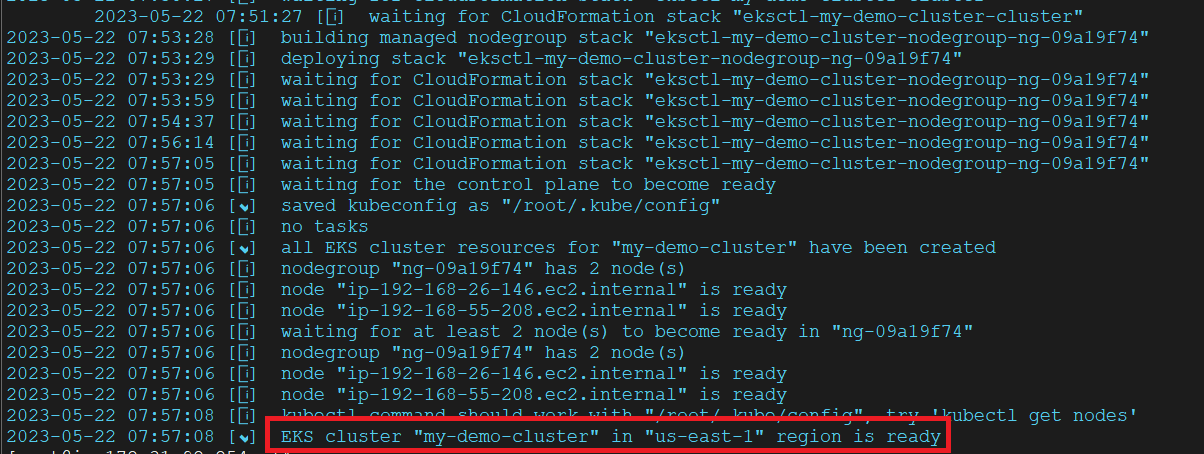
If we check our EC2 dashboard we should see two new nodes as part of our cluster:

Also from the CLI, we can verify the creation of two nodes using the “kubectl get nodes” command:
→ Check if kubectl is Configured Correctly
kubectl config view
→ Ensure You Are Authenticated to the EKS Cluster
aws eks update-kubeconfig --region us-east-1 --name <your-cluster-name>
Replace <your-cluster-name> with your EKS cluster name.
After running the command, check if the cluster is set correctly:

To display what all resources we have in our Kubernetes cluster we can issue the command “ kubectl get all” :

Verify AWS CLI is Configured
Check if your AWS credentials are correct:
aws sts get-caller-identity
This should return your AWS IAM user/role details. If it fails, reconfigure your AWS CLI:
aws configure
Step 6: Create a Pod using Kubectl to Validate the Cluster
configure the docker hub using
yum -y install docker
systemctl start docker
systemctl enable docker
docker version

docker login
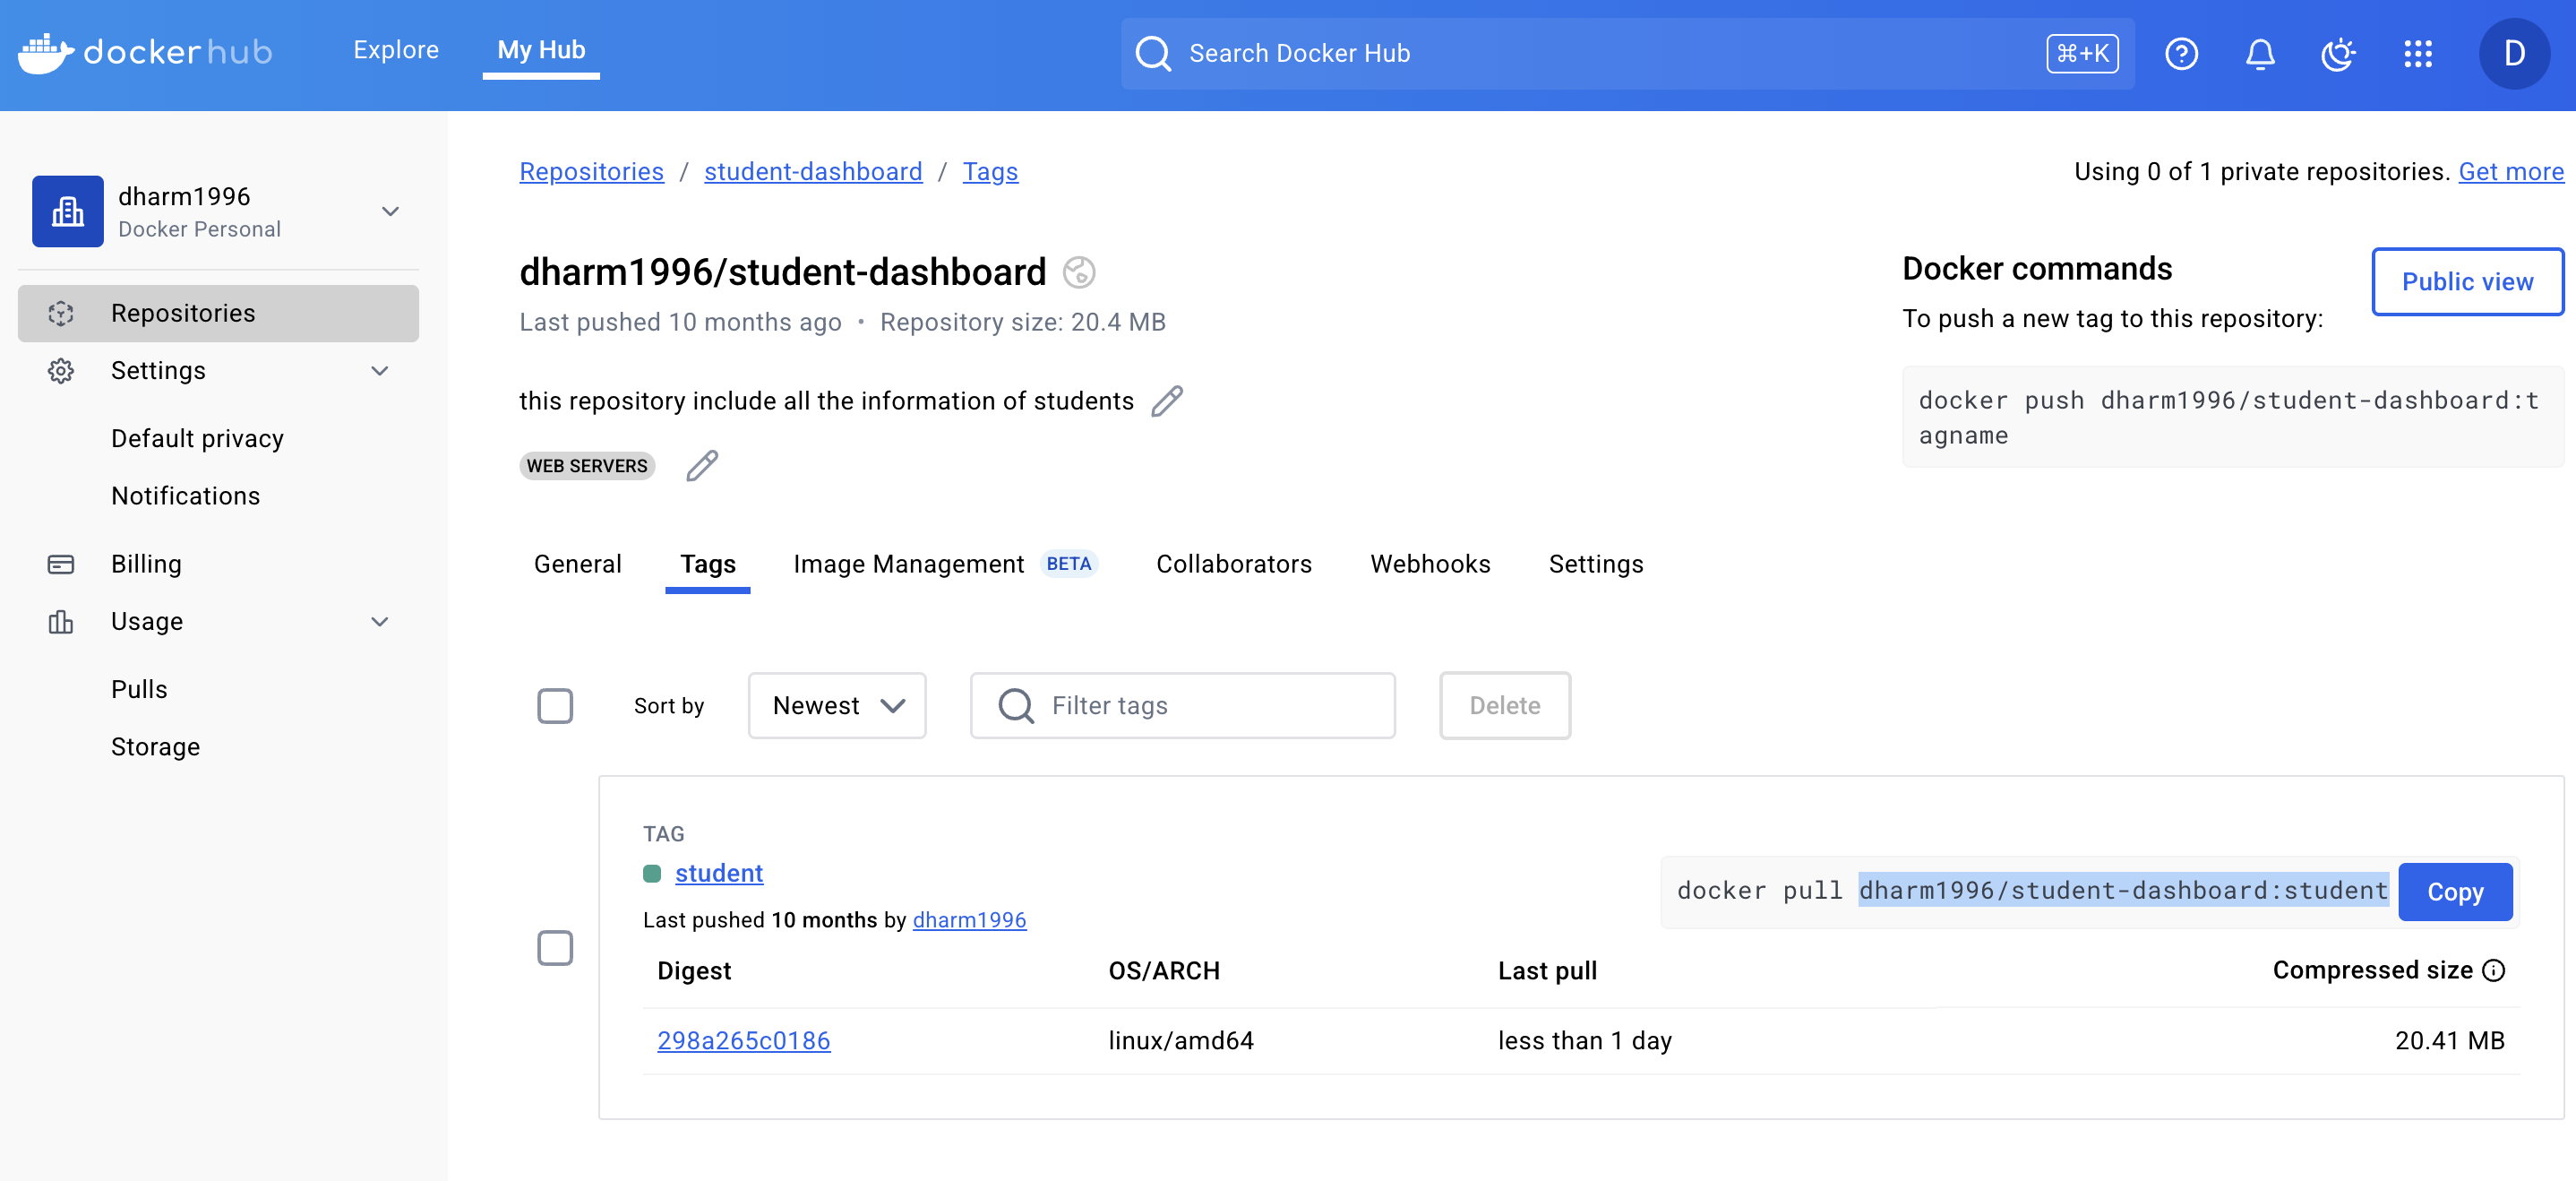
Step 7:Create a Deployment YAML Save the following as
deployment.yaml:
apiVersion: apps/v1
kind: Deployment
metadata:
  name: my-webapp
spec:
  replicas: 2
  selector:
    matchLabels:
      app: my-webapp
  template:
    metadata:
      labels:
        app: my-webapp
    spec:
      containers:
        - name: my-webapp
          image: dharm1996/earth-pexel:mywebapp
          ports:
            - containerPort: 80
Expose the Application using a Service
Save the following as service.yaml:
apiVersion: v1
kind: Service
metadata:
  name: my-webapp-service
spec:
  selector:
    app: my-webapp
  ports:
    - protocol: TCP
      port: 80
      targetPort: 80
  type: LoadBalancer
Deploy to EKS
Apply the manifests:
kubectl apply -f deployment.yaml
kubectl apply -f service.yaml
Check the status:
curl -v aa03d8a8479be4785b75d548ec9be657-554892327.ap-south-1.elb.amazonaws.com
kubectl get pods
kubectl get svc
You will see an external LoadBalancer IP after a few minutes.
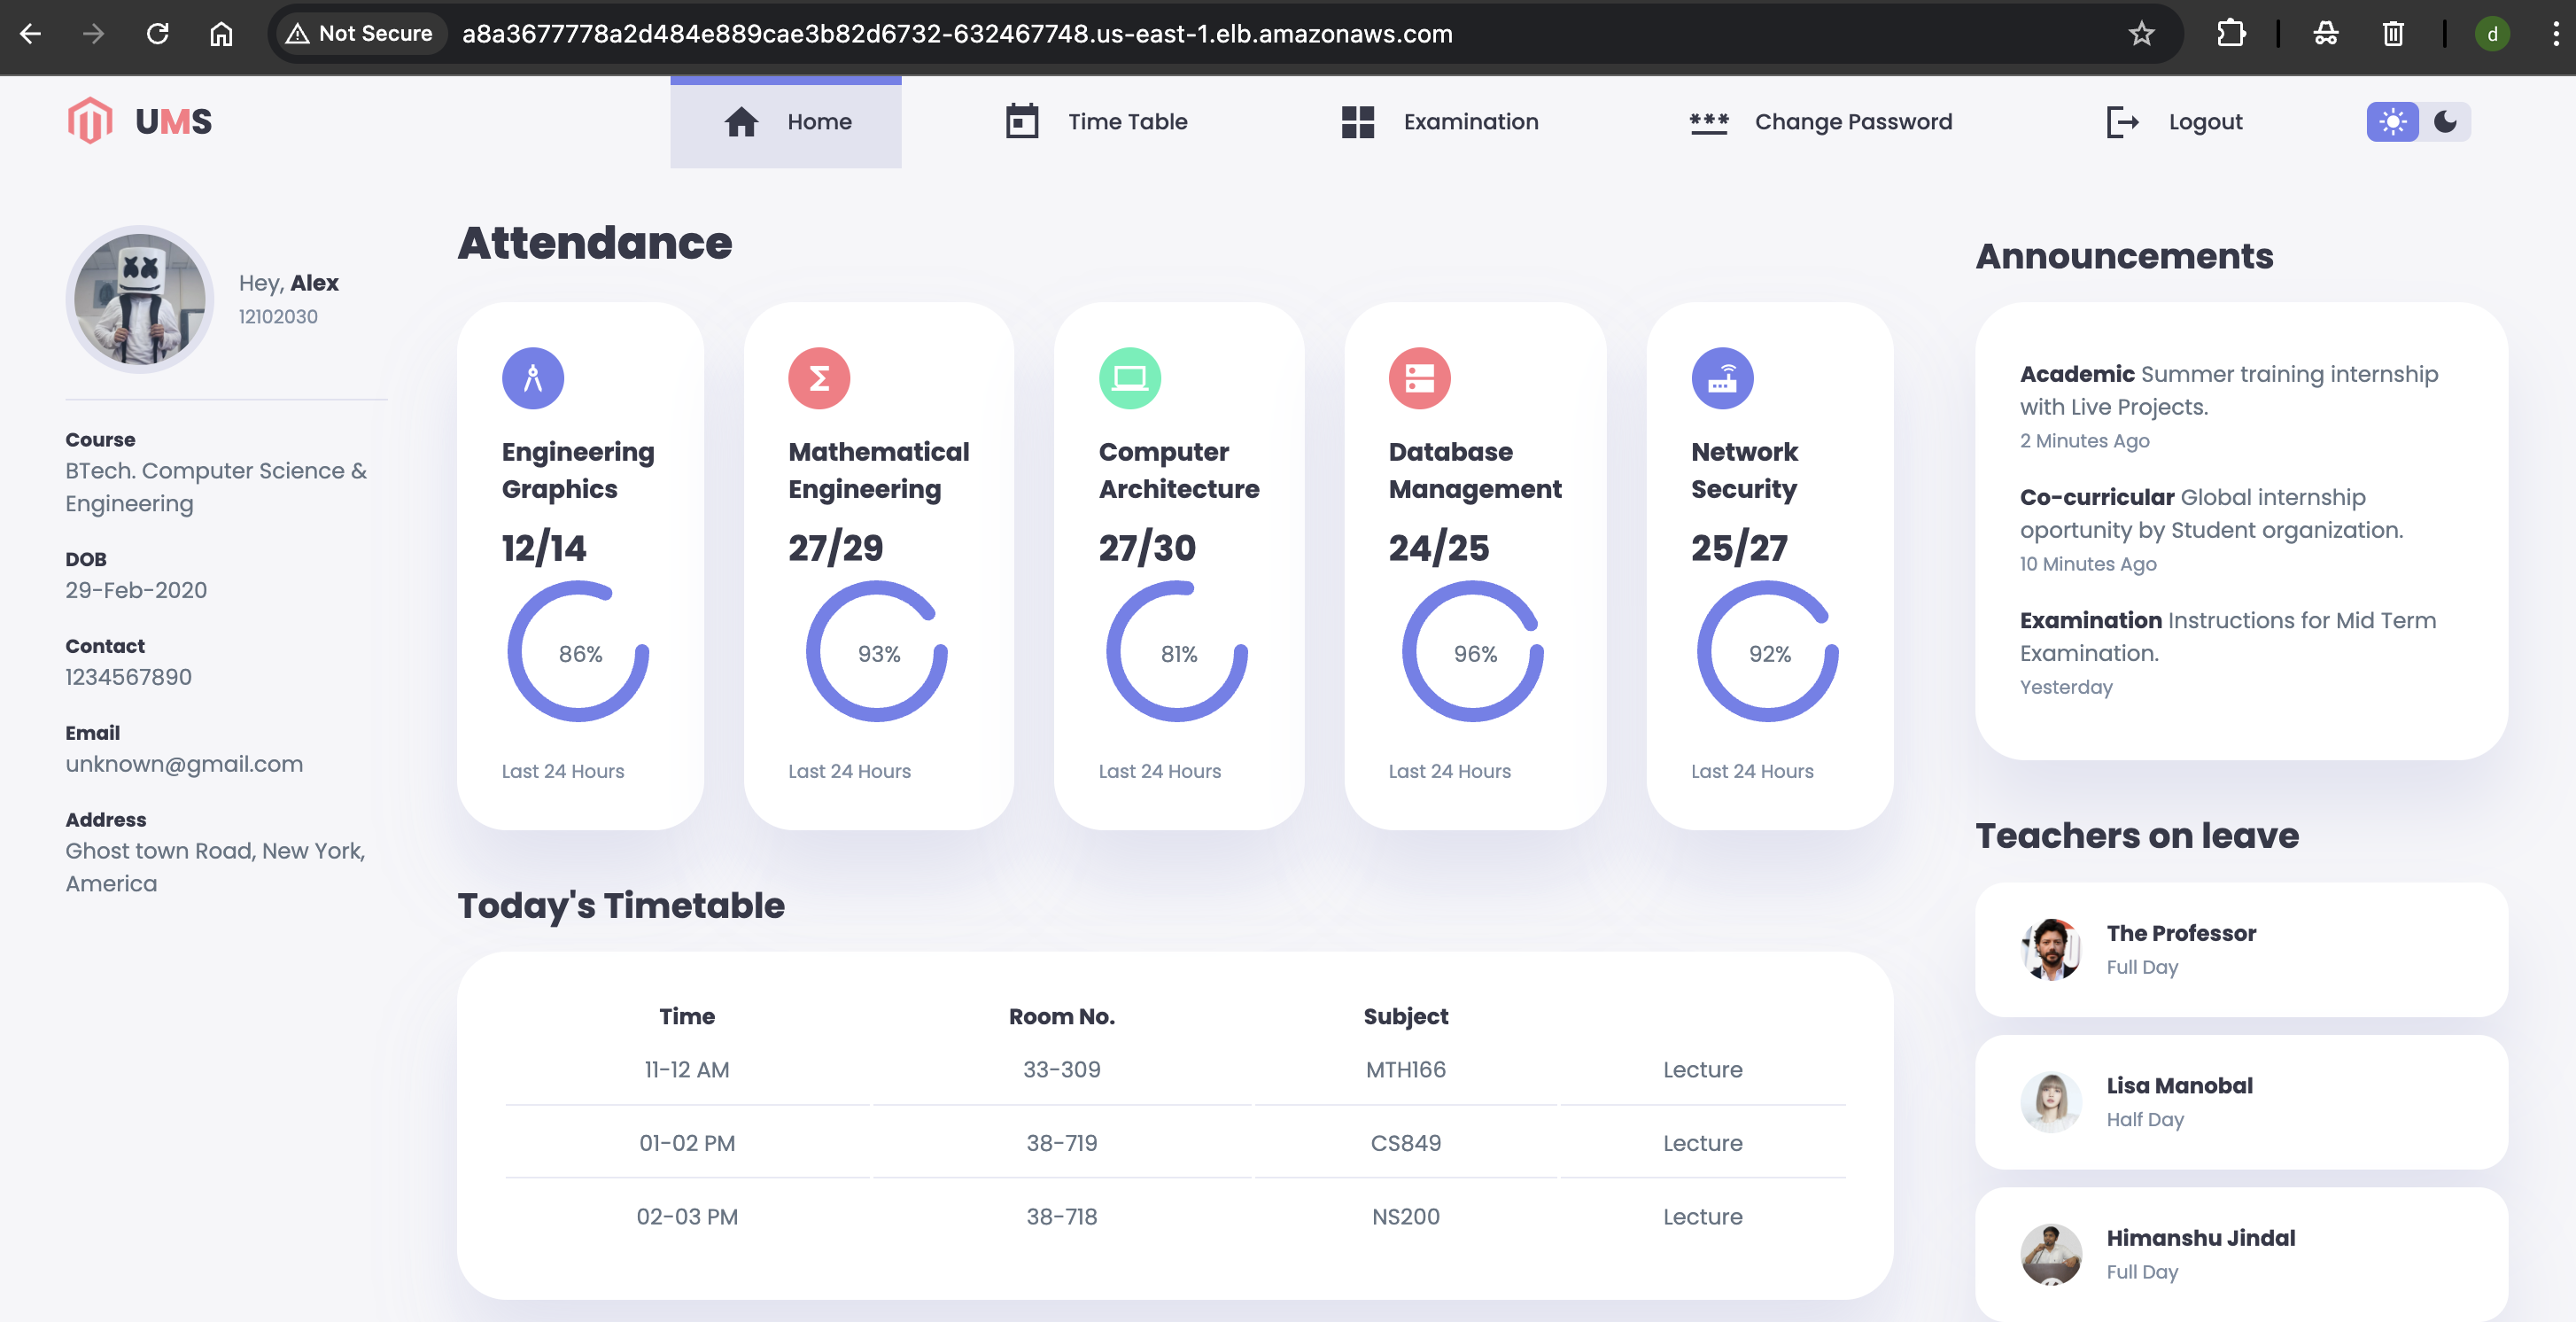
Access the Application
kubectl get svc my-webapp-service
Copy the EXTERNAL-IP and open it in a browser and replace https to http
http://a8a3677778a2d484e889cae3b82d6580-632467748.us-east-1.elb.amazonaws.com/
Step 8: Delete the EKS cluster
When you’re done using an Amazon EKS cluster, you should delete the resources associated with it so that you don’t incur any unnecessary costs.
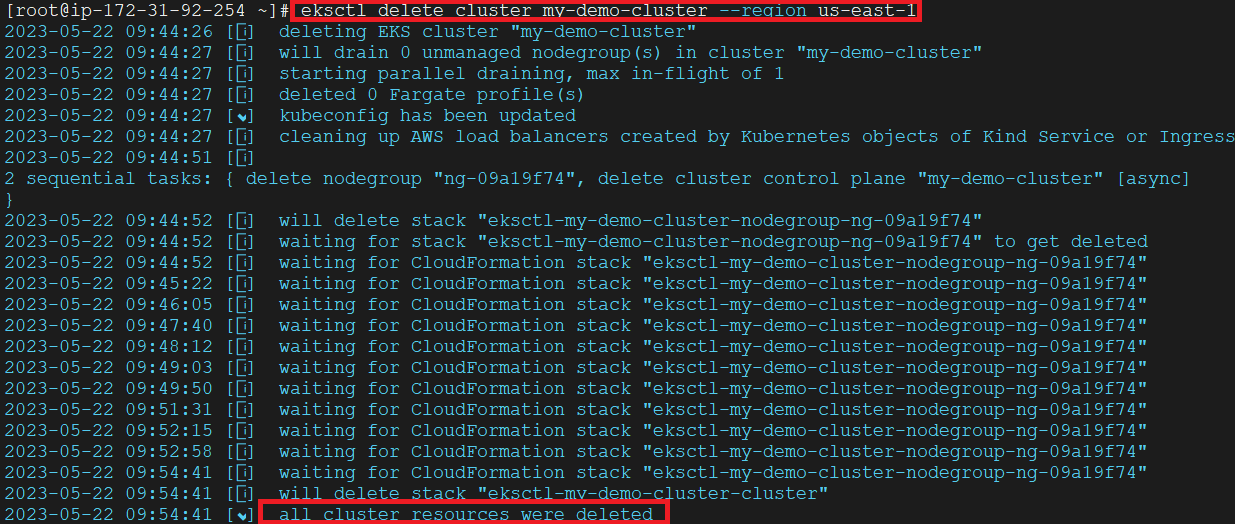
Delete the cluster and its associated nodes with the following command,
eksctl delete cluster my-demo-cluster --region us-east-1
Output:
Subscribe to my newsletter
Read articles from Dharmendra Chourasiya directly inside your inbox. Subscribe to the newsletter, and don't miss out.
Written by
