Easy Steps to Create Your Development Environment
 Asanka Akash Sovis
Setting up the development environment for your requirements is pretty straightforward. nRF provides an intuitive and easy-to-use development environment that is easy to set up and develop programs with. First, we will start our development journey by setting up the nRF development environment. I will be using Ubuntu 23.10 but any version above 22.04 will be more or less the same. For Windows, though I ran into a bunch of errors while setting up so I recommend setting up an Ubuntu environment such as WSL in Windows.
Installing the nRF Connect for Desktop Application
The first thing is to install the nRF Connect for Desktop application. Go to the Downloads section. First of all, download the latest package for your preferred operating system.
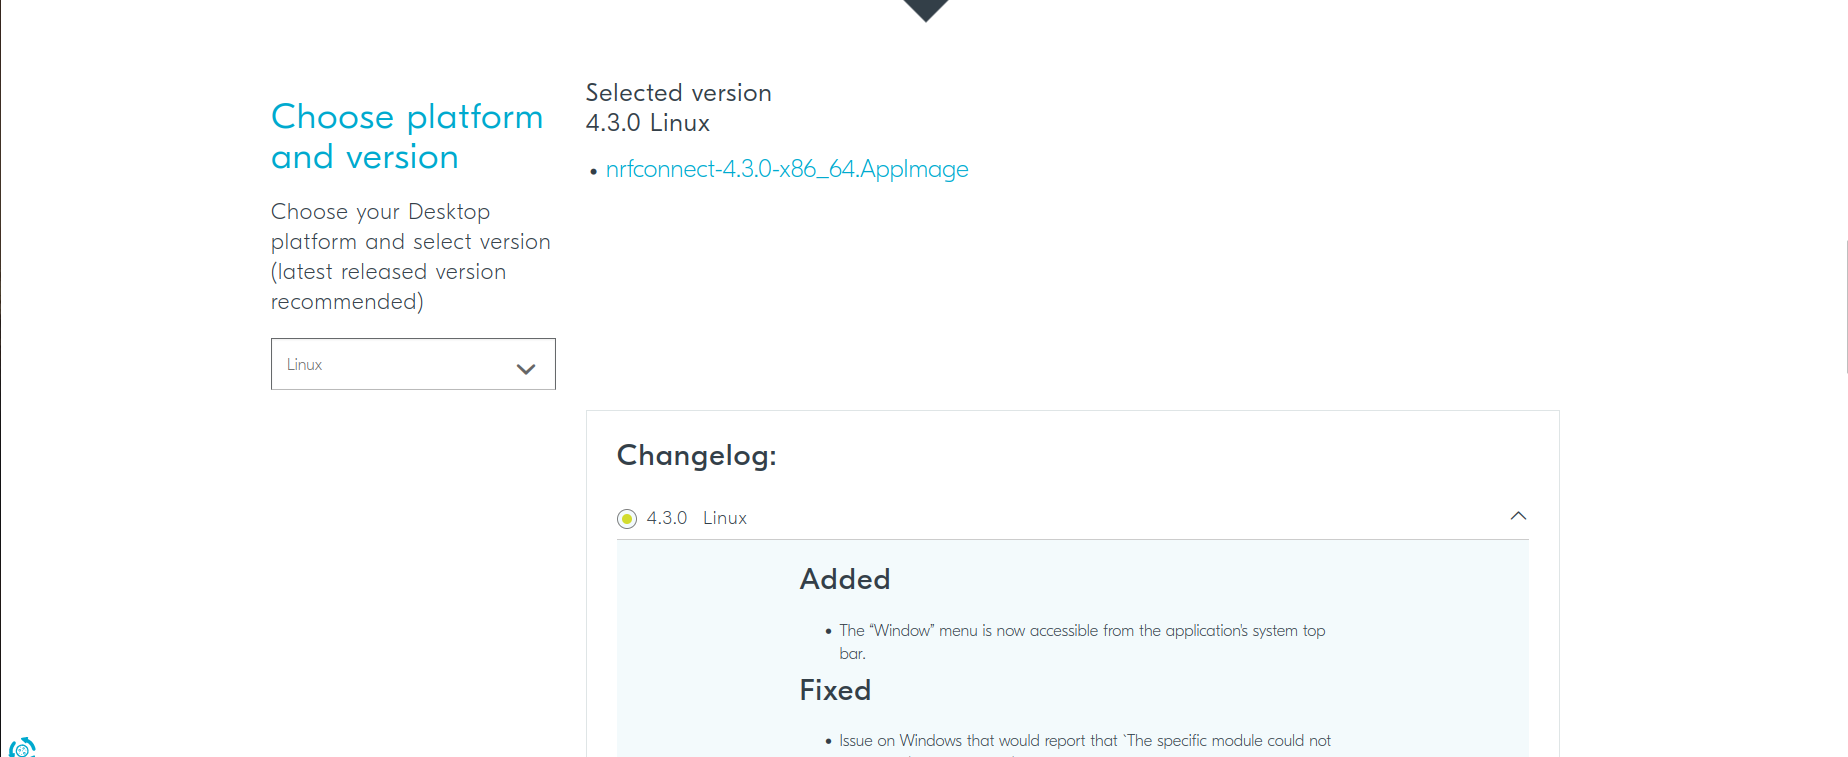
For Windows, the application comes as an exe installer. Simply double-clicking the downloaded exe and following the given instructions will be ideal. For Linux though, the application comes as an AppImage. AppImage is a packaging format which bundles all the dependencies and libraries as one single executable which can just be run by double-clicking. However, the AppImage version that Nordic has used to bundle the application is outdated and for modern systems, just double-clicking will not help. In such a case, I'd recommend you follow this tutorial to set up the application. Even if it works for you, this method will be faster and more reliable as it sets up the program to run without mounting itself. DO NOT ATTEMPT TO INSTALL libfuse2as it WILL BREAK YOUR SYSTEM.
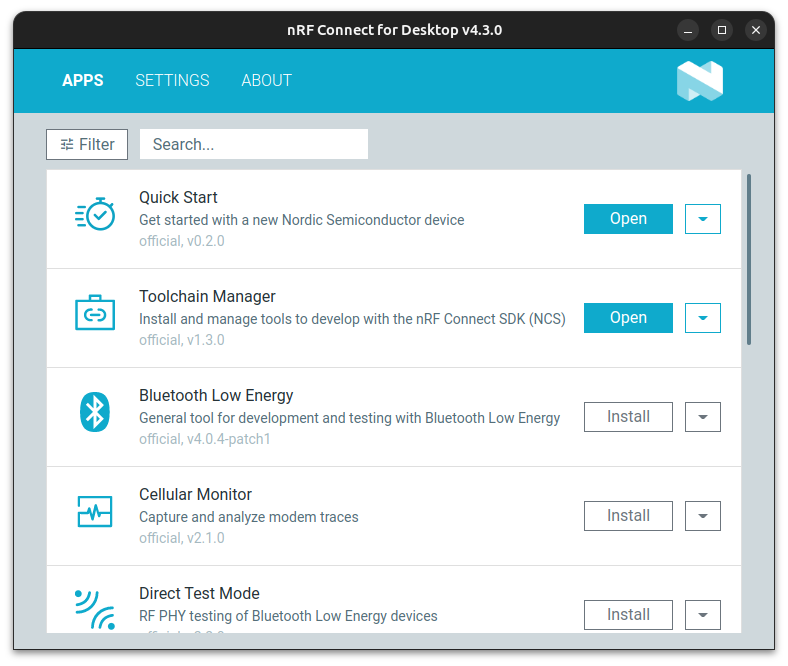
Now that we have the nRF Connect for Desktop ready, we can open the application by double-clicking the AppImage or from the app launcher. This will open the nRF Connect for Desktop application.
Installing a Preferred Toolchain
The next important thing to do is the install the preferred toolchain. In the Apps tab of the nRF Connect, you will find an entry called Toolchain Manager. Toolchain Manager allows you to manage the different toolchains we need for microcontroller development. We will start by installing the Toolchain Manager. Click on the Install button next to the Toolchain Manager entry and wait for the entry to complete the installation.
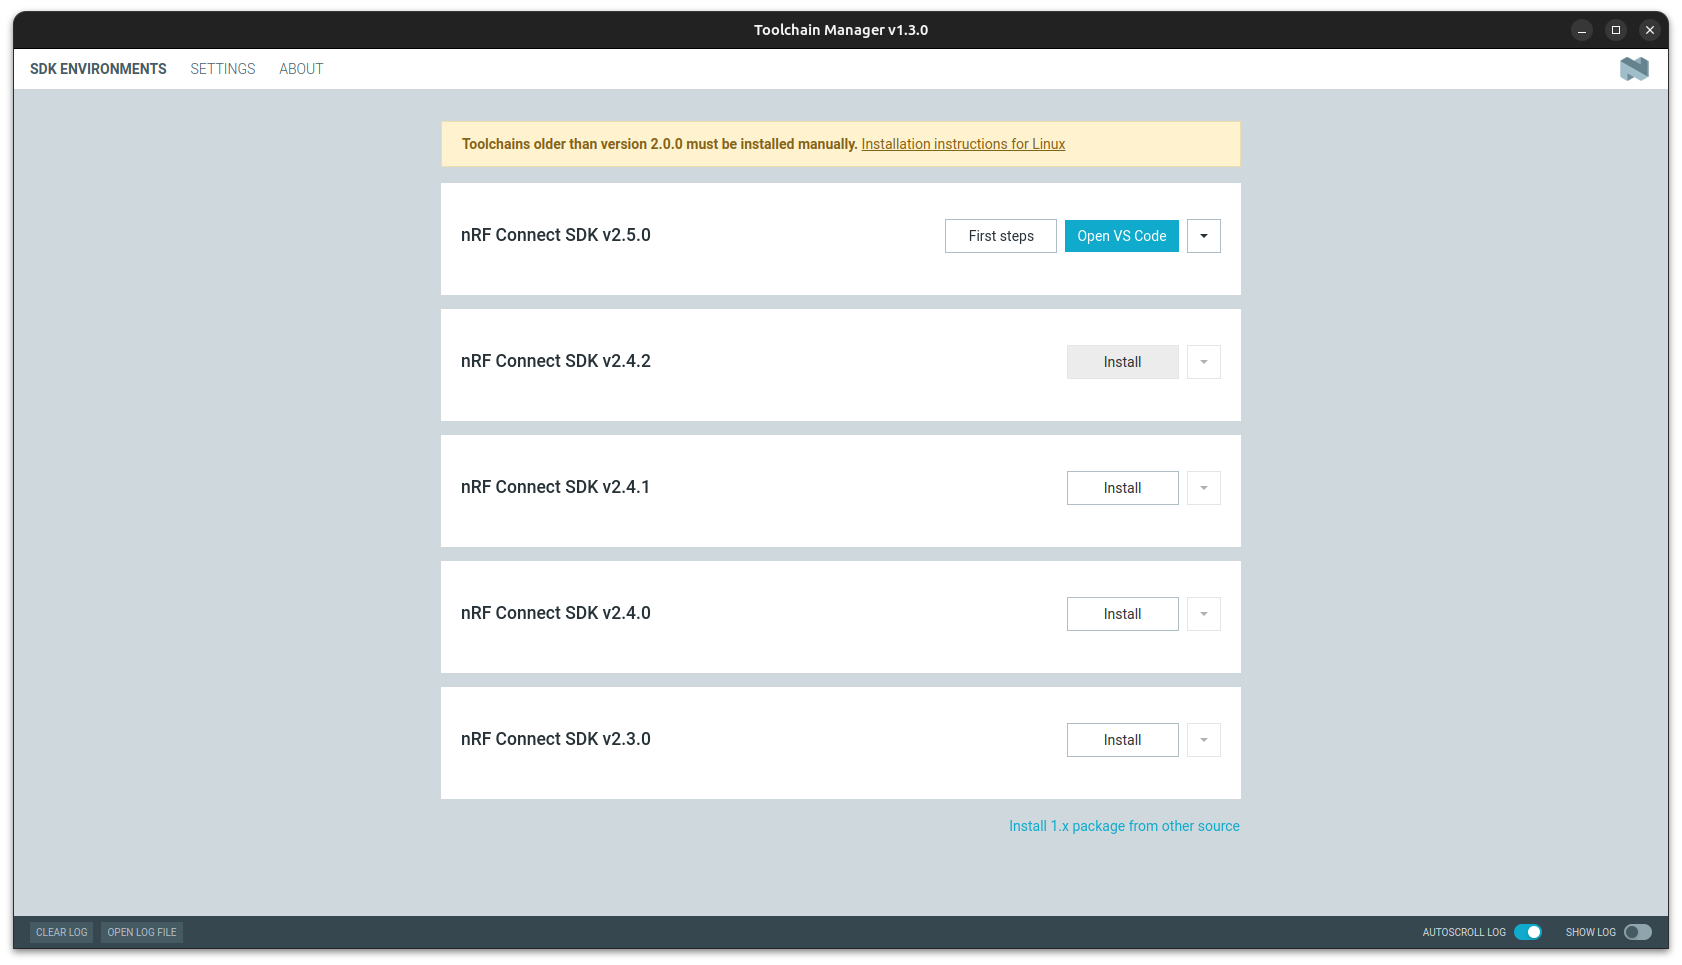
If the installation succeeds, the Install button will be replaced by an Open button. Click on the Open button to open the Toolchain Manager. Now we will install a preferred toolchain. It's suggested to install the latest toolchain available unless you have a specific reason to use another version. To do this, click on the Install button as usual. This will prompt a small window asking you to confirm the install directory.
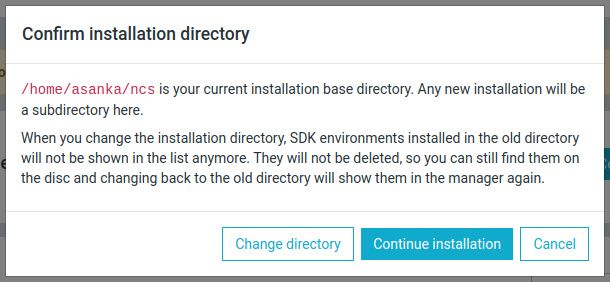
The default path would be the ideal location to leave the toolchains however, if you want to install in a different location, you can click on the Change directory button and choose the location. Note that once installed, changing the toolchain location will be hard, so choose the proper place to install your toolchain. Once complete, click on Continue installation to install the selected toolchain. Installing a toolchain will take a considerable amount of time depending on your hardware and network connection. Once complete, you will get a window similar to below.
Installing the VS Code Editor
For development, nRF Connect supports the VS Code code editor. If you already have VS Code installed, you can continue with installing the extensions. However, if you don't have VS Code installed, you can install it by downloading the package from the official website. It is recommended to use the official website to install VS Code rather than other methods like Flatpaks or 3rd party websites. The installation method should be pretty typical and does not need any explanation.
Installing the nRF Command Line Tools
Once VS Code is done installing, you can click on the Open VS Code button that appears after the installation of the toolchain. However, this will prompt a message asking you to install nRF Command Line Tools.
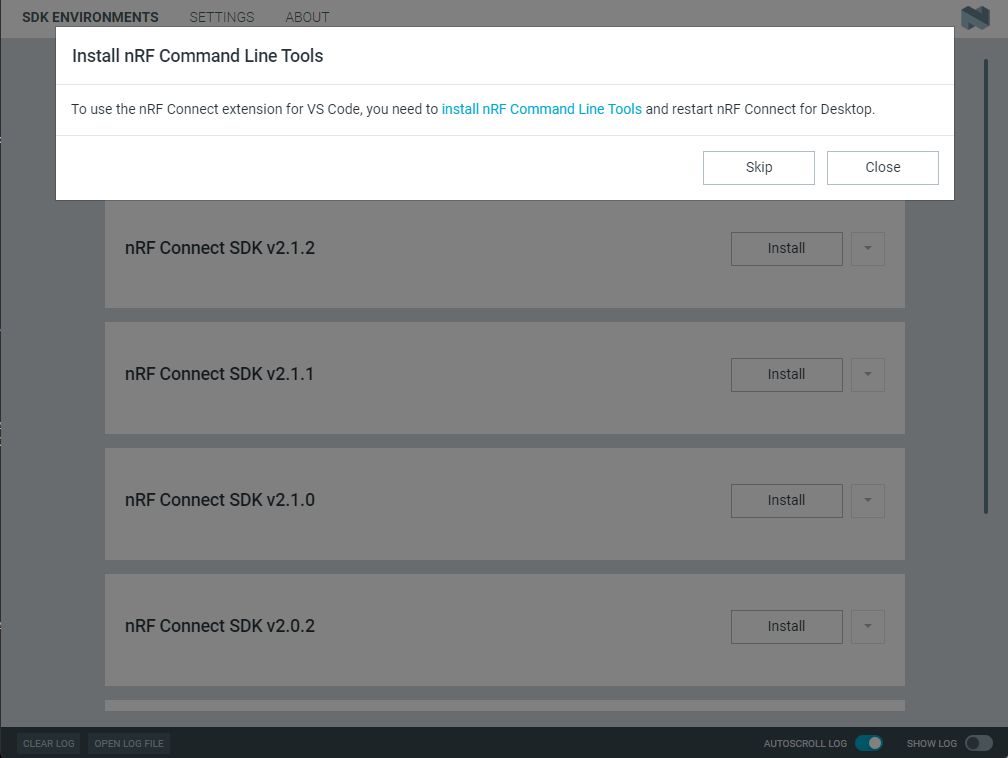
Click on the provided link to open the download location. From the website, download the correct installer for your preferred operating system. As usual, the installation will be typical and you can follow the instructions provided. For Windows, it will be a standard installer as an exe while for Linux, it will be a deb file.
Installing the Environment Variables
It is a good practise to also setup the required environment variables for the development to go smoothly. For this, in the Toolchain Manager, click on the drop down button next to Open VS Code button. This will show multiple options that include Generate environment script.
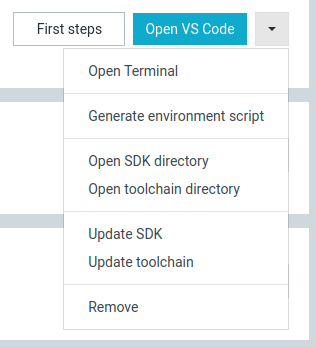
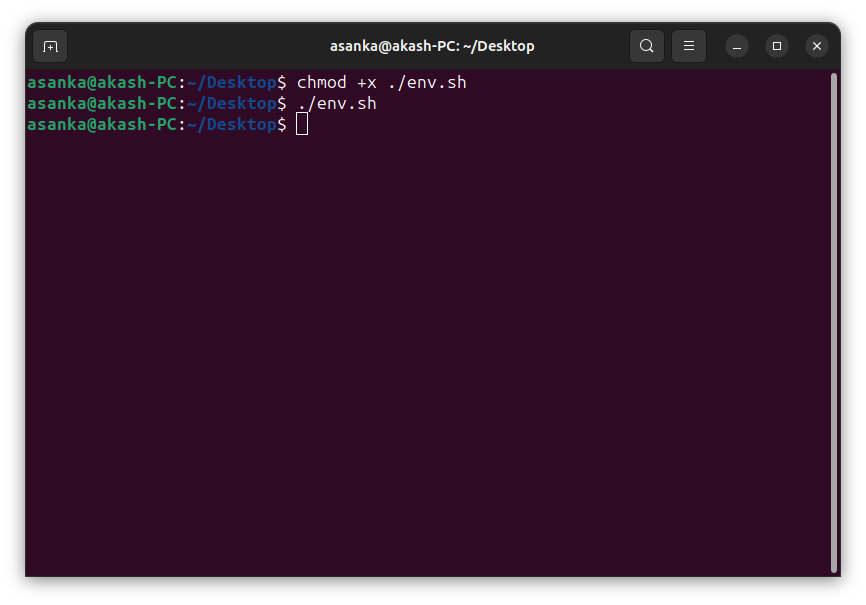
Clicking on this will prompt you to select a place to save the generated script. Save it anywhere you want and navigate to that location with your file explorer. For Windows, this will create a cmd file that can be double-click to install. Provide the Administrator password if prompted. For Linux, you can right-click in the file explorer and click on Open in Terminal. This will open a terminal window with the path as the directory in which you have the bash script file. Enter the below two commands to run this script.
chmod +x ./env.sh
./env.sh
This will install the environment variables in the operating system. It is recommended to restart your operating system before proceeding with the next steps.
Setting up the VS Code Development Environment for nRF
Once complete, it is recommended to restart the operating system before proceeding. Now you can open the toolchain manager again and click on Open VS Code. Now you will see a new message asking you to install the VS Code extensions.
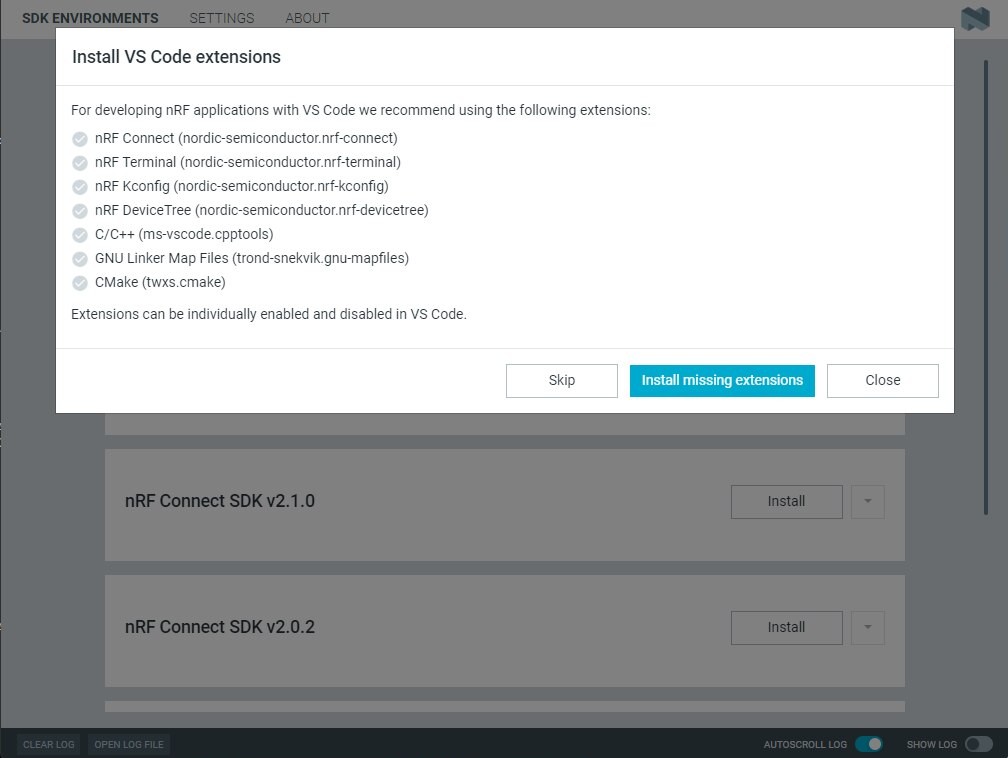
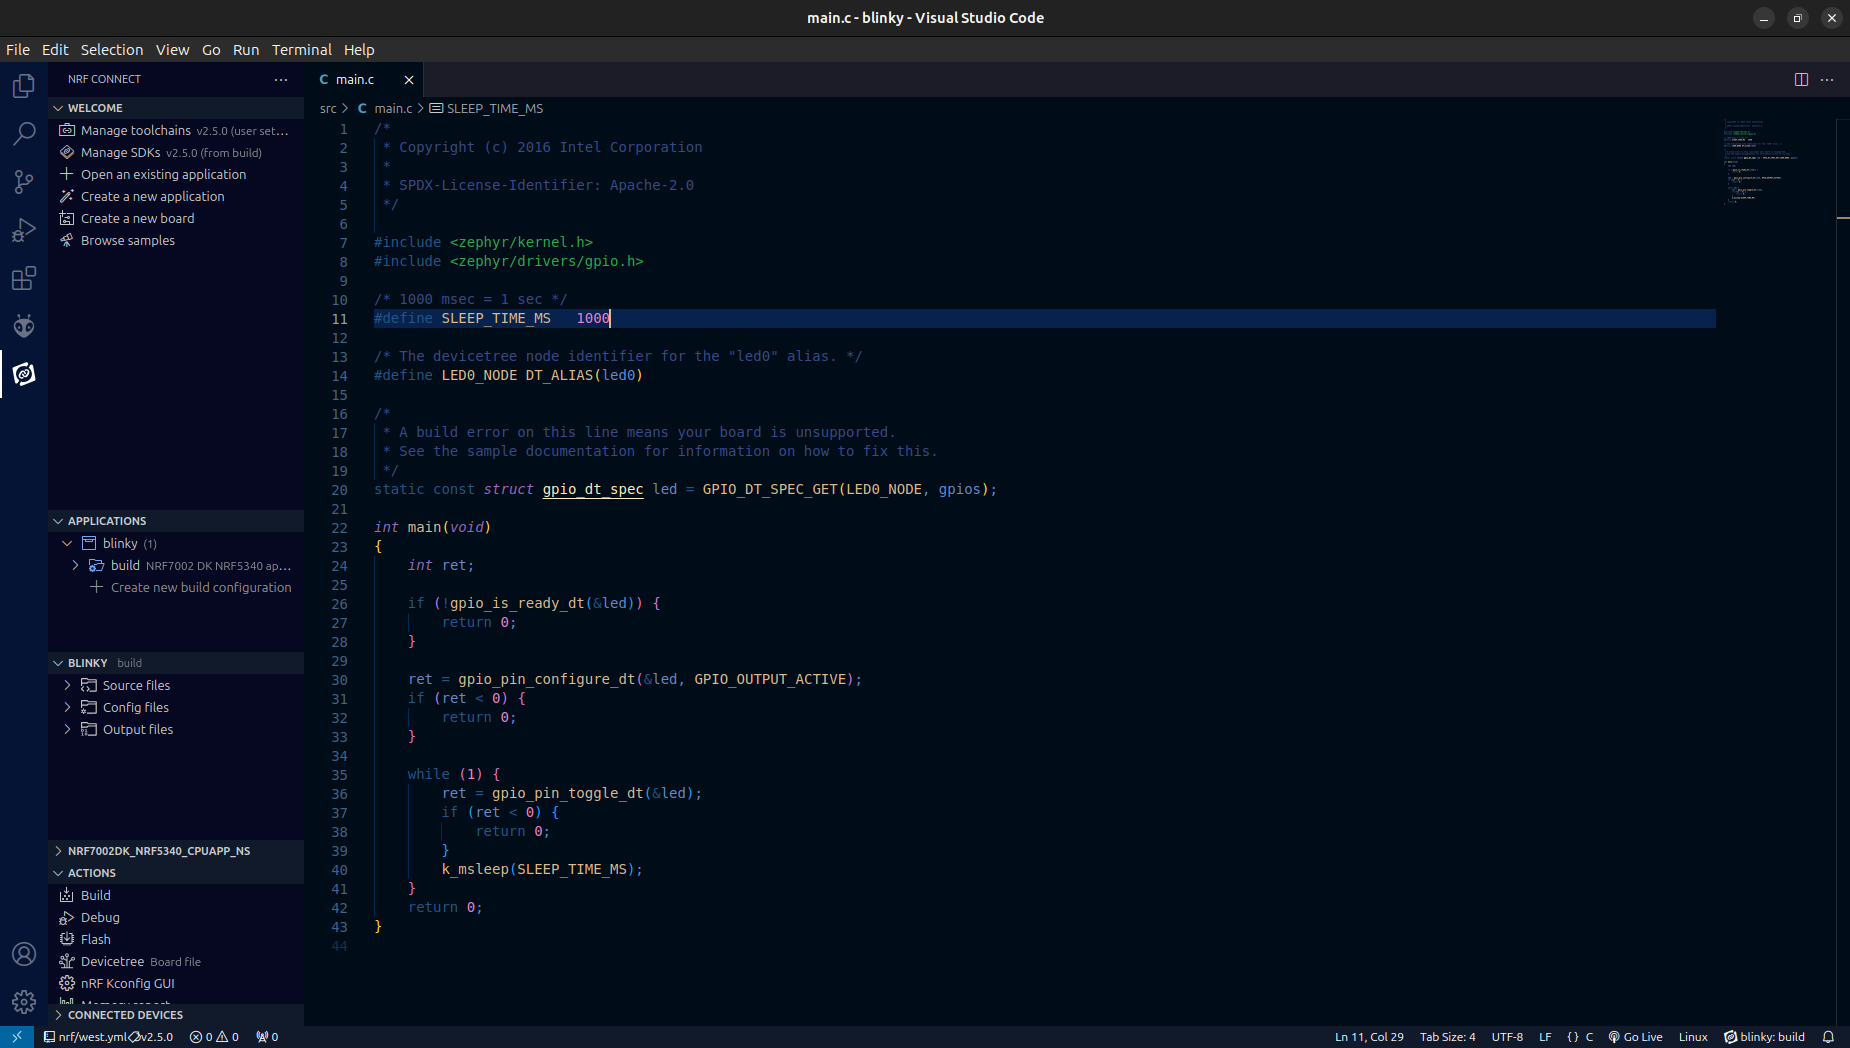
Clicking on Install missing extensions button will install all the extensions one by one. Once all the installations are complete, you can click on Open VS Code again to open the VS Code editor. This will open the VS Code where you can start your development. On how to start development, you can refer to this link.
Fixing the JLinkARM DLL load failed Error
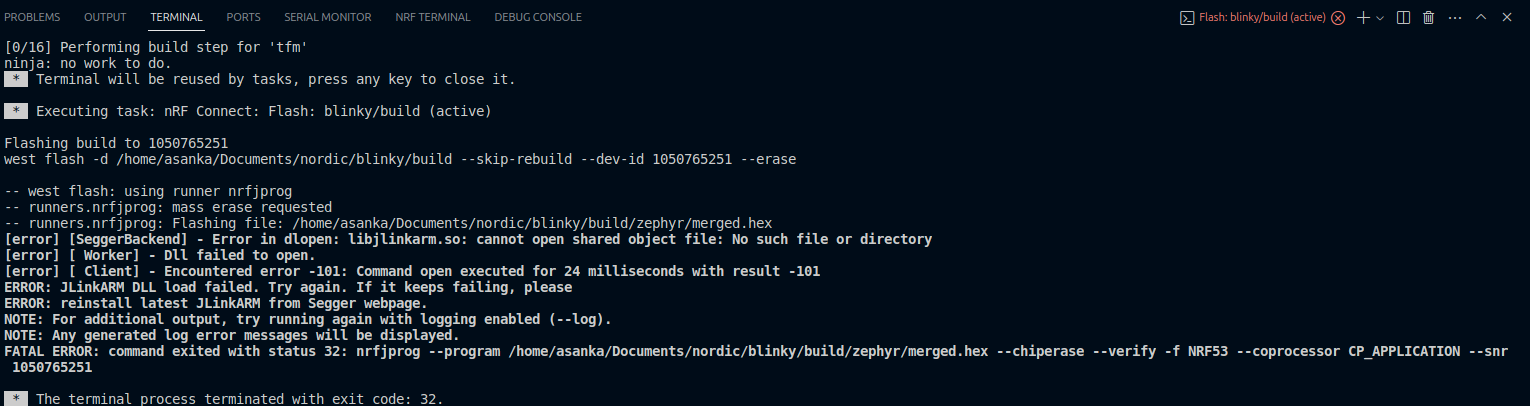
Sometimes when trying to flash the code to your Nordic device, you might end up with an error that looks like above. In this case, the issue might be an out-of-date JLink driver installed. Go to the SEGGER JLink download page and download the latest driver for your operating system. As usual, the installation is straightforward and does not need any explanation. Once done, the Flashing should work as expected.
The nRF development environment is a powerful and versatile ecosystem for creating applications for Nordic Semiconductor's nRF series of low-power wireless SoCs. It caters to developers of all skill levels, offering options for both beginners and seasoned professionals. So enjoy coding with your new nRF development board.
References
Subscribe to my newsletter
Read articles from Asanka Akash Sovis directly inside your inbox. Subscribe to the newsletter, and don't miss out.
Written by
Asanka Akash Sovis
Asanka Akash Sovis
I'm a dedicated software engineer with a passion for bringing hardware and software together to create robust and efficient solutions. I thrive on optimizing performance, managing power consumption, and ensuring the reliability of devices from concept to deployment. 🦊