Deploying Gemma 1B GGUF model with llama.cpp on Ubuntu
 Pranjali Sachan
For this guide we should be using an Ubuntu server with atleast 2 GiB of GPU VRAM, 2 VCPU Cores, 8 GiB RAM, and 50 GiB of storage.
Let’s start by updating and installing necessary libraries.
sudo apt update && sudo apt upgrade -y
sudo apt install -y build-essential cmake git curl
For GPU acceleration, we would need CUDA (for NVIDIA GPUs).
sudo apt install -y nvidia-cuda-toolkit
What is CUDA?
CUDA (Compute Unified Device Architecture) is a parallel computing platform developed by NVIDIA that allows developers to use NVIDIA GPUs for general-purpose computing (GPGPU).
Why is CUDA important?
Massive Parallelism: Uses thousands of GPU cores for simultaneous calculations.
High Performance: Faster than CPU-based processing for AI/ML, gaming, and scientific computing.
Deep Learning Optimization: Enables efficient execution of frameworks like PyTorch, TensorFlow, and LLaMA.cpp.
How CUDA works?
CUDA enables GPU acceleration by offloading computations from the CPU to the GPU.
Host (CPU): Sends tasks to the GPU.
Device (GPU): Executes tasks in parallel.
Memory Transfer: Data is moved between CPU (RAM) and GPU (VRAM).
Next, we will clone and build llama.cpp
git clone https://github.com/ggml-org/llama.cpp.git
cd llama.cpp
mkdir build && cd build

# Important!
cmake .. # CPU only (No GPU)
cmake .. -DLLAMA_CUDA=ON # NVIDIA GPU (CUDA)

cmake --build . --config Release
cd
Great! You can view the build output inside llama.cpp/build/bin directory.
Now, we need to download our quantized model from huggingface.co. To download from huggingface.co, we will install huggingface-cli using pip. First, check if python and pip are installed?
python3 --version
pip3 --version

# If Not Installed, run
sudo apt install python3 python3-pip -y
Next, create a virtual env, activate it, and install huggingface-cli:
python3 -m venv environment_name # replace environment_name with the name of your choice
source environment_name/bin/activate
pip3 install --upgrade huggingface_hub
# deactivate # use this to deactivate the virtual env after when finished downloading the model
At this point, you would need to create an account on huggingface.co and create an access token that we can use to login in the huggingface-cli on our server:
huggingface-cli login
# It should prompt you to enter your access token!
Now, we’re ready to download our model - unsloth/gemma-3-1b-it-GGUF. You can use any similar model that satisfies the minimum hardware requirements. We will be downloading gemma-3-1b-it-Q4_K_M.gguf for balanced performance.
huggingface-cli download unsloth/gemma-3-1b-it-GGUF gemma-3-1b-it-Q4_K_M.gguf --local-dir ./models
What is Q4_K_M in models?
Q4_K_M is a quantization format used in .GGUF models to reduce model size while maintaining accuracy and performance. It uses less VRAM, had good accuracy, and works on both GPUs and CPUs.
We will utilize tmux to run the model in background. Ensure tmux is installed:
tmux -V # check tmux version
sudo apt install tmux -y # run only if tmux command not found

# start a new tmux session
tmux new -s llama-server
Awesome, we’re now ready to run the model using llama.cpp/build/bin/lama-server which will start a lightweight chat ui on 127.0.0.1:8080 to interact with the model.
llama.cpp/build/bin/llama-server -m models/gemma-3-1b-it-Q4_K_M.gguf --n-gpu-layers 20 --threads 2
What is —n-gpu-layers 20 flag?
It specifies how many layers of the model should be offloaded on the GPU instead of running on CPU.
How to Choose the Right Value?
Higher value (
100+) → More layers on GPU → Faster inference but requires more VRAM.Lower value (
10-50) → Fewer layers on GPU → Slower inference but consumes less VRAM.
Typical VRAM Requirements:
| Model | Layers on GPU (--n-gpu-layers) | VRAM Needed |
| 3B | 20-50 | ~4GB |
| 7B | 40-70 | ~6GB |
| 13B | 80-100 | ~10GB |
| 33B | 100+ | ~24GB+ |
We can move the tmux session llama-server in the background by pressing Ctrl + B followed by D. Below are additional commands to list, re-attach, or kill a tmux session:
tmux ls # list tmux sessions
tmux attach -t llama-server # re-attach session running llama-server
tmux kill-session -t llama-server # kill sessing running llama-server
Now, to access the chat ui from outside the server, we can setup a reverse-proxy to chat ui running locally on 127.0.0.1:8080. Let’s setup a reverse-proxy using NGINX.
sudo apt install nginx -y   # Install NGINX
nginx -v                    # Check if installed correctly
sudo systemctl start nginx  # Start NGINX service
sudo systemctl status nginx # Check status
Next, we will create a NGINX configuration file and call it llama-server:
sudo nano /etc/nginx/sites-available/llama-server
Add the following configuration to the file and replace the server_name with the actual IP address of your server:
server {
    listen 80;
    server_name yourdomain.com; # replace with actual IP addr of server

    location / {
        proxy_pass http://127.0.0.1:8080; # since our chat ui is running locally on 8080
        proxy_set_header Host $host;
        proxy_set_header X-Real-IP $remote_addr;
        proxy_set_header X-Forwarded-For $proxy_add_x_forwarded_for;
        proxy_set_header X-Forwarded-Proto $scheme;
    }
}
Next, enable the configuration file and restart NGINX service:
sudo ln -s /etc/nginx/sites-available/llama-server /etc/nginx/sites-enabled/ # enable config
sudo nginx -t # check for syntax errors
sudo systemctl restart nginx # restart NGINX service
It is recommended to add a Firewall rule to limit access to server from your IP address. I will publish a different article on how to limit access to your server but for now, we will enable the firewall and allow http traffic on our server:
ufw allow http # enable http traffic
ufw enable     # enable firewall
ufw status     # check if http rule is added
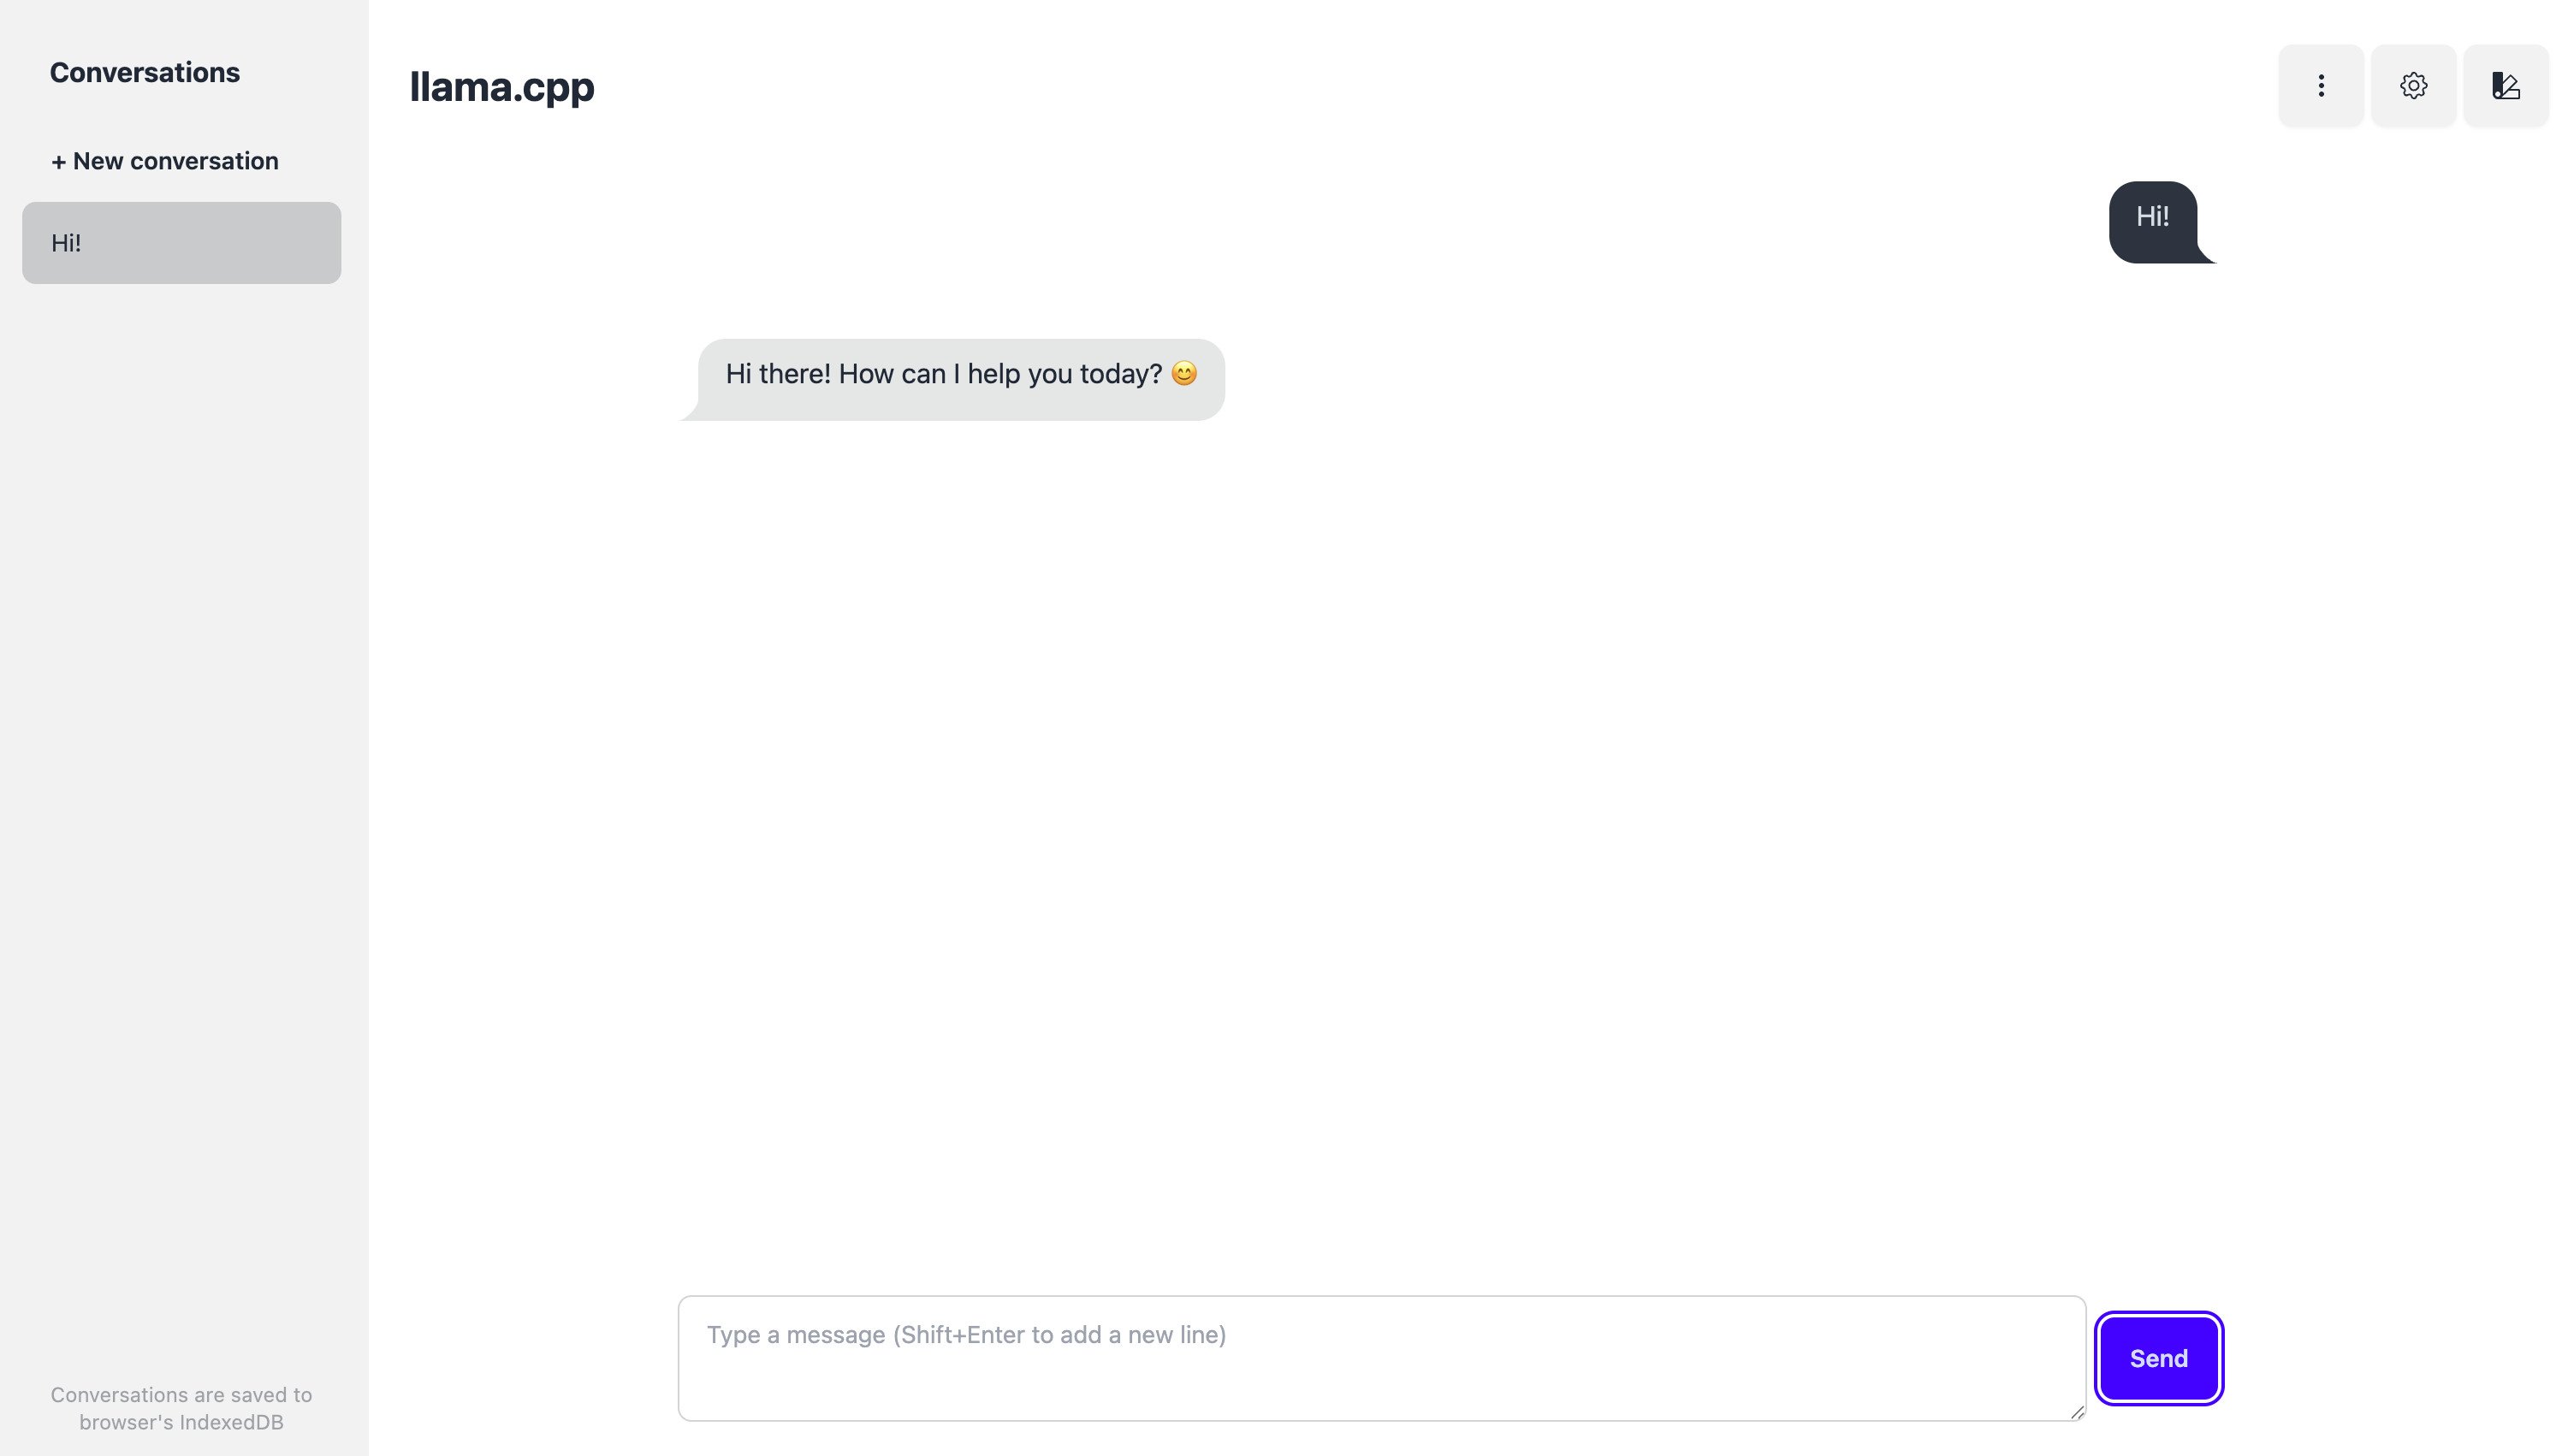
Great! Now, you should be able to access the chat ui to interact with the model by navigating to http://ip-of-server/ in your browser!

Thank you for reading this guide! I appreciate any comments or suggestions from readers!
Subscribe to my newsletter
Read articles from Pranjali Sachan directly inside your inbox. Subscribe to the newsletter, and don't miss out.
Written by
