Deploying an application on Elastic Kubernetes Service(EKS) with AWS Fargate
 Viraj Vijaykumar Dalave
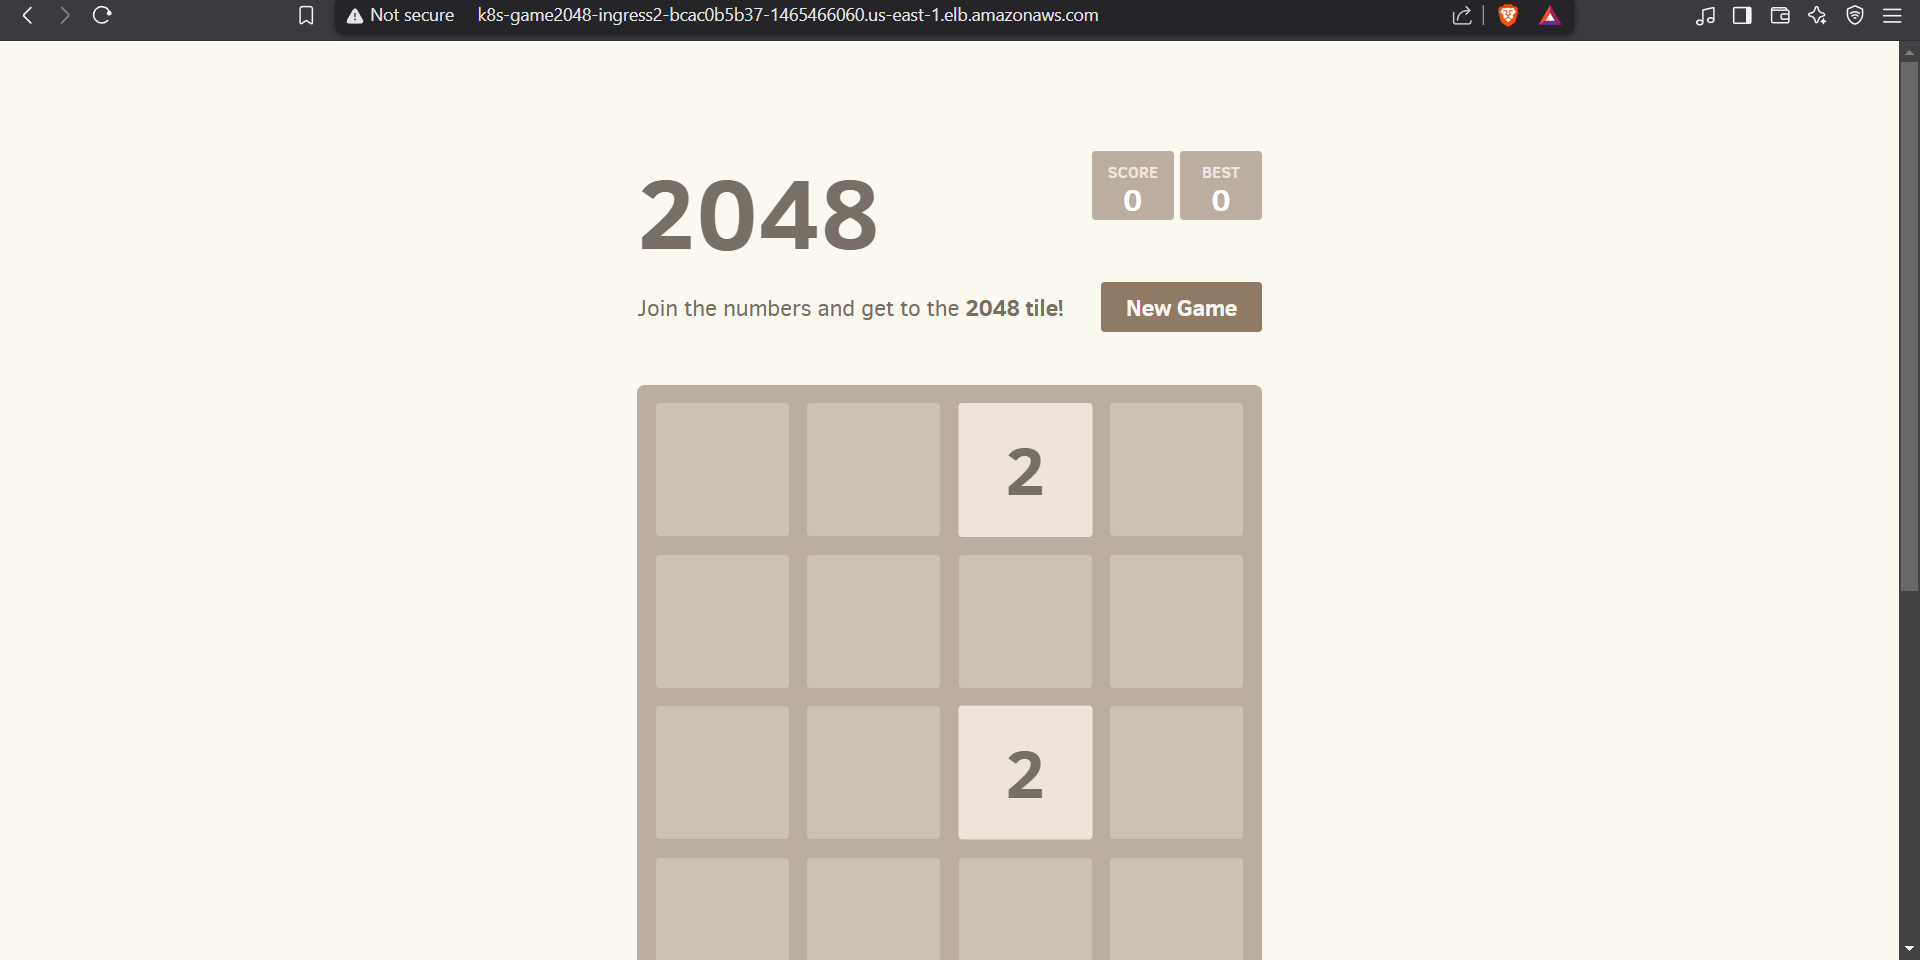
What is EKS and why EKS?
Elastic Kubernetes Service is a managed Kubernetes service by AWS. EKS takes care of managing the Kubernetes control plane components, such as the API server, controller manager, and etcd. AWS handles upgrades, patches, and ensures high availability of the control plane. EKS also integrates with AWS CloudWatch for monitoring cluster health and performance metrics, making it easier to track and troubleshoot issues. In this project, we will use EKS to manage the control plane AWS Fargate will be used for data plane eliminating the need to manage any nodes.
Prerequisites
AWS account
IAM user access keys
Once we have an AWS account and IAM access keys, let us start with the project.
Configuring AWS CLI, kubectl and eksctl
We need to configure the AWS CLI, kubectl and eksctl to access the AWS services and EKS cluster.
Installing the AWS CLI:
Download and install the AWS CLI on your local machine. You can find installation instructions for various operating systems here.

Configuring AWS CLI Credentials:
Open a terminal or command prompt and run the following command:
aws configureEnter the access key ID and secret access key of the IAM user you created earlier.
Choose a default region and output format for AWS CLI commands.
Installing kubectl:
Install kubectl on your local machine. Instructions can be found here.


Installing eksctl:
Install eksctl on your local machine. Instructions can be found here.

Creating the EKS cluster using eksctl
Now that we have the command line tools installed and configured we can create an EKS cluster. We are using AWS Fargate for the data plane. Enter the following command on your ternminal to create a cluster.
eksctl create cluster --name demo-cluster --region us-east-1 --fargate

You can give your desired cluster name and region. Wait for around 15-20 minutes and a cluster will be automatically created with all the required configurations.


Configuring kubectl for EKS
We need to configure kubectl to work with EKS cluster. We can use the following command for updating the kubeconfig file using AWS CLI.
aws eks update-kubeconfig --name demo-cluster --region us-east-1

Deploy the deployment, service and ingress
To deploy the app in a new namespace we need to create a fargate profile with the following command.eksctl create fargateprofile \ --cluster demo-cluster \ --region us-east-1 \ --name alb-sample-app \ --namespace game-2048

Now we can apply the manifest file.
kubectl apply -f https://raw.githubusercontent.com/kubernetes-sigs/aws-load-balancer-controller/v2.5.4/docs/examples/2048/2048_full.yaml You can open the link and check the manifest file.

Now we are having the ingress but no ingress controller. So we need to deploy an ingress controller and that controller needs to talk to the AWS API to create ALB(Application Load Balanccer).
Integrate IAM identity provider
We need to integrate the IAM idp to give access to the pods in cluster to the AWS services like the control plane nodes or cloudwatch. Execute the folloeing command to associate an IAM idp. The IAM idp will give temporary access to the ingress controller pod to AWS to create the ALB.
eksctl utils associate-iam-oidc-provider --cluster demo-cluster --approve

Setup ALB controller add-on
We need to create IAM policy and role to allow the controller to to talk to the AWS API and interact with the services.
Download IAM policy document.

Create IAM policy.
aws iam create-policy --policy-name AWSLoadBalancerControllerIAMPolicy --policy-documentfile://iam_policy.json
Add the following to IAM policy using the console.
{ "Effect": "Allow","Action": [ "elasticloadbalancing:DescribeListenerAttributes", "elasticloadbalancing:DescribeListeners", "elasticloadbalancing:DescribeLoadBalancers", "elasticloadbalancing:DescribeRules", "elasticloadbalancing:DescribeTags", "elasticloadbalancing:DescribeTargetGroups", "elasticloadbalancing:DescribeTargetHealth", "elasticloadbalancing:ModifyListener", "elasticloadbalancing:ModifyRule", "elasticloadbalancing:ModifyTargetGroupAttributes", "elasticloadbalancing:ModifyLoadBalancerAttributes" ],"Resource": "*" }Create IAM role.
eksctl create iamserviceaccount --cluster=demo-cluster --namespace=kube-system --name=aws-load-balancer-controller --role-name AmazonEKSLoadBalancerControllerRole --attach-policy-arn=arn:aws:iam::<your-aws-account-id>:policy/AWSLoadBalancerControllerIAMPolicy --approve
Deploy ALB controller
Add helm repo
helm repo add ekshttps://aws.github.io/eks-chartsUpdate the repo
helm repo update eksInstall
helm install aws-load-balancer-controller eks/aws-load-balancer-controller -n kube-system --set clusterName=demo-cluster --set serviceAccount.create=false --set serviceAccount.name=aws-load-balancer-controller --set region=us-east-1 --set vpcId=<your-eks-vpc-id>
Verify that the deployments are running.
kubectl get deployment -n kube-system aws-load-balancer-controller
Now we are all set. We can see the ALB get created by the ingress controller in the aws console.

Lets access the application via the ALB dns!

Congratulations!! We have successfully deployed the application on EKS with Fargate!
I would like to thank Abhishek Veeramalla for his guidance throughout this project.
Subscribe to my newsletter
Read articles from Viraj Vijaykumar Dalave directly inside your inbox. Subscribe to the newsletter, and don't miss out.
Written by
Viraj Vijaykumar Dalave
Viraj Vijaykumar Dalave
I am a student learning DevOps and Cloud Computing. My blogs and articles are primarily a platform for me to post whatever I am learning. My passion to explain things in simple words also makes me use this platform as a way to teach fellow learners if possible. I would love to receive feedback from most people coming across my articles.