Understanding Build Tools: Maven, Gradle, and npm
 Yash Patil
Introduction to Build Tools
In this blog lets understand how build tools are essential in software development for automating the process of compiling source code into executable artifacts. They manage dependencies, handle compilation, testing, packaging, and deployment tasks efficiently. By automating these processes, build tools streamline development workflows, improve consistency, and facilitate collaboration in teams.
Why We Need Build Tools
In modern software development, projects often involve numerous files, libraries, dependencies, and complex configurations. Build tools simplify managing these aspects by providing structured processes to compile, test, and package applications. They ensure that projects are built consistently across different environments and enable developers to focus more on coding and less on manual build tasks.
Using Build Tools to Build Application Artifacts
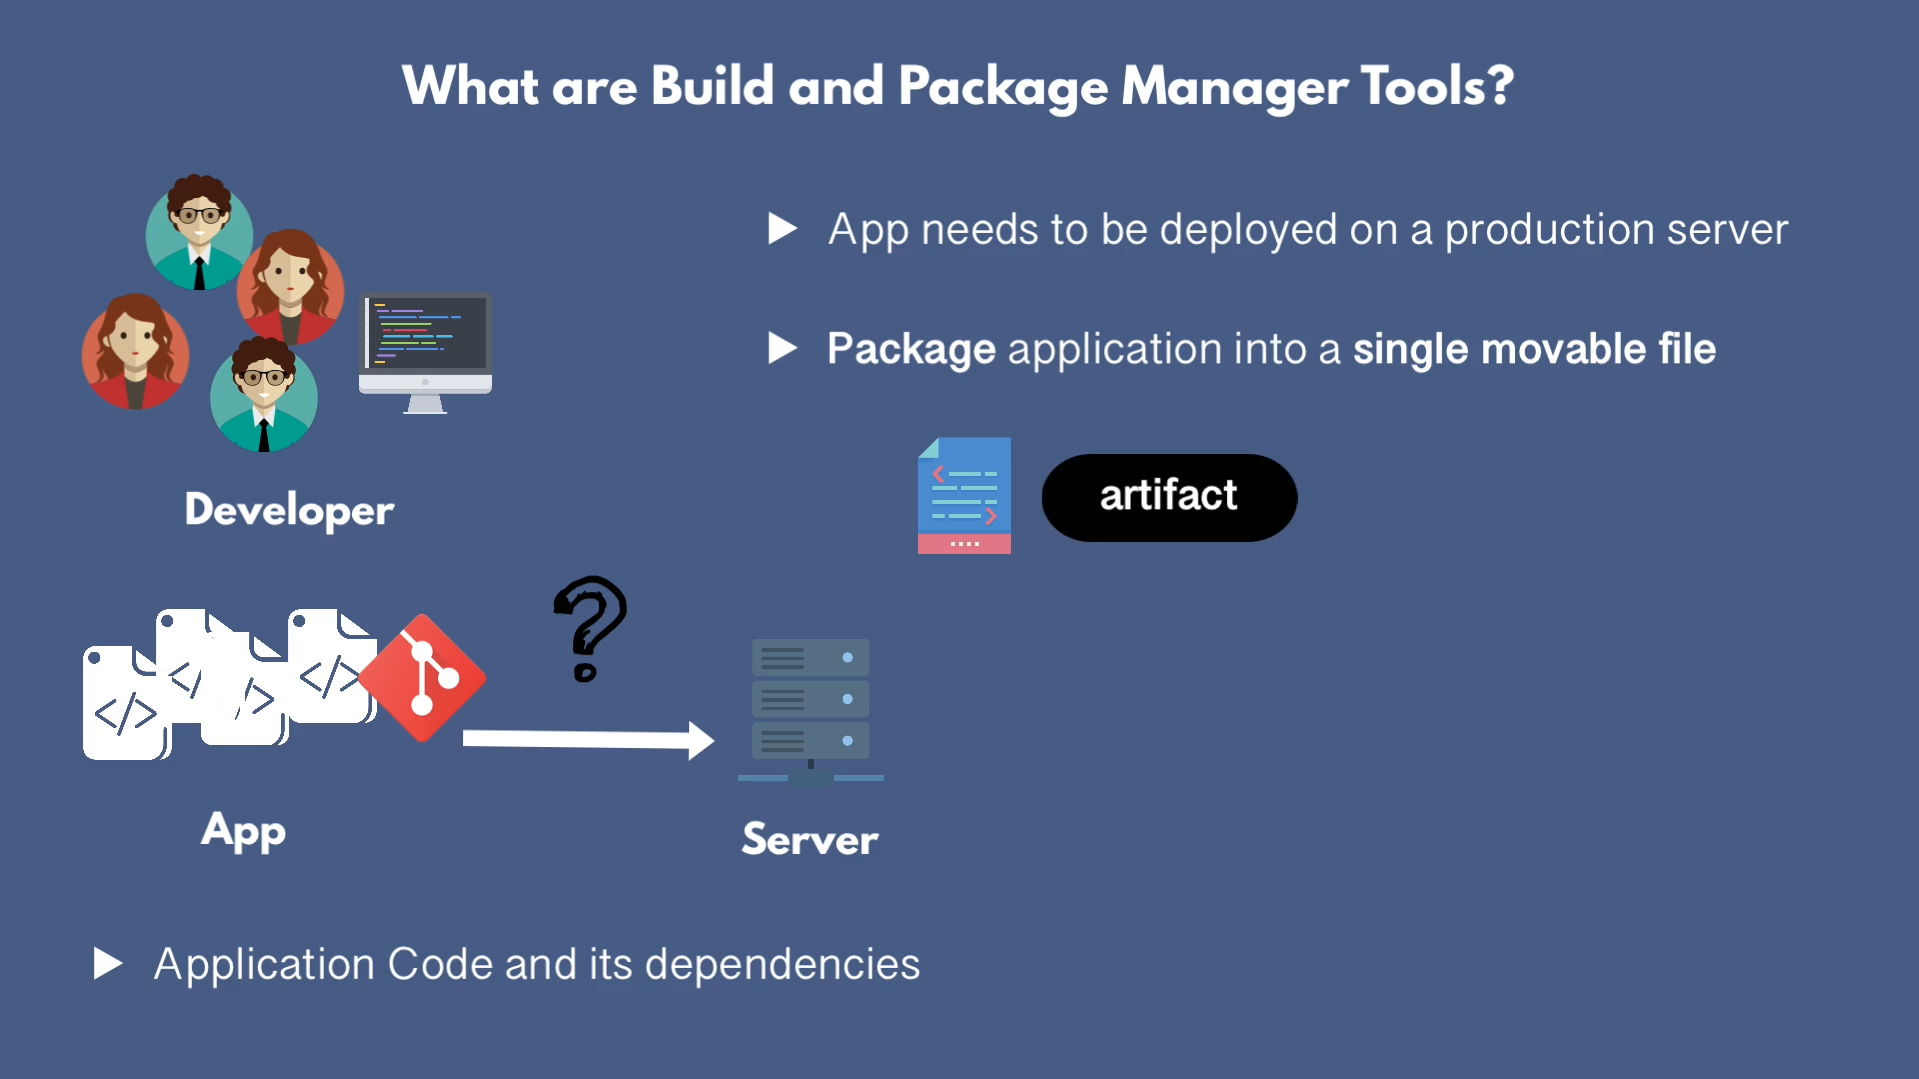
An application needs to be deployed on a server but a single application has numerous files as we mentioned above. Hence we need these build tools to package our application into a single movable file. This is called an application artifact. This artifact is a executable file through which we can run on application on a server using this single file.
What is an Application Artifact?
An application artifact contains all the necessary files needed to run the application such as source code, application dependencies and other configuration files. So basically these artifacts encapsulate the compiled code, resources, and configuration needed to run the application. They ensure that these artifacts are correctly assembled, tested, and ready for deployment in different environments.
We keep these artifacts in an artifact repository of our organization (if configured) so that it can be deployed multiple times based on the application and the artifact version or have backups if necessary. These artifacts can also be distributed across machines for global use.
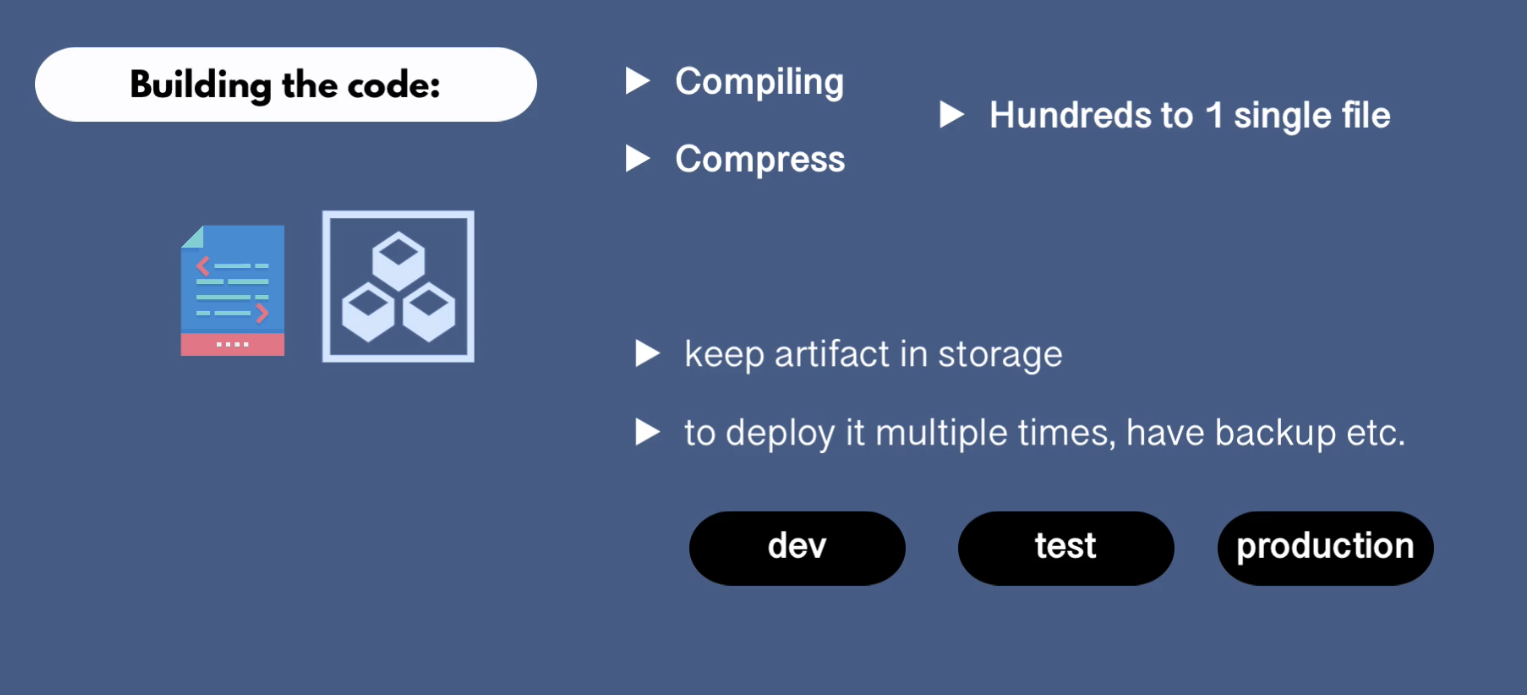
Based on the tech stack used to develop the application, we have different kinds of application artifacts for example a Java-springboot or a Java Web-based application has a .jar or .war artifacts.
In this blog let us understand Maven, a build and project management tool used in Java based projects.
Maven: A Comprehensive Overview
What is Maven?
Maven is a powerful build automation tool primarily used for Java projects. It’s primary objectives are :
Build Generation
Dependency Resolution
Documentation
It manages project dependencies, builds, reporting, and documentation from a central piece of information, the Project Object Model (POM). Maven simplifies project management by enforcing best practices and providing consistent project structures.
Whenever a Maven command is executed, it looks for a pom.xml file in the current directory and gets the configuration and steps needed to execute that command.
Project Structure and Initializing a Maven Project
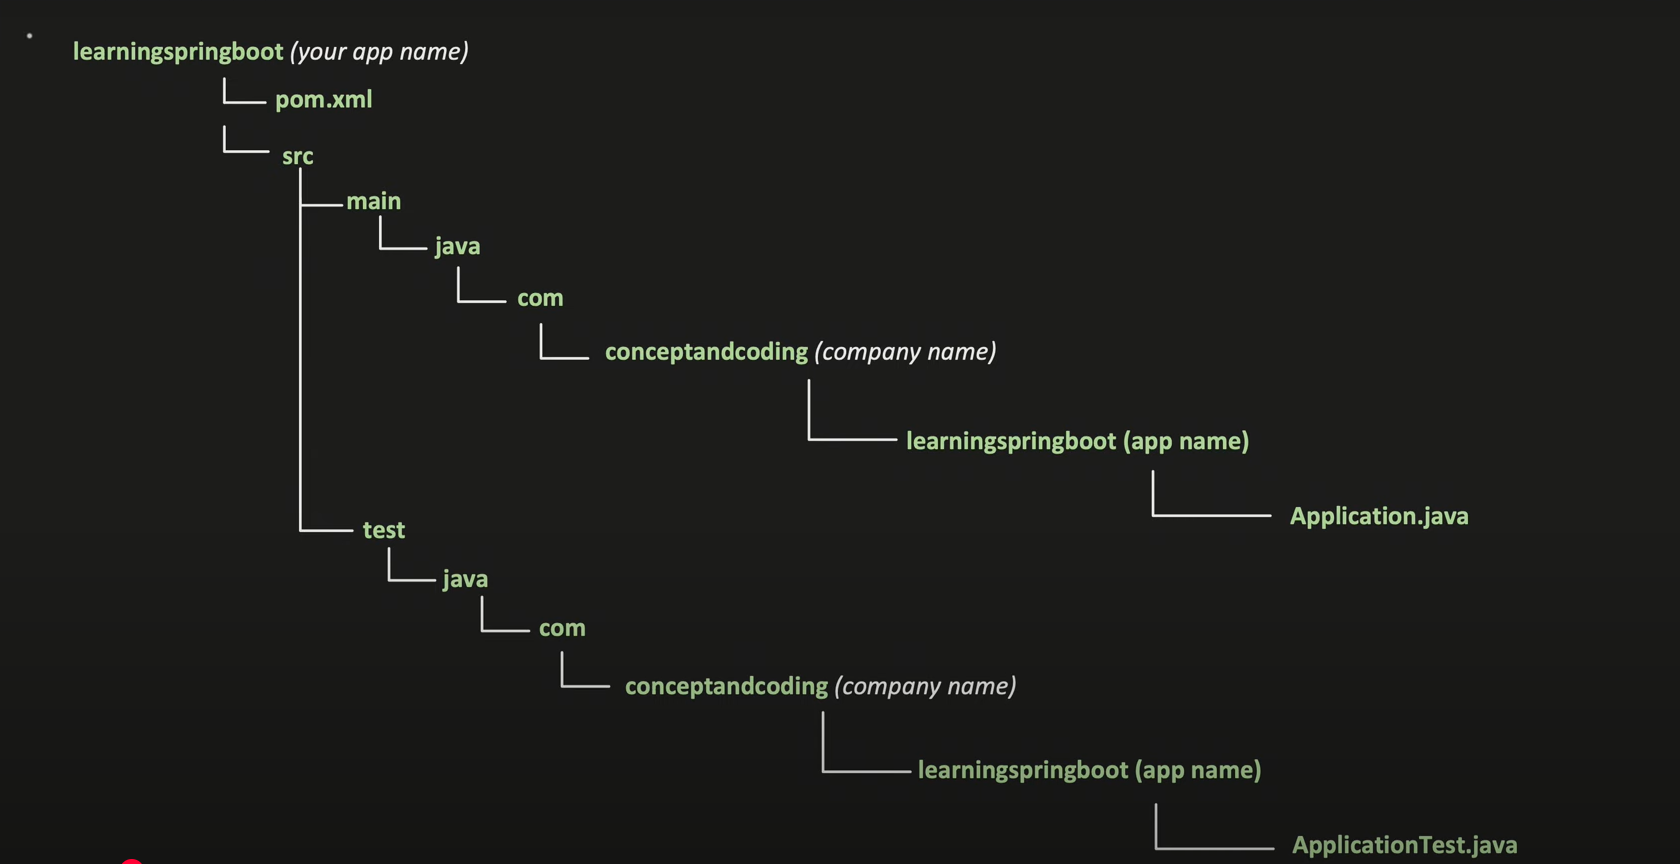
When you initialize a Maven project, it creates a standardized directory structure. This structure includes directories like src/main/java for source code, src/test/java for unit tests, and pom.xml for configuration.
In order to initialize a Java-Maven project, instead of executing a big and messy mvncommand, you can use the spring initializer website where you can choose from options such as :
Project type (Maven, Gradle)
Spring Boot Version
Project Metadata (Organization name, project name, artifact name, etc)
Artifact type (.jar, .war)
Java JDK version to be used
And necessary initial dependencies
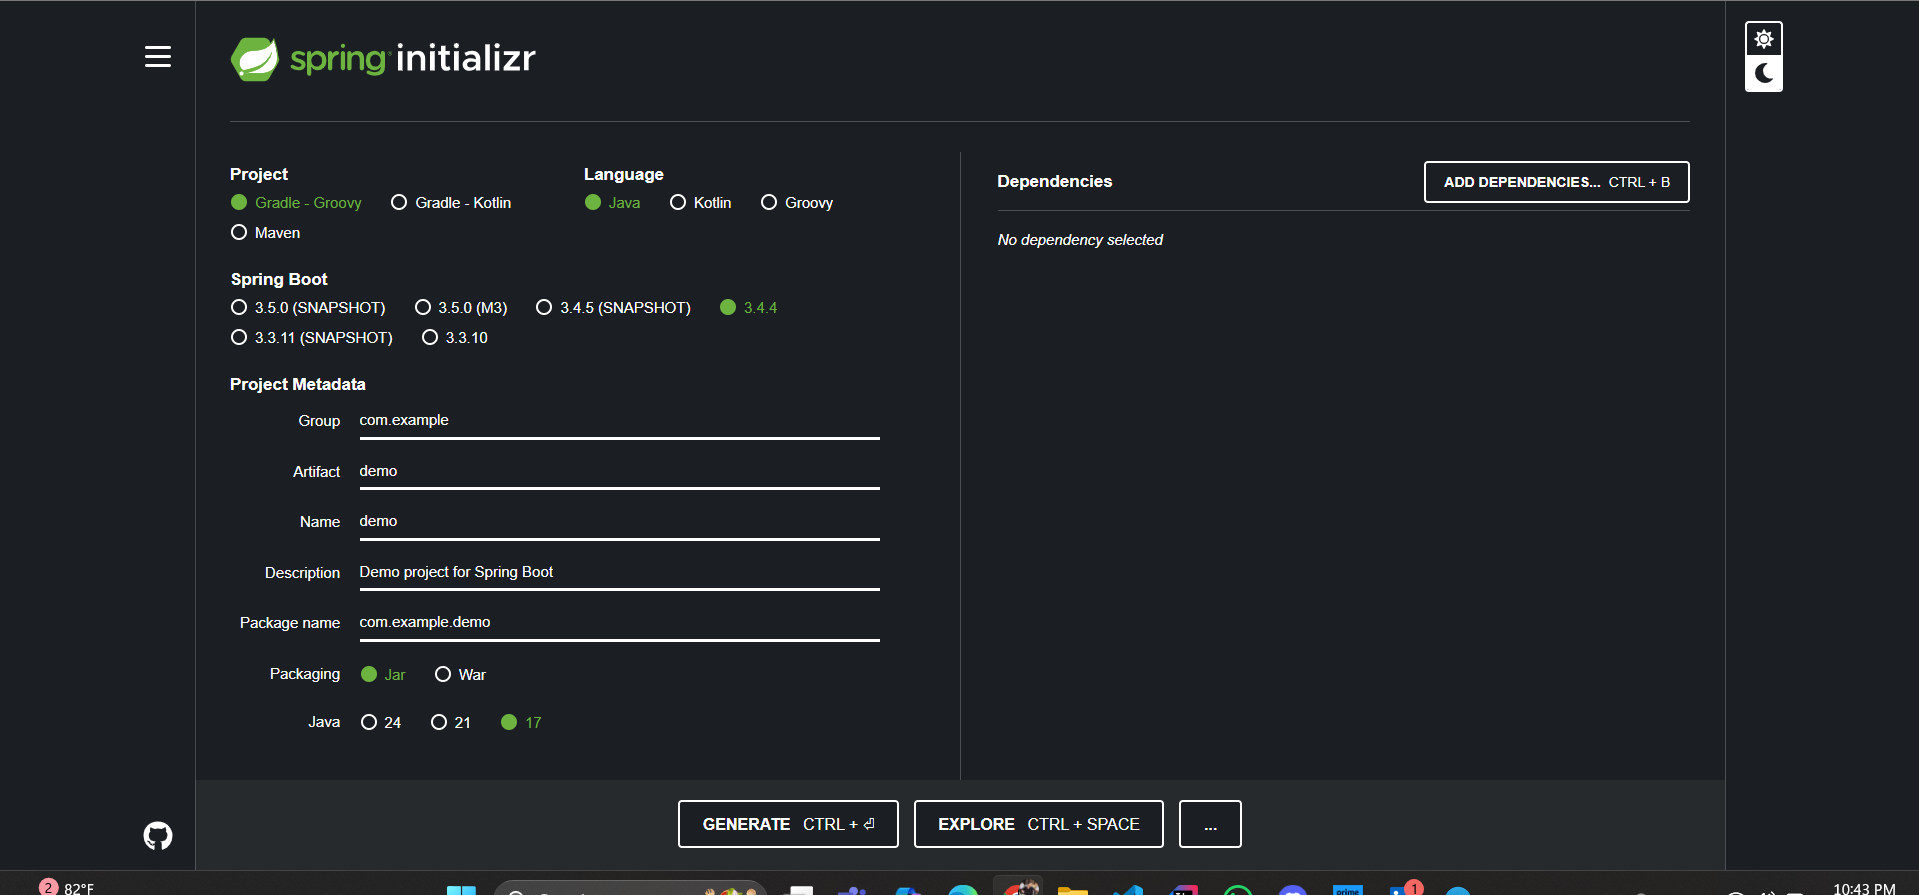
This will generate a zip file which you can extract and start developing in the pre-designed project structure which is highly customizable.
Understanding pom.xml
The pom.xml file is the core of a Maven project. It defines the project configuration and manages dependencies, plugins, goals, and profiles.
Key components of pom.xml include:
Dependencies: Libraries required for the project. Based on these fields, when we execute maven commands, it fetches the
.jarfiles or executable artifacts of the specific dependencies mentioned and used them to create a executable application artifact. These dependencies are downloaded from maven central repositories unless mentioned otherwise in the<url></url>block.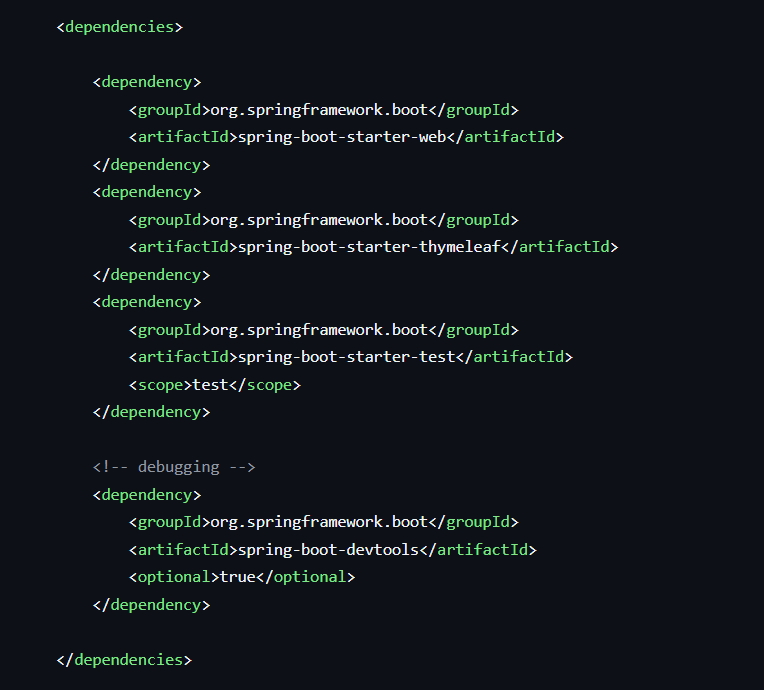
Group Id and Artifact Id: Unique identifiers for the project. These are usually the company or organization name, artifact name and artifact versions.

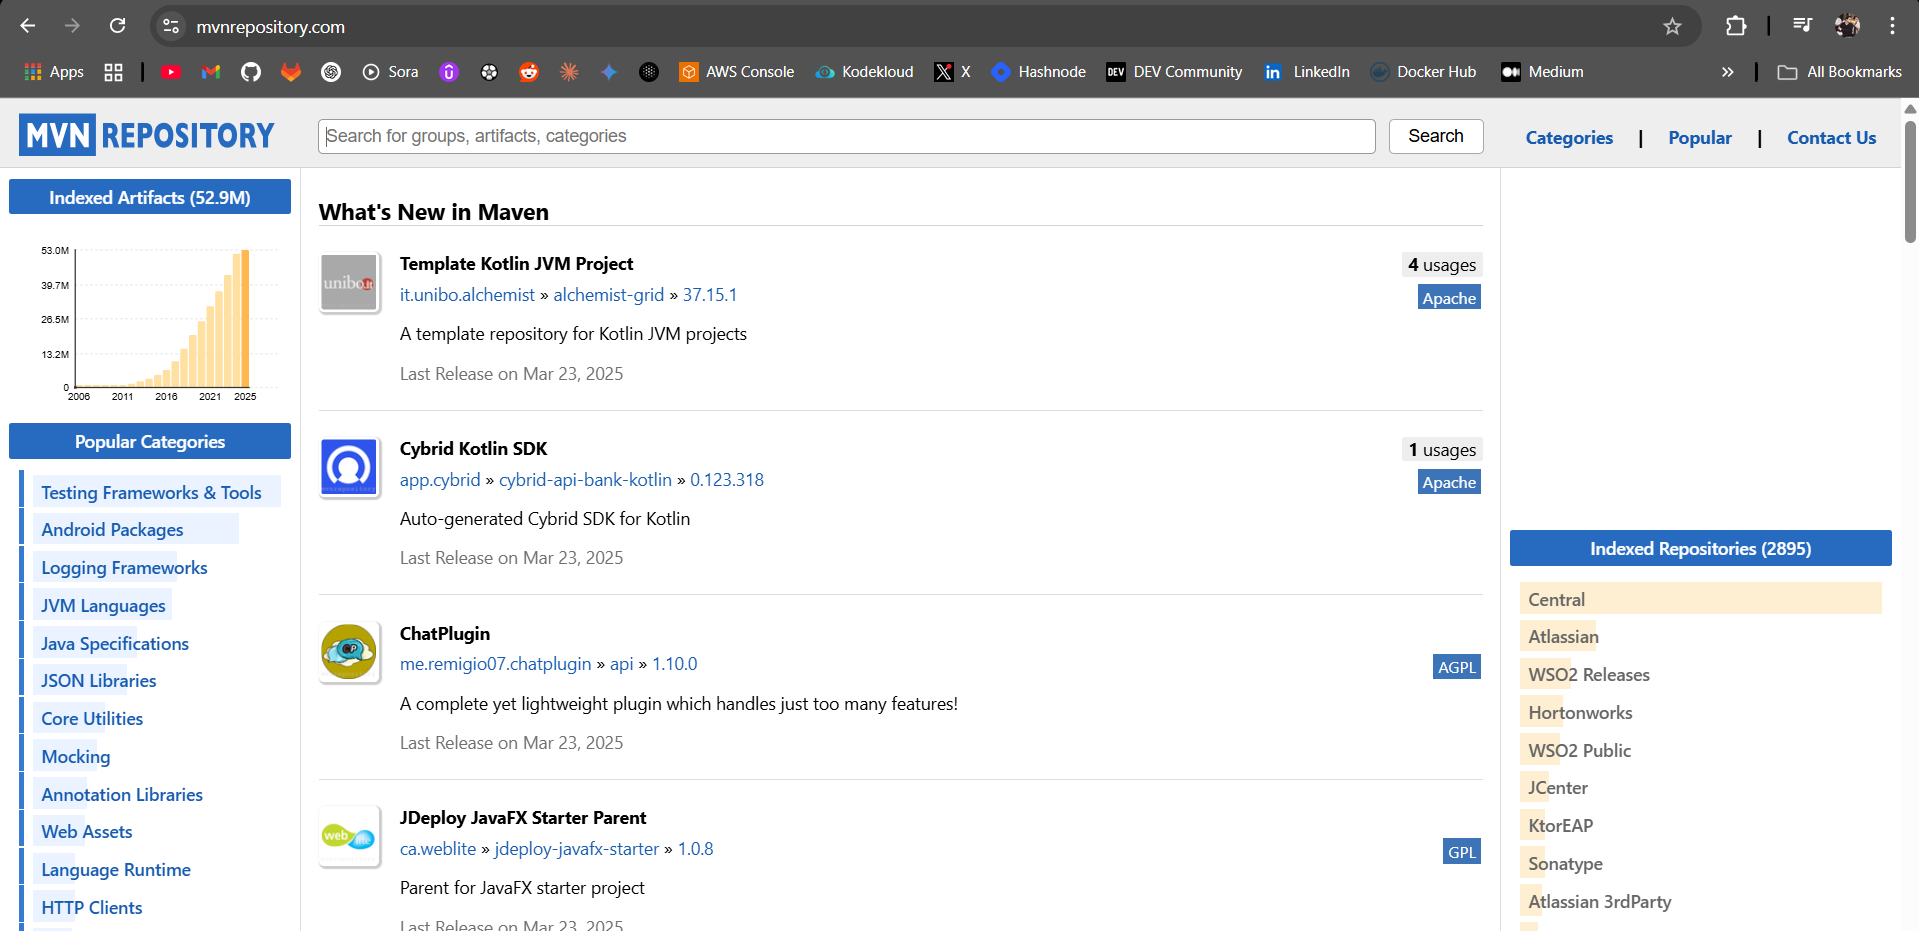
Repositories: Locations where Maven can find dependencies. By default it uses the Maven Central Repository.

Build Configurations: Plugin configurations and goals.
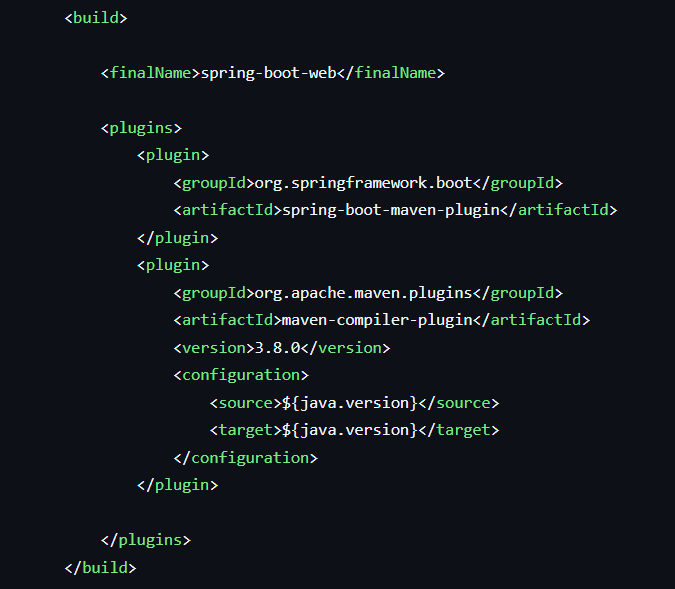
Maven Lifecycles
The Maven lifecycle is a set of predefined build phases that define the order in which tasks (goals) should be executed in a Maven project. It ensures that all necessary steps are followed to build and manage a project.
Maven’s Three Built-in Lifecycles
Maven has three core lifecycles:
Clean Lifecycle – Cleans the project before building
Default (Build) Lifecycle – Handles project compilation, testing, packaging, and deployment
Site Lifecycle – Generates project documentation
Among these, the Default (Build) Lifecycle is the most commonly used.
Phases of the Default (Build) Lifecycle
Each phase consists of specific tasks (goals) executed in a predefined order:
validate – Checks if the project structure is correct
compile – Compiles the source code and puts the byte-code under ./target/classes folder.
test – Runs unit tests (without deploying to an environment). Usually found under ./src/tests folder.
package – Packages the compiled code into a distributable format (JAR, WAR, etc.) and stores it under the ./src/target folder.
verify – Runs integration tests to validate the package. This usually involves finding unused variables, unused imports, empty try-catch blocks, unused object creations and duplicate code in the application source code.
install – Installs the package into the local system’s Maven repository (
~/.m2/repository)deploy – Uploads the package to a remote repository (for sharing with others). This is usually used to deploy the artifact to a Nexus or JFrog artifact repositories where a company or an organization stores their built artifacts, docker files, etc. for multiple usage and backups.
Enough of this theory lessons, lets get our hands dirty and actually use Maven to build our application and run it on a server for which I have configured an AWS EC2 Instance!
Logged into our instance :
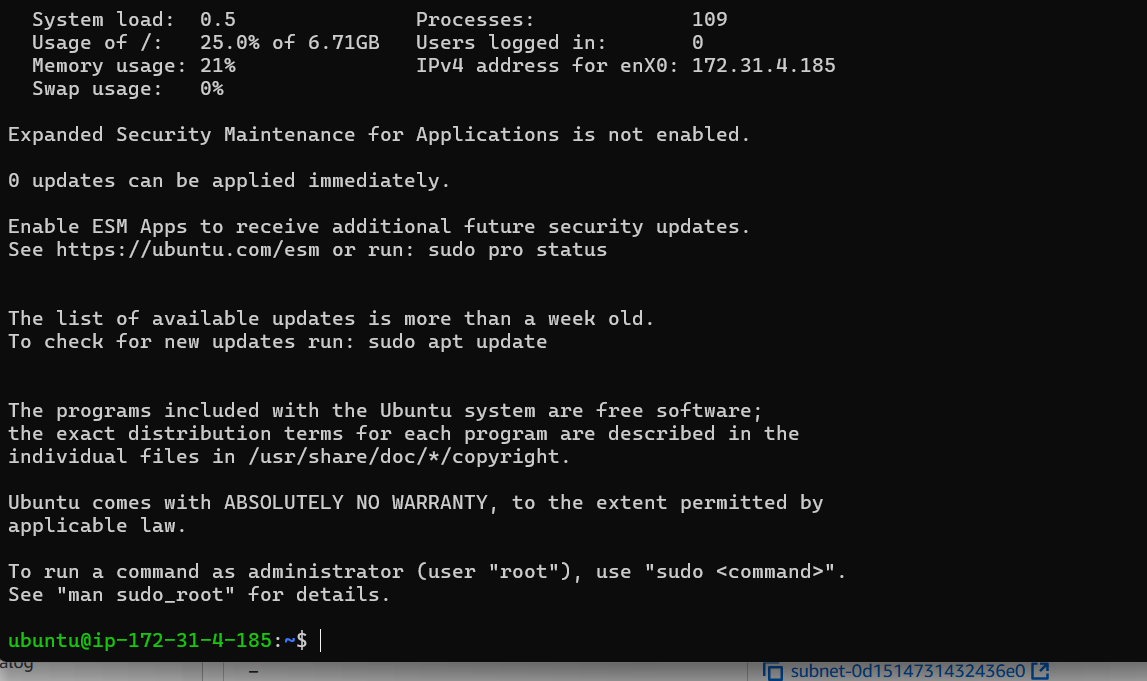
First of lets update the packages and install Java and Maven on the server!
sudo apt-get update -y
sudo apt install openjdk-11-jre -y
sudo apt-get install maven -y
Lets verify the installations :

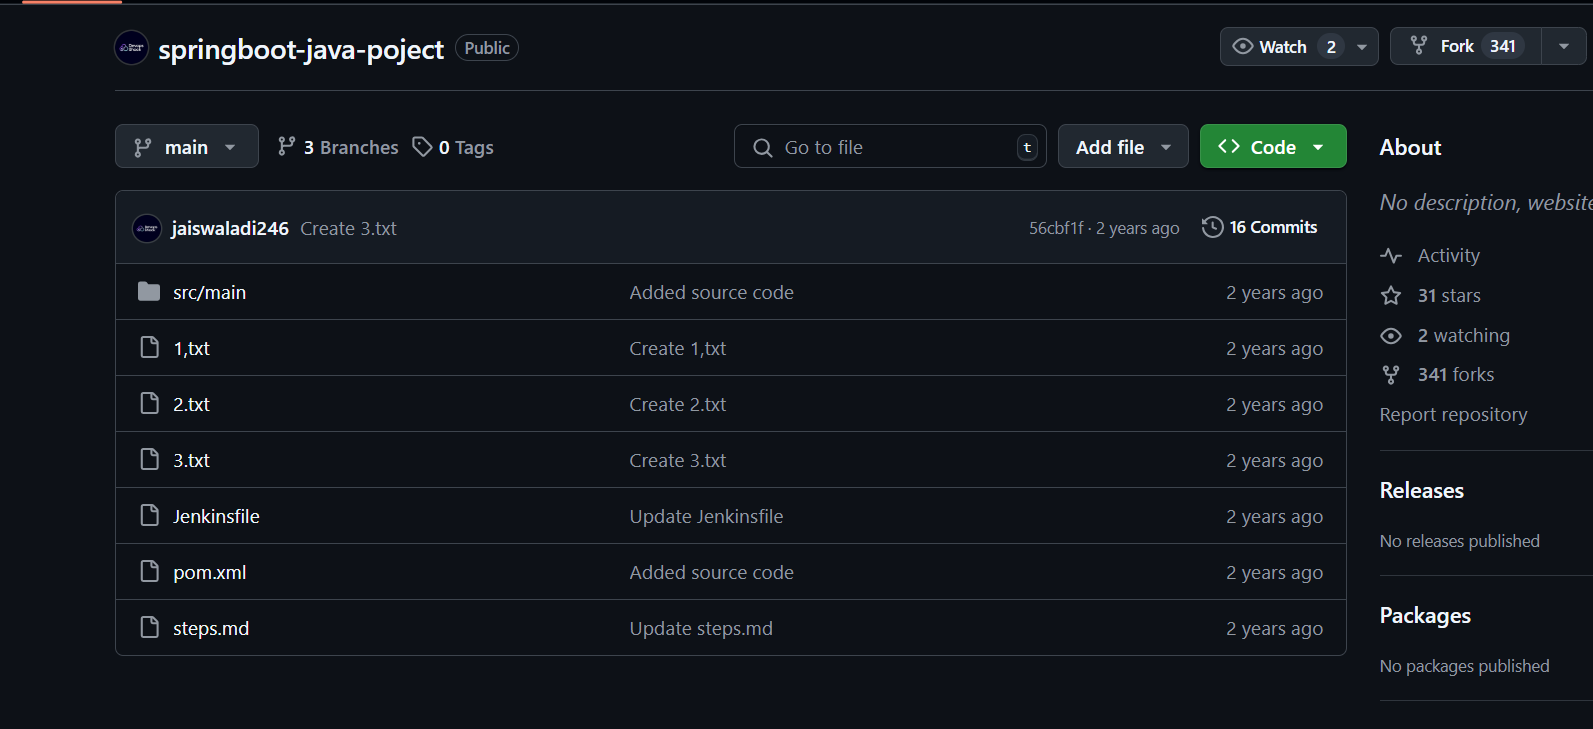
Now lets clone our open source project’s git repository where a Maven Project is already initialized :

Let us checkout this project’s structure.
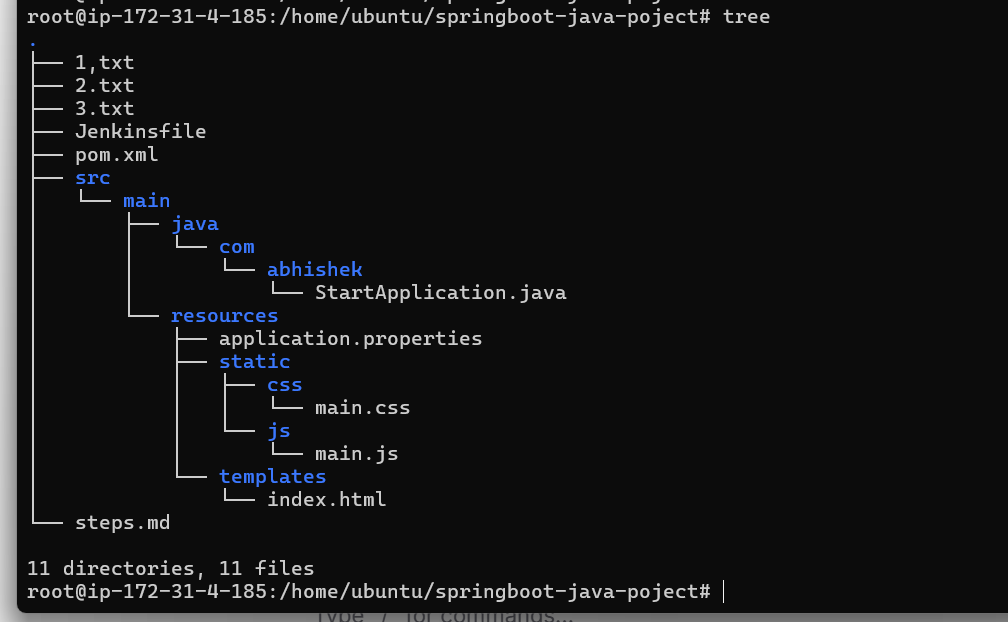
As I mentioned above, for a Maven project there will always be a pom.xml file which is the main configuration file and /src/main/java/com directory where the application source code lies.
Now lets execute Maven Lifecyle commands to finally build this project and start our application on the server!
NOTE : Each phase automatically triggers the preceding phases. For example, running mvn install also compiles, tests, and packages the project before installing it.
So lets execute the command :
mvn install
which will automatically execute the validate, compile, test ( if exist ), and package phases of Maven Project.
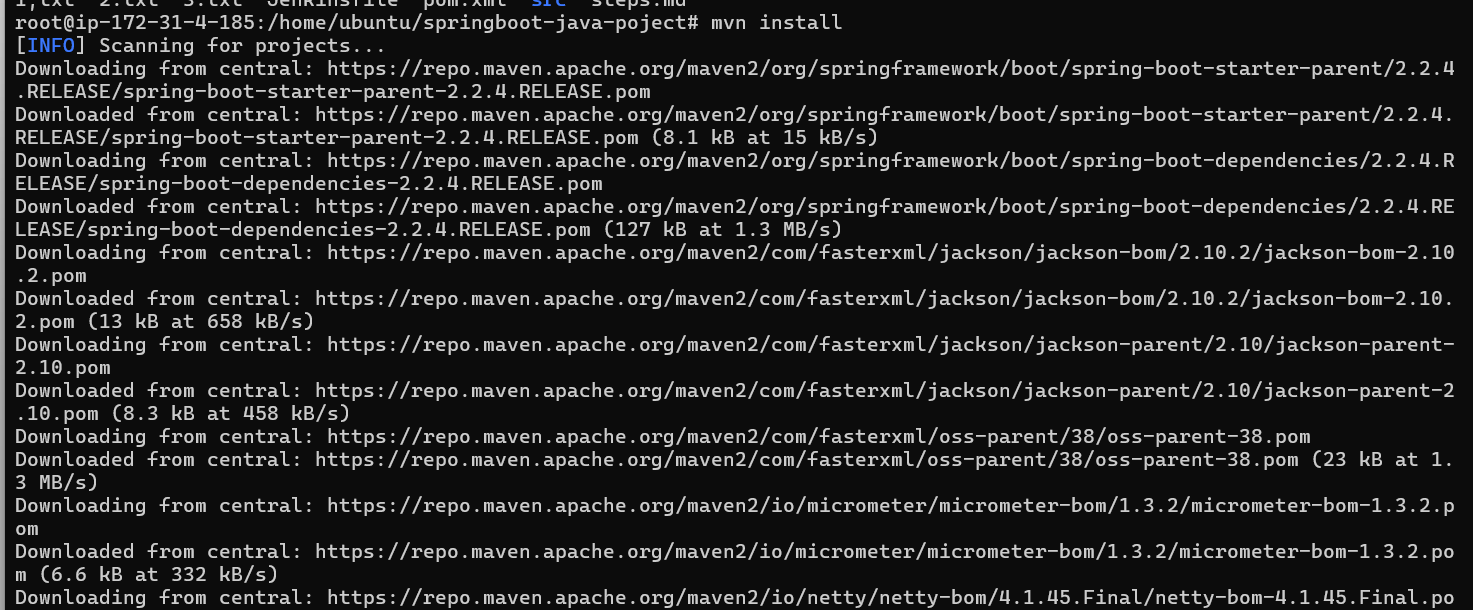

Validation is done, as you can see above.

Source code is compiled, as you can see above.

In the test phase, it automatically detects there are no test cases to be executed.

The application is packaged into a .jar artifact.

And well well well, that was a build done successfully!
Lets check out if things are where they supposed to be :
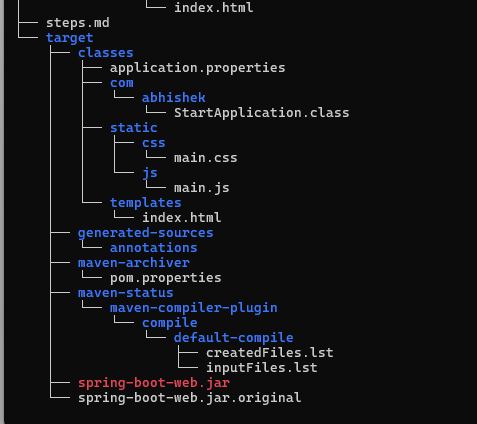
There you go, a target folder was created where our .jar artifact is built successfully and our compiled source code exists under the ./src/targets/classes folder.
Also you can see that our artifact is also built under our local file system :

What is Clean Lifecycle?
The Clean Lifecycle in Maven is responsible for removing all files generated by previous builds. This ensures that the next build starts from a clean state without any leftover artifacts from previous executions.
mvn clean
mvn clean install
When to Use mvn clean?
Before building a fresh artifact to avoid conflicts from previous builds.
When switching branches to ensure old compiled classes don’t interfere.
To troubleshoot build issues caused by stale files.
Now Finally let us start the application
To execute any .jar file we execute the java -jar command followed by the path of the .jar file. This command is always executed even if you are deploying the application on local, Apache Tomcat Server, Docker or Kubernetes!
java -jar ./target/spring-boot-web.jar
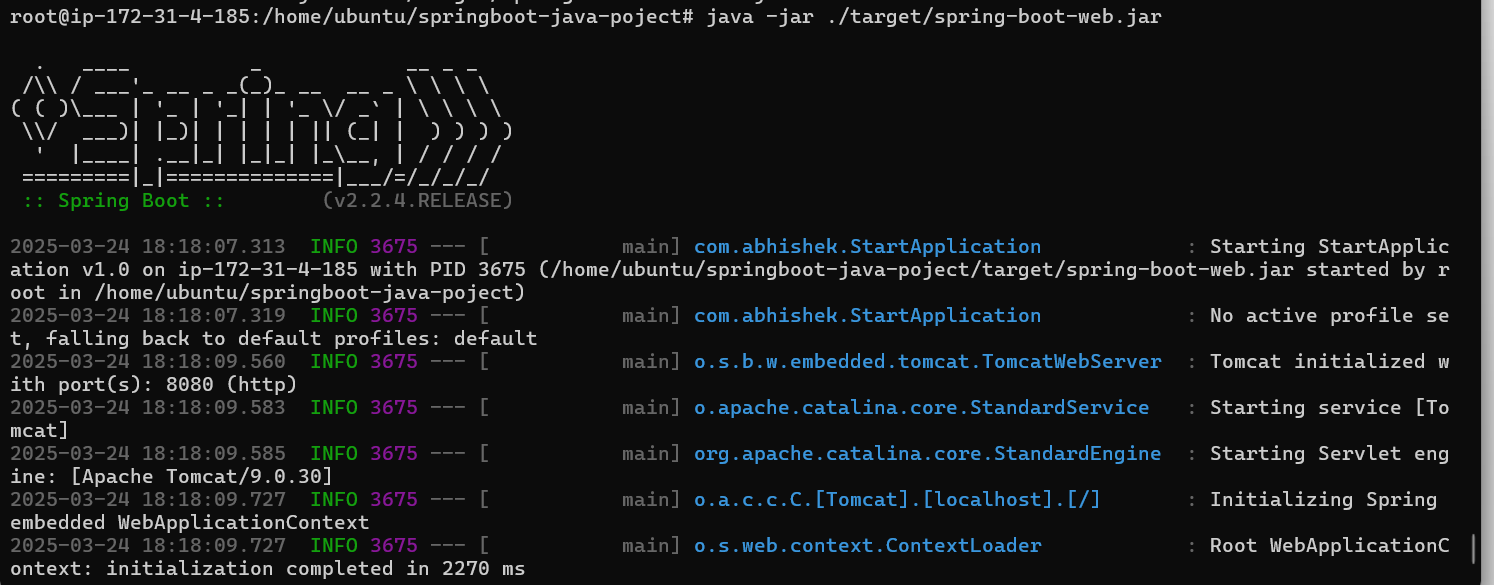
And there you go, our application has successfully started on our server, so lets access it.
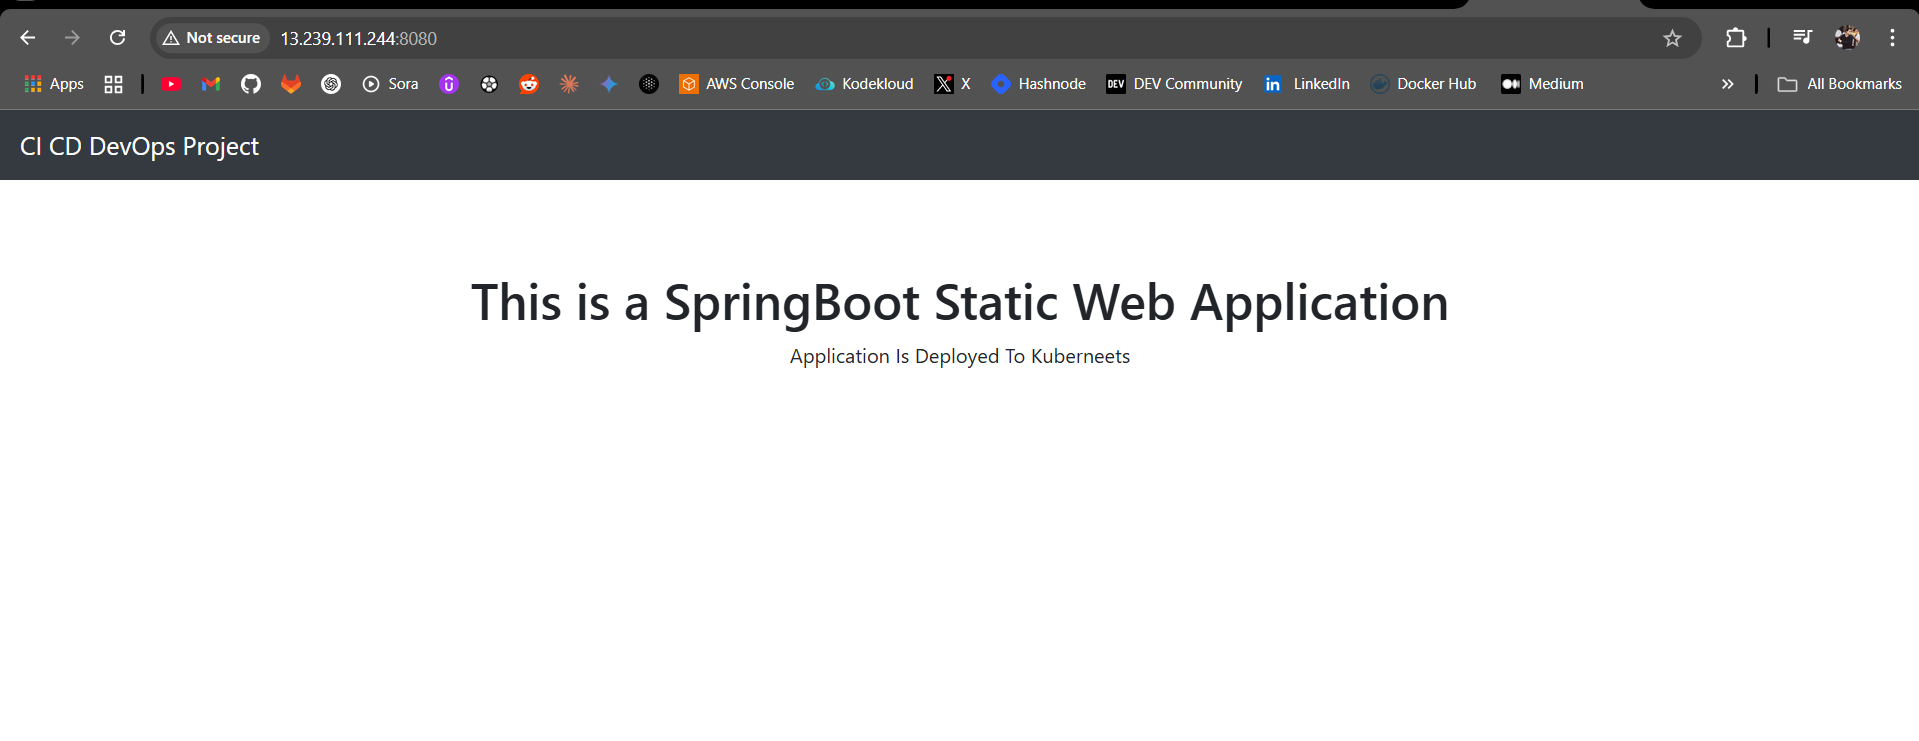
Ignore the deployed to Kubernetes part, LOL!
Make sure to allow inbound access rule on TCP Port 8080 to access the application.
Conclusion
Build tools like Maven are indispensable in modern software development, automating repetitive tasks and ensuring project consistency. Understanding Maven's project structure, pom.xml, and lifecycles empowers developers to efficiently manage Java projects from inception to deployment.
Subscribe to my newsletter
Read articles from Yash Patil directly inside your inbox. Subscribe to the newsletter, and don't miss out.
Written by
