Linux Training : Section 8 (Part-2)
 Aditya Dev Shrivastava
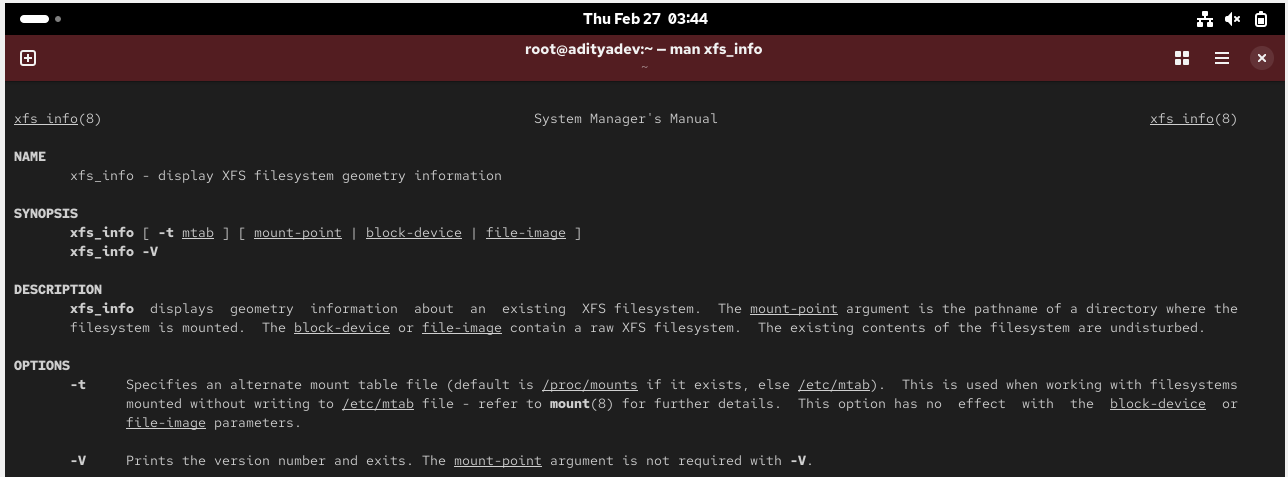
The xfs_info Command
xfs_info designed for XFS
XFS commands are used to create, modify, and manage XFS file systems. XFS is a journaling file system that supports large files and file systems on a single host.
XFS
Journaling files system in Linux
Hierarchical structure
Efficiently manages disk space
Ensures data integrity

Advance Storage Management with Stratis
RedHat8 introduces the next generation volume management solution called Stratis
It used thin provisioning by default
It combines the process of creating LVM and creation of filesystems into one management
In LVM if a filesystem system gets full you will have to extend it manually whereas Stratis extends the filesystsem automatically if it has available space in its pool

Install Stratis package
yum/dnf install stratis -cli stratisdEnable and start
systemctl start/enable stratisdAdd 2×5G new disks from virtualization software and verify at the OS level
Oracle virtual box storage settinglsblkCreate a new stratis pool and verify
stratis pool create pool1 /dev/sdbstratis pool listExtend the pool
stratis pool add-data pool1 /dev/sdbstratis pool listCreate a new filesystem using stratis
stratis filesystem create pool1 fs1stratis filesystem list (Filesystem will start with 546MB)Create a directory for mount point and mount filesystem
mkdir /bigdatamount /stratis/pool1/ fs1 /bigdatalsb1kCreate a snapshot of your filesystem
stratis filesystem snapshot pool1 fs1 fs1-snapstratis filesystem listAdd the entry to /etc/fstab to mount at boot
UUID=”asf-0887afgdja-” /bigdata xfs defaults, x-systemd.requires=stratisd.service 0 0
RAID
RAID (Redundant Array of Independent Disks)
Types of RAID-
RAID0
RAID1
RAID5
RAID (Redundant Array of Independent Disks) in Linux is a storage technology that combines multiple disks into a single logical unit. This can increase performance, capacity, and data redundancy.
How RAID works
RAID distributes data across multiple disks
RAID allows input/output (I/O) operations to overlap, which improves performance
RAID can use disk mirroring or disk striping
RAID arrays appear to the operating system as a single logical drive
File System Check (fsck and xfs_repair)
Linux fsck utility is used to check and repair Linux filesystem (ext2, ext3, ext4, etc)
Linux xfs_repair utility is used to check and repair Linux filesystems for xfs filesystem type
Depending on when was the last time a file system, was checked, the system runs the fsck during boot time to check whether the filesystem is in consistent state.
System administrator could also run it manulaliy when there is a problem with the filesystems
Make sure to execute the fsck on an unmounted file systems to avoid any data corruption issues
Force a filesystem check even if it’s clean using option -f
Attempt to fix detected problems automatically using options -y
The xfs_repair utility is highly scalable and is designed to repair even very large file systems with many inodes efficiently. Unlike other Linux file system, xfs_repiar does not run at boot time.
The following are the possible exit codes for fsck command-
| Code | Description | | --- | --- | | 0 | No errors. | | 1 | Filesystem errors corrected. | | 2 | The system should be rebooted. | | 4 | Filesystem errors were left uncorrected. | | 8 | Operational error. | | 16 | Usage or some type of syntax error. | | 32 | Checking canceled by the user through request. | | 128 | Shared-library error. |
System Backup
Command »
dd5 Different Types of Backups
System backup (entire image using tools such as acronis, Veeam, Commvault etc.)
Application backup (3rd party application backup solution)
Database backup (Oracle dataguard, SQL backup etc)
Filesystem Backup (tar, gzip directories etc)
Disk backup or disk cloning (dd command)
dd is a command-line utility for Unix and Unix-like OS whose primary purpose is to convert and copy files
As a result, dd can be used for tasks such as backing up the boot sector of a hard drive and obtaining a fixed amount of random data
To backup or clone an entire hard disk to another hard disk connected to the same system, execute the dd command as shown-
dd if= <source file name> of=<target file name> [options]
dd if=/dev/sda of=/dev/sdb
To backup/copy the disk partiotion
- dd if=/dev/sda1 of=/root/sda1.img
Restoring this image file to other machine after copying the /img
- dd if=/root/sda1.img of=/dev/sdb3
Network File System (NFS)
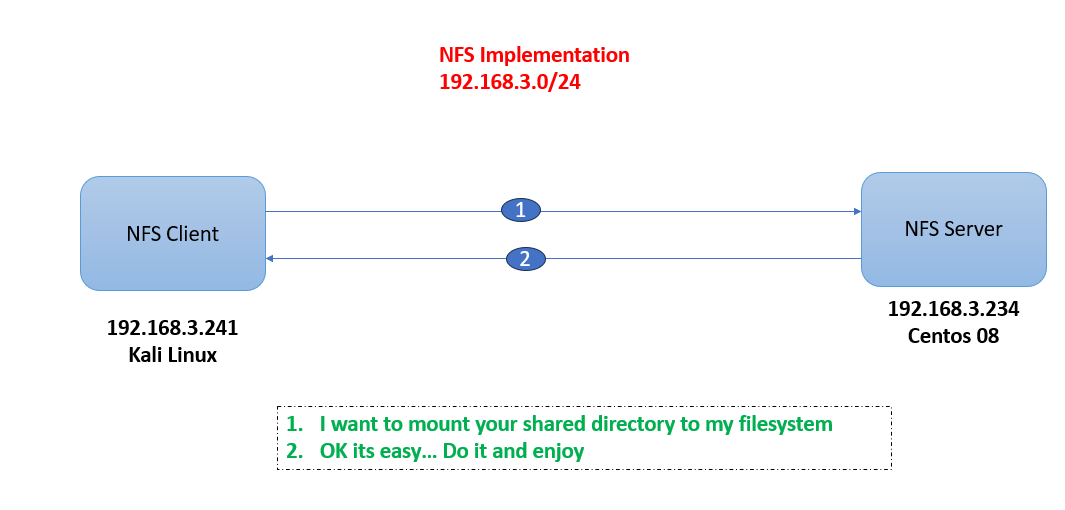
NFS stands for Network File System, a file system developed by Sun Microsystem, Inc.
It is a client/server system that allows users to access files across a network and treat them as if they resided in a local file directory
For example, if you were using a computer linked to a second computer via NFS, you could access files on the second computer as if they resided in a directory on the first computer. this is accomplished through the processes of exporting (the process by which an NFS server provides remote clients with access to its files) and mounting (the process by which client map NFS shared filesystem)
Steps for NFS Server Configuration
Install NFS packages
# yum install nfs-utils libnfsidmap (most likely they are installed)
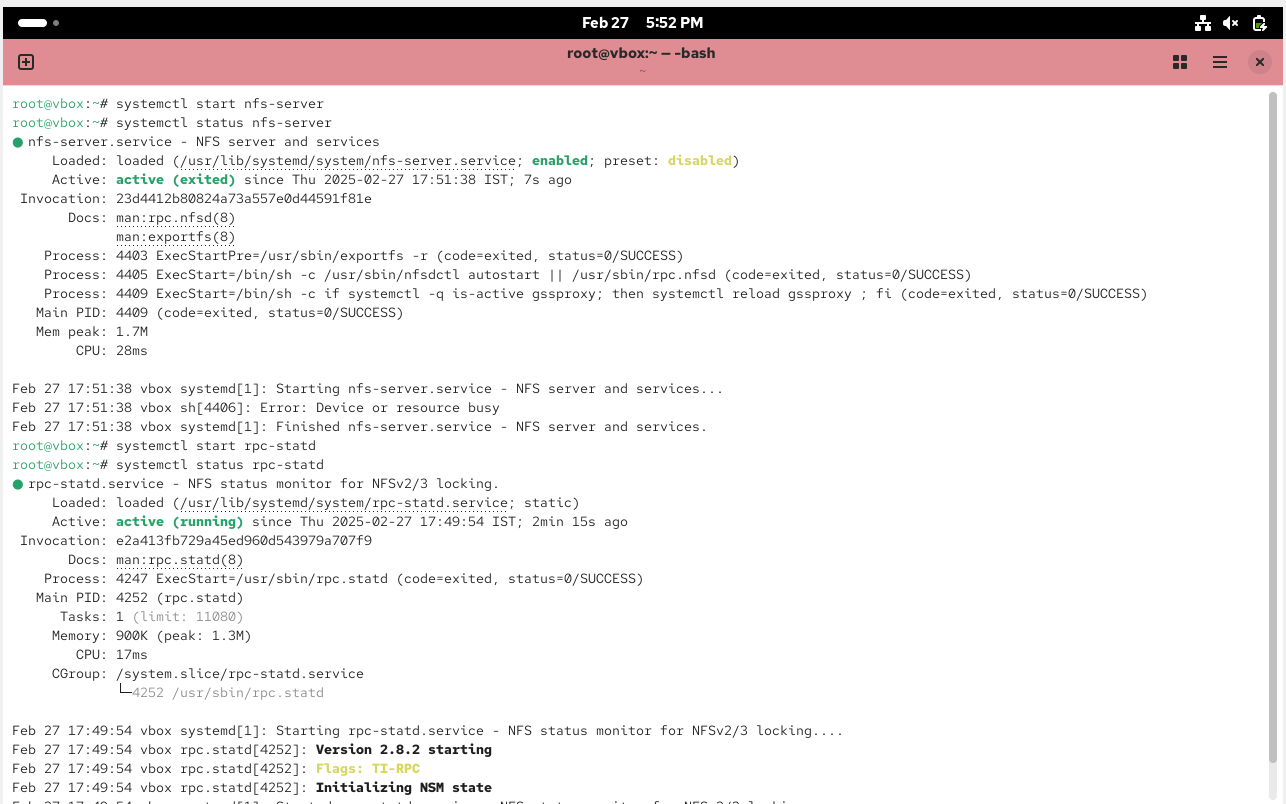
Once the packages are installed, enable and start NFS services
# systemctl enable rpcbind# systemctl enable nfs-server# systemctl start rpcbind, nfs-server, rpc-statd, nfs-idmapd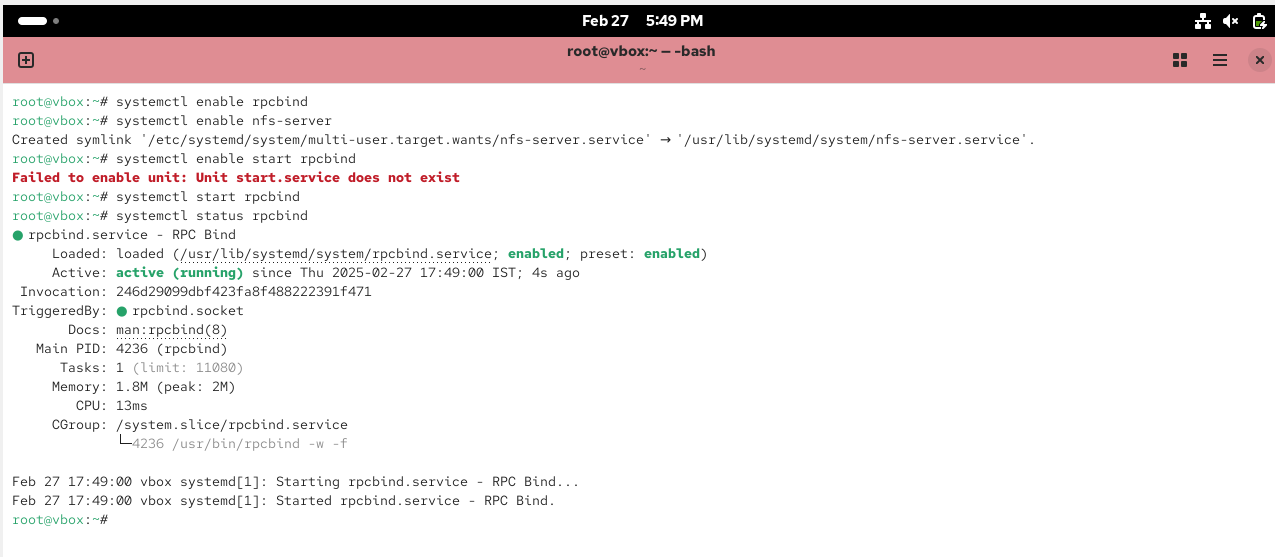
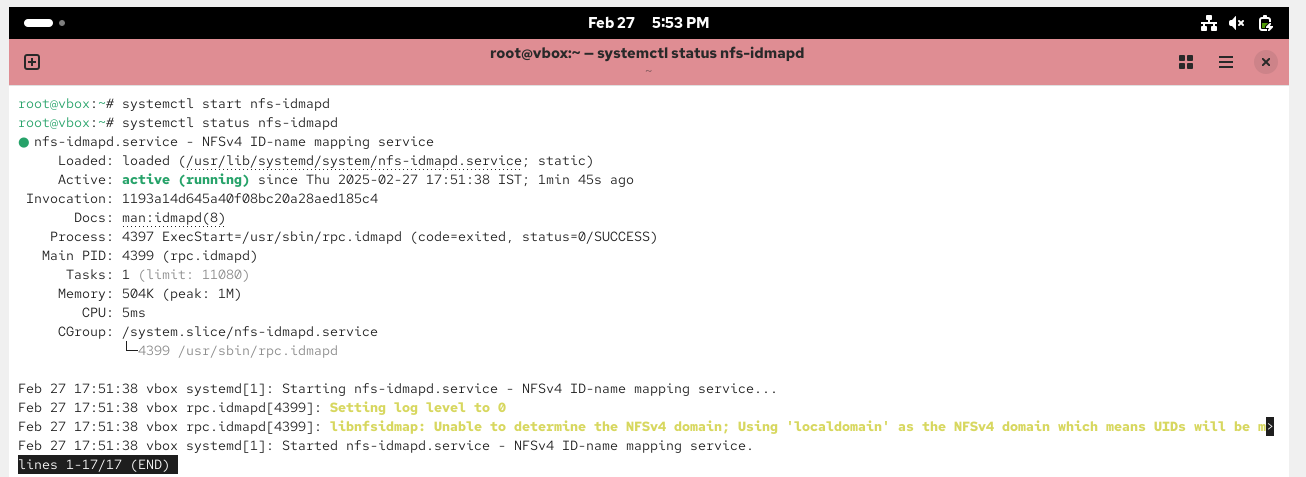
Create NFS share directory and assign permissions
# mkdir /mypretzels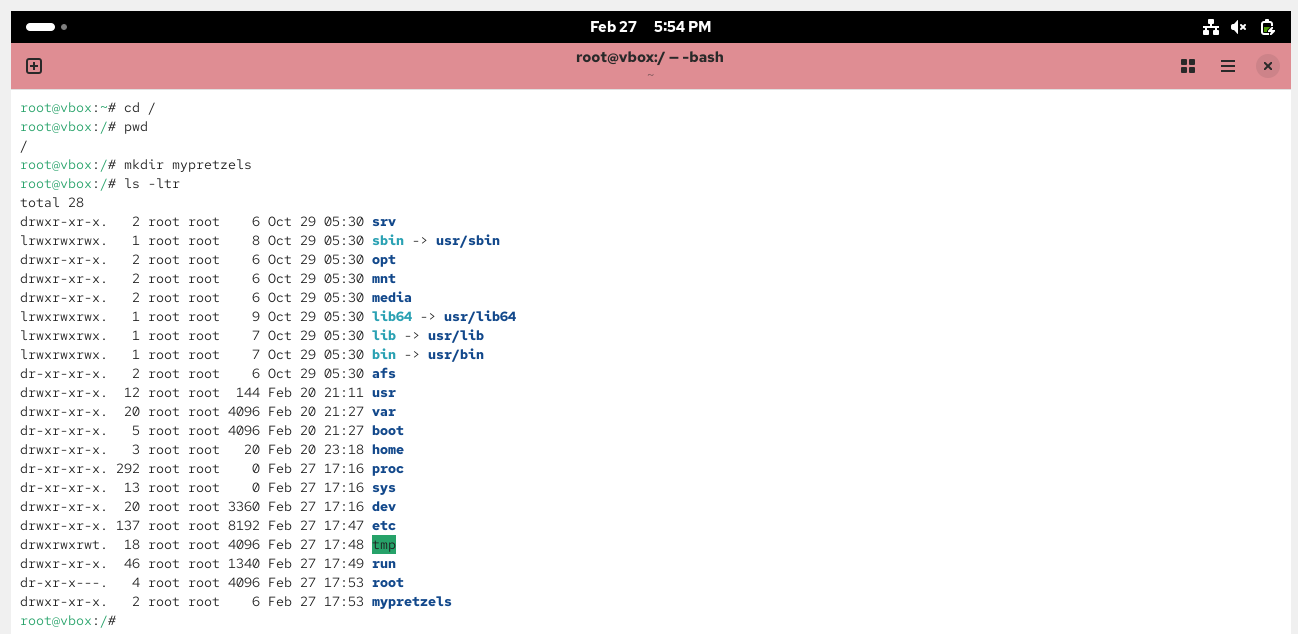
# chmod a+rwx /mypretzels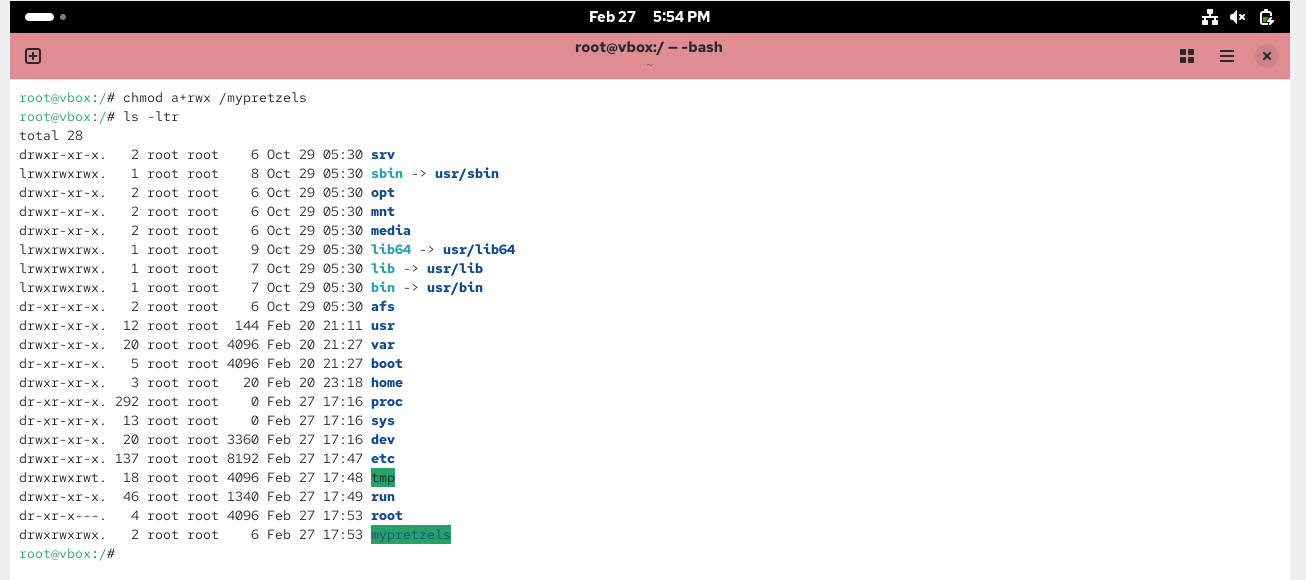

Modify /etc/exports file to add new shared filesystem
# /mypretzels 192.168.12.7(rw,sync,no_root_squash) = for only 1 host# /mypretzels *(rw,sync,no_root_squash) = for everyone
Export the NFS filesystem
# exportfs -rv
Stop and disable firewalld
# systemctl stop firewalld# systemctl disable firewalld
Steps for NFS Client Configuration
Install NFS packages
# yum install nfs-utils rpcbind
Once the packages are installed enable and start rpcbind service
# systemctl rpcbind start
Make sure firewalld or iptables stopped (if running)
# ps –ef | egrep “firewall|iptable”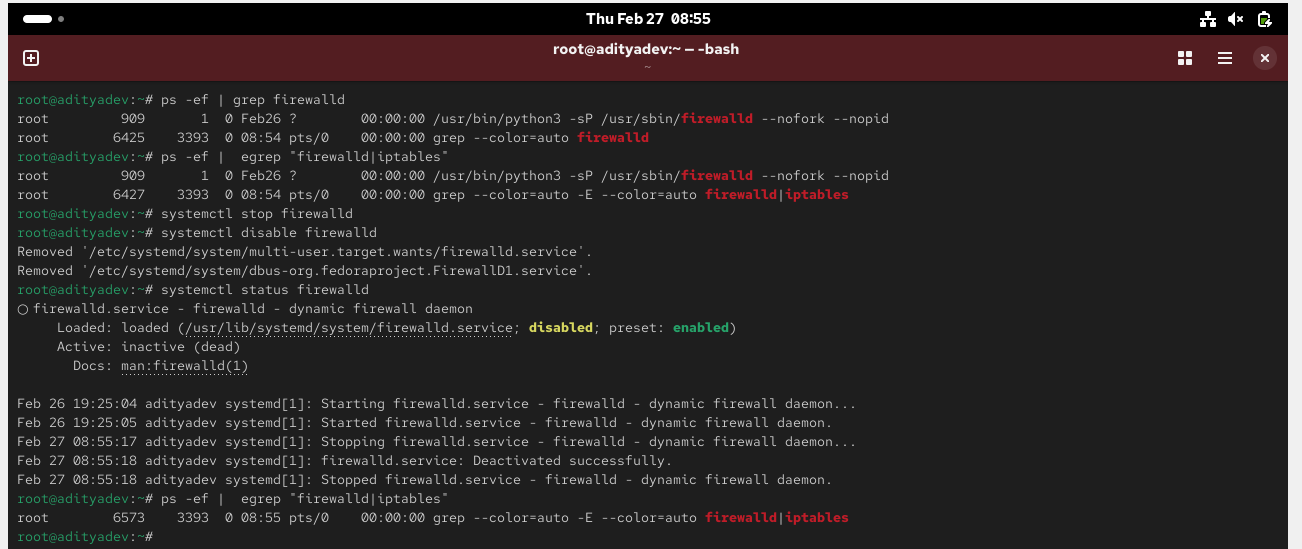
Show mount from the NFS server
# showmount -e 192.168.1.5 (NFS Server IP)
Create a mount point
# mkdir /mnt/kramer
Mount the NFS filesystem
# mount 192.168.1.5:/mypretzels /mnt/kramer
Verify mounted filesystem
# df –h


To unmount
# umount /mnt/kramer
Thanks for going through this blog, Happy Learning !! 😁
Subscribe to my newsletter
Read articles from Aditya Dev Shrivastava directly inside your inbox. Subscribe to the newsletter, and don't miss out.
Written by
