How to Deploy a Turborepo Monorepo on AWS EC2 Without Docker
 Mani Teja
Introduction
What is Turborepo?
Turborepo is a high-performance build system designed to optimize monorepo-based development through caching and parallel processing. It efficiently manages multiple projects, significantly reducing build times and enhancing scalability.
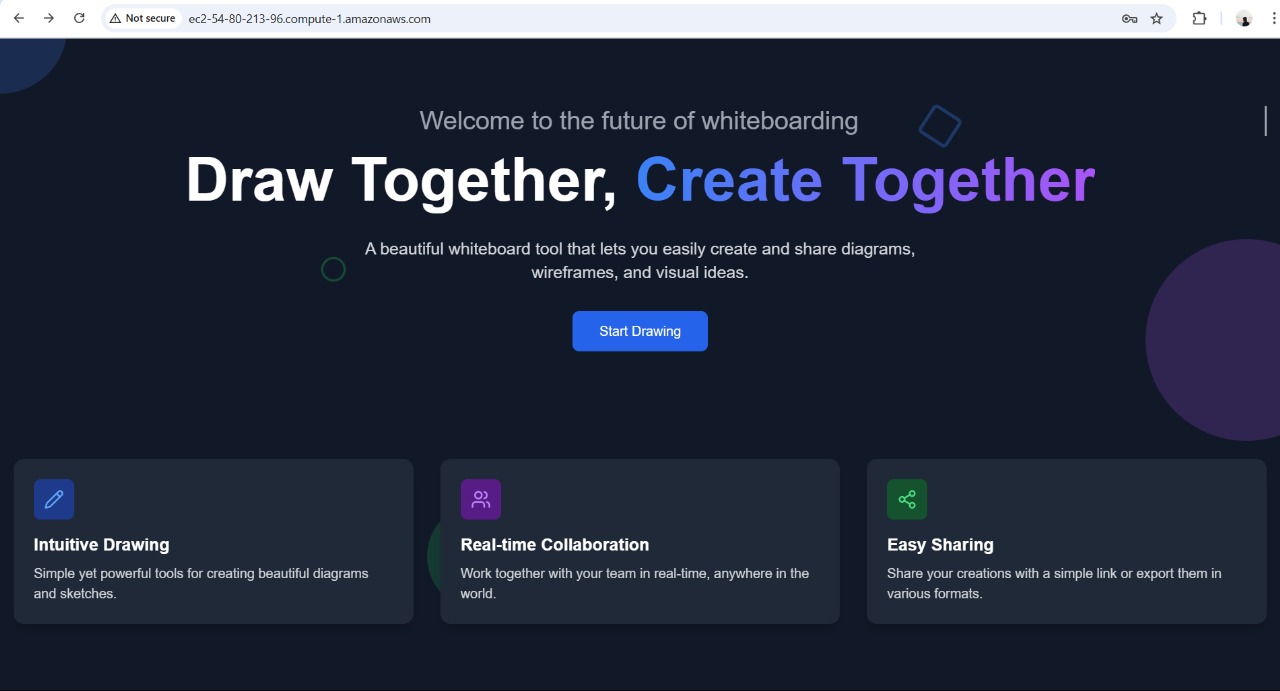
This guide demonstrates how to deploy a Turborepo monorepo on an AWS EC2 instance without using Docker. The application includes:
Frontend: A web interface accessible at
localhost:3000.HTTP Backend: API services available at
localhost:3001.WebSocket Service: Real-time communication running on
localhost:8080.Shared Packages & Database: Common utilities and a PostgreSQL database.
Folder Structure
DrawSync/
│── apps/
│   ├── frontend/      # Frontend application (Next.js)
│   ├── http-backend/  # HTTP API backend
│   ├── ws-backend/    # WebSocket backend
│
│── packages/
│   ├── shared/        # Shared utilities and functions
│   ├── db/            # Database connection and schema
│
│── .env               # Environment variables
│── turbo.json         # Turborepo configuration
│── package.json       # Root package.json
│── pnpm-lock.yaml     # Dependency lock file (if using PNPM)
What Will This Guide Cover?
Setting up an AWS EC2 instance and configuring security groups.
Installing dependencies (Node.js , PNPM , PM2 and Nginx).
Cloning and setting up the monorepo.
Building and running the application.
Configuring Nginx as reverse proxy.
Testing the Deployment
Step 1 : Setting Up the AWS Environment
Creating and AWS EC2 Instance
Log in to AWS and navigate to the EC2 Dashboard.
Click Launch Instance and select ubuntu as the OS**.**
Choose an instance type (e.g., t2.micro for free-tier eligible users).
Configure security groups:
Allow SSH (22) for remote access.
Allow HTTP (80) and HTTP (443) for web traffic.
Allow Custom TCP (3000 , 3001 , 8080) for app services.
Click Launch and connect to your instance :
ssh -i your-key.pem ubuntu@your-ec2-public-ip
Step 2 : Installing Dependencies
Update System packages and install required dependencies :
sudo apt update

# Install Node.js
curl -fsSL https://raw.githubusercontent.com/nvm-sh/nvm/v0.39.4/install.sh | bash
source ~/.bashrc
nvm install 18
nvm use 18

# Install Nginx, and PM2
sudo apt install nginx
npm install -g pm2
Verify Installations :
node -v   # Should return v18.x.x or above version
pm2 -v    # Should return version number
Step 3 : Cloning and Setting Up the Monorepo
Clone the monorepo from Github and install dependencies :
git clone https://github.com/YOUR_GITHUB_USERNAME/YOUR_TURBOREPO_PROJECT.git
cd YOUR_TURBOREPO_PROJECT
For my project :
git clone https://github.com/Maniteja0126/DrawSync.git
cd DrawSync
Choose and install your package manager (pnpm , npm , or yarn ) :
# If using PNPM
npm install -g pnpm
pnpm install

# If using NPM
npm install

# If using Yarn
yarn install
Make sure to add .env variables to your EC2 instance :
nano .env
Add your environment variables and save the file.
Build the Project :
pnpm run build
Step 4 : Running Your Apps with PM2
Start the application using PM2 :
cd apps/frontend
pm2 start pnpm --name "frontend" -- start       # For Frontend
cd ../http-backend
pm2 start pnpm --name "HTTP-Backend" -- start   # For HTTP
cd ../ws-backend
pm2 start pnpm --name "WS-Server" -- start      # For WebSocket
Check if the apps are running :
pm2 list

Set PM2 to restart on system reboot :
pm2 startup
pm2 save
Step 5 : Configuring Nginx as a Reverse Proxy
Create a new Nginx Configuration file :
sudo nano /etc/nginx/sites-available/your-app
In my case :
sudo nano /etc/nginx/sites-available/DrawSync
Add the following configuration :
server {
    listen 80;
    server_name example.com www.example.com;  # Use your domain or EC2 public IP

    # Frontend
    location / {
        proxy_pass http://localhost:3000;
        proxy_http_version 1.1;
        proxy_set_header Upgrade $http_upgrade;
        proxy_set_header Connection 'upgrade';
        proxy_set_header Host $host;
        proxy_set_header X-Real-IP $remote_addr;
        proxy_cache_bypass $http_upgrade;
    }

    # Backend API
    location /api/ {
        proxy_pass http://localhost:3001/;
        proxy_http_version 1.1;
        proxy_set_header Upgrade $http_upgrade;
        proxy_set_header Connection 'upgrade';
        proxy_set_header Host $host;
        proxy_set_header X-Real-IP $remote_addr;
        proxy_cache_bypass $http_upgrade;
    }

    # WebSocket
    location /ws/ {
        proxy_pass ws://localhost:8080/;
        proxy_http_version 1.1;
        proxy_set_header Upgrade $http_upgrade;
        proxy_set_header Connection 'upgrade';
        proxy_set_header Host $host;
        proxy_set_header X-Real-IP $remote_addr;
        proxy_cache_bypass $http_upgrade;
    }
}
Test the configuration first :
sudo nginx -t
Enable the configuration and restart Nginx :
sudo ln -s /etc/nginx/sites-available/your-app /etc/nginx/sites-enabled/
sudo systemctl restart nginx
Step 6 : Testing the Deployment :
Visit http://your-public-ip→ Should load the Frontend.
Visit http://your-public-ip/api/ → Should load the Backend API.
Visit ws://your-public-ip → Should connect to the WebSocket Service.

Conclusion
Congratulations! You have successfully deployed your Turborepo monorepo on an AWS EC2 instance without Docker. This process involved setting up an EC2 instance, installing dependencies, cloning your monorepo, configuring PM2 for process management, and setting up Nginx as a reverse proxy.
Subscribe to my newsletter
Read articles from Mani Teja directly inside your inbox. Subscribe to the newsletter, and don't miss out.
Written by
