Effortlessly Connect Your MXCHIP AZ3166 to MQTT Using MXCHIP AZ1366 TOOLBOX
 Kimkpe Arnold Sylvian
Table of contents
- What You’ll Need.
- Why you need the ToolBox as a Developer
- Step 1: Install and Setup the Mxchip Extension
- Step 2: Setup the MQTT Client project from the Extension
- Step 3: Install Required Toolchains
- Step 4: Configure Your Wi-Fi and MQTT Settings
- Step 5: Build & Upload Your Firmware
- Step 6: Monitor Your Board's Output (Install Serial Monitor Extension)
- What's Next?
- 🎉 That’s a Wrap!
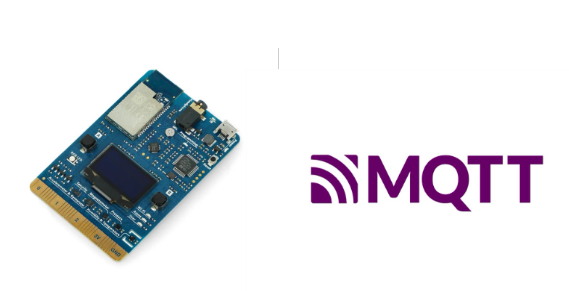
If you've ever tried to get an embedded IoT board connected to the cloud, you know it can feel like wrestling a dragon toolchains, drivers, configurations... and that’s before you even write a single line of MQTT code.
Good news: those days are over.
At Afrilogic Solutions, we’ve built the MXCHIP AZ1366 TOOLBOX, a Visual Studio Code extension that makes it incredibly easy to bring your MXCHIP AZ3166 board online. Whether you're prototyping for fun or building a serious IoT project, this guide will show you how to go from blinking lights to MQTT-powered cloud integration in under 15 minutes.
Let’s get into it. 👇
What You’ll Need.
An MXCHIP AZ3166 development board
Visual Studio Code installed
A Wi-Fi connection
An MQTT broker (you can use HiveMQ, Mosquitto, Azure IoT Hub)
And of course, the star of the show:
🧩 MXCHIP AZ1366 TOOLBOX (available in the VS Code Marketplace, link 👇)
Why you need the ToolBox as a Developer
Pre-configured project scaffolding
Easy Wi-Fi setup
A working MQTT client example
Built-in OLED display support
Sensor reading(Temperature, Humidity , Pressure , etc)
Even fun stuff like a Dino Game and Pong 🎮
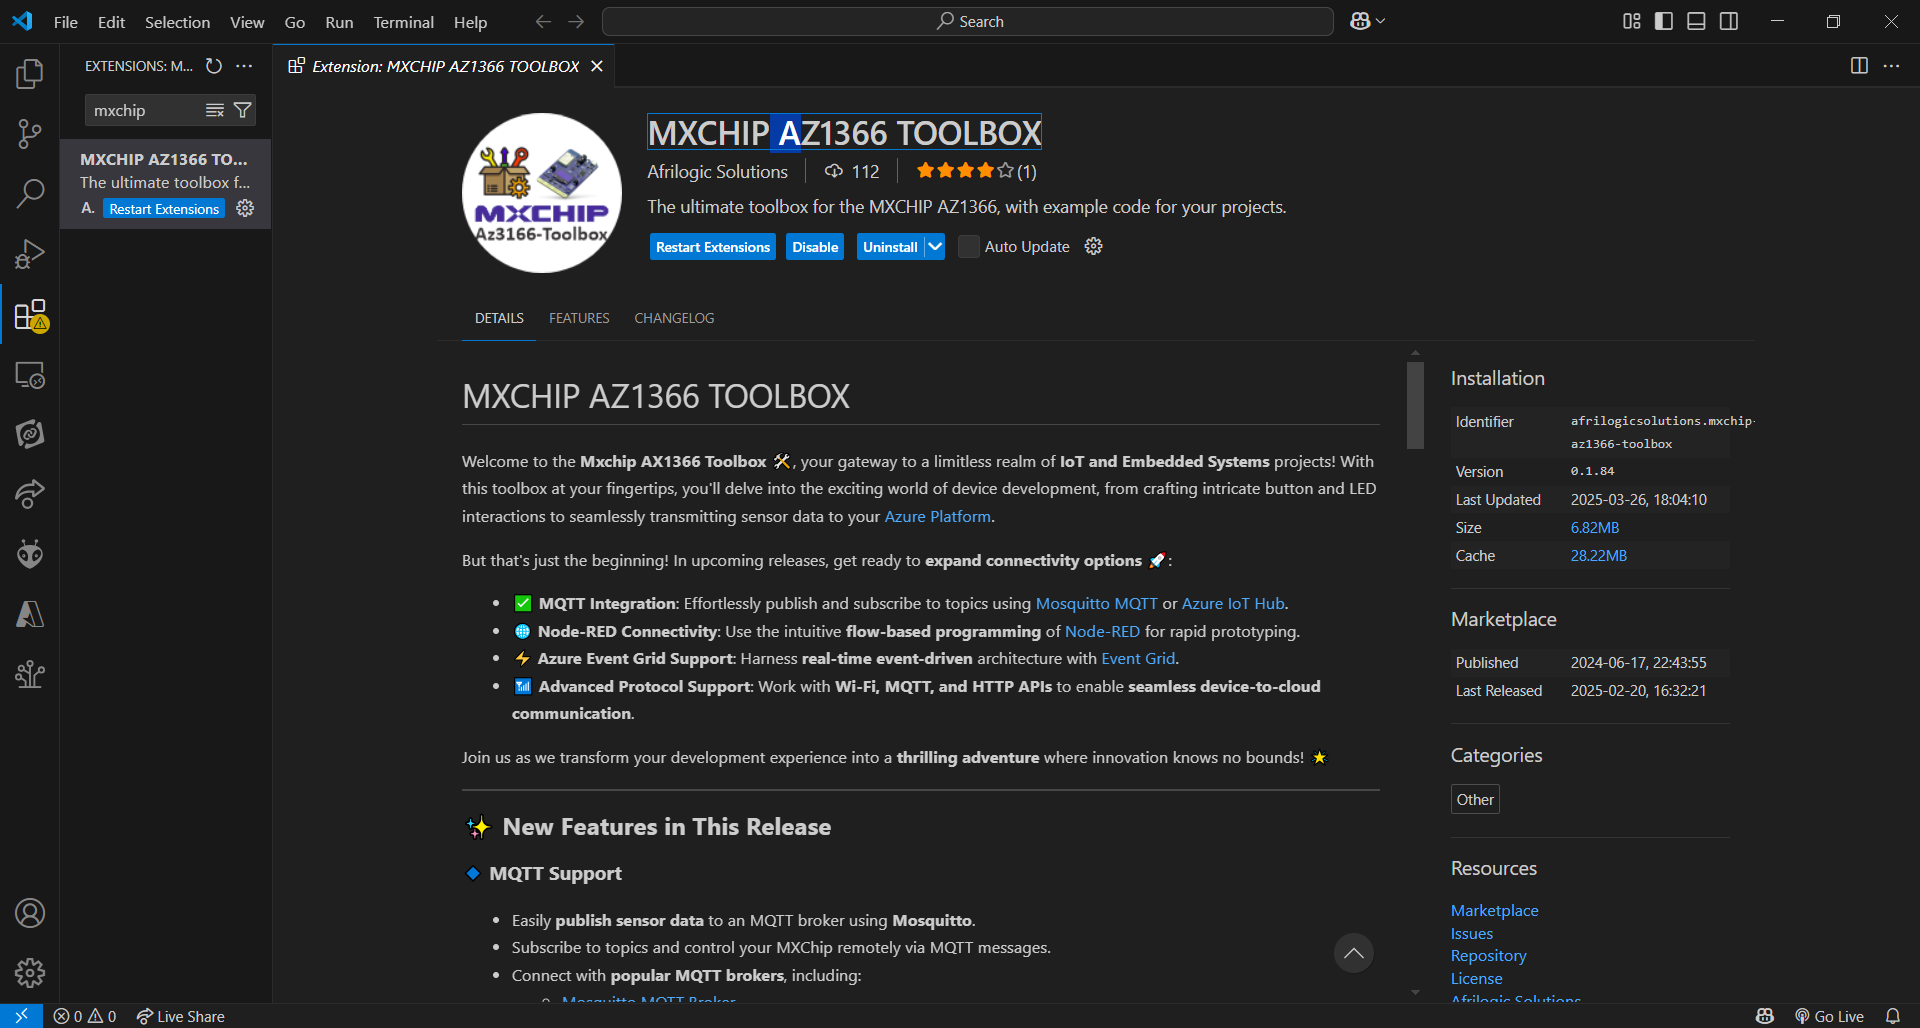
Step 1: Install and Setup the Mxchip Extension
Open Visual Studio Code
Go to the Extensions panel (Ctrl + Shift + X)
Search:
MXCHIP AZ1366 TOOLBOXClick Install
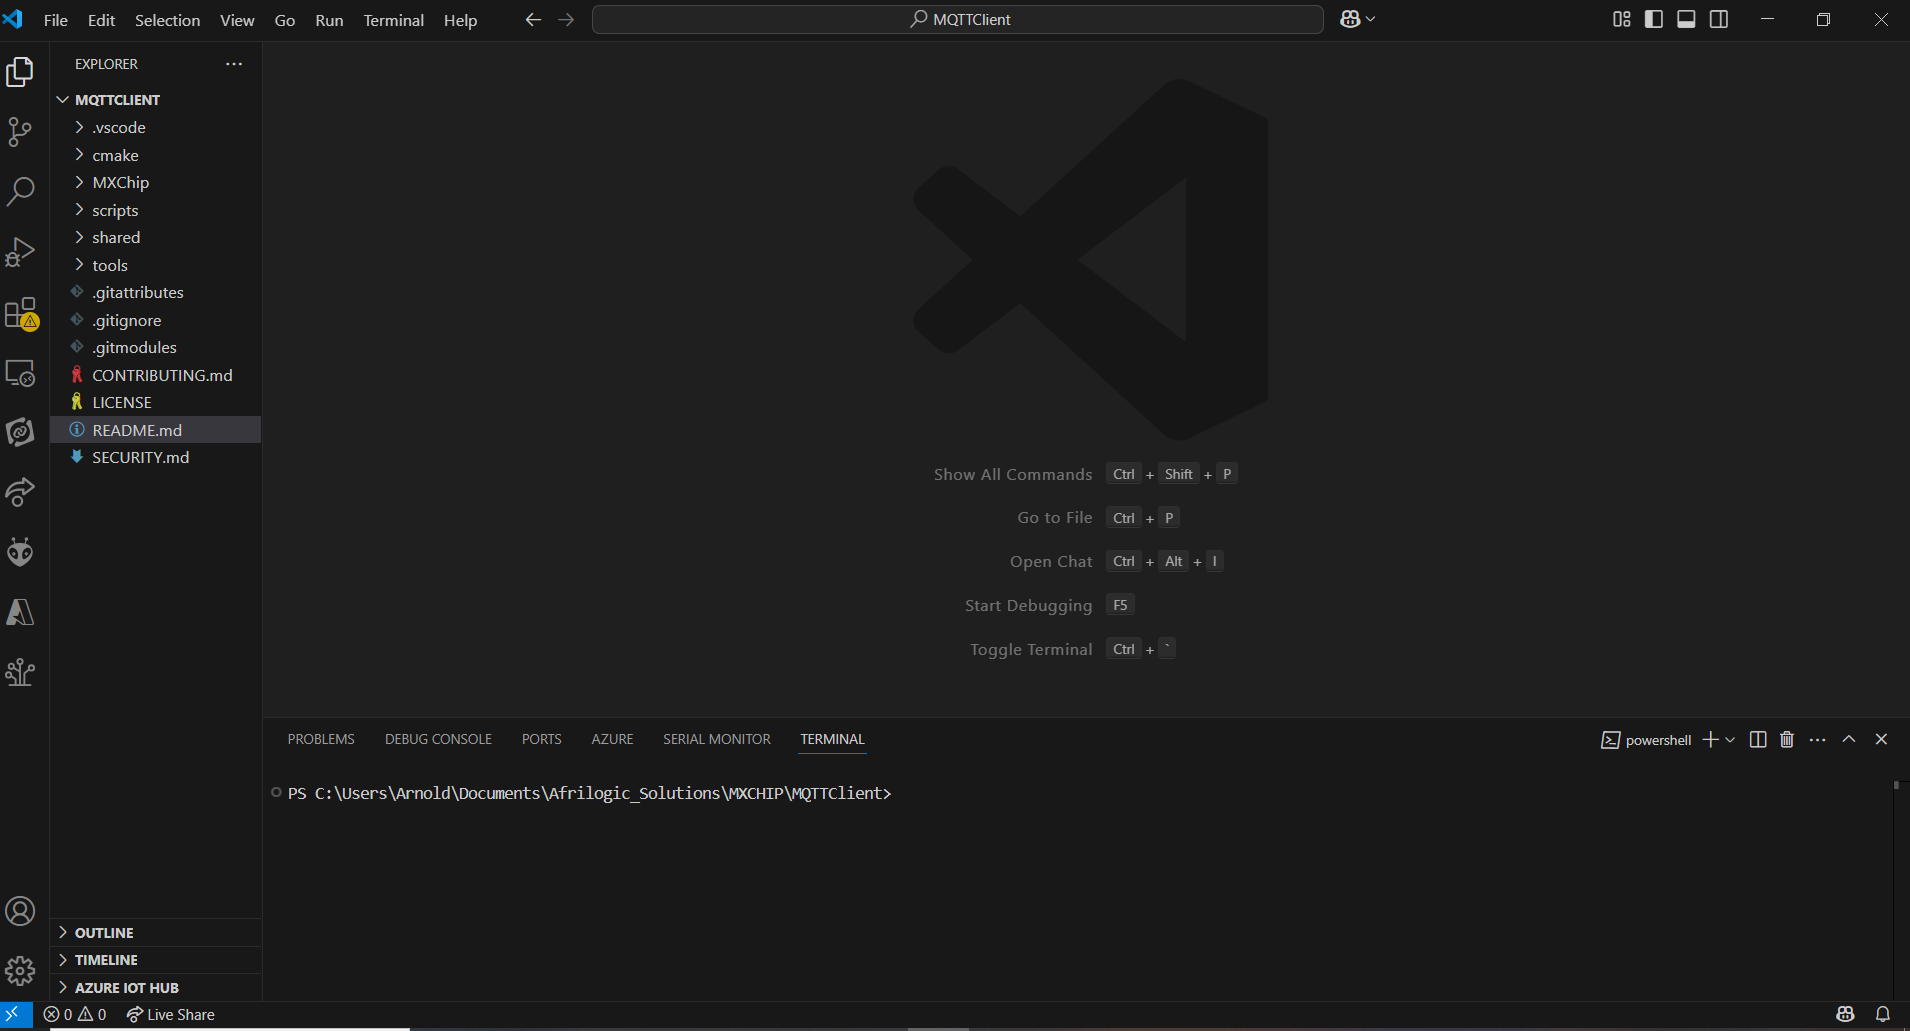
Step 2: Setup the MQTT Client project from the Extension
Here’s where the magic starts:
Press
F1orCtrl + Shift + Pto open the Command PaletteType
MxchipSelect
Mxchip Example: MQTT ClientChoose a location to save your project for example, your Documents folder
VS Code will open a new window with the project scaffolded and ready to go!
Step 3: Install Required Toolchains
Still in the Command Palette:
Press
F1againType
MxchipSelect
Mxchip: Install Drivers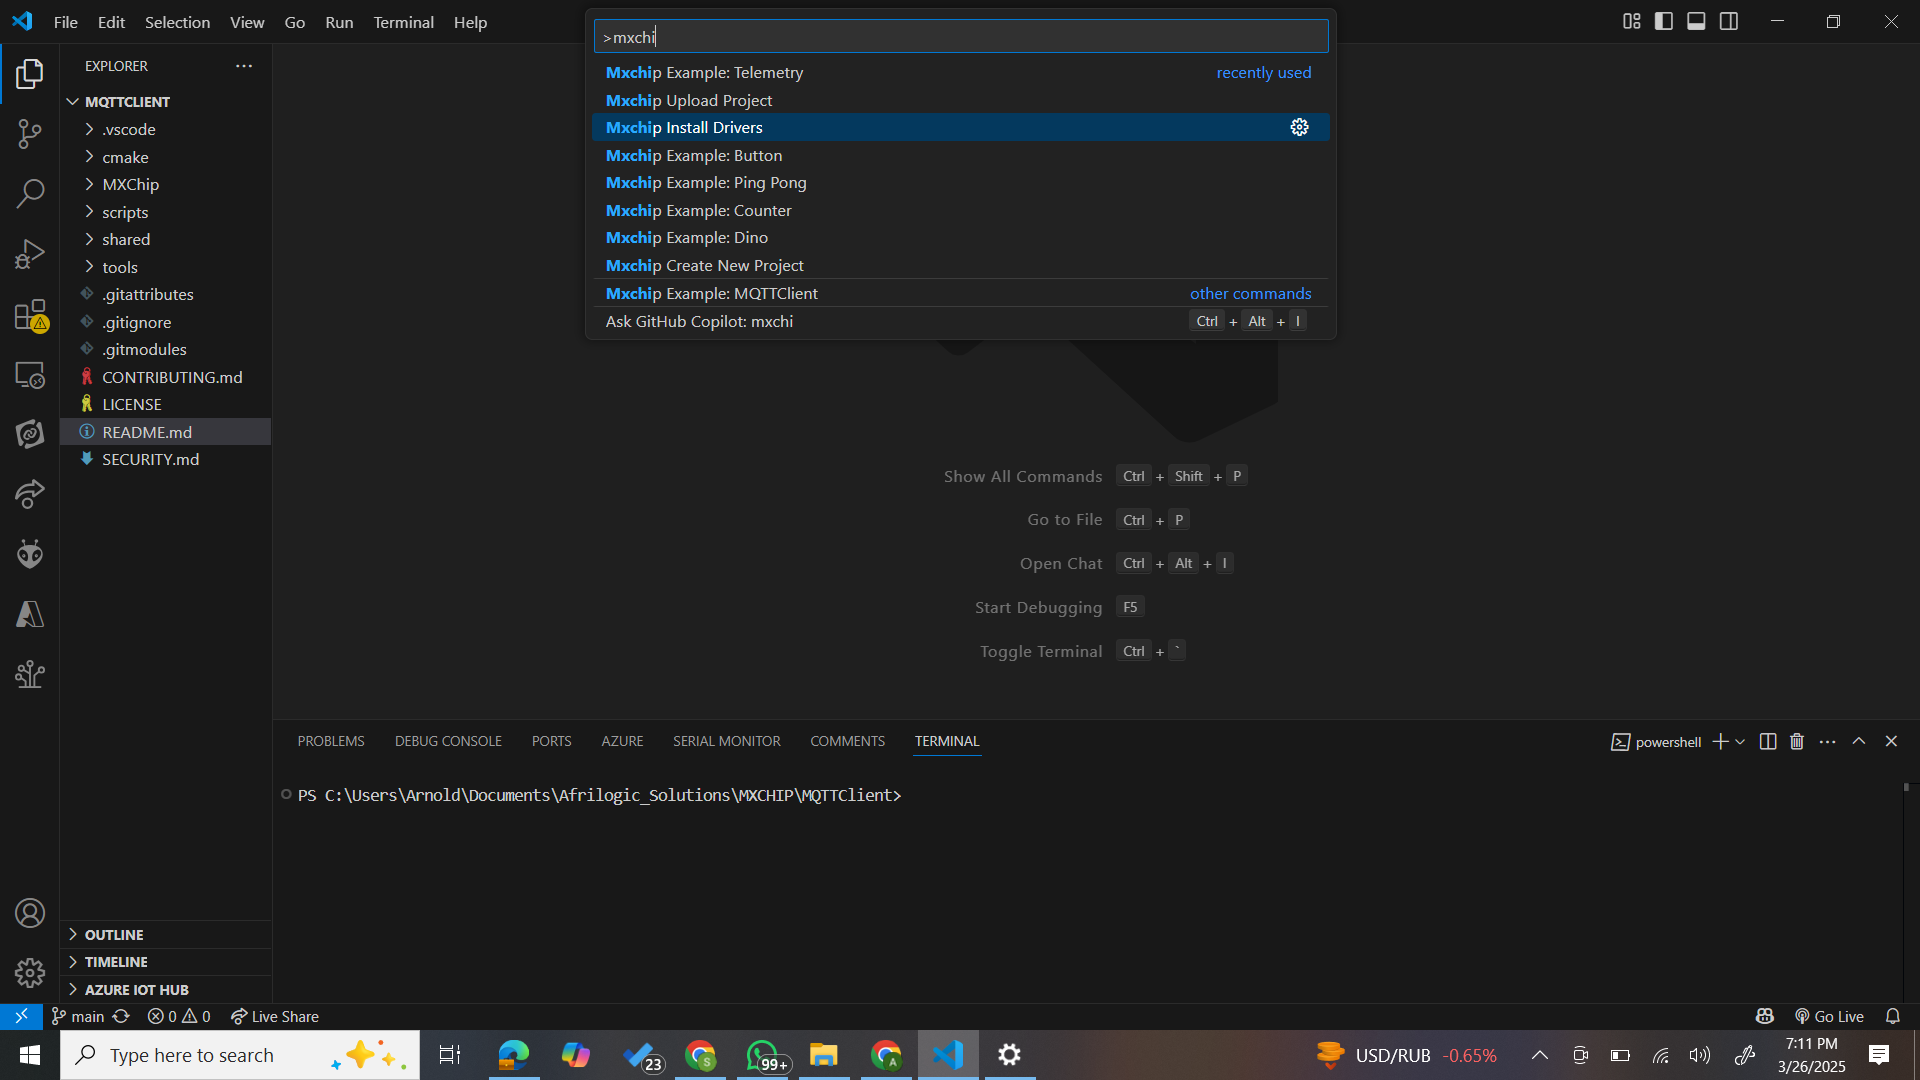
This installs:
CMake
GCC ARM Toolchain
Dependencies needed to build and upload to your board
💡 Heads up: This may take a few minutes. Go grab a coffee while the extension sets everything up ☕.
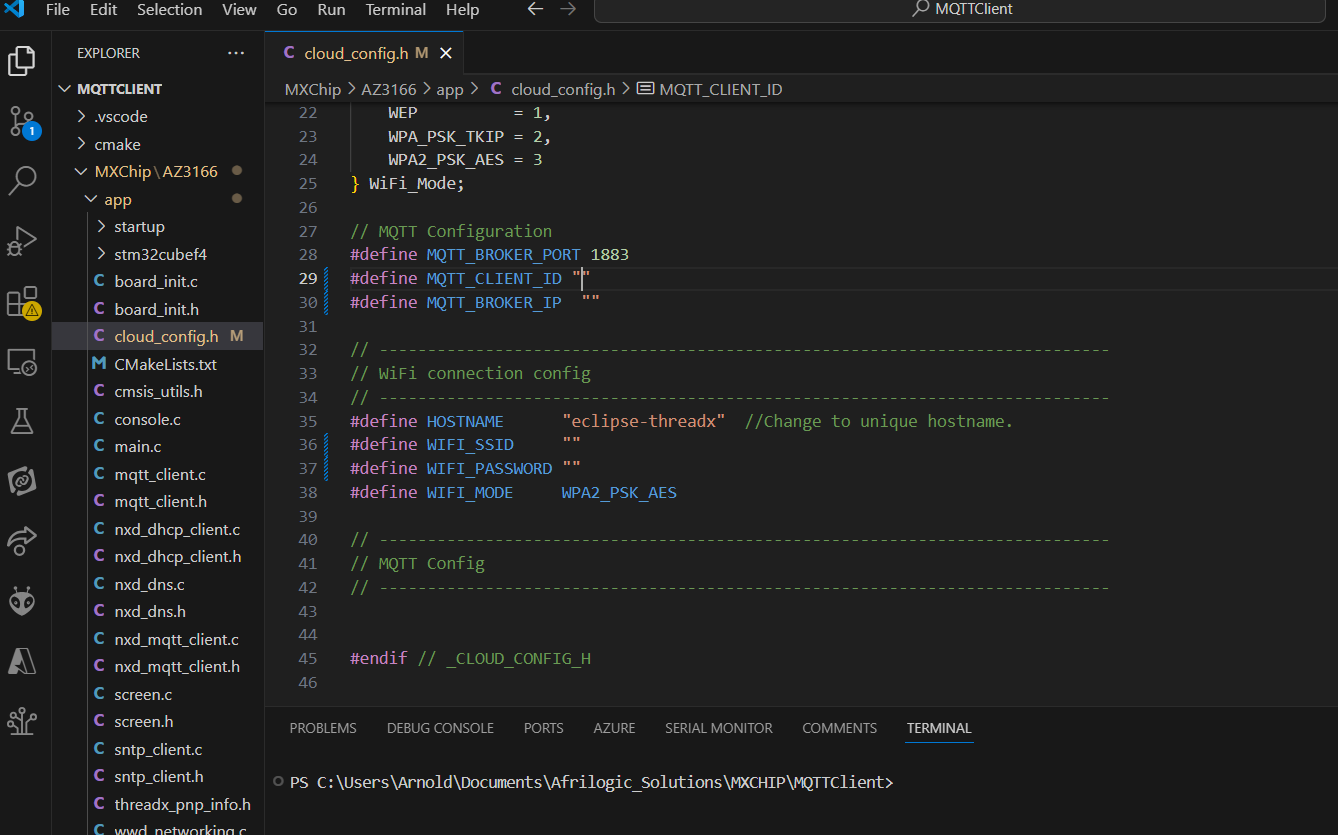
Step 4: Configure Your Wi-Fi and MQTT Settings
Navigate to your project folder and open:
📄 cloud_config.h
Update the placeholders with your network info and Brooker info:
Step 5: Build & Upload Your Firmware
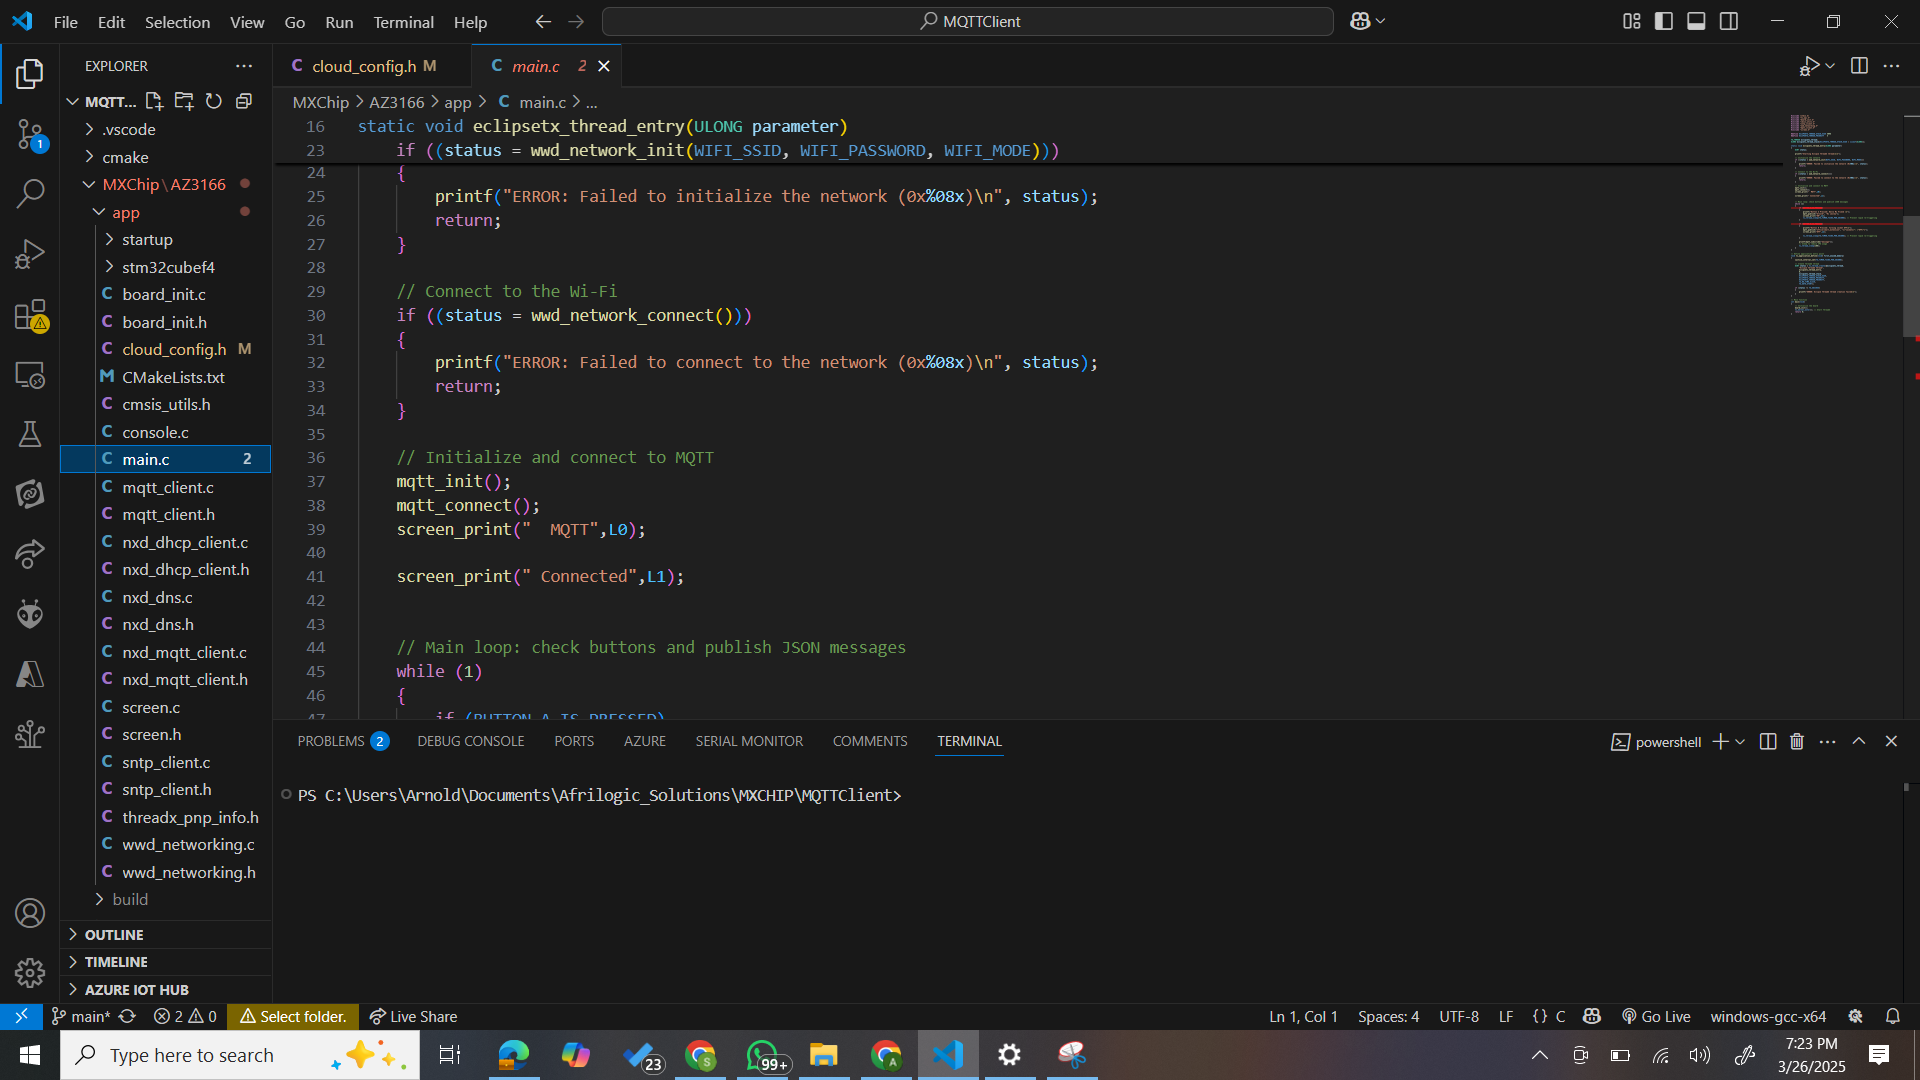
Edit the main.c file to setup your custom mqtt topics for subscriptions and publishing.
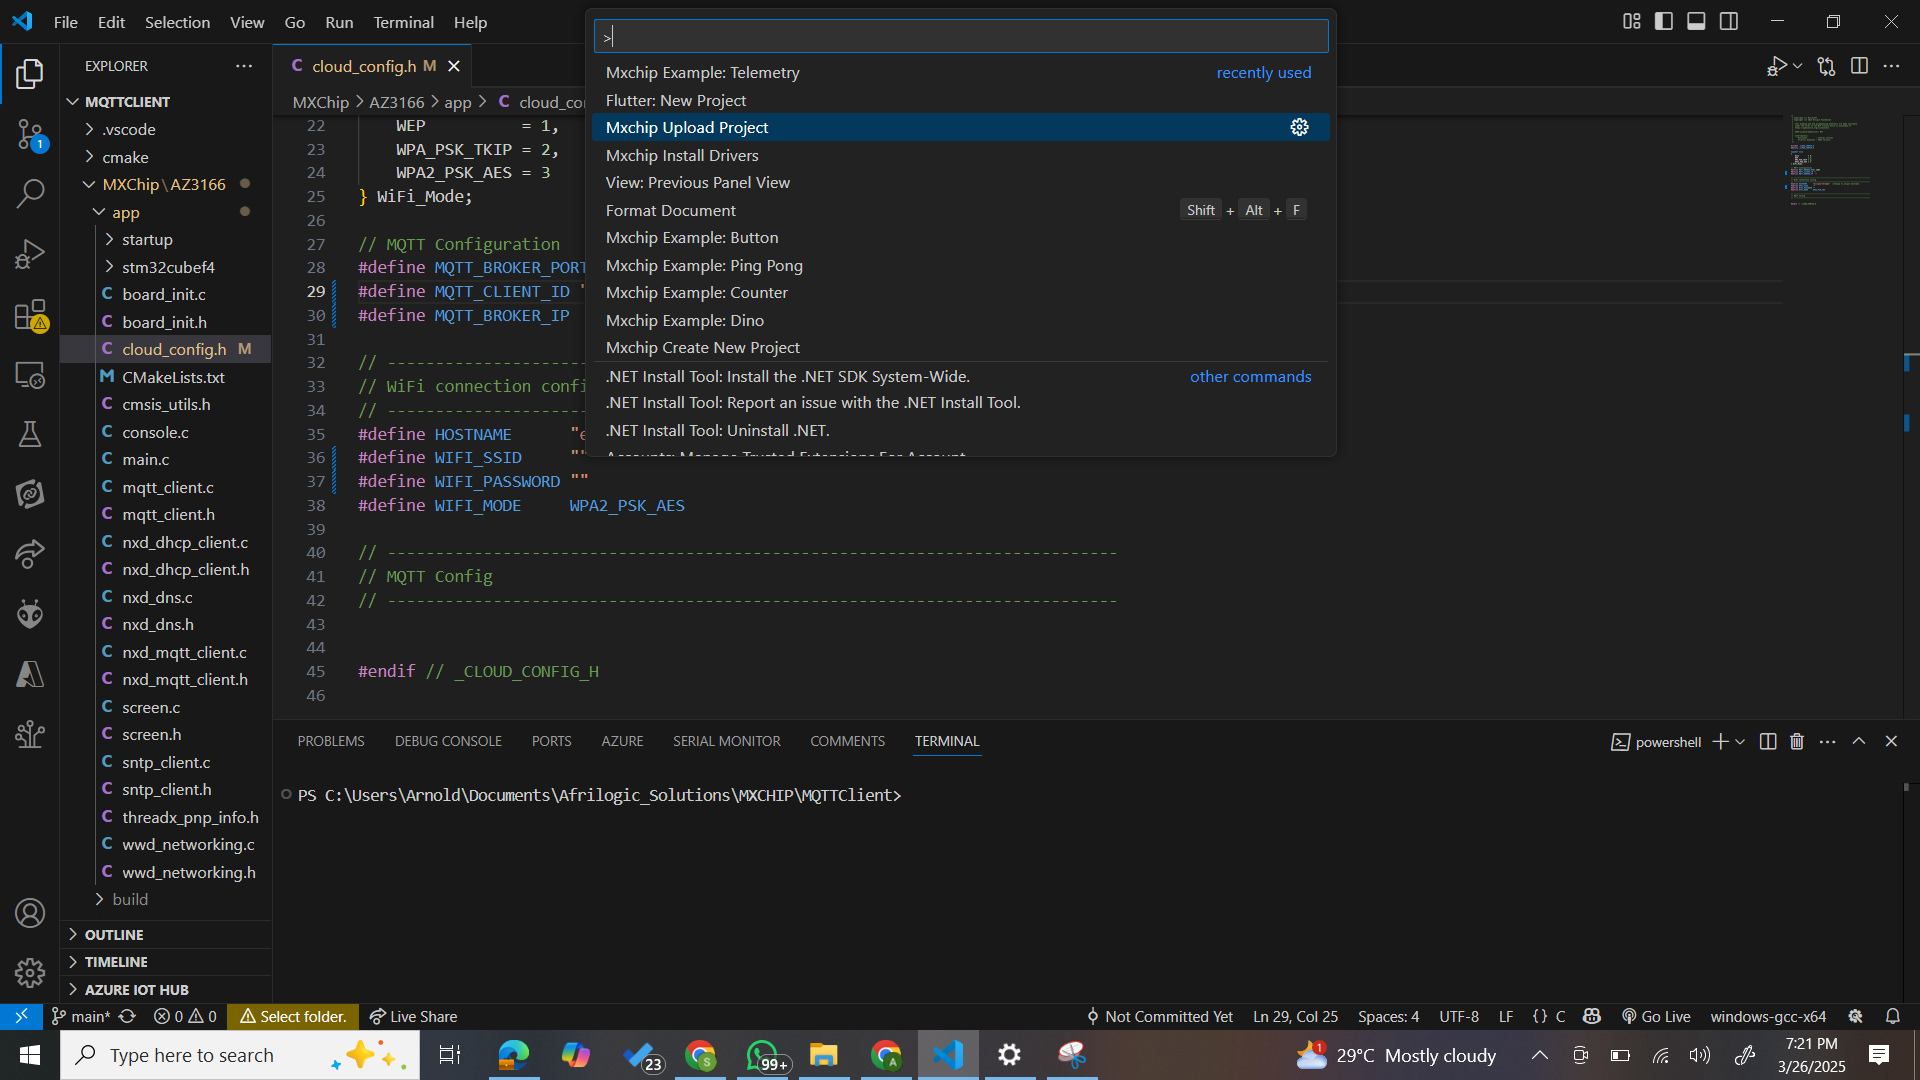
Once everything is ready:
Connect your MXCHIP board via USB
Press
F1Select
Mxchip: Upload Project
The extension will compile your code and flash it to the board automatically. You'll see output logs confirming when the process is complete.
Step 6: Monitor Your Board's Output (Install Serial Monitor Extension)
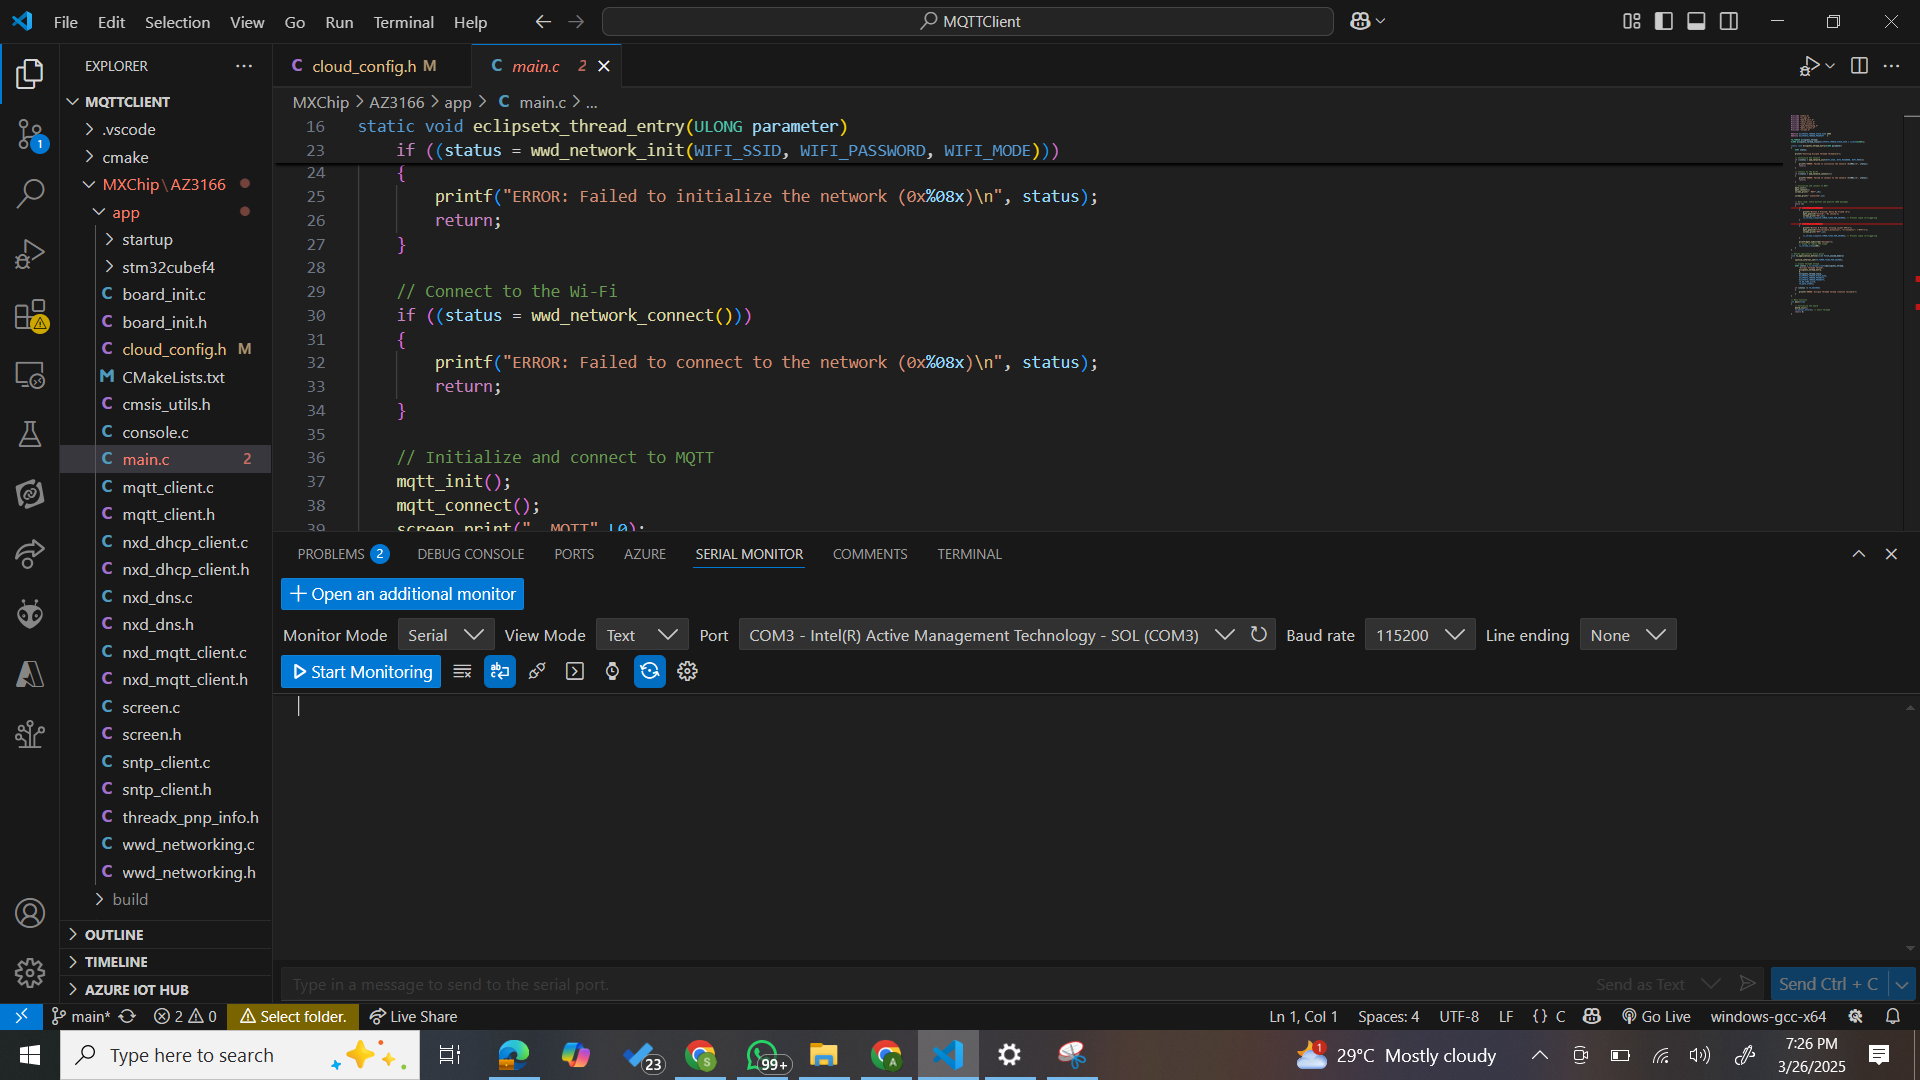
To visualize logs, sensor data, or MQTT messages from your MXCHIP board, you’ll need a Serial Monitor in VS Code.
🔧 Here’s how to set it up:
Press
Ctrl + Shift + Xto open the Extensions tabSearch for:
Serial MonitorInstall the extension by Microsoft or Adam Wulkiewicz (both work great)
Once installed:
Connect your board via USB
Open the Serial Monitor tab (usually appears in the bottom panel)
Select the correct COM port (you’ll see it listed once the board is plugged in)
Set the baud rate to 115200
What's Next?
Once you're connected:
Add real sensor data from onboard MEMS
Send data to Azure IoT Hub
Subscribe to control messages and trigger board actions
Use Node-RED (coming soon!) for a visual logic builder
🎉 That’s a Wrap!
In just a few steps, you’ve gone from zero to MQTT hero all thanks to the MXCHIP AZ1366 TOOLBOX. Whether you're building smart sensors, cloud dashboards, or just experimenting, this extension is your shortcut to fast, reliable development on the MXCHIP platform.
Have feedback or want to showcase what you built? Reach out or contribute on GitHub!
Happy coding! 🌍🔧
Subscribe to my newsletter
Read articles from Kimkpe Arnold Sylvian directly inside your inbox. Subscribe to the newsletter, and don't miss out.
Written by

Kimkpe Arnold Sylvian
Kimkpe Arnold Sylvian
I’m an IoT firmware/software engineer who loves bringing ideas to life by designing, building, and maintaining IoT solutions from the ground up. My expertise spans everything from hardware design to full-scale deployment, ensuring every step is seamless and efficient. I’m passionate about robotics and mechatronics engineering, and I have strong skills in ROS and other essential tools. As a full-stack IoT developer, I enjoy tackling complex problems and creating innovative, reliable solutions that make a real impact.