How to Create and Connect to a Windows Virtual Machine using the Azure portal
 George Epebifie
Virtual Machine is one of Azure’s compute service offerings which are scalable and flexible in running virtualised instances of various operating systems in the cloud. Today we will walk through the process of creating a windows 11 virtual machine (VM) in Microsoft Azure and then connecting to it.
Prerequisites
In order to start this process we must ensure all of these are in place:
✅ An Azure account/subscription
✅ Sufficient permissions to create resources in Azure
✅ A stable internet connection
Step 1: Sign in to the Azure Portal
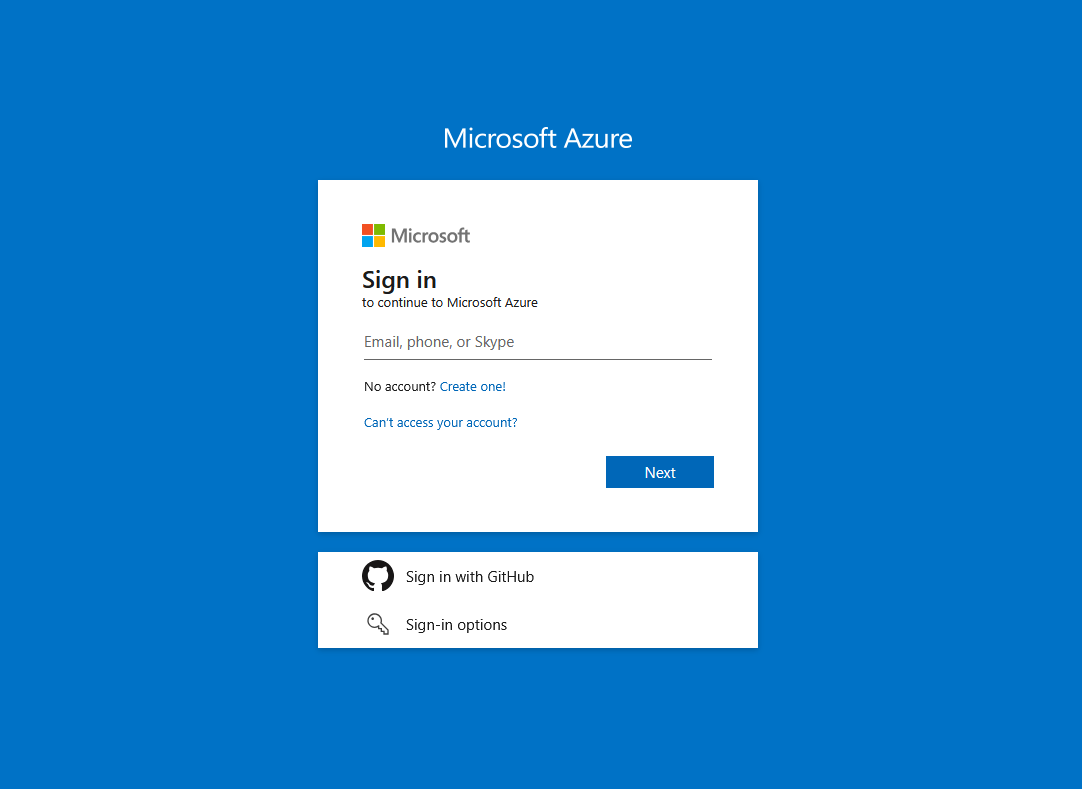
Go to the Azure Portal.
Sign in with your Azure credentials.
Step 2: Create a Virtual Machine
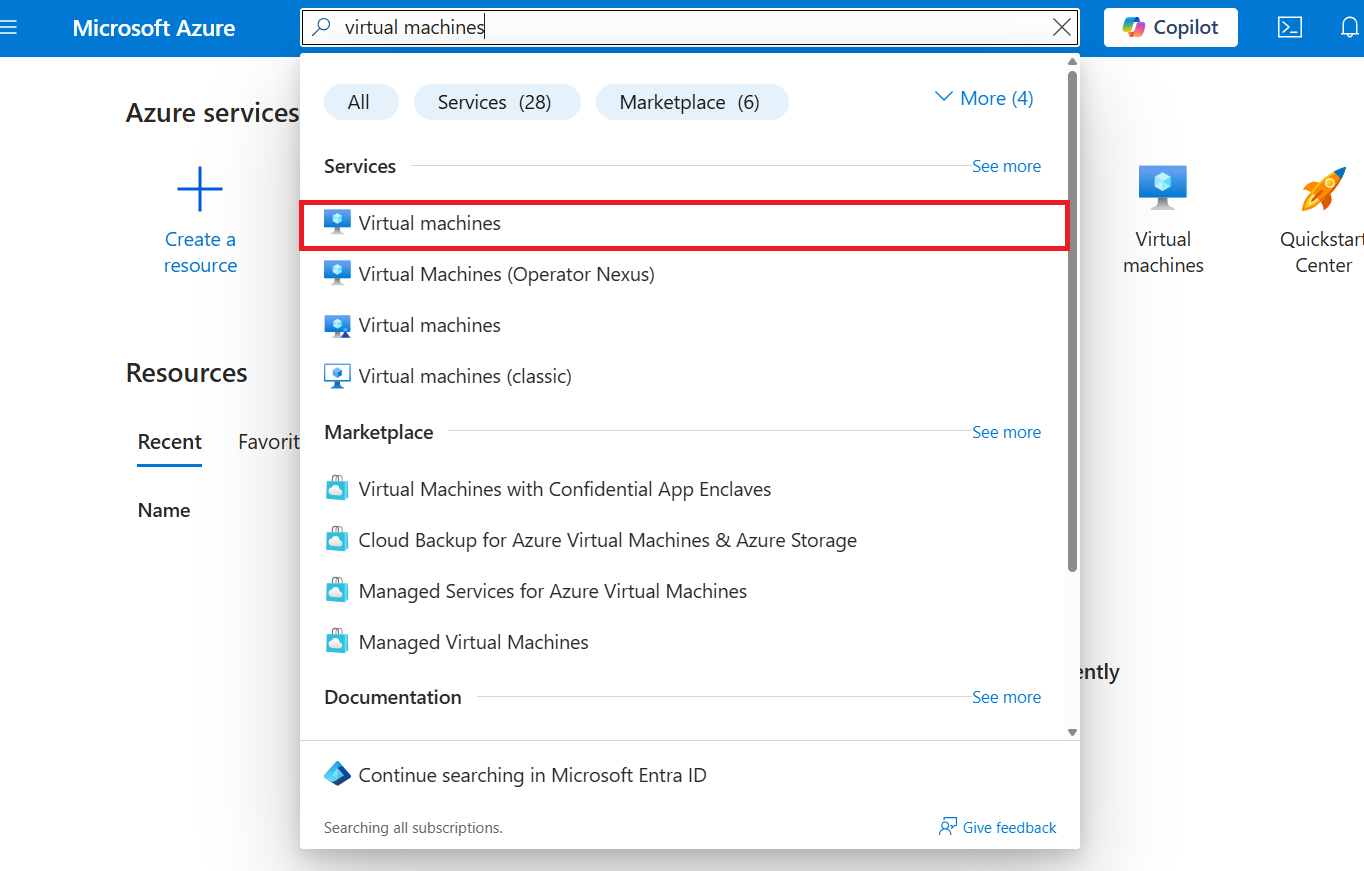
Enter virtual machines in the search bar.

Under Services, select Virtual machines.
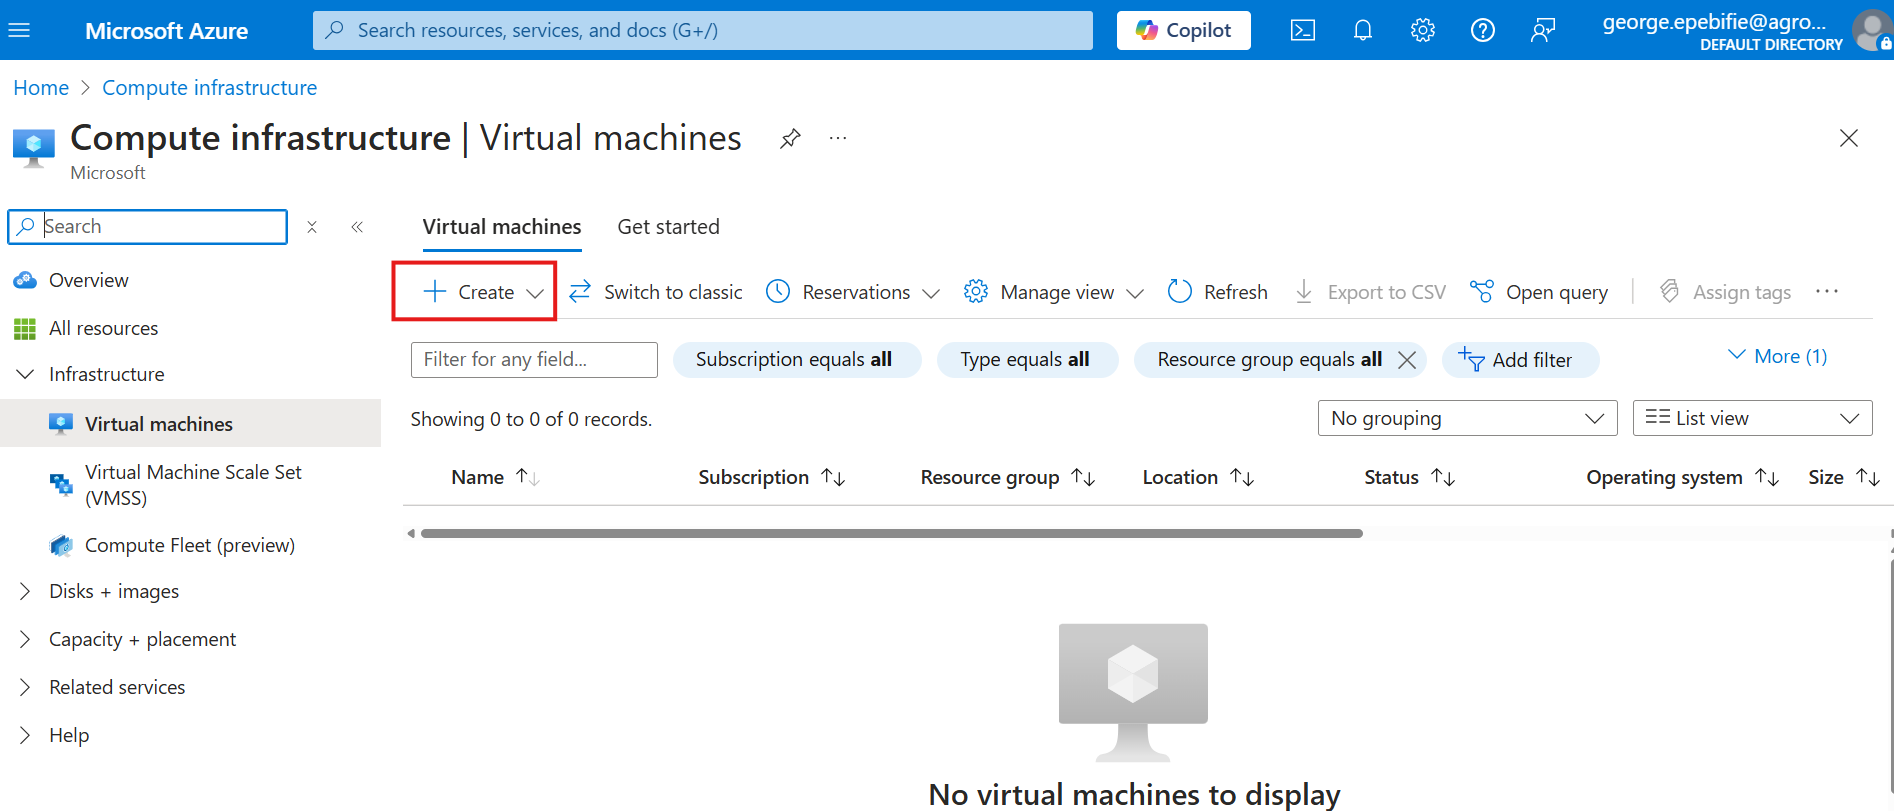
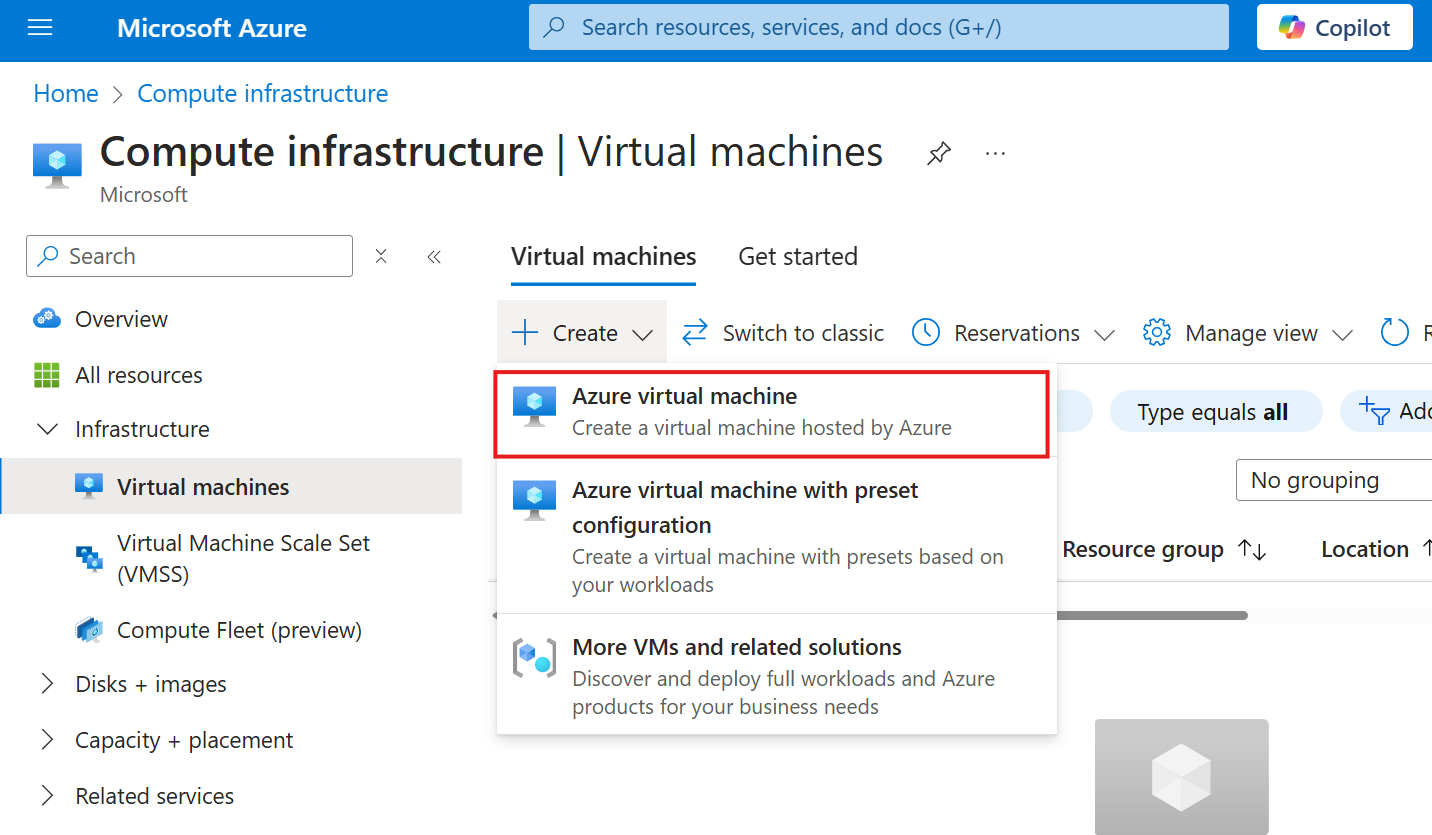
In the Virtual machines page, select Create and then Azure virtual machine. The Create a virtual machine page opens.
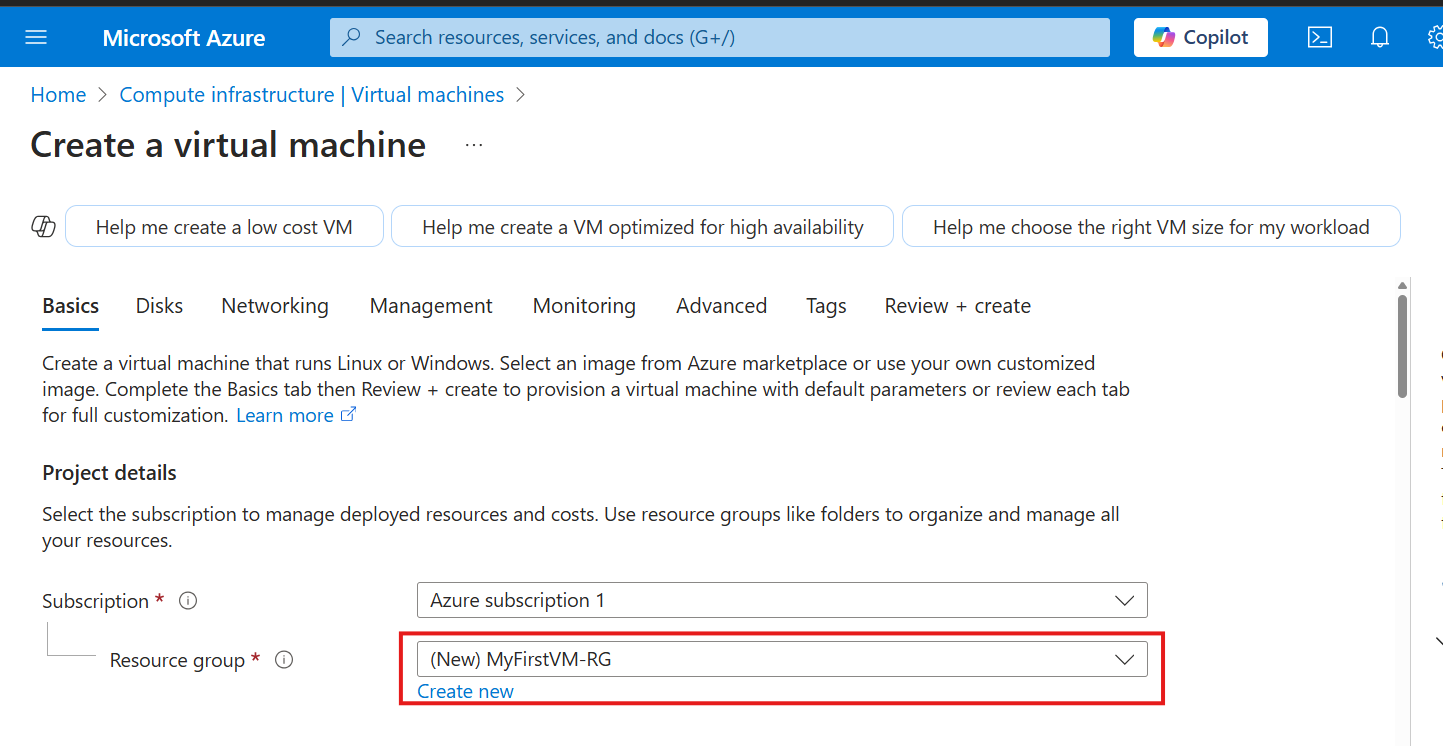
Under the Basics Tab, Choose a subscription, enter Resource Group or create one if you do not have one.
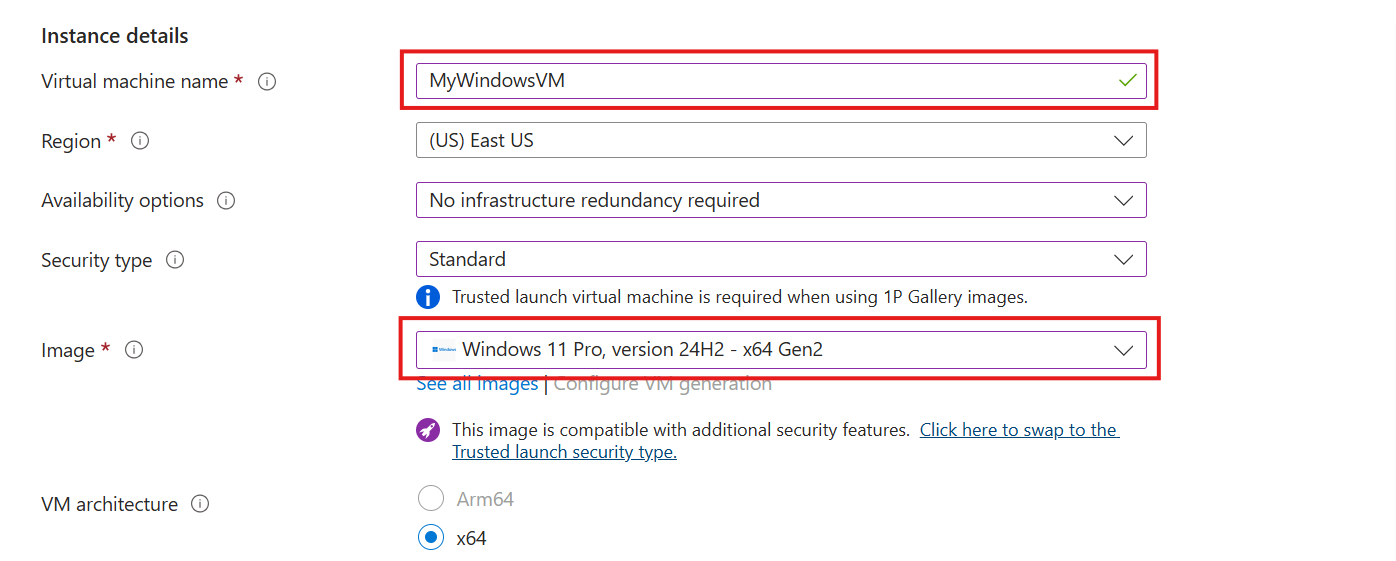
under the Instance details, enter a VM Name for the Virtual machine name and choose Windows 11 for the Image. Leave the other options as default.
Under Administrator account, provide a username, such as azureuser and a password. The password must be at least 12 characters long and meet the defined complexity requirements.

- Under Inbound port rules, choose Allow selected ports and then select RDP (3389) and HTTP (80) from the drop-down.

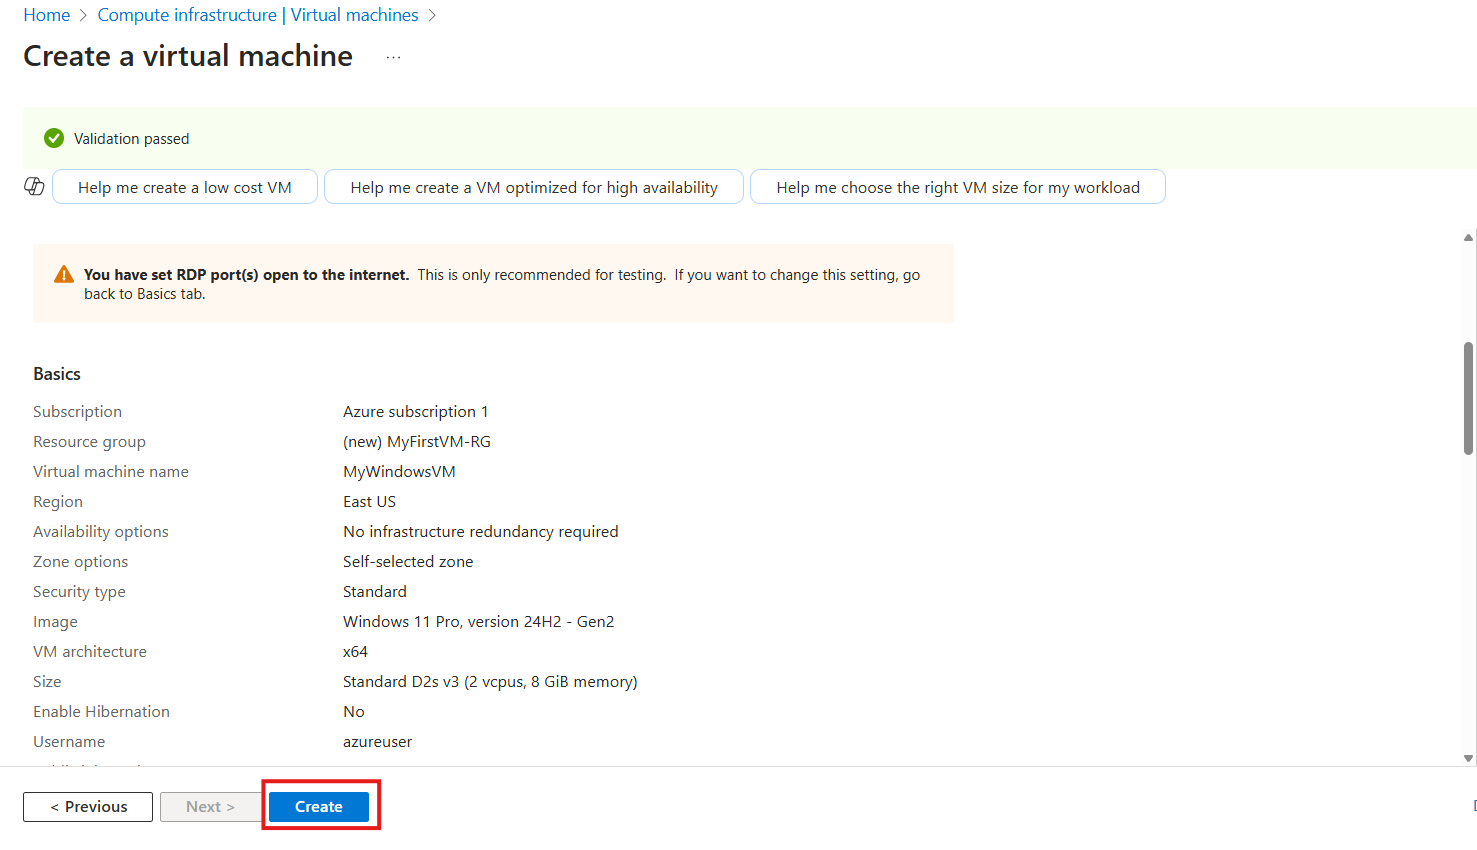
Leave the remaining defaults and then select the Review + create button at the bottom of the page.

After validation runs, select the Create button at the bottom of the page.
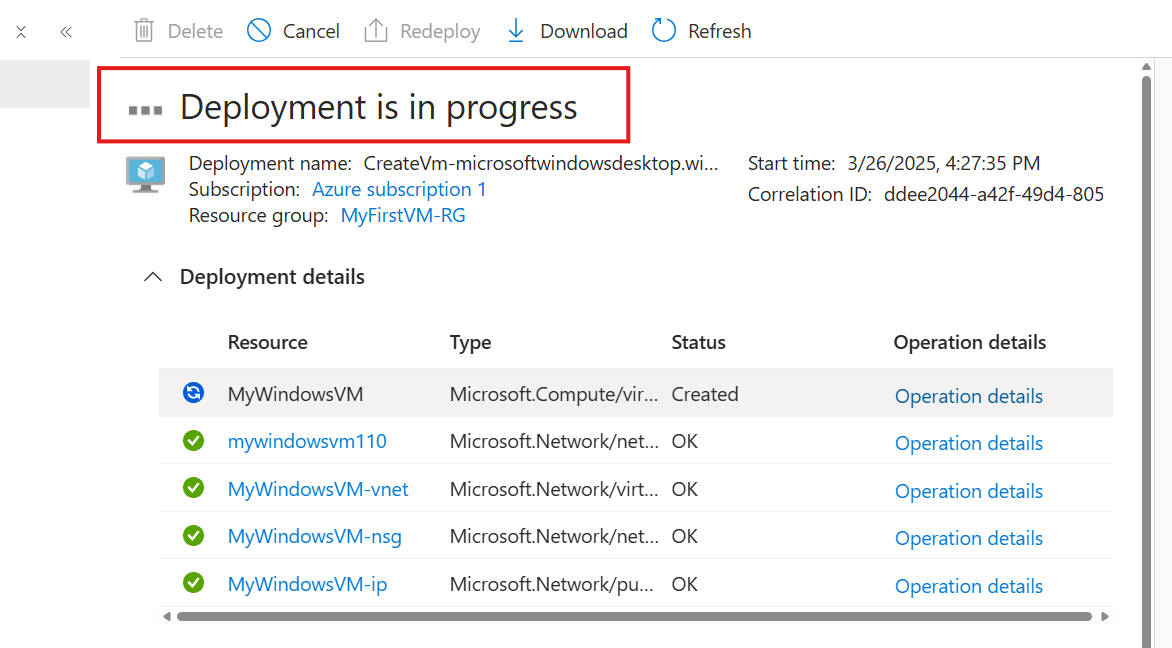
Deployment in Progress.
* Notice that Azure creates other resources like the network, network security group and even assigns an IP to the VM.
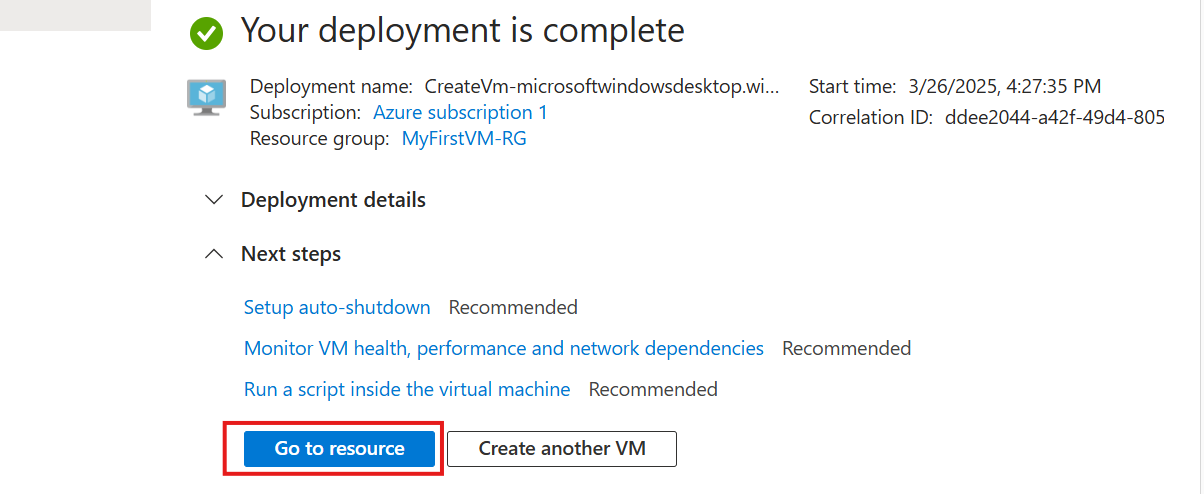
After deployment is complete, select Go to resource to take you to the virtual machine overview page. Here you can access every of the resource attached to the Virtual Machine. let us go ahead and connect to the virtual machine.
Connect to virtual machine
Create a remote desktop connection to the virtual machine. These directions tell you how to connect to your VM from a Windows computer.
On the overview page for your virtual machine, select the Connect > RDP.


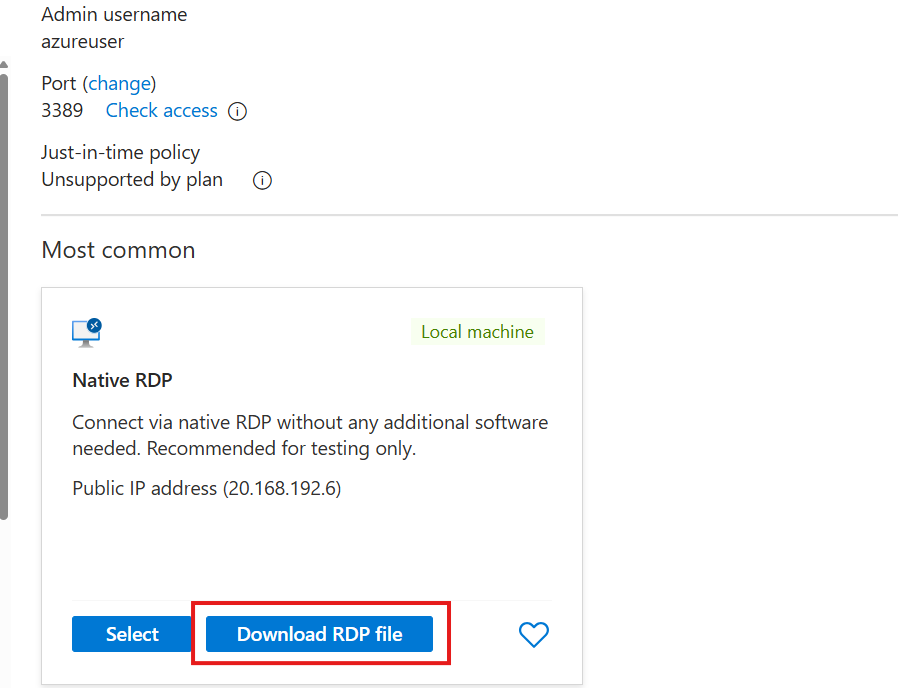
In the Connect with RDP tab, keep the default options to connect by IP address, over port 3389, and click Download RDP file.
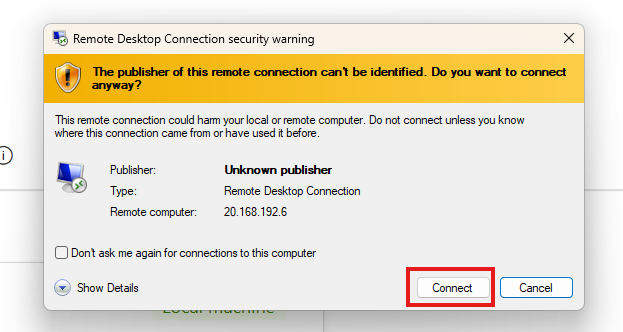
Open the downloaded RDP file and click Connect when prompted.
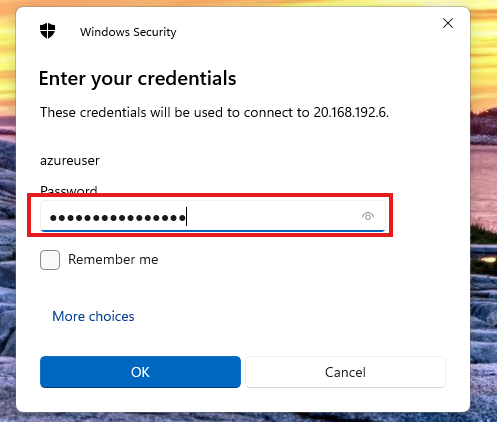
- In the Windows Security window, enter the password you created for the virtual machine, and then click OK.
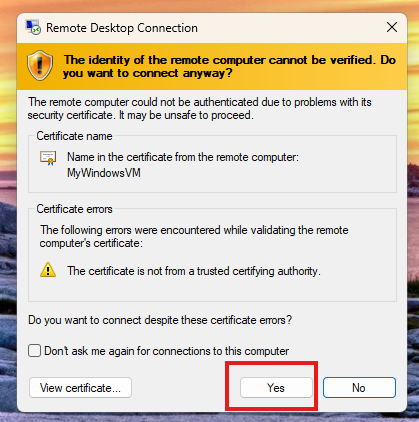
- In the Remote Desktop Connection click YES to open the windows 11 virtual machine interface
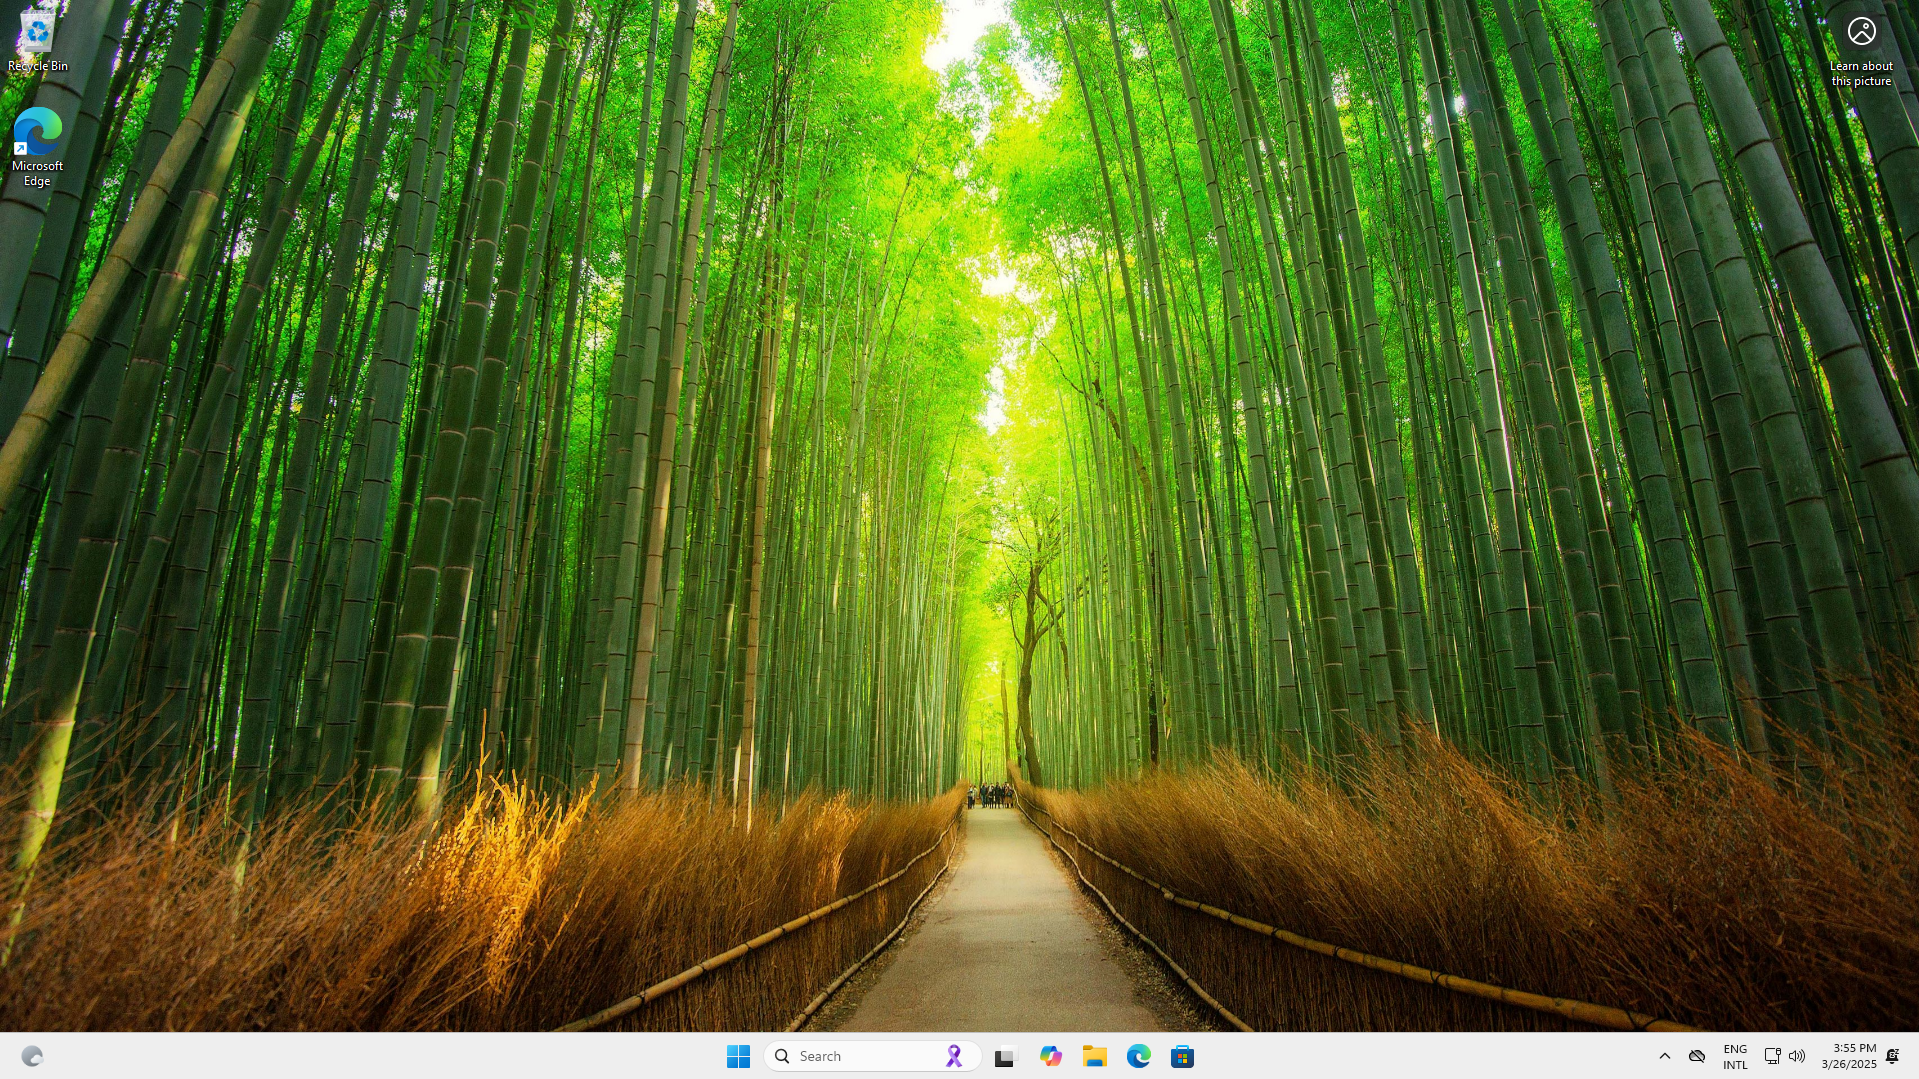
- Now we have a windows 11 virtual machine.
Subscribe to my newsletter
Read articles from George Epebifie directly inside your inbox. Subscribe to the newsletter, and don't miss out.
Written by
