Setting Up Jenkins on Kubernetes: A Beginner-Friendly CI/CD Guide
 Mahira Technology Private Limited

Introduction :-
When it comes to streamlining software delivery, CI/CD pipelines are game-changers. Among the tools leading this revolution is Jenkins, a versatile automation server that helps teams deliver software faster and more reliably. In this guide, you’ll learn how to deploy Jenkins on Kubernetes, configure its interface, and run your first pipeline to automate tasks.
Prerequisites :-
To get started, ensure you have:
- An active Kubernetes cluster.
- kubectl installed and configured.
- Basic familiarity with Kubernetes manifests.
Step 1: Deploy Jenkins on Kubernetes
Begin by creating a namespace to keep Jenkins resources organized:
kubectl create namespace jenkins
Next, create a deployment file named jenkins.yaml with the following configuration:
apiVersion: apps/v1
kind: Deployment
metadata:
  name: jenkins
spec:
  replicas: 1
  selector:
    matchLabels:
      app: jenkins
  template:
    metadata:
      labels:
        app: jenkins
    spec:
      containers:
      - name: jenkins
        image: jenkins/jenkins:lts
        ports:
          - name: http-port
            containerPort: 8080
          - name: jnlp-port
            containerPort: 50000
        volumeMounts:
          - name: jenkins-vol
            mountPath: /var/jenkins_vol
      volumes:
        - name: jenkins-vol
          emptyDir: {}
Apply the deployment:
kubectl apply -f jenkins.yaml -n jenkins
Confirm the pod is running:
kubectl get pods -n jenkins
Step 2: Expose Jenkins with Services
To access Jenkins externally, create a service with NodePort type:
apiVersion: v1
kind: Service
metadata:
  name: jenkins
spec:
  type: NodePort
  ports:
    - port: 8080
      targetPort: 8080
      nodePort: 30000
  selector:
    app: jenkins

---

apiVersion: v1
kind: Service
metadata:
  name: jenkins-jnlp
spec:
  type: ClusterIP
  ports:
    - port: 50000
      targetPort: 50000
  selector:
    app: jenkins
Apply the service:
kubectl apply -f jenkins-service.yaml -n jenkins
Verify the service is running:
kubectl get services -n jenkins
Step 3: Access Jenkins UI
Find your node’s external IP:
kubectl get nodes -o wide
Visit http://<external-ip>:30000 in your browser.
To unlock Jenkins, fetch the admin password from logs:
kubectl logs <pod-name> -n jenkins
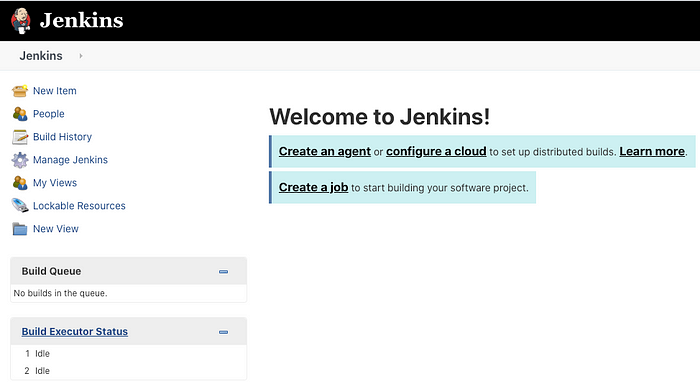
Follow the on-screen setup wizard to configure plugins and create the admin user.

Step 4: Run Your First Pipeline :-
1. Go to New Item in Jenkins.
2. Select Pipeline and give your project a name.
3. Under Pipeline Definition, select Pipeline script.
4. Use this sample script:
pipeline {
  agent any
    stages {
      stage('Hello') {
        steps {
          echo 'Hello, Jenkins on Kubernetes!'
        }
      }
    }
}
5. Save and run the pipeline via Build Now.
6. View logs under Console Output.
Conclusion :-
By deploying Jenkins on Kubernetes, you’ve taken a major step toward automating your CI/CD pipelines. With its rich plugin ecosystem and scalability, Jenkins is the perfect companion for modern DevOps workflows.
Subscribe to my newsletter
Read articles from Mahira Technology Private Limited directly inside your inbox. Subscribe to the newsletter, and don't miss out.
Written by

Mahira Technology Private Limited
Mahira Technology Private Limited
A leading tech consulting firm specializing in innovative solutions. Experts in cloud, DevOps, automation, data analytics & more. Trusted technology partner.