💡AWS ECS - Elastic Container Service.
 Apurva Gargote
🤔 What is ECS?
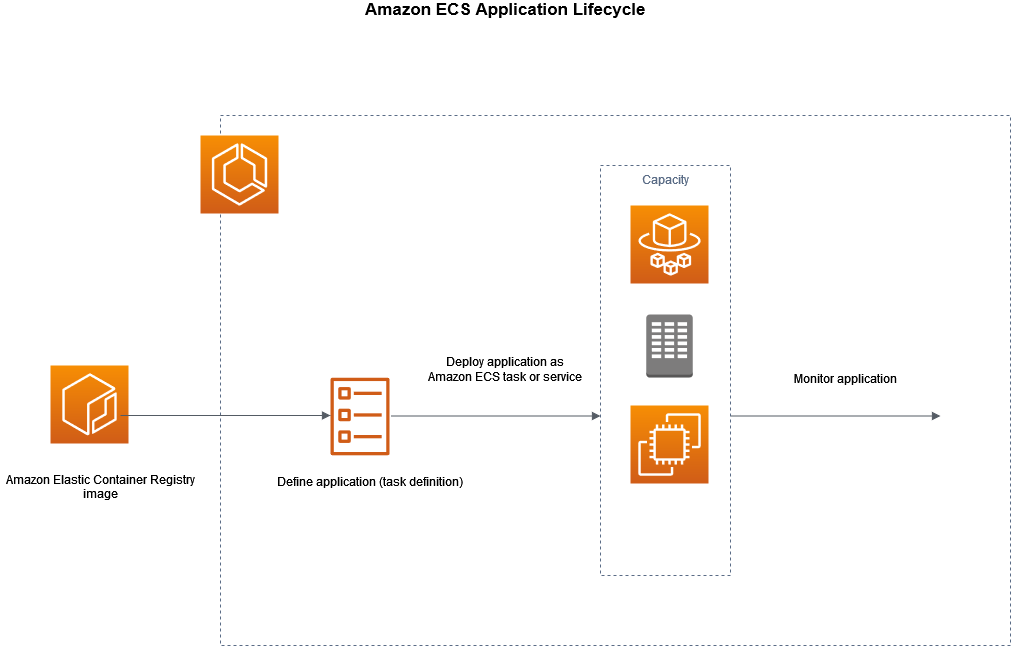
Think of ECS as a manager for your Docker containers. It helps you run, manage, and scale your containerized applications without worrying about infrastructure. AWS takes care of everything for you!
🎯 Why Use ECS?
✅ No need to manage infrastructure – AWS does it for you. 🏗️
✅ Supports EC2 & Fargate – Choose between managing instances yourself or using a serverless approach.
✅ Integrates with AWS services – Works with ELB, Auto Scaling, and VPC for scalability. 🔄
✅ Easier deployment – Quickly deploy and manage containerized applications. 🛠️
✅ Supports Docker Compose & Kubernetes – Flexible for different workflows. 🐳
🔥 ECS vs. EKS – What’s the Difference?
Both ECS and EKS are AWS container orchestration services, but they serve different needs.
| Feature | ECS (Elastic Container Service) | EKS (Elastic Kubernetes Service) |
| Architecture | Centralized | Distributed |
| Orchestration | AWS-native | Kubernetes-native |
| Scaling | Manual scaling policies | Auto-scaling based on demand |
| Flexibility | Simpler and managed | Highly customizable |
| Community | AWS-driven | Large open-source community |
💡 Which One Should You Choose?
Choose ECS if you want a simple, AWS-managed solution. Great for beginners! 🎈
Go with EKS if you prefer Kubernetes and more control. 🛠️
🚀 Deploying Nginx on ECS (Step-by-Step Guide)
Let’s deploy Nginx on ECS in just a few steps!

🏗️ Step 1: Create an ECS Cluster
Go to the AWS Management Console 🖥️
Navigate to ECS > Clusters
Click Create Cluster and choose EC2 Linux + Networking
Select an instance type (t2.micro for free tier 💰)
Enable CloudWatch Insights (Optional, but useful)
Click Create 🎉
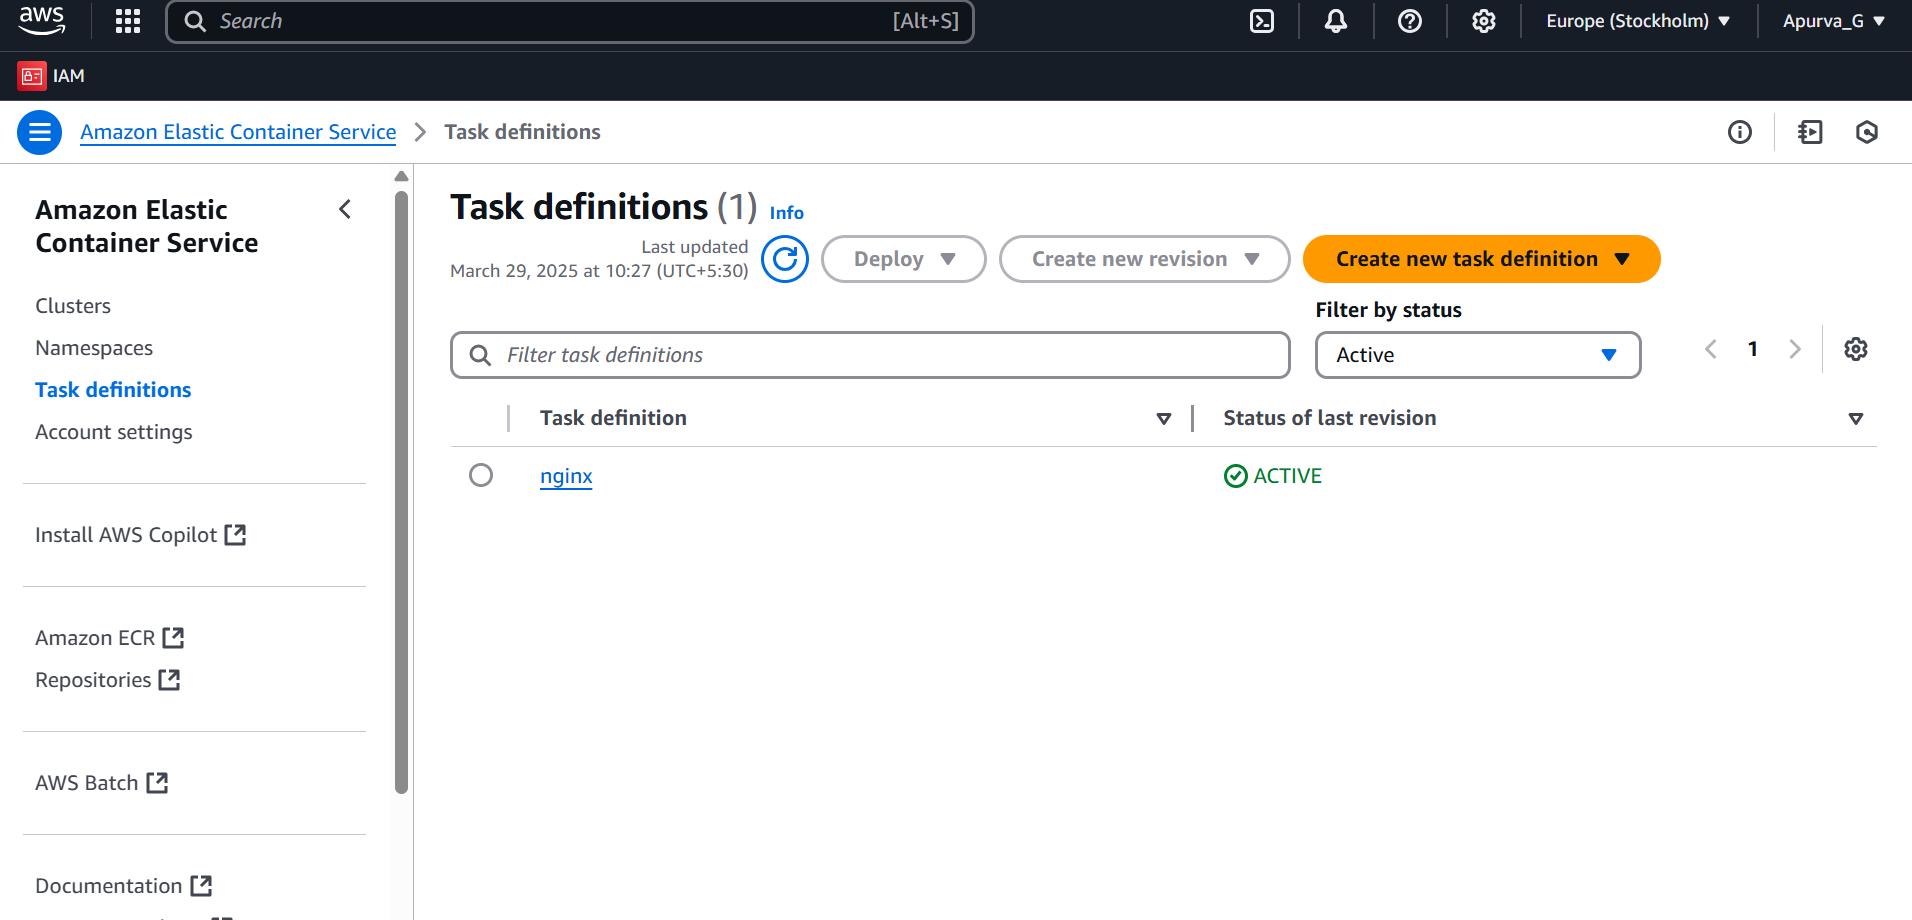
📦 Step 2: Create a Task Definition
Open ECS > Task Definitions
Click Create new Task Definition ➕
Choose EC2 or Fargate
Define the container:
Name:
nginx-containerImage:
nginx:latestPort: 80:80
Click Create Task Definition ✅
⚙️ Step 3: Run the Task on ECS
Go to your ECS Cluster
Click Run New Task
Select your Launch Type (EC2 or Fargate)
Choose your Task Definition
Click Run Task 🚀
🌍 Step 4: Access Your Nginx Server
Go to the EC2 Dashboard
Find your Public IP Address
Open a browser and enter:
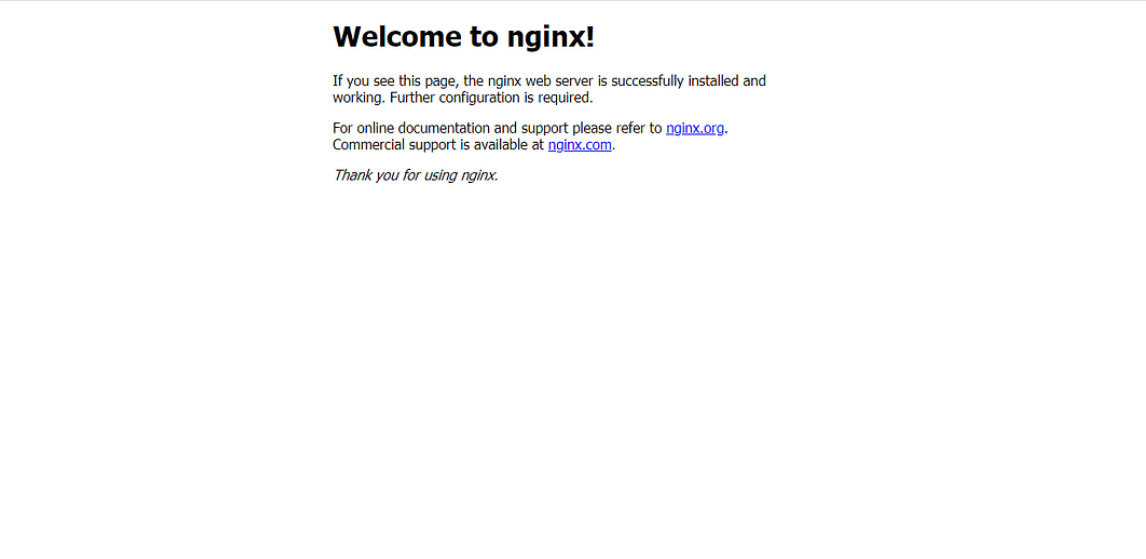
http://<your-ec2-public-ip>🎉 You should see the Nginx Welcome Page!


Subscribe to my newsletter
Read articles from Apurva Gargote directly inside your inbox. Subscribe to the newsletter, and don't miss out.
Written by

Apurva Gargote
Apurva Gargote
👨💻 Last-year student diving deep into DevOps, Cloud Engineering, and Infrastructure Automation. Passionate about building scalable, efficient, and secure systems. Let’s connect and build something amazing! 🚀