🚀 Deploying an Application on GCP Cloud Run: A Step-by-Step Guide
 Ravi Kumar Srivastava
Cloud computing has revolutionized the way we deploy applications, and Google Cloud Run makes it easier than ever to deploy and manage containerized applications. In this blog, I’ll walk you through my experience of deploying an application on GCP Cloud Run, covering all the prerequisites, best practices, and troubleshooting tips.
✅ Prerequisites
Before deploying your application, ensure that you have:
A Google Cloud Project – Create one in the Google Cloud Console.
Google Cloud SDK Installed – Download and install from here.
Docker Installed – Ensure Docker is installed and running.
Billing Enabled – Cloud Run requires billing to be enabled in your GCP project.
Container Registry Permissions – Grant necessary IAM roles to push images to Google Container Registry.
Source Code – Your application should be containerized using a Dockerfile.
📌 Step 1: Build a Docker Image
The first step is to build a Docker image for your application. Here’s how I did it:
shCopyEditdocker build -t gcr.io/<PROJECT-ID>/<APP-NAME> .
(Replace <PROJECT-ID> and <APP-NAME> with your actual project ID and application name.)
After a successful build, verify the image using:
shCopyEditdocker images
📌 Step 2: Push the Image to Google Container Registry
Next, push the Docker image to Google Container Registry (GCR):
shCopyEditdocker push gcr.io/<PROJECT-ID>/<APP-NAME>
This will store your containerized application in Google Cloud, making it accessible for deployment.
📌 Step 3: Grant IAM Permissions
To allow Cloud Run to access the Container Registry, assign the necessary IAM roles:
shCopyEditgcloud projects add-iam-policy-binding <PROJECT-ID> \
    --member="user:<YOUR-EMAIL>" \
    --role="roles/storage.admin"
This ensures Cloud Run has permission to pull container images from GCR.
📌 Step 4: Deploy to Cloud Run
Now, deploy the application using gcloud run deploy:
shCopyEditgcloud run deploy <APP-NAME> \
    --image gcr.io/<PROJECT-ID>/<APP-NAME> \
    --platform managed \
    --region <REGION> \
    --allow-unauthenticated
💡 Best Practices:
Choose the region closest to your users for lower latency.
Use
--allow-unauthenticatedonly if your app should be publicly accessible.
⚠ Troubleshooting Deployment Issues
While deploying, I initially faced an issue where the container failed to start due to a port misconfiguration:
🚨 Error Message:
shCopyEditERROR: Revision is not ready and cannot serve traffic.
The user-provided container failed to start and listen on the port defined by the PORT=8080 environment variable.
🔍 Fix: Ensure that your application is listening on the correct port. Modify the Dockerfile or application code to:
jsCopyEditconst PORT = process.env.PORT || 8080;
app.listen(PORT, () => {
  console.log(`Server is running on port ${PORT}`);
});
After updating the configuration, I redeployed and successfully accessed the app. 🎉
📌 Step 5: Access Your Deployed Application
Once the deployment is successful, Google Cloud Run provides a URL for your application:
shCopyEditService [APP-NAME] has been deployed.
Service URL: https://<APP-NAME>-<REGION>.a.run.app
Click on the URL, and your application should be live! 🌍

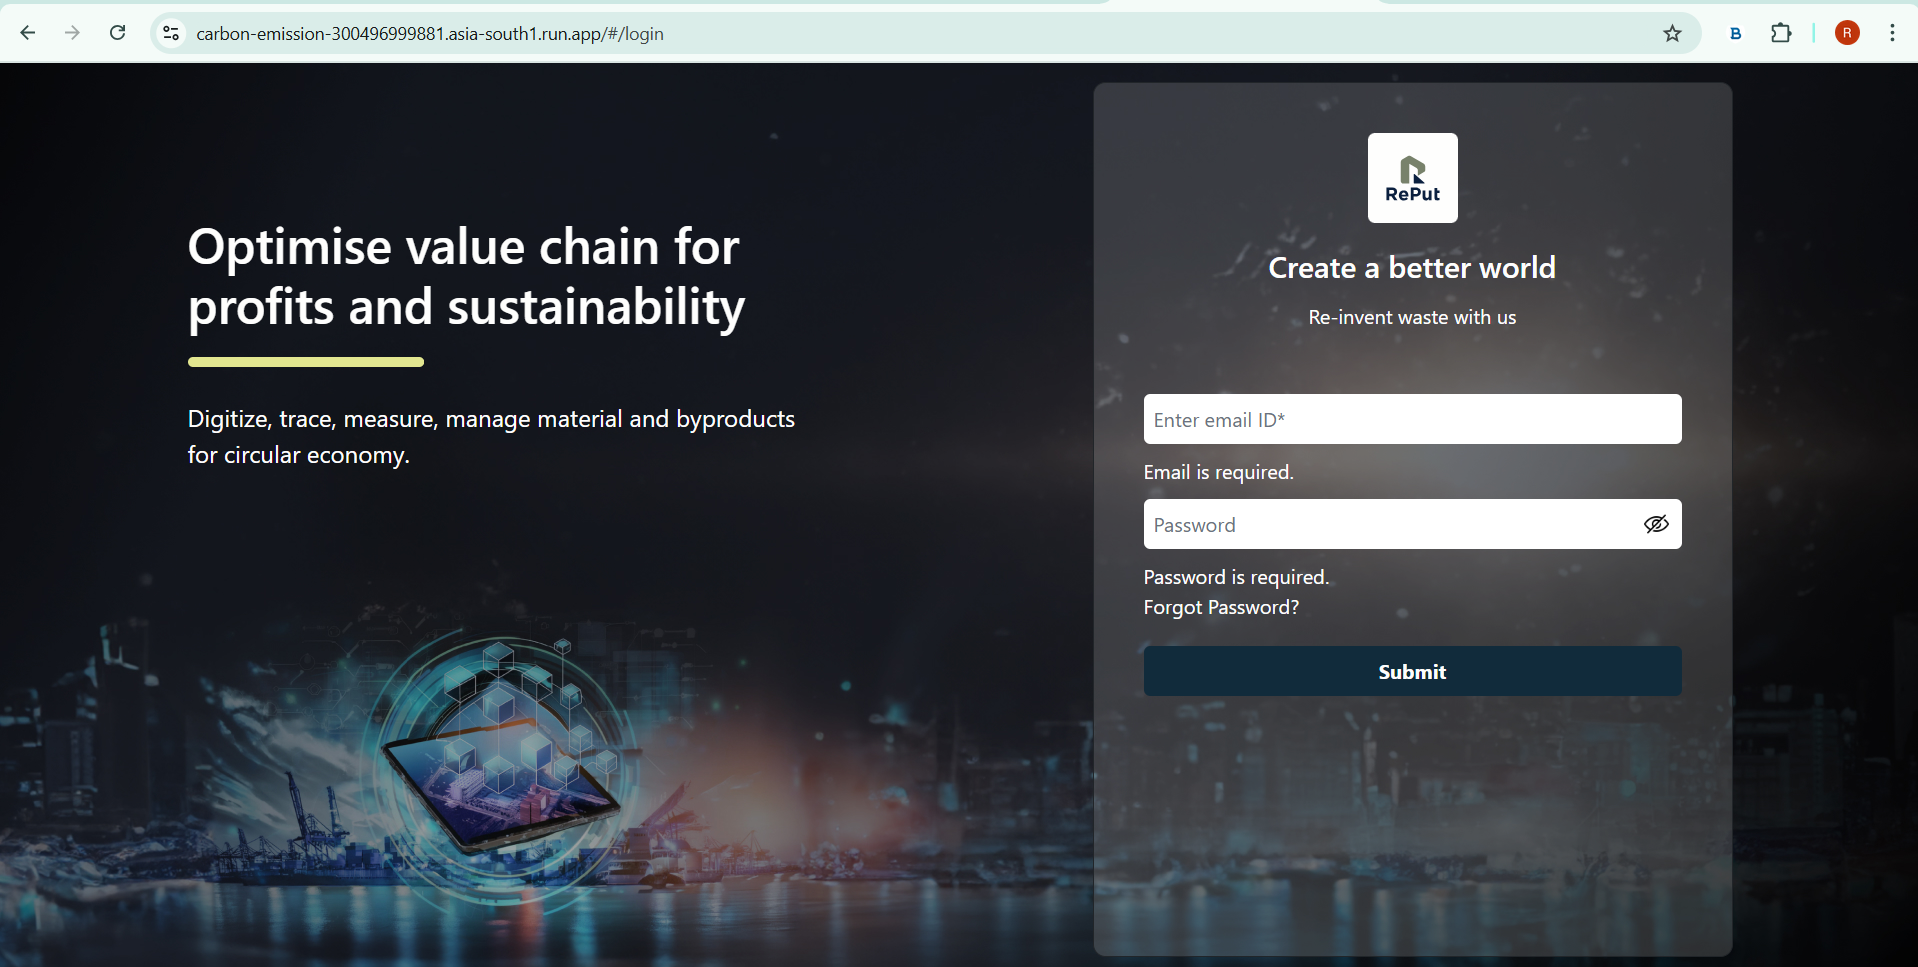
Here is my application
🎯 Final Thoughts & Best Practices
✅ Use Cloud Build for Automated Deployments – Set up CI/CD pipelines for seamless deployments.
✅ Enable Logging & Monitoring – Use Cloud Logging & Stackdriver for debugging.
✅ Optimize for Cost & Performance – Scale down idle instances and set memory/cpu limits.
✅ Secure Your Application – Use IAM roles, service accounts, and authentication for better security.
🚀 Deploying on GCP Cloud Run is fast, scalable, and cost-efficient. If you’re building a containerized app, I highly recommend giving it a try!
Subscribe to my newsletter
Read articles from Ravi Kumar Srivastava directly inside your inbox. Subscribe to the newsletter, and don't miss out.
Written by
