Master Jenkins and SonarQube Setup for Continuous Integration and Code Quality
 Oshaba Samson
Jenkins is an open-source automation server that is widely used for continuous integration (CI) and continuous delivery (CD). It allows developers to automate various tasks in their software development process, particularly the building, testing, and deployment of applications. Jenkins helps streamline and accelerate the development pipeline by automating the process of integrating changes, testing code, and deploying applications.
SonarQube is an open-source platform for continuous inspection of code quality. It is used to perform automatic reviews of code to detect bugs, code smells, security vulnerabilities, and other quality issues. SonarQube supports a variety of programming languages, helping development teams maintain clean and reliable codebases.
Prerequisite
Jenkins
SonarQube
Objectives
Configure
Jenkins
SonarQube
Integrate both to work together
To setup Jenkins
Before setting up Jenkins and sonarqube you need to install them on your machine. It could be your local machine, ec2 instance, vps e.t.c. To install Jenkins and sonarqube on ec2 instance using bash script you can check out my previous article How to Provision an AWS EC2 Instance with Terraform and Install Docker, Jenkins, and SonarQube Using a Bash Script in 2 Minutes
After installation the next thing is to open up port 8080 and 9000 for jenkins and Sonarqube respectivey
Go to aws console and go to ec2 instance
Select the instance in my case monitoring_server then select security
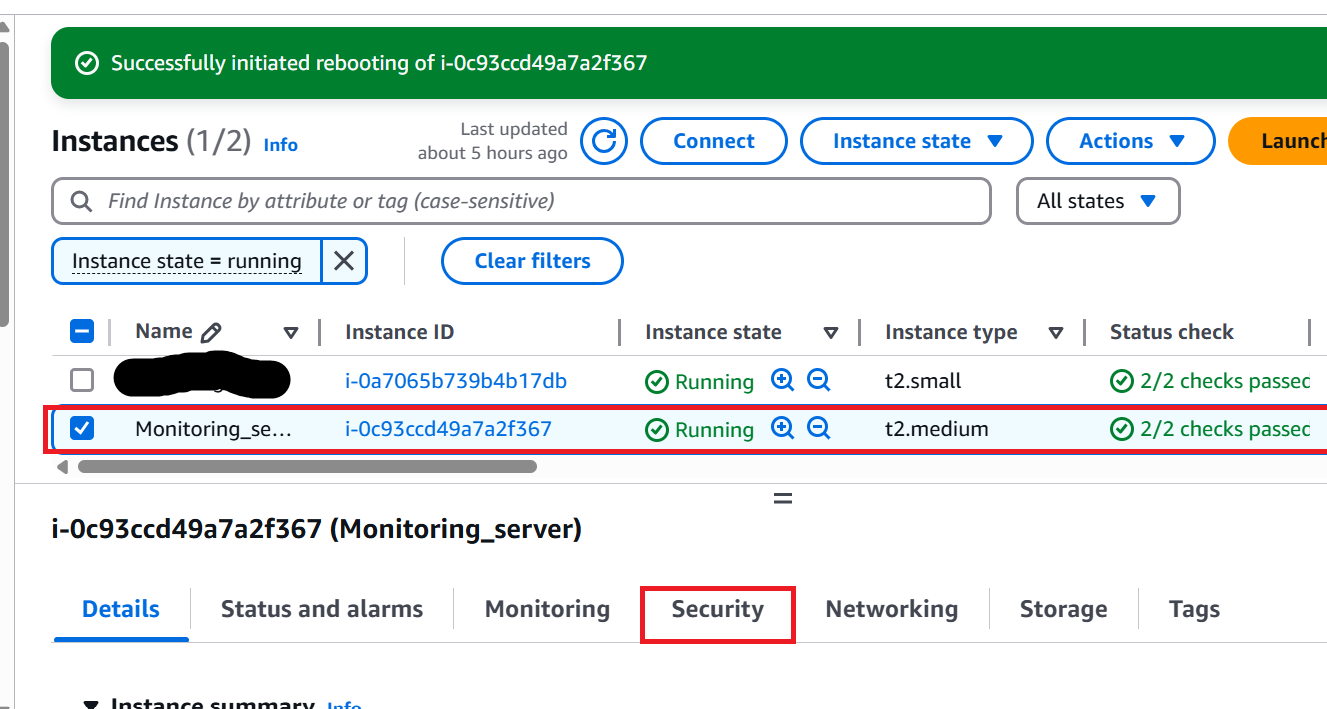
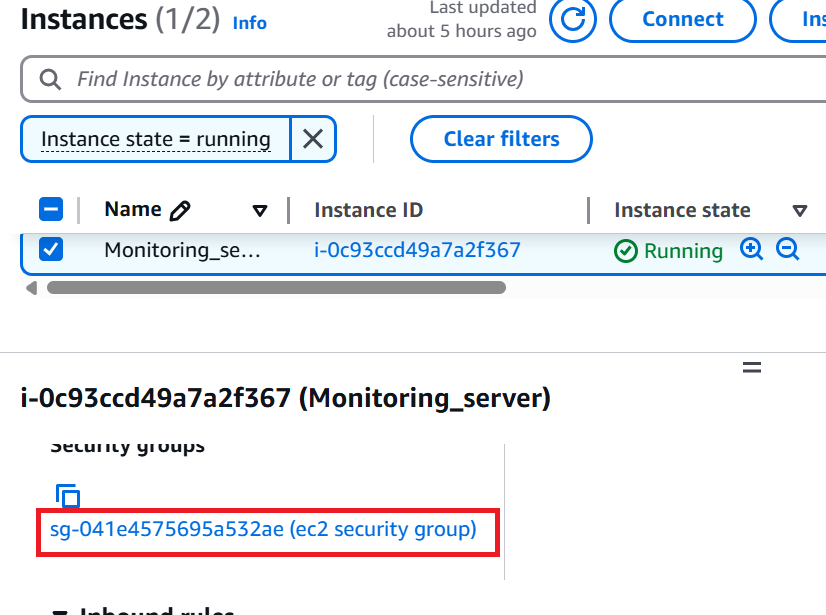
- click on the security group
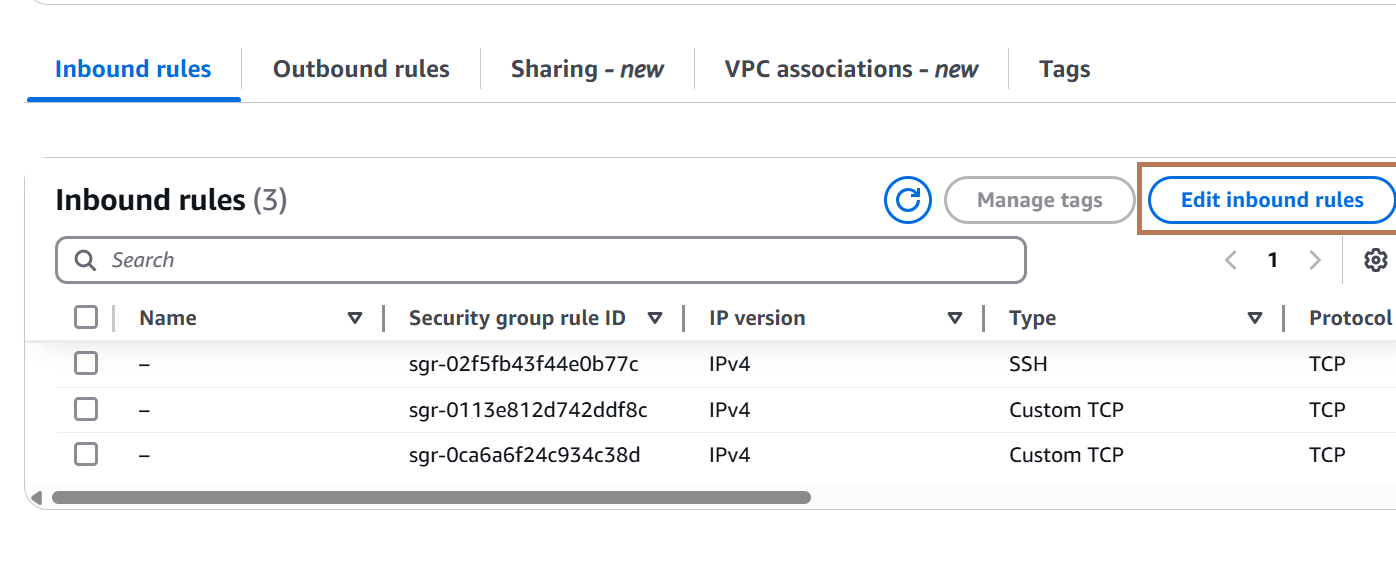
- Click on Edit Inbound rule
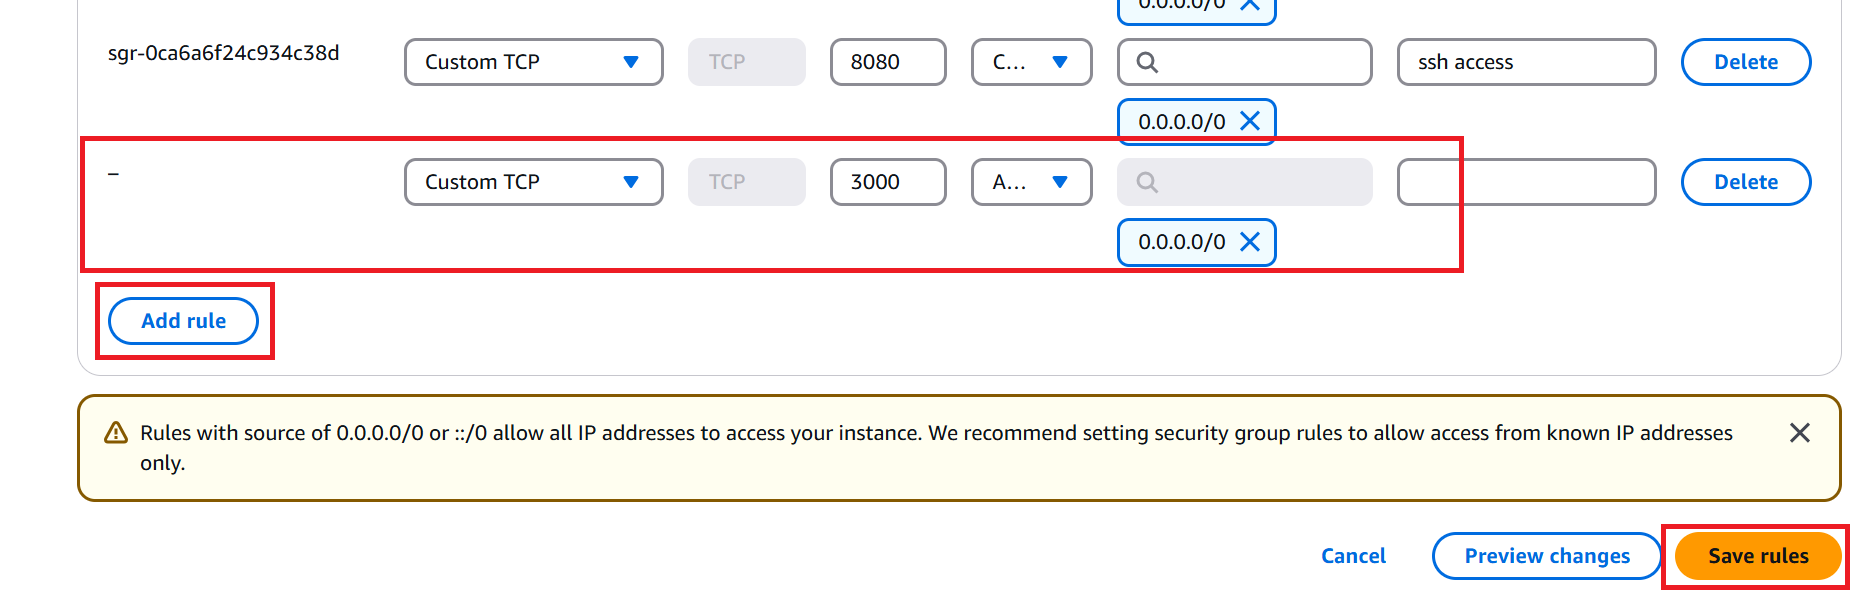
Click on Add rule then type the port number(8080 for jenkins and 9000 for sonarqube)
Click on Save rules
- Go to browser and type ip-address:port-number

Copy the path
Login into the ec2 instance

- Cat on the linux terminal

Copy the password and paste
Click on install plugins
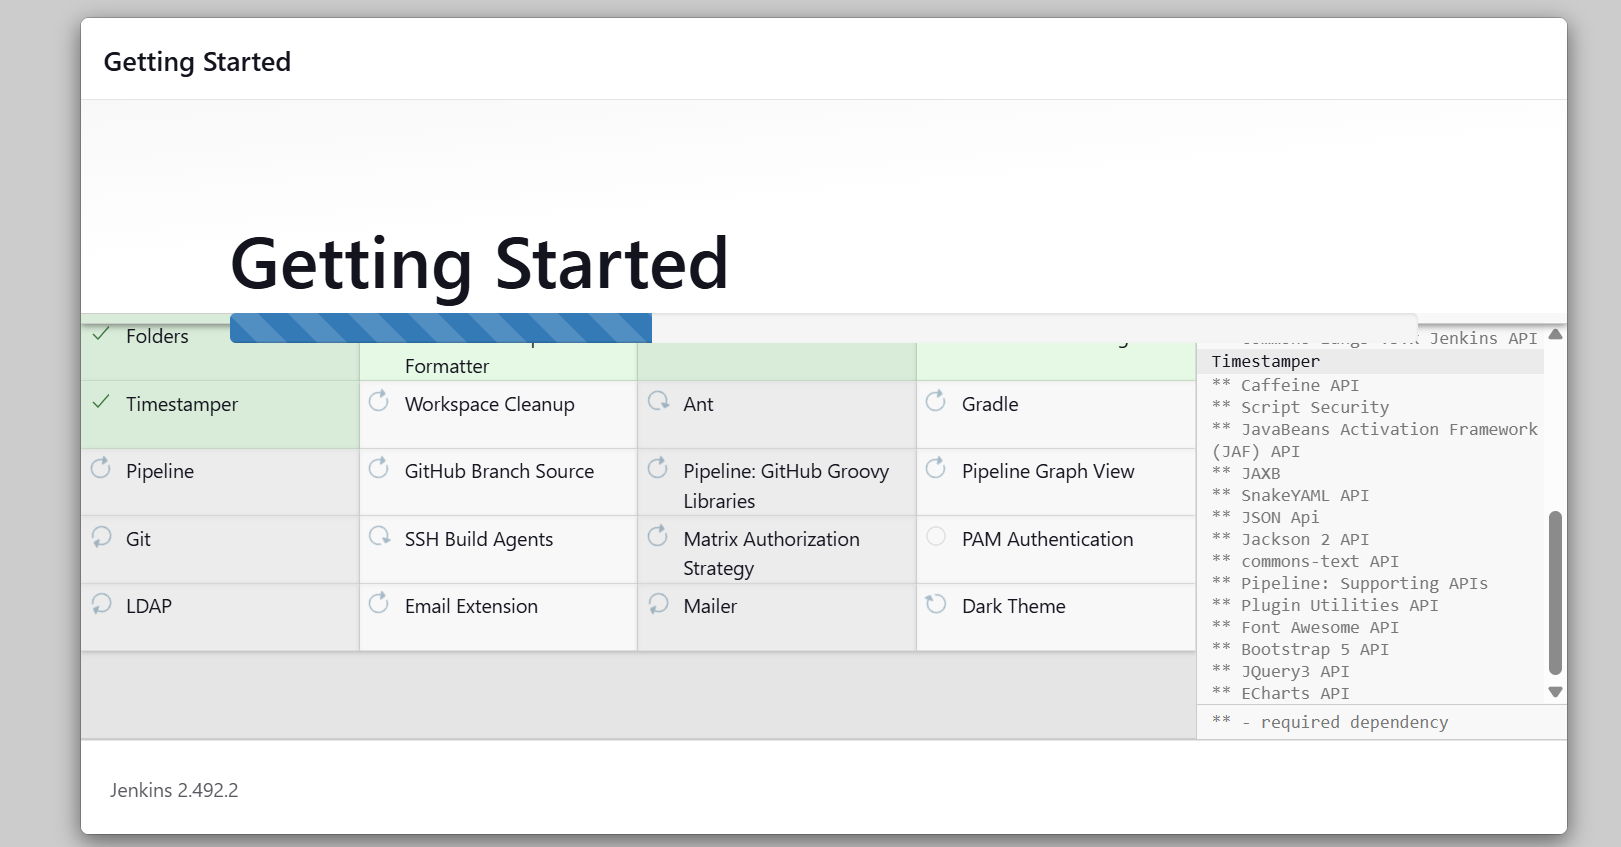
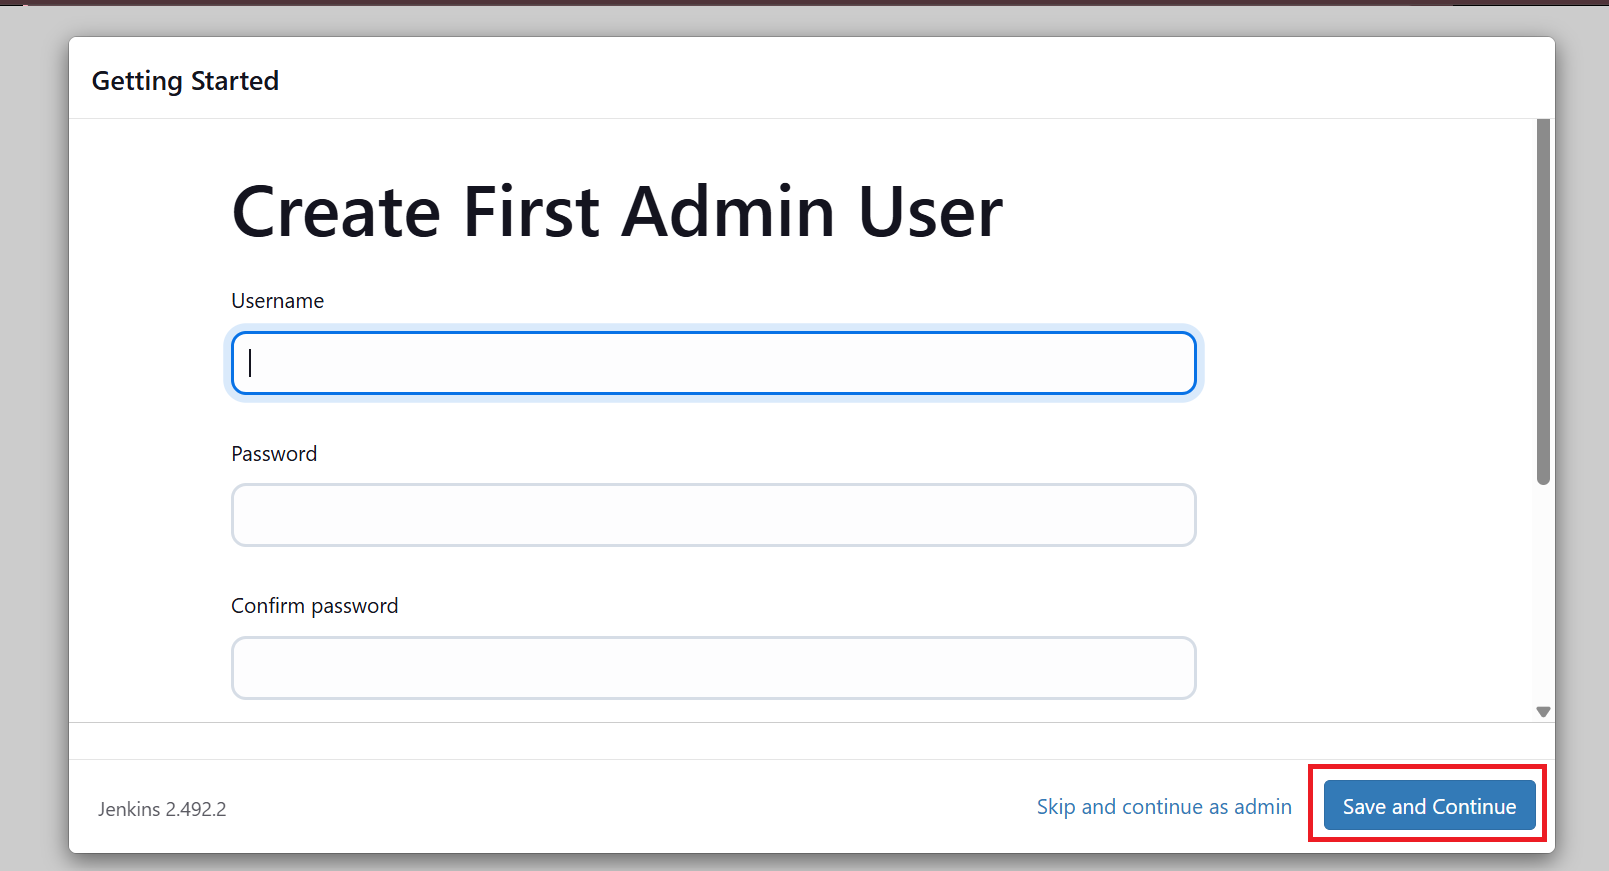
Fill the following information. Save the username/password for future use
Click on Save and Continue
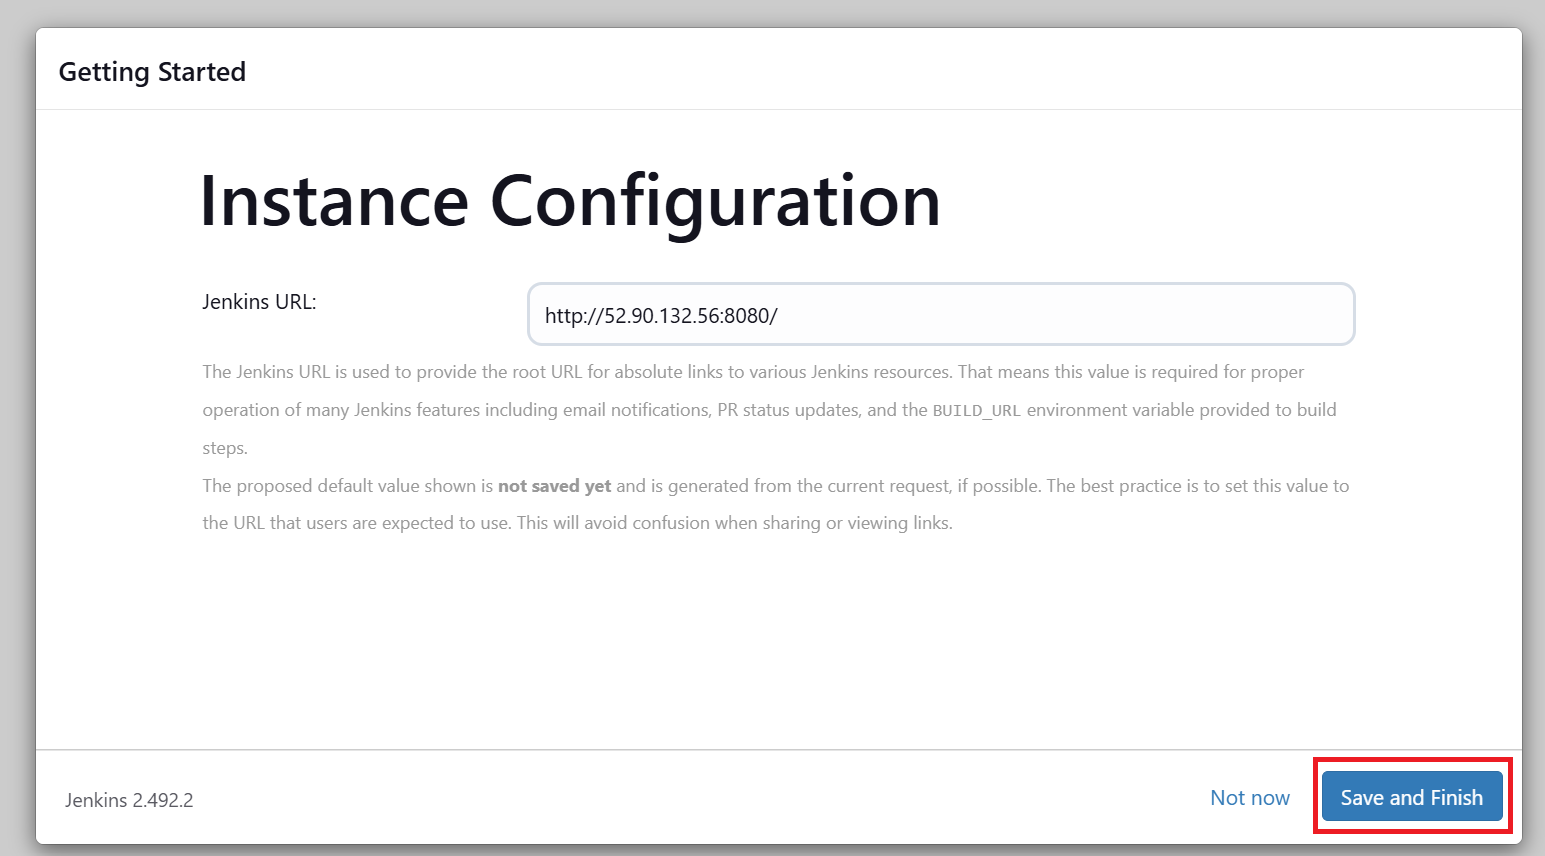
- Click on Save and Finish
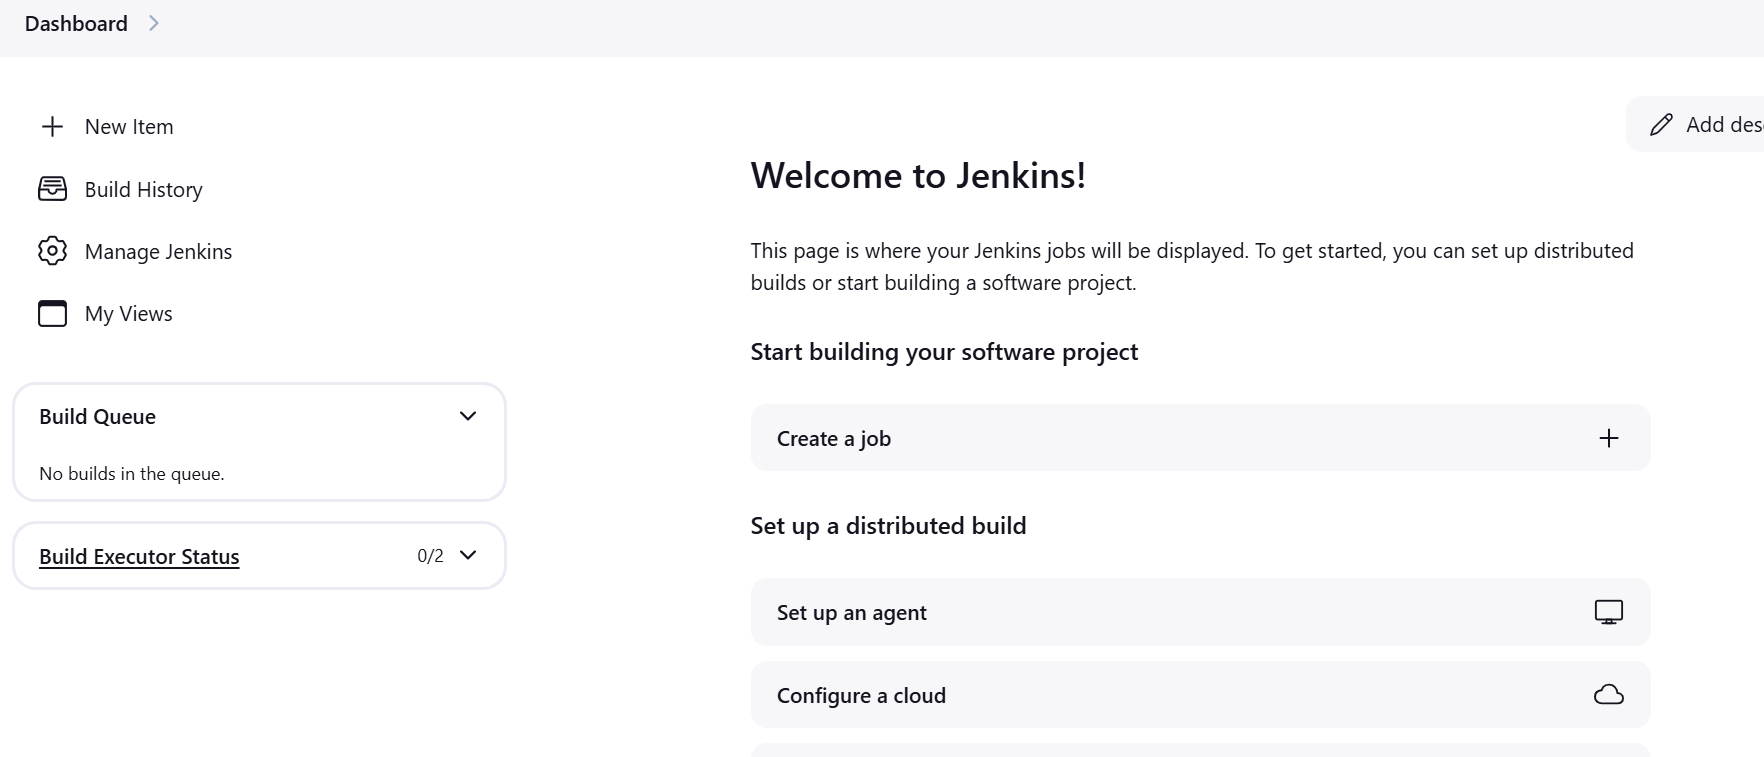
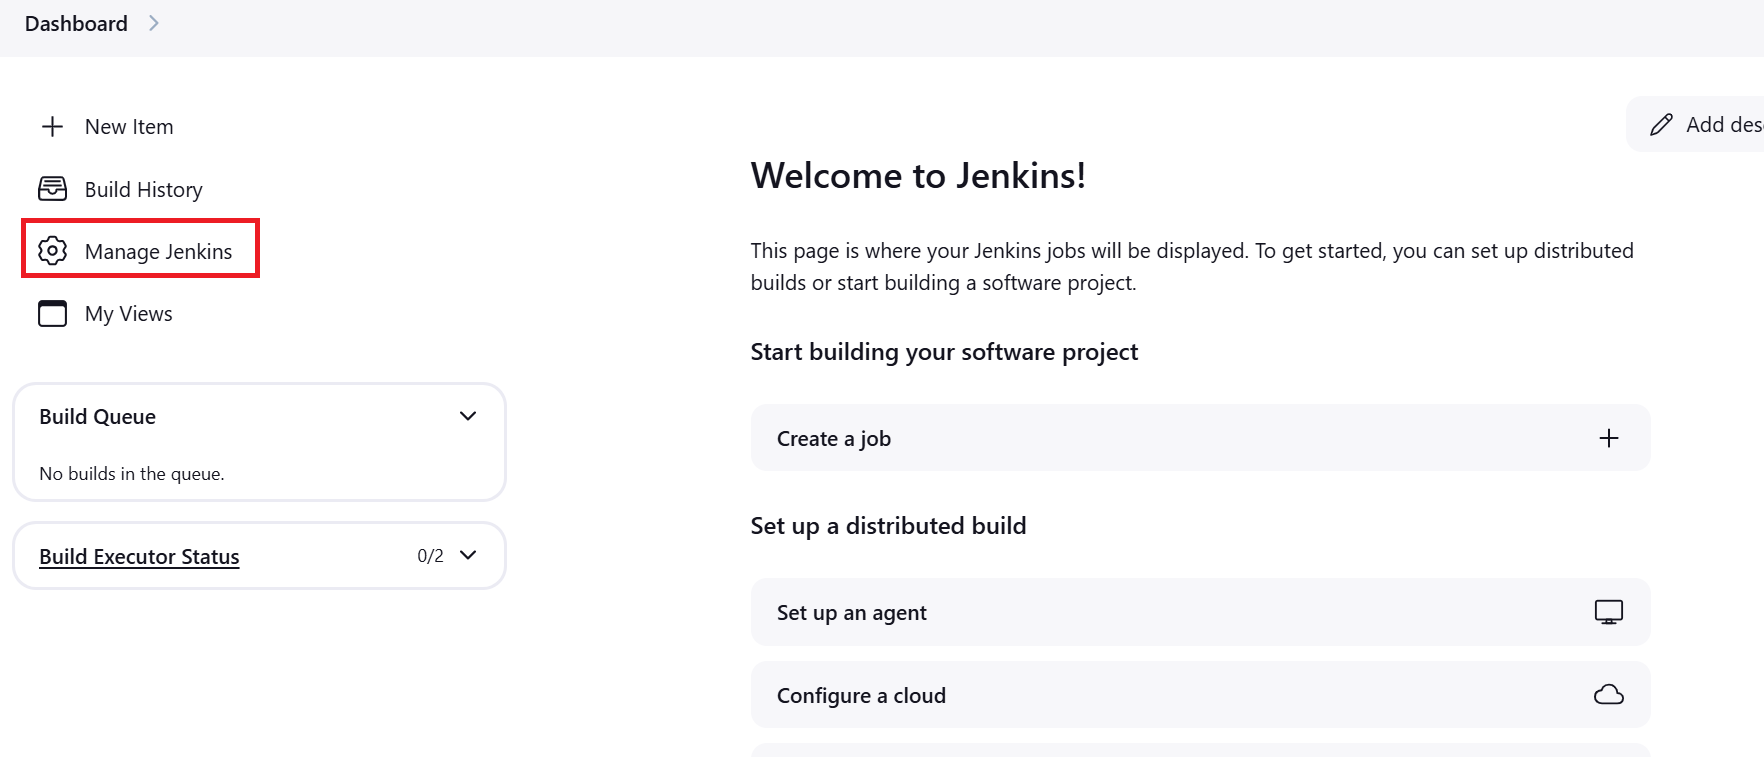
- Jenkins Dashboard
We need to install plugins that will help us execute our task. To install plugins
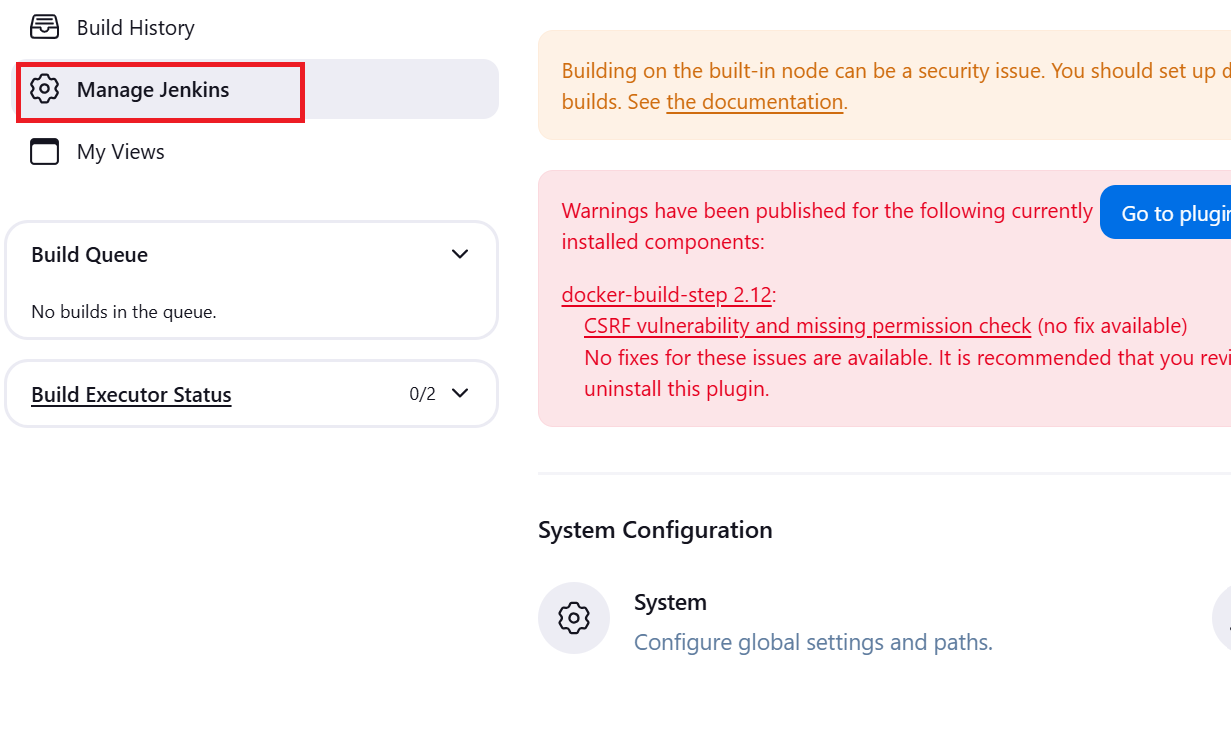
- Click on Manage Jenkins
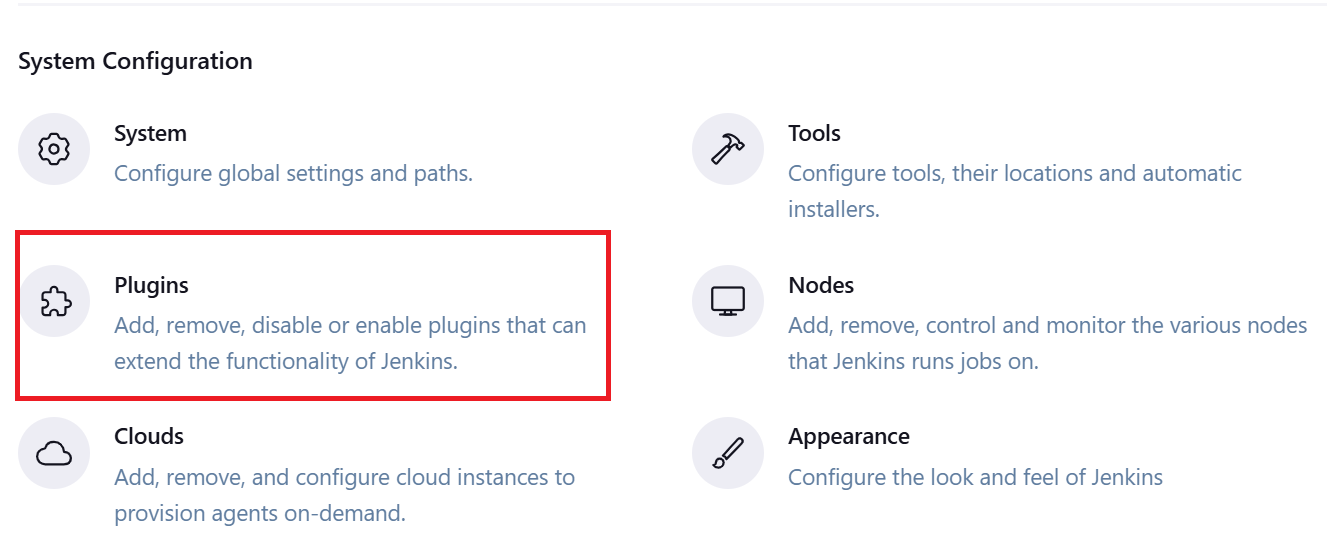
- Click on Plugins
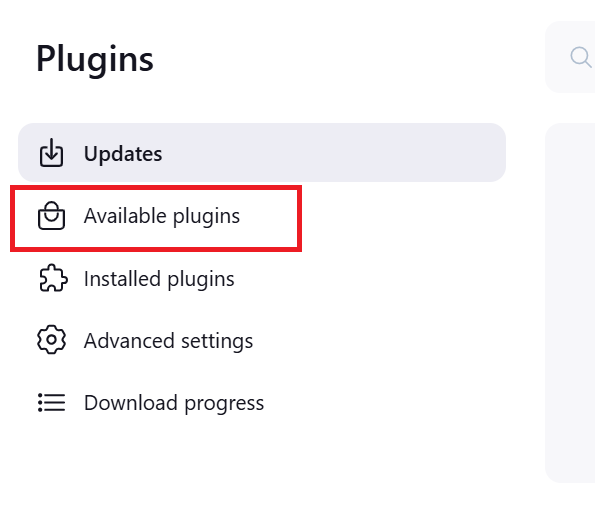
- Click on Available plugins
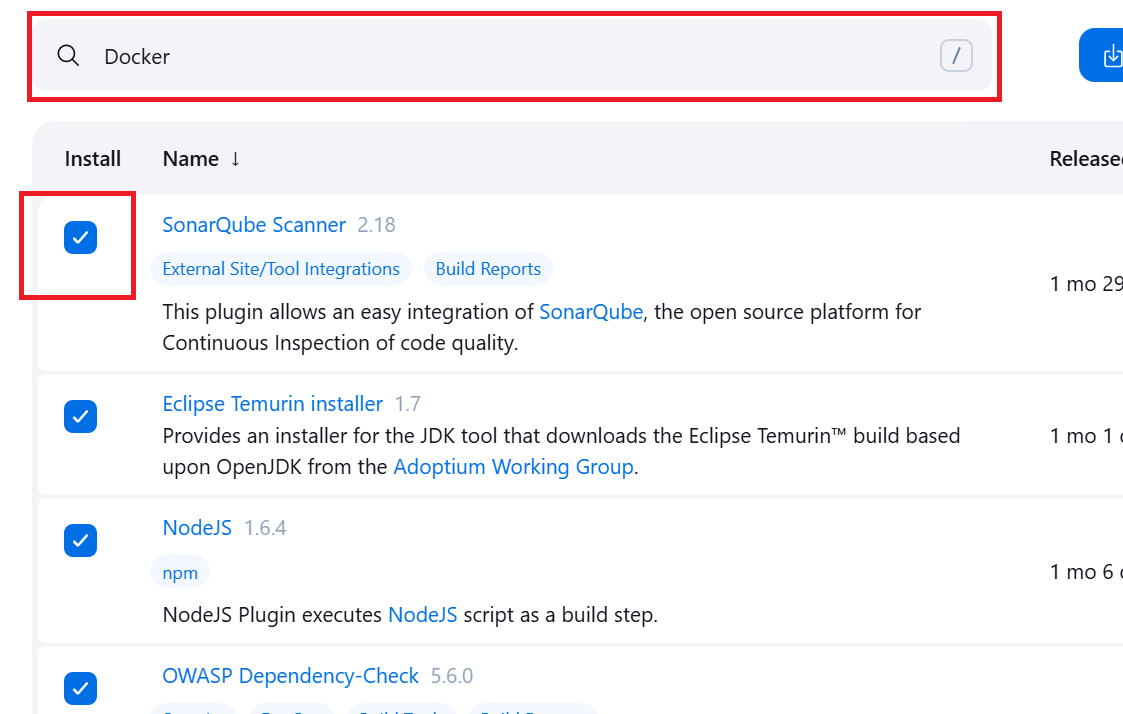
Click the search box and type the following plugins
docker
SonarQube Scanner
Eclipse Termurin installer
Nodejs
Owasp Dependency-Check
build step-pipeline
docker-common
stage-view
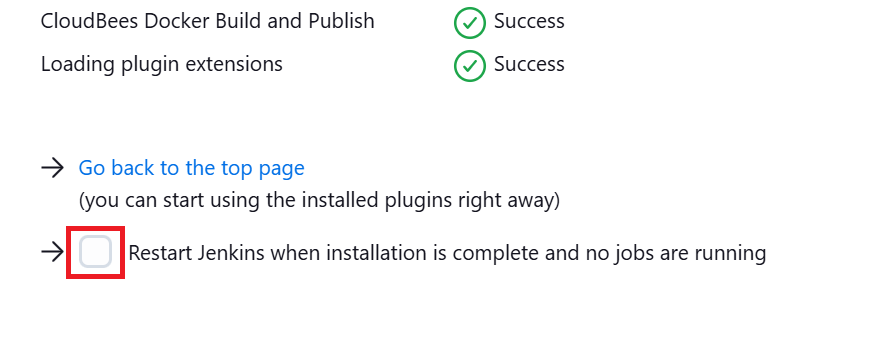
- Restart by click on the checkbox
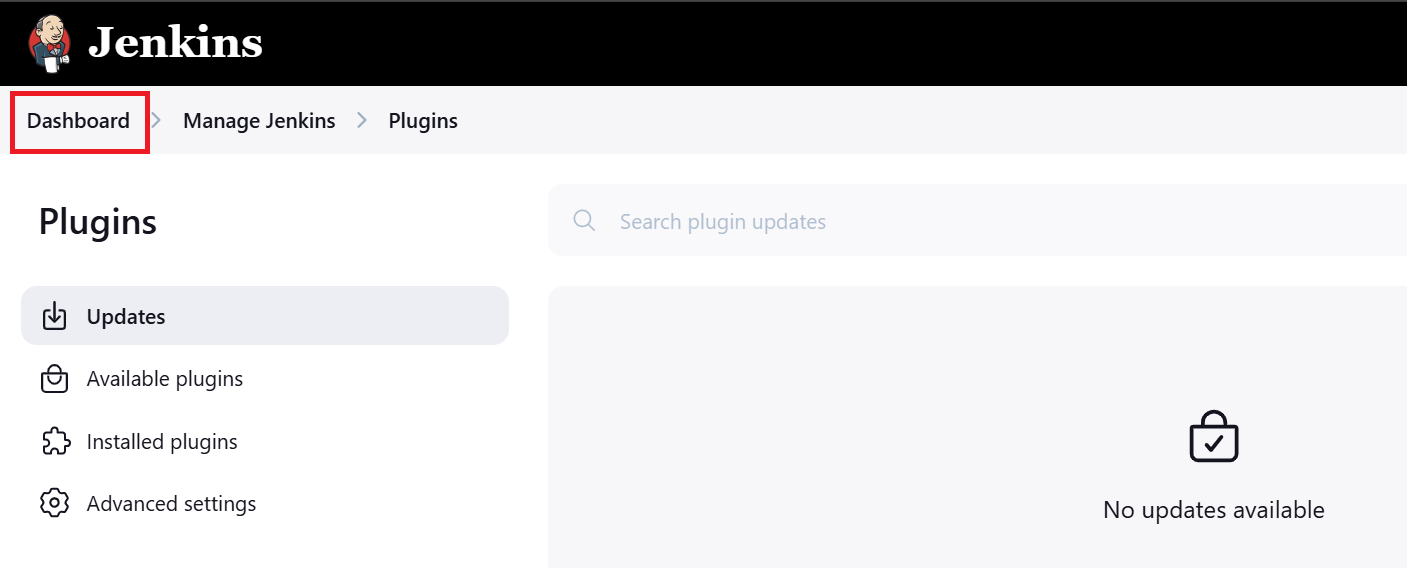
- Click on Dashboard
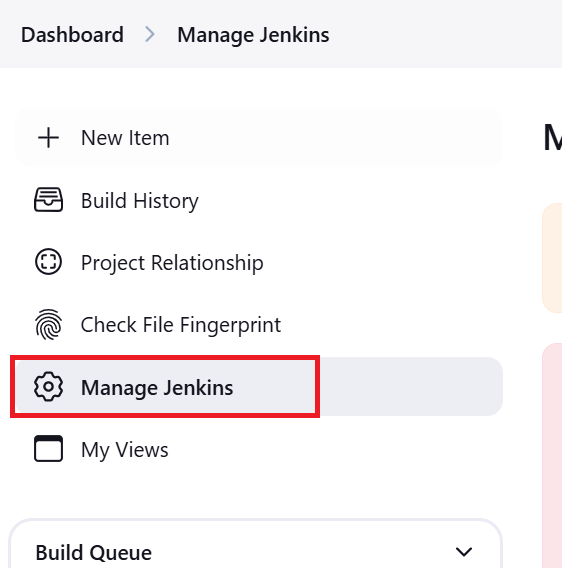
- Click on Manage Jenkins
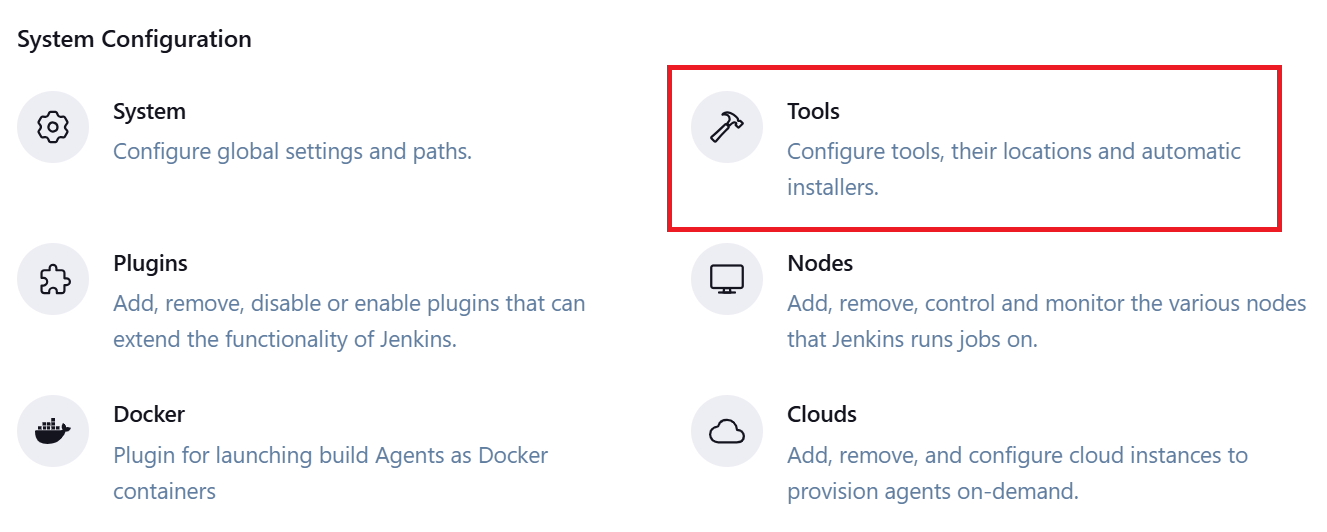
- Click on Tools
Scroll Down to JDK
Click on Add JDK
Type the name (eg jdk-17)
Check install automatically
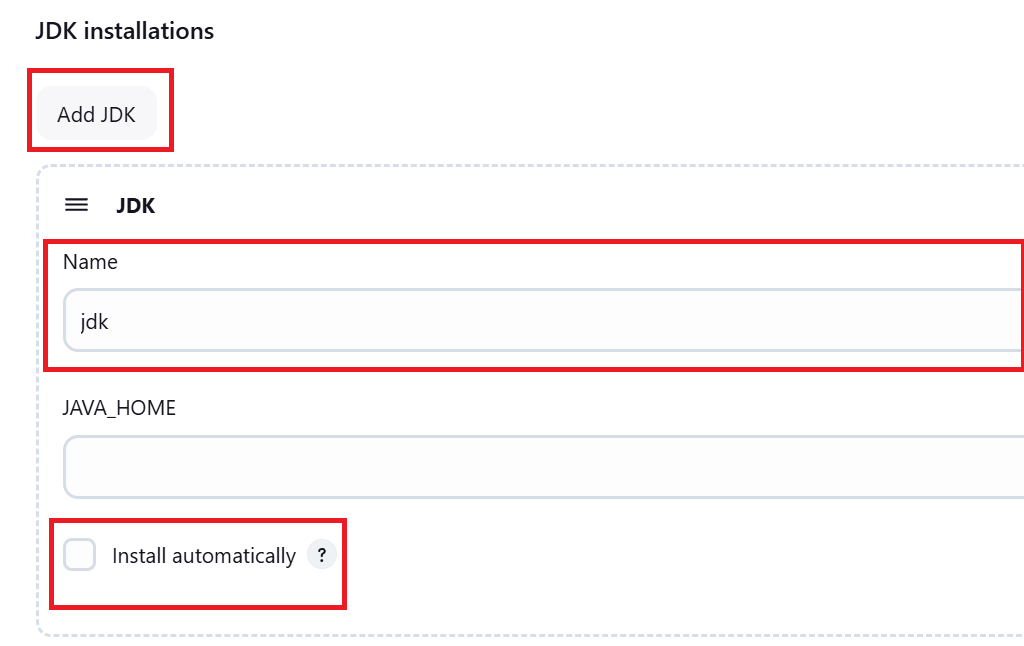
Click add installer
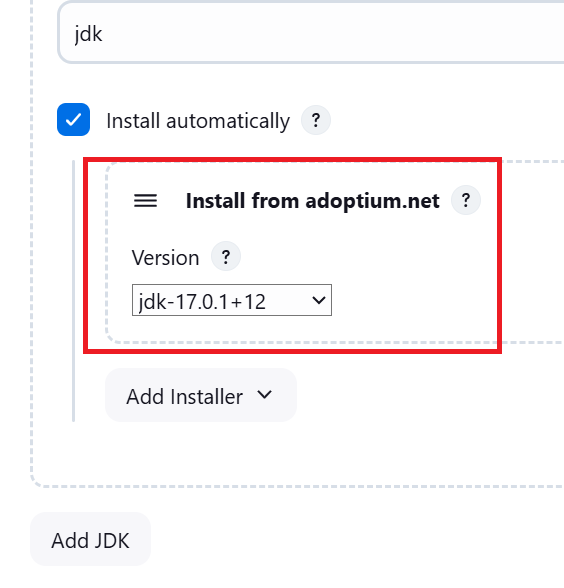
click on install from adoptium.net

- Select the jdk version
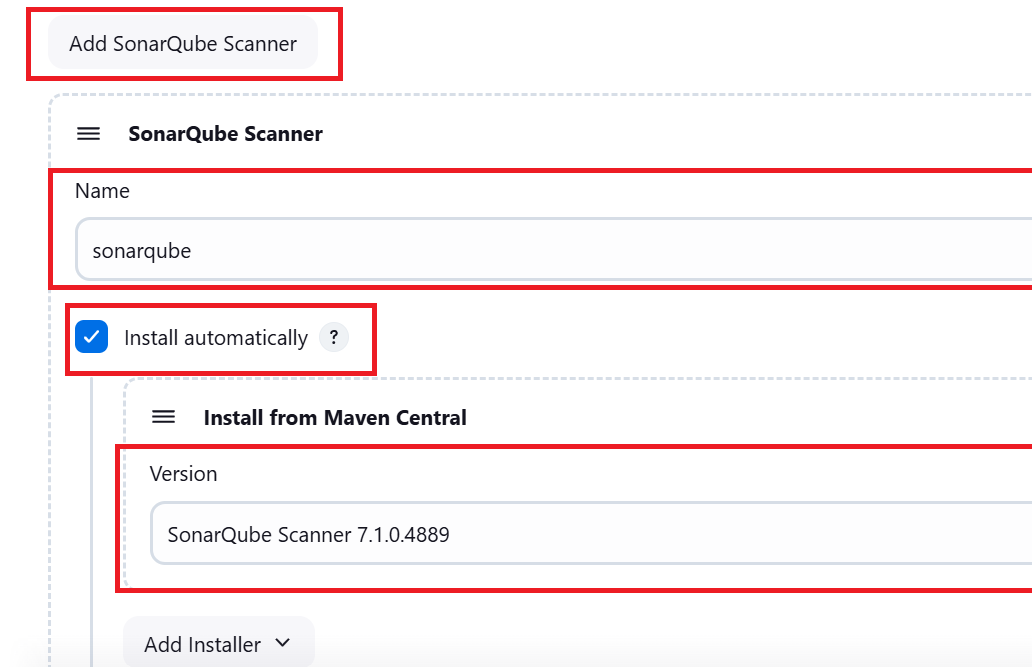
Scroll the SonarQube Scanner
Click on Add SonarQube Scanner
Type name
Check install automatically
Select SonarQube Version
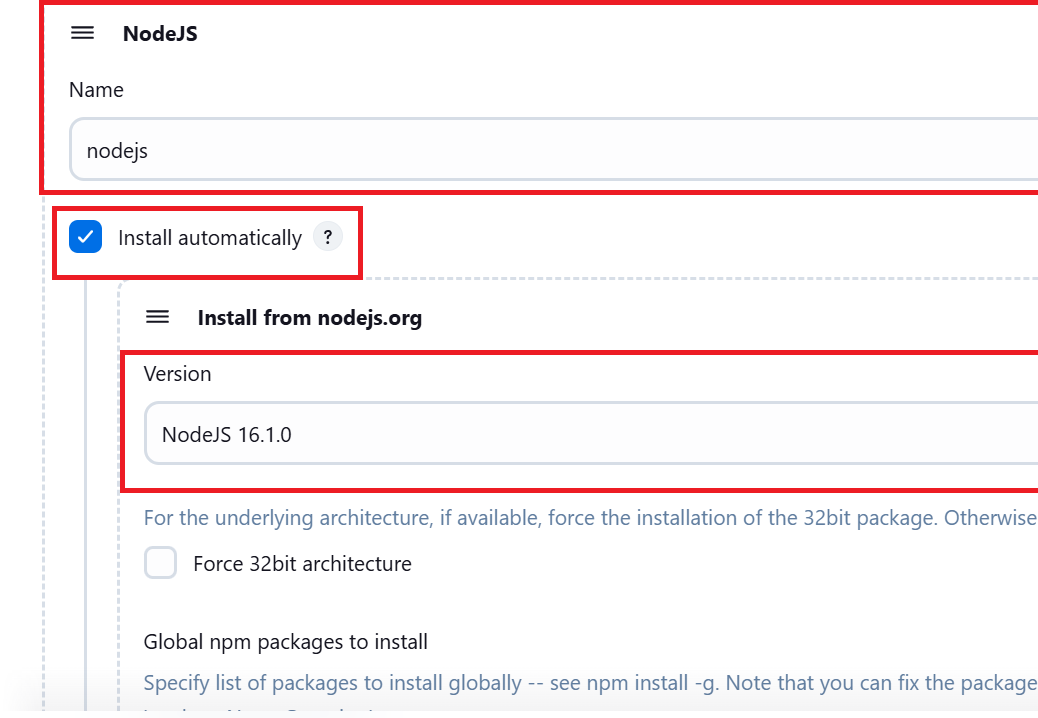
Scroll to Nodejs
Click on Add Nodejs
Type name
Check install automatically
Select Nodejs Version
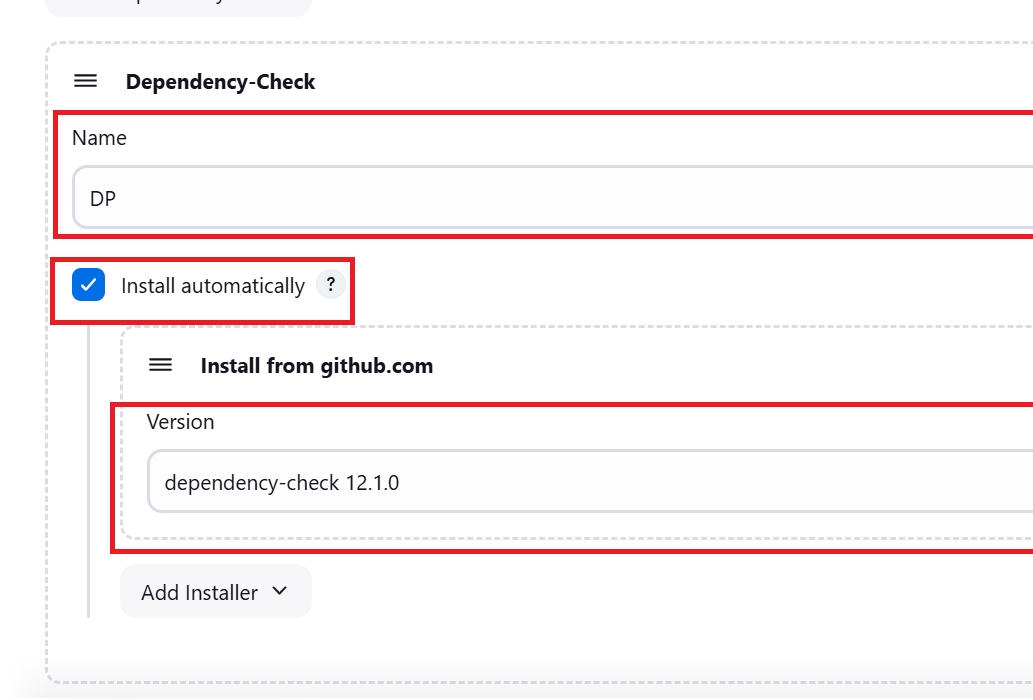
Scroll to Dependency check
Click on Add Dependency Check
Type name
Check install automatically
Select the version
To Configure SonarQube
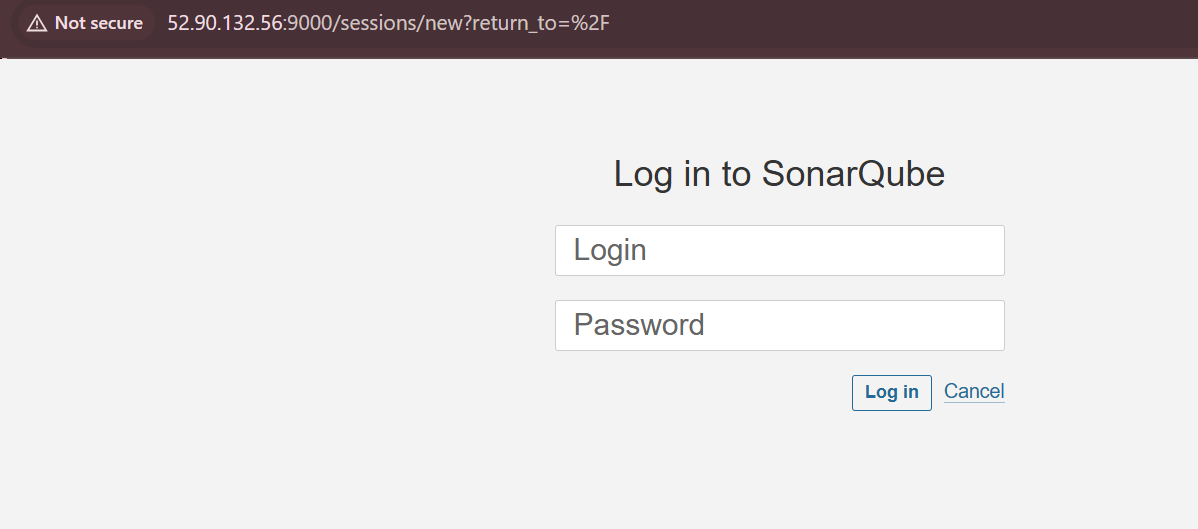
Go to browser and enter IP-Address:9000
Enter usernaame and password
Login
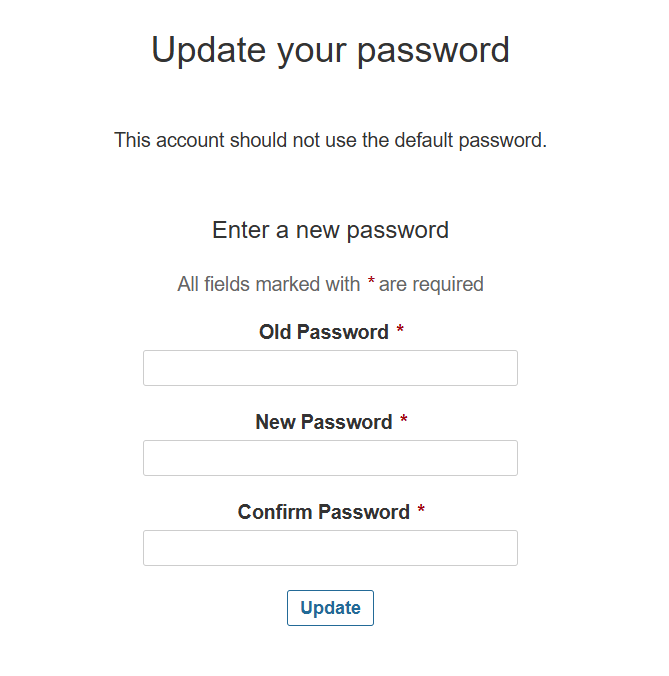
- Update Password
- This will take you to the dashboard
Click on administration
Click on Security
Click on users
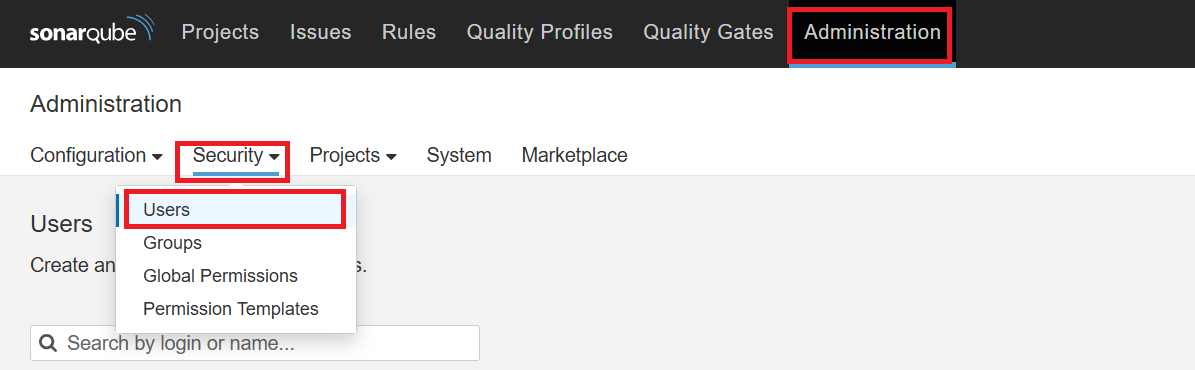
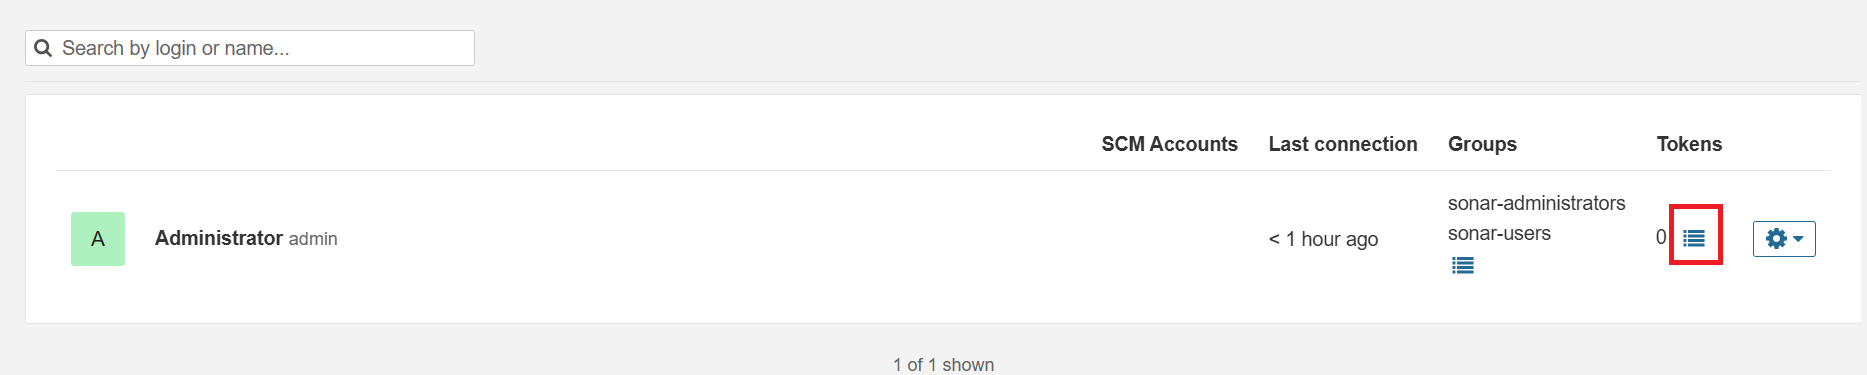
- Click on token to generate new token
- Type the token name
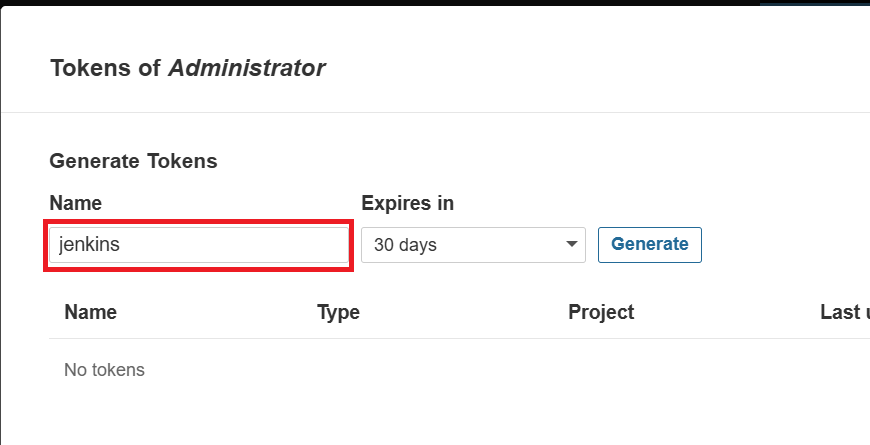
- Click on Generate

To configure SonarQube Credentials in Jenkins
Go to Jenkins
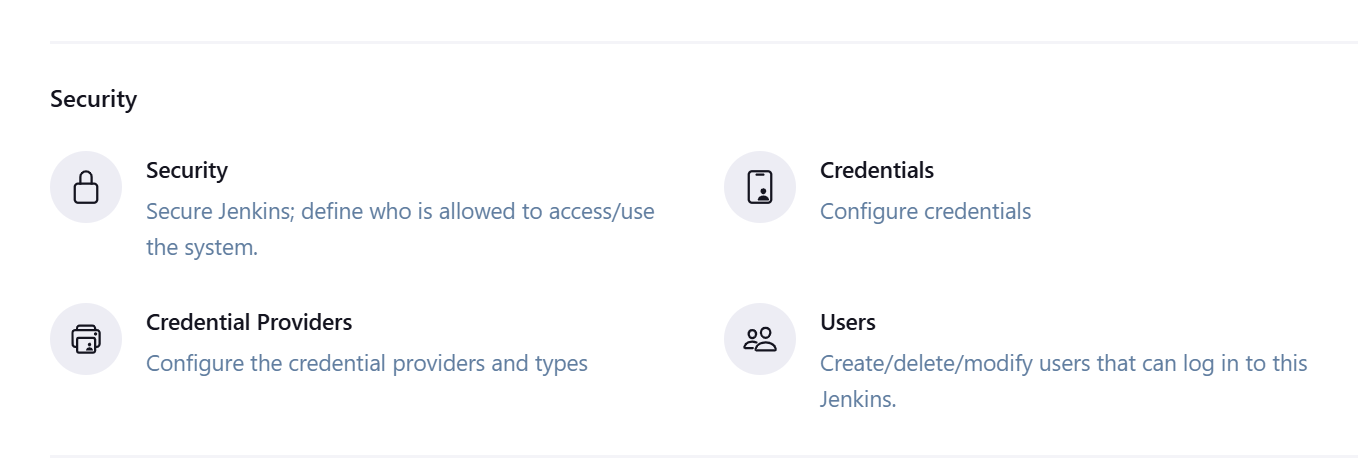
Click on Manage Jenkins
Click on Credentials
- Click on System
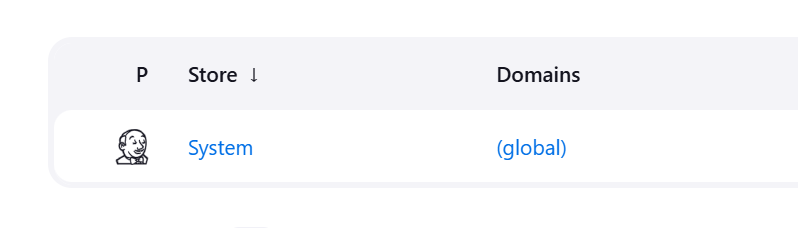
- Click on Global Credentials
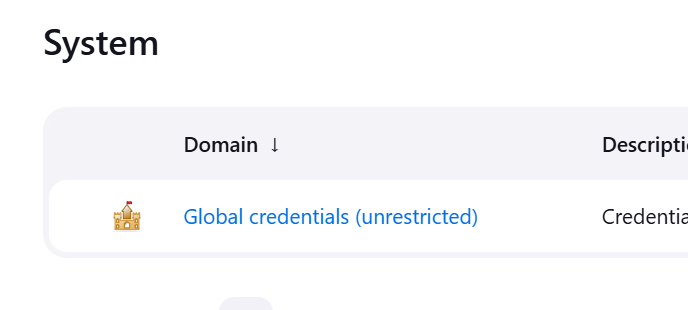
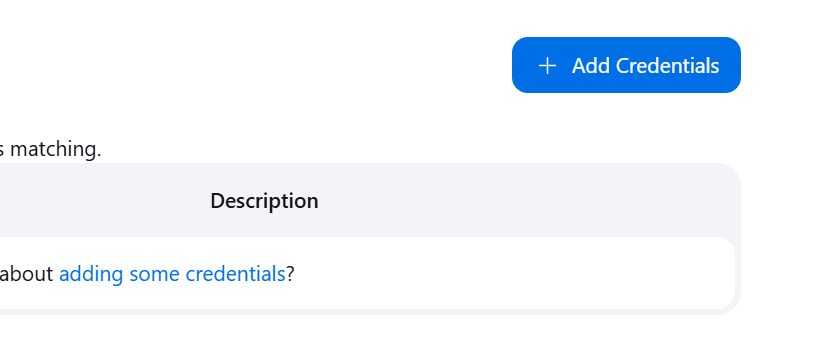
- Click on Add credentials
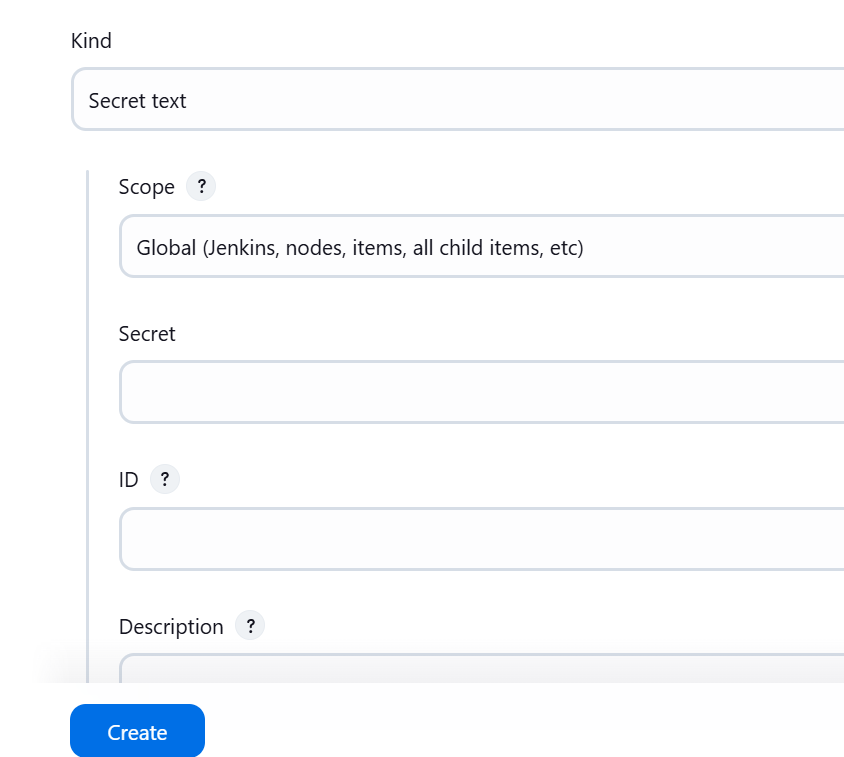
Select Secret Text under kind
Copy and paste the token generated in SonarQube
Create
To Configure SonarQube Scanner
Go to Manage Jenkins
Click on System
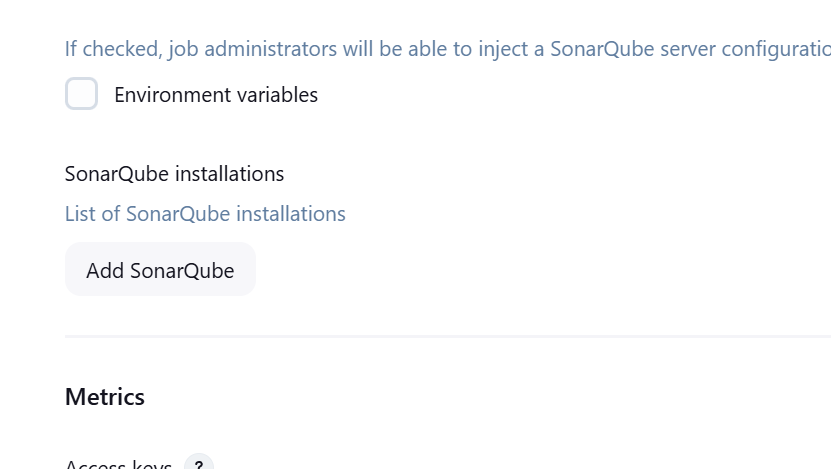
Scroll down to sonarqube scanner
Click on Add SonarQube
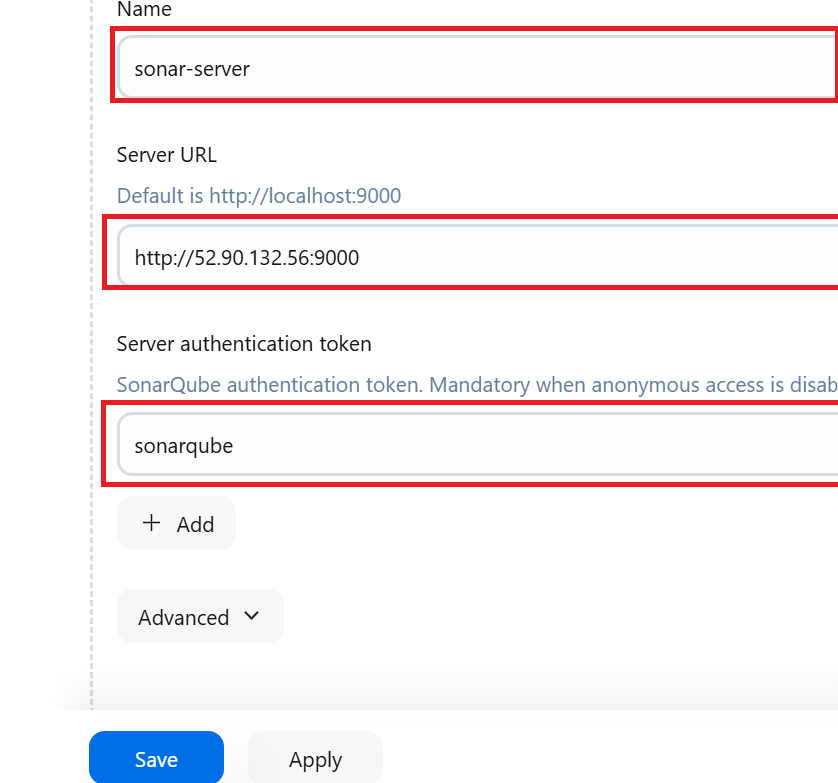
Type the name
Type the ip-address:9000
Enter the token generated in Sonarqube as authentication token
Apply and Save
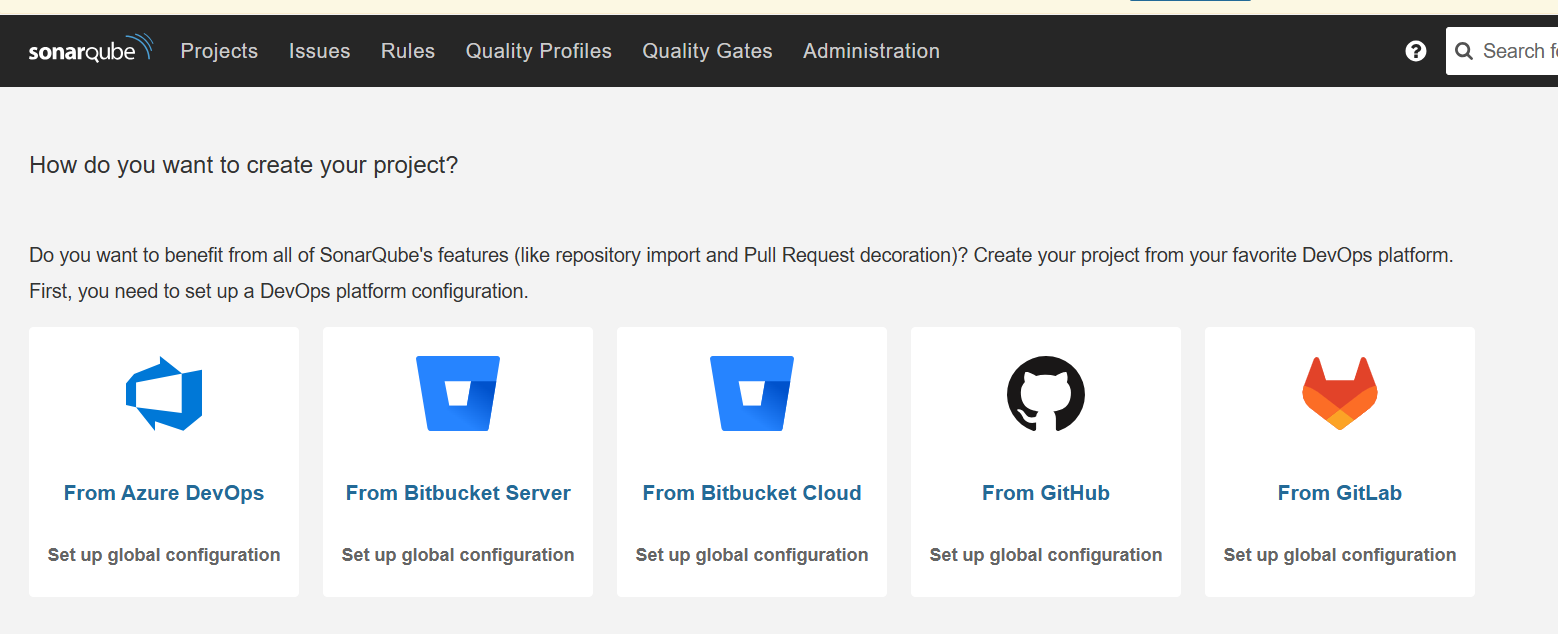
To create a project in SonarQube
Go to SonarQube
Click on Projects
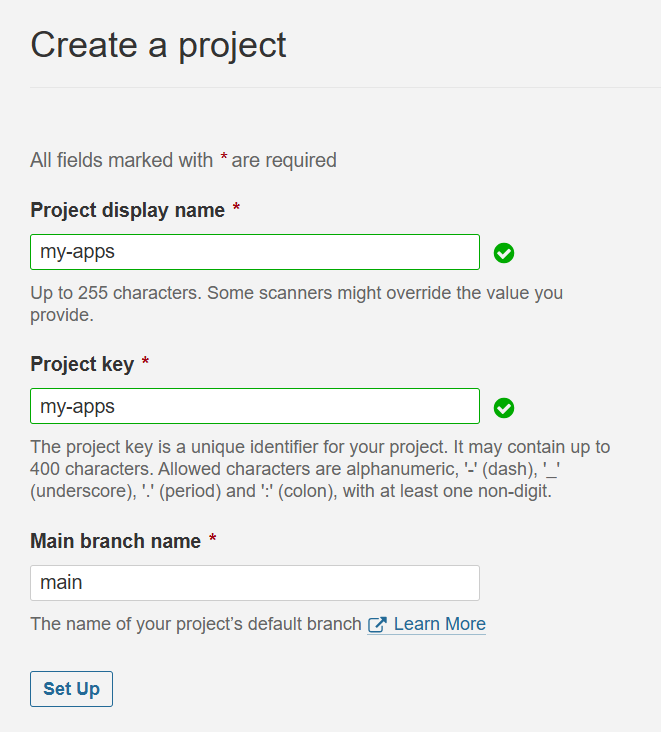
Click on Create Project
Click on Manually

Enter Name, key and Branch name
Click on Setup
Subscribe to my newsletter
Read articles from Oshaba Samson directly inside your inbox. Subscribe to the newsletter, and don't miss out.
Written by
Oshaba Samson
Oshaba Samson
I am a software developer with 5 years + experience. I have working on web apps ecommerce, e-learning, hrm web applications and many others