Writing Your First Terraform Script: A Simple Guide
 Yagya Goel
So, what is Terraform? Terraform is an infrastructure as code tool that helps us manage our infrastructure through code across multiple cloud providers. It allows users to define and set up infrastructure using HCL, which is HashiCorp Configuration Language, in multiple cloud environments.
About Terraform
To understand Terraform, we first need to know what infrastructure as code is. Infrastructure as code means managing your infrastructure through code. In the past, build engineers would manually manage servers, starting and configuring them by typing commands. But as technology advanced, infrastructure as code was introduced. This involves using scripts that run under certain conditions, like load, a pull request, or a Git commit. These scripts then make changes to our infrastructure as we specified beforehand. As technology advanced, infrastructure that was once on-premise can now be easily deployed or rented online through multiple cloud providers who manage and run many data centers with lots of servers. This is where Azure, AWS, and GCP come into the picture. They have their own infrastructure as code tools that help us to run certain scripts and deploy, update, or delete resources quite easily.
When does Terraform come into play? These platforms have their own infrastructure as code (IaC) tools to help users set up resources. However, if a company wants to switch from Azure to AWS or vice versa, they would need to rewrite those configurations from scratch, which is a tedious process. Or, if they want to work with multiple cloud platforms at the same time, they have to write a script for each provider in their IaC tool, leading to a lot of work. This workload can be reduced using Terraform. Terraform is a lifesaver, It is cloud-agnostic, meaning it supports multiple cloud providers. However, the configuration for each provider is different. While Terraform allows managing resources across multiple clouds in one configuration, you still need to write provider-specific resource definitions, and you're ready to go. Terraform increases reusability and standardizes script management tools.
Installation
Let's start by installing Terraform on our machine. For this demo, I will use an AWS machine since I already have several configurations set up in my own machine.
to install in ubuntu run the following commands else visit here to get the command for your OS :)
sudo apt-get update && sudo apt-get install -y gnupg software-properties-common

wget -O- https://apt.releases.hashicorp.com/gpg | \
gpg --dearmor | \
sudo tee /usr/share/keyrings/hashicorp-archive-keyring.gpg > /dev/null

echo "deb [signed-by=/usr/share/keyrings/hashicorp-archive-keyring.gpg] \
https://apt.releases.hashicorp.com $(lsb_release -cs) main" | \
sudo tee /etc/apt/sources.list.d/hashicorp.list

sudo apt update && sudo apt-get install terraform
After installing, you can confirm the installation by running terraform --version. You will see a prompt similar to the one below.

How To Write Script
So now, let's start with the script and learn how to write it. We don't need to memorize the entire syntax; we just need to focus on understanding what is happening. There are plenty of templates available online for the syntax.
Lets create a main.tf file in a folder this file will be responsible for our infra to run
terraform {
  required_providers {
    aws = {
      source  = "hashicorp/aws"
      version = "~> 4.16"
    }
  }

  required_version = ">= 1.2.0"
}

provider "aws" {
  region  = "ap-south-1"
  profile = "yagyagoel"
}

resource "aws_instance" "yagyaa_server" {
  ami           = "ami-0abcdef1234567890"
  instance_type = "t2.micro"

  tags = {
    Name = "yagya_server"
  }
}
Here, as you can see, we first declare that it is a Terraform template using the terraform block. Then, we specify the required providers, which can be AWS, GCP, or any supported cloud provider. We also define the required version of Terraform to ensure compatibility, as some commands might not be available in certain versions. Next, we specify what we want to do with the provider. In this case, we are deploying an EC2 instance in AWS. We have defined the provider, region, profile, and the resource we want to deploy.also at last i have defined the tags to identify the resource
Stages of Terraform Script
After defining the script, we need to begin with the stages of Terraform. I will explain each stage as we proceed.
Terraform Init
First, we use terraform init to initialize the providers and Terraform configuration that are needed. So let's run terraform init.
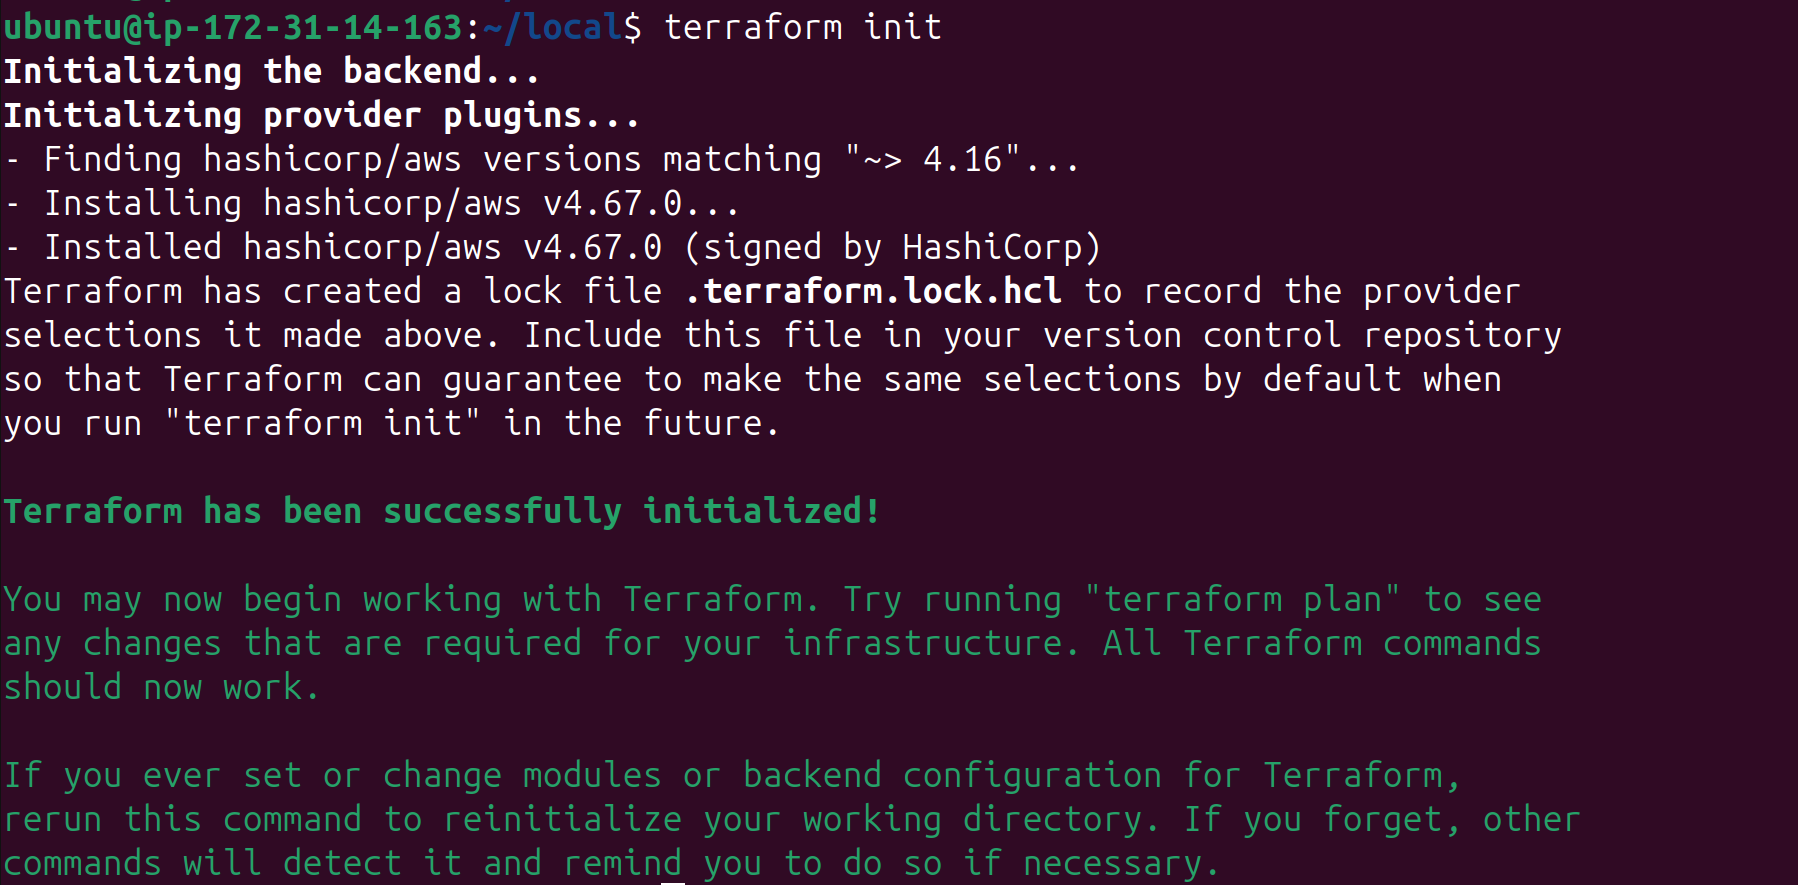
as you can seee i have ran the terraform init command which succuess fully ram aind initalized the provided pluggings that i have defined in the script that is hashicorp/aws also as youcan a lock file as been created to keep a track of the plugins installed

Terraform Plan
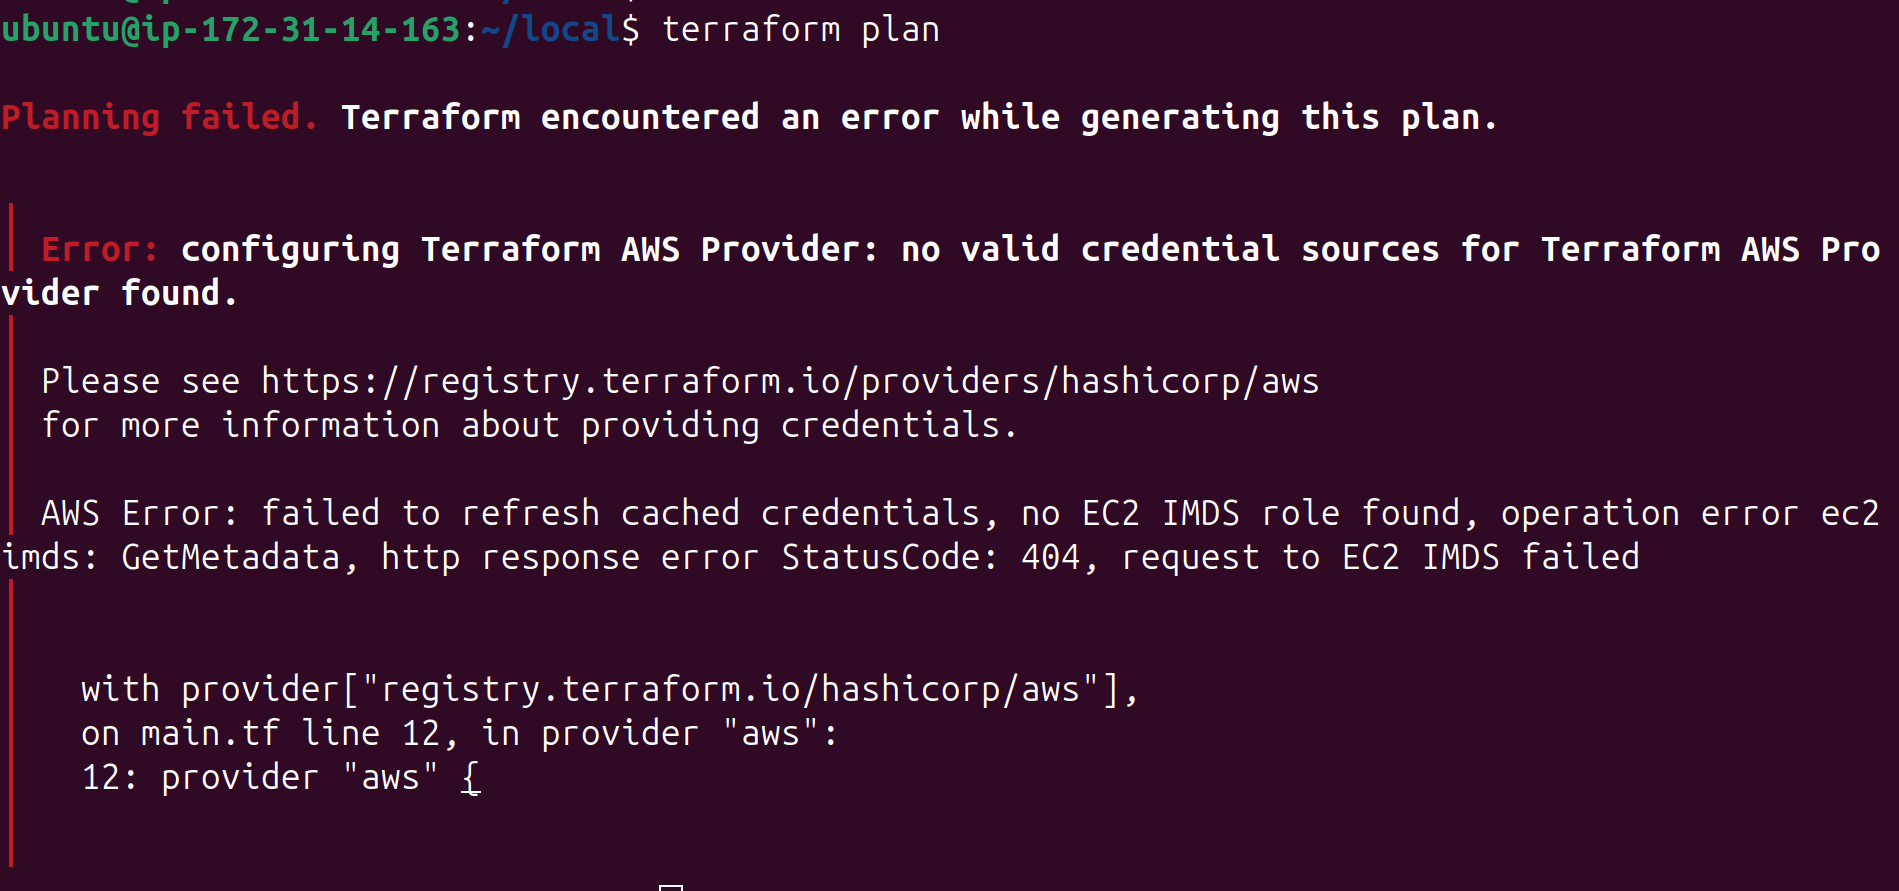
Now we can run terraform plan, a command that Terraform uses to create an execution plan. This plan shows the changes needed to reach the desired state from the current state. You might wonder how Terraform knows the previous state and what it has done. Hold on to that question; we will address it shortly.
after running terraform plan we got this error why because our terraform doesnt have access to our aws acount to give it access to our aws account we need to install aws cli and configure our credentials
AWS Configure
To install the AWS CLI, run these commands on your Ubuntu machine:
sudo apt update
sudo apt install curl unzip -y
curl "https://awscli.amazonaws.com/awscli-exe-linux-x86_64.zip" -o "awscliv2.zip"
unzip awscliv2.zip
sudo ./aws/install
aws --version

you will get this as your version
Now, run aws configure and get your AWS key ID and secret from your AWS account.

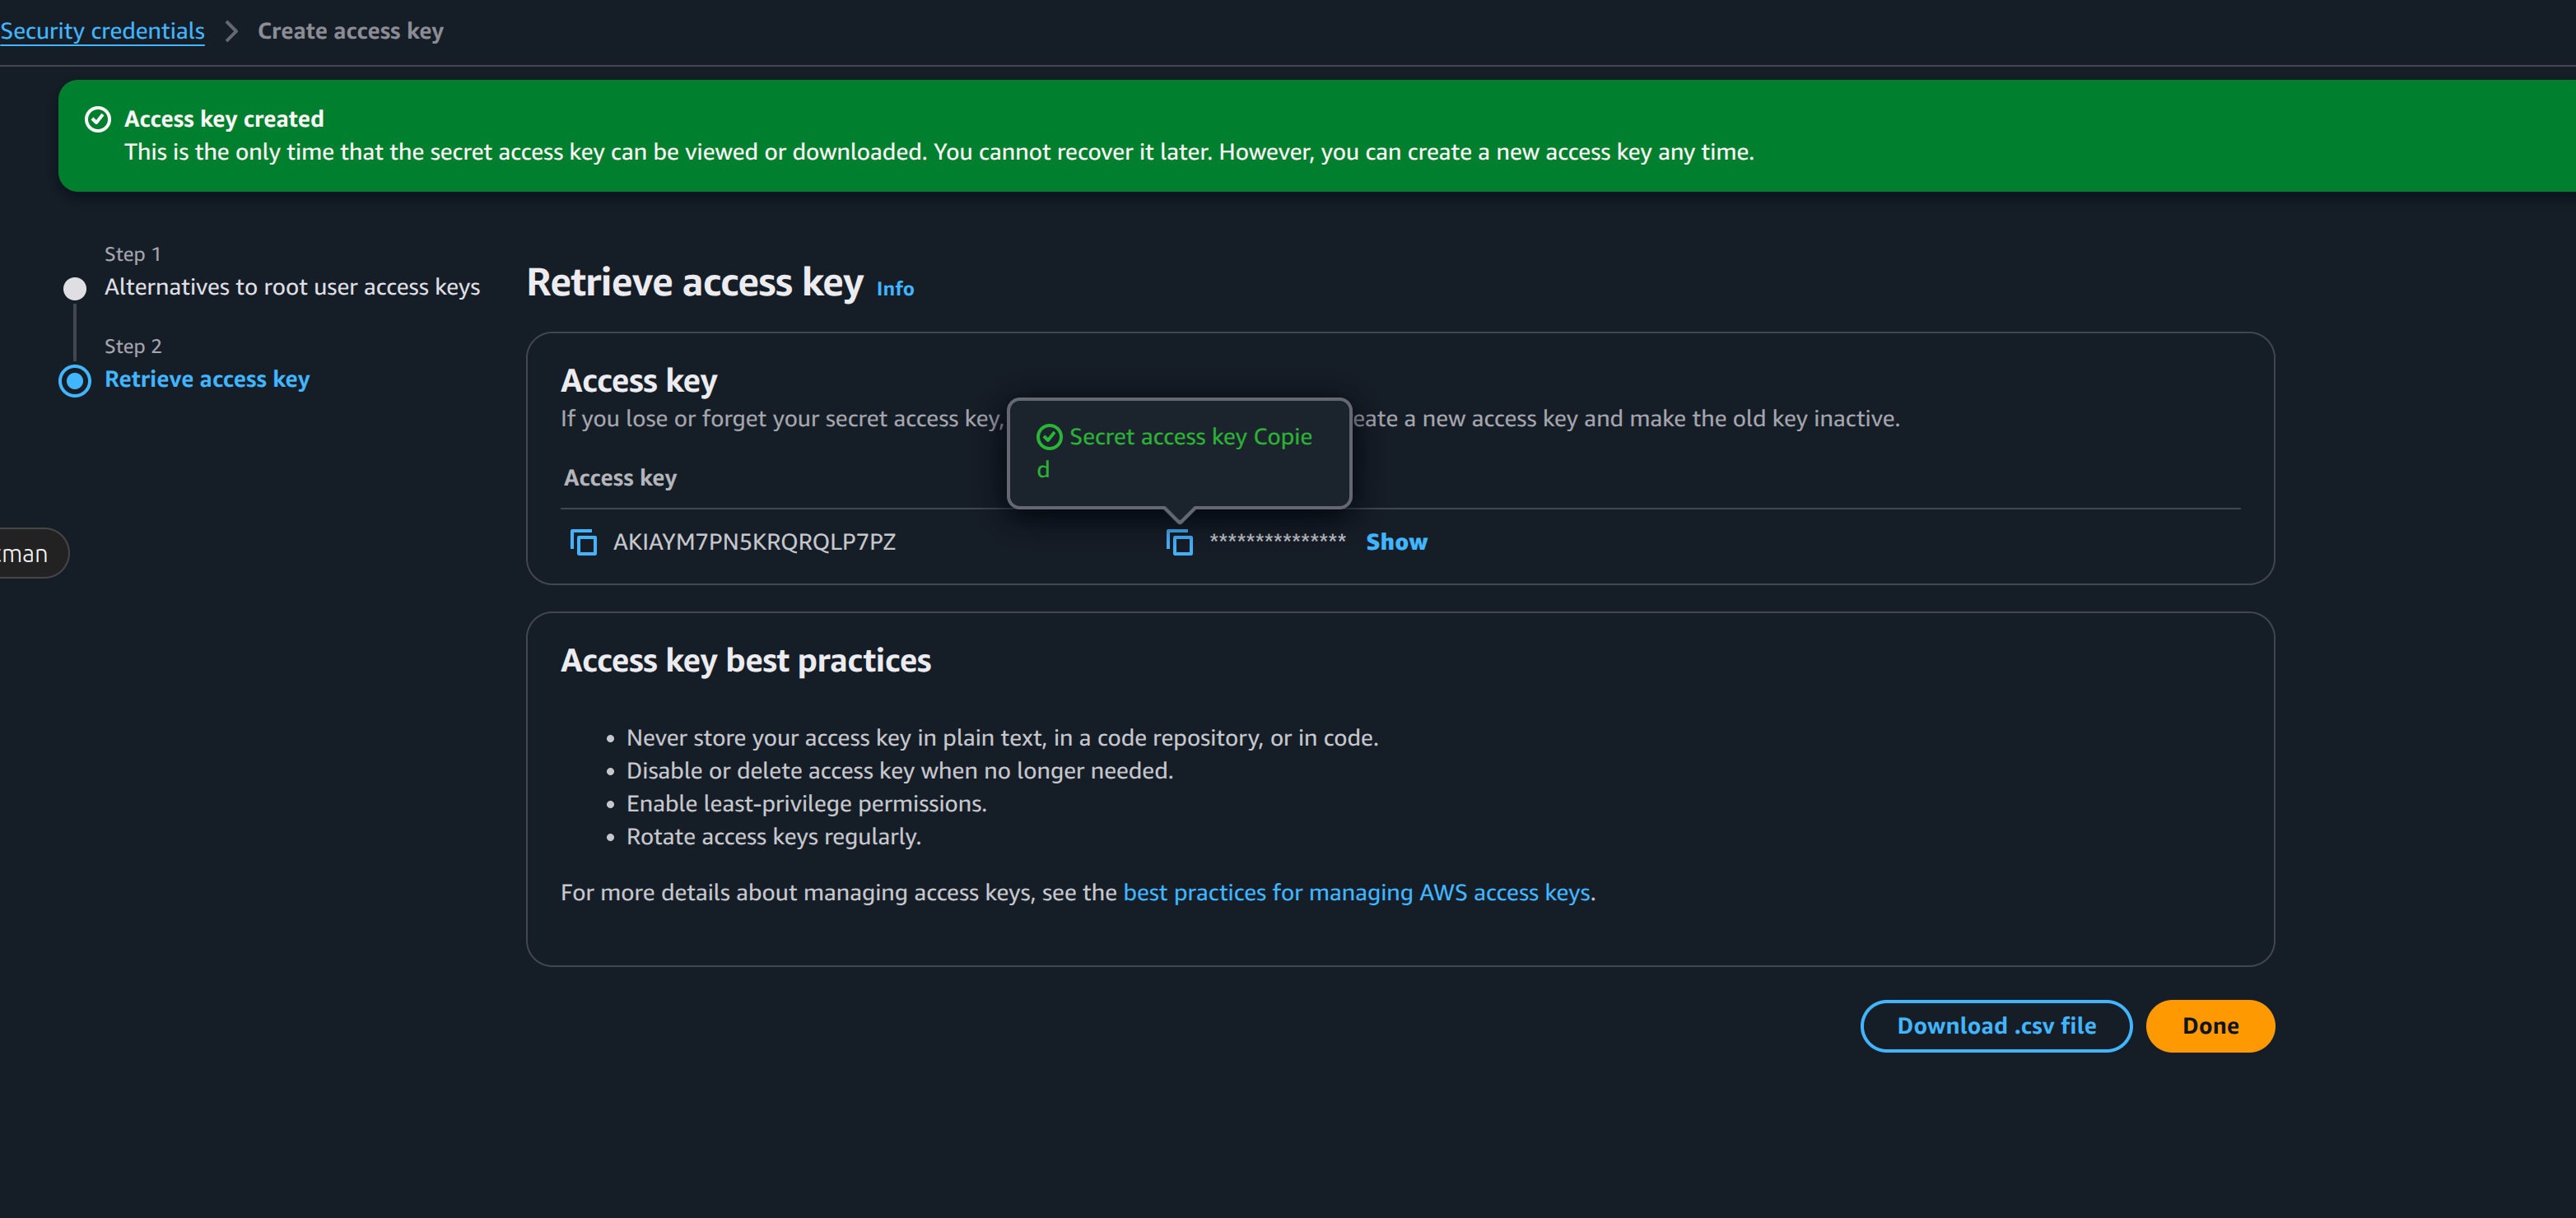
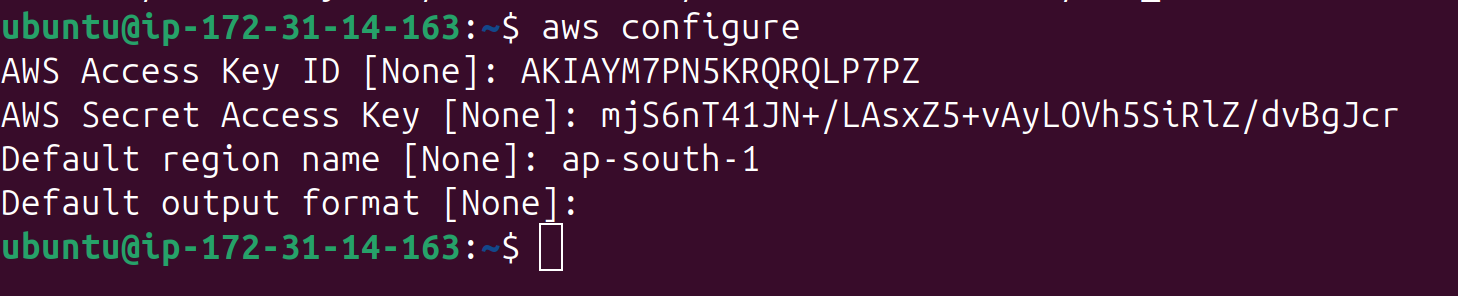
As you can see, I have successfully added the access key and secret. If you are using an IAM user, make sure it has the proper permissions to run the commands. Don't worry, I will delete the access key after the blog.
now run the terraform plan again
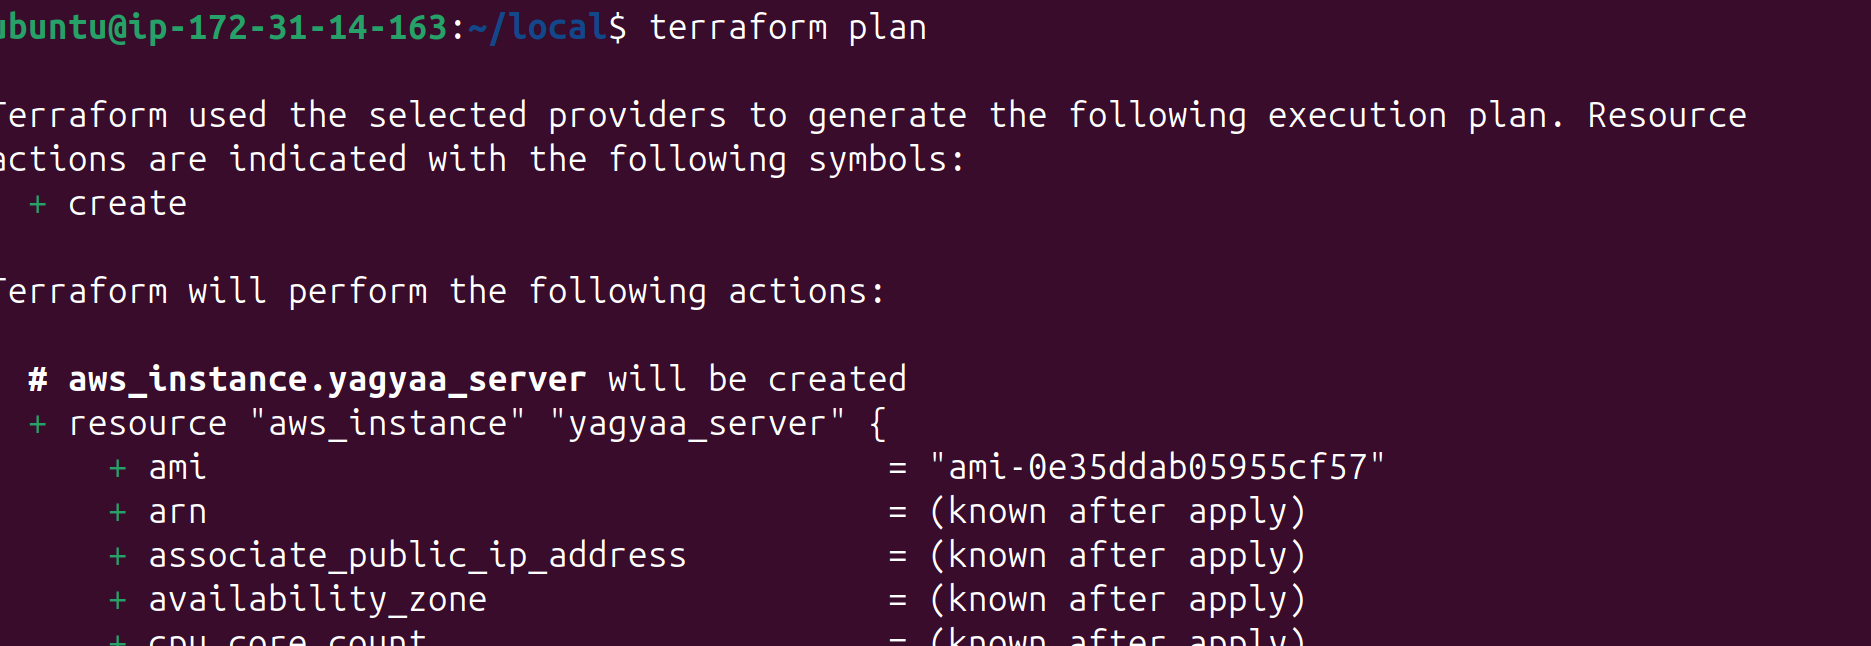
As you can see, the command ran successfully, and Terraform has planned how to reach the desired state. It acts like a dry run, helping us check for any errors in the script file.
Terraform Apply
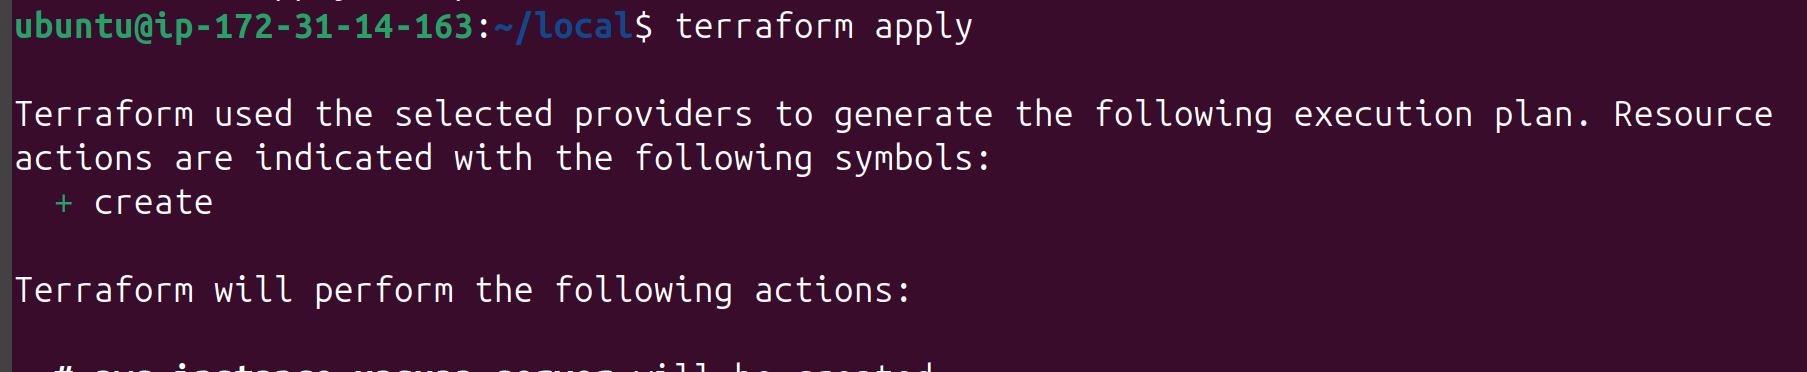
Now, we will run terraform apply to make the changes and create an EC2 instance in our account. This is exciting! Are you ready?
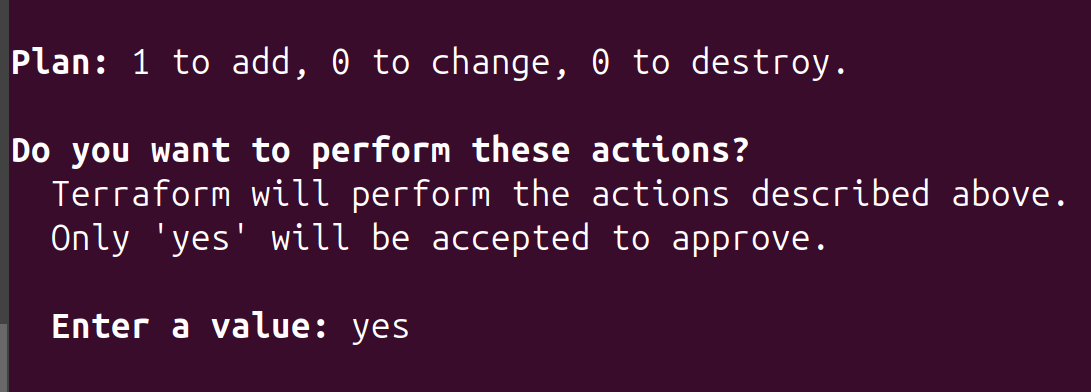
As you can see, it is asking for our permission to perform these actions. We need to type "yes."

You can see in our AWS console that an instance is being created.
terraform destory
You also have command that is terraform destory that destory all the resources that have been created
Hurray! We have created a resource using Terraform in AWS.
But wait a second, what is this .tfstate file that has been created on our machine?

State Management
This file is simply what we discussed earlier. Terraform needs to know which resources were created and what the previous state was. This information is stored in the .tfstate file. But what if someone accidentally edits it? This brings us to one of the biggest disadvantages of Terraform. We need to ensure this file remains unchanged and that we maintain this state very carefully. To prevent accidental changes, Terraform allows storing the state remotely using Terraform Cloud, AWS S3 with DynamoDB locking, or HashiCorp Consul. This ensures team collaboration and prevents state corruption.
This brings us to the end of the tutorial. I hope you liked it. There are some topics left to explore, such as using variables, reusing templates, and maintaining remote state, but they can be learned easily. Keep learning, everyone! Thank you for reading my blog. If you have any issues or feedback, please reach out to me on my social media mentioned below. Until then, see you next time!
Yagya Goel
Subscribe to my newsletter
Read articles from Yagya Goel directly inside your inbox. Subscribe to the newsletter, and don't miss out.
Written by
Yagya Goel
Yagya Goel
Hi, I'm Yagya Goel, a passionate full-stack developer with a strong interest in DevOps, backend development, and occasionally diving into the frontend world. I enjoy exploring new technologies and sharing my knowledge through weekly blogs. My journey involves working on various projects, experimenting with innovative tools, and continually improving my skills. Join me as I navigate the tech landscape, bringing insights, tutorials, and experiences to help others on their own tech journeys. You can checkout my linkedin for more about me : https://linkedin.com/in/yagyagoel