🎨 How AI Turns Your Photos into Studio Ghibli Art: A Step-by-Step Guide with Diffusion Models and ChatGPT
 Rohit Ahire
The Complete Technical Breakdown with Diagrams, Code, and Real Examples
📍Introduction: The Ghibli Magic That Took Over the Internet
You must have seen those magical Ghibli-style portraits recently flooding Instagram, Twitter, and even WhatsApp — dreamy forests 🌳, soft anime eyes 👀, pastel skies 🌸, and that unmistakable Studio Ghibli aesthetic.
They've gone viral.
From celebrities to influencers even political leaders like Narendra Modi have been stylized into anime-like characters using this AI-powered trend.
It’s everywhere.
And you’re probably thinking…💭 “How do I make this?”
💭 “How does this even work?”
💭 “Is ChatGPT doing the drawing?”
💭 “Can I try it myself... for free?”
You're not alone — the technology behind this viral magic is both beautiful and complex, powered by diffusion models, prompt engineering, and sometimes a little help from ChatGPT.
In this blog, I will break it all down, visually and technically step by step so by the end, you’ll not only understand the backend but also be able to create your own Ghibli-style AI art.
🎨 What is Studio Ghibli — and Why Is Everyone Obsessed with Its Art?
Before we talk AI, let's talk about the legends of hand-drawn animation.
Studio Ghibli is a world-renowned Japanese animation studio founded by Hayao Miyazaki and Isao Takahata in 1985. If you’ve ever watched:
🐉 Spirited Away (yes, the one with the bathhouse and that silent spirit with the mask)
☠️ Grave of the Fireflies (1988) (heart-wrenching war drama)
🐱 My Neighbor Totoro (the big, fluffy forest creature)
🚢 Howl’s Moving Castle (yes, the one with the walking house)
🌪️ Princess Mononoke or Nausicaä of the Valley of the Wind
…then yes, you’ve already witnessed Studio Ghibli’s magic.
These films were not made with AI, not even with modern CGI. Every frame was painstakingly hand-drawn, colored, and composited by real artists often frame-by-frame resulting in an animation style that feels organic, warm, and deeply emotional.
✏️ That soft watercolor texture?
🎨 Those delicate backgrounds?
👀 The expressive, oversized anime eyes?
All of it was sketched, painted, and animated by human hands.
🧠 How Does AI Actually Create Ghibli-Style Art?
A Step-by-Step Breakdown of the Backend Magic
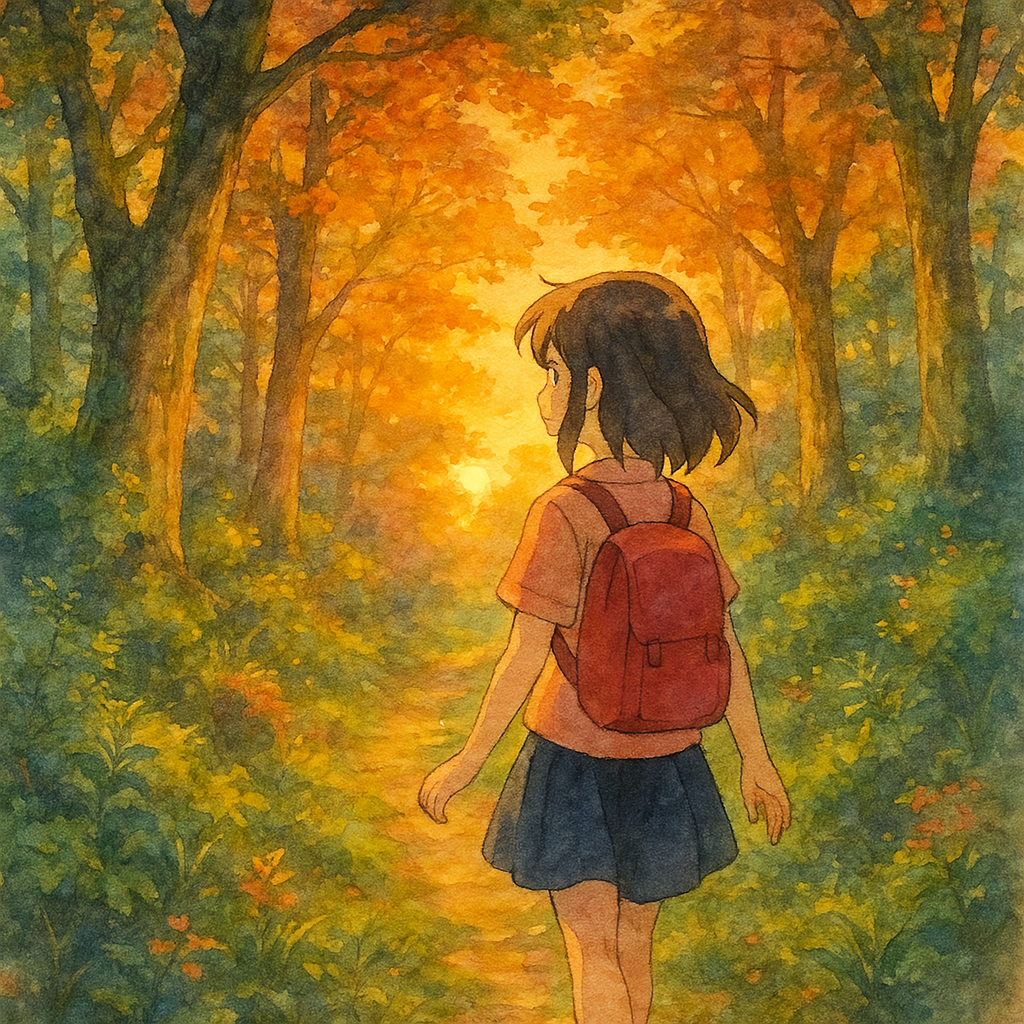
So, how exactly does an AI model turn a text prompt like:
“A girl walking through a glowing Ghibli-style forest at sunset, anime style, watercolor effect”
…into a fully-formed illustration like this?

Let’s break it down — not just what it looks like, but what actually happens under the hood.
🧭 High-Level Workflow: Step-by-Step Explanation
Let’s dive deeper into each component of this AI art generation pipeline:
In modern AI art generation, the process might look magical on the surface — but it's powered by a series of coordinated neural components, each doing a specific job to convert language into visuals. Let’s explore the system behind the scenes.
🧍♂️ 1. User Input: Prompt or Photo
This is where you start.
You either:
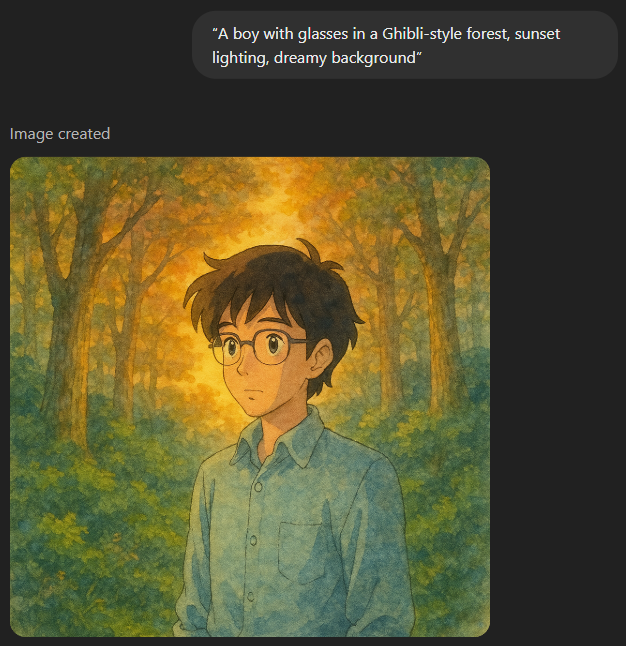
Write a text prompt like:
“A boy with glasses in a Ghibli-style forest, sunset lighting, dreamy background”
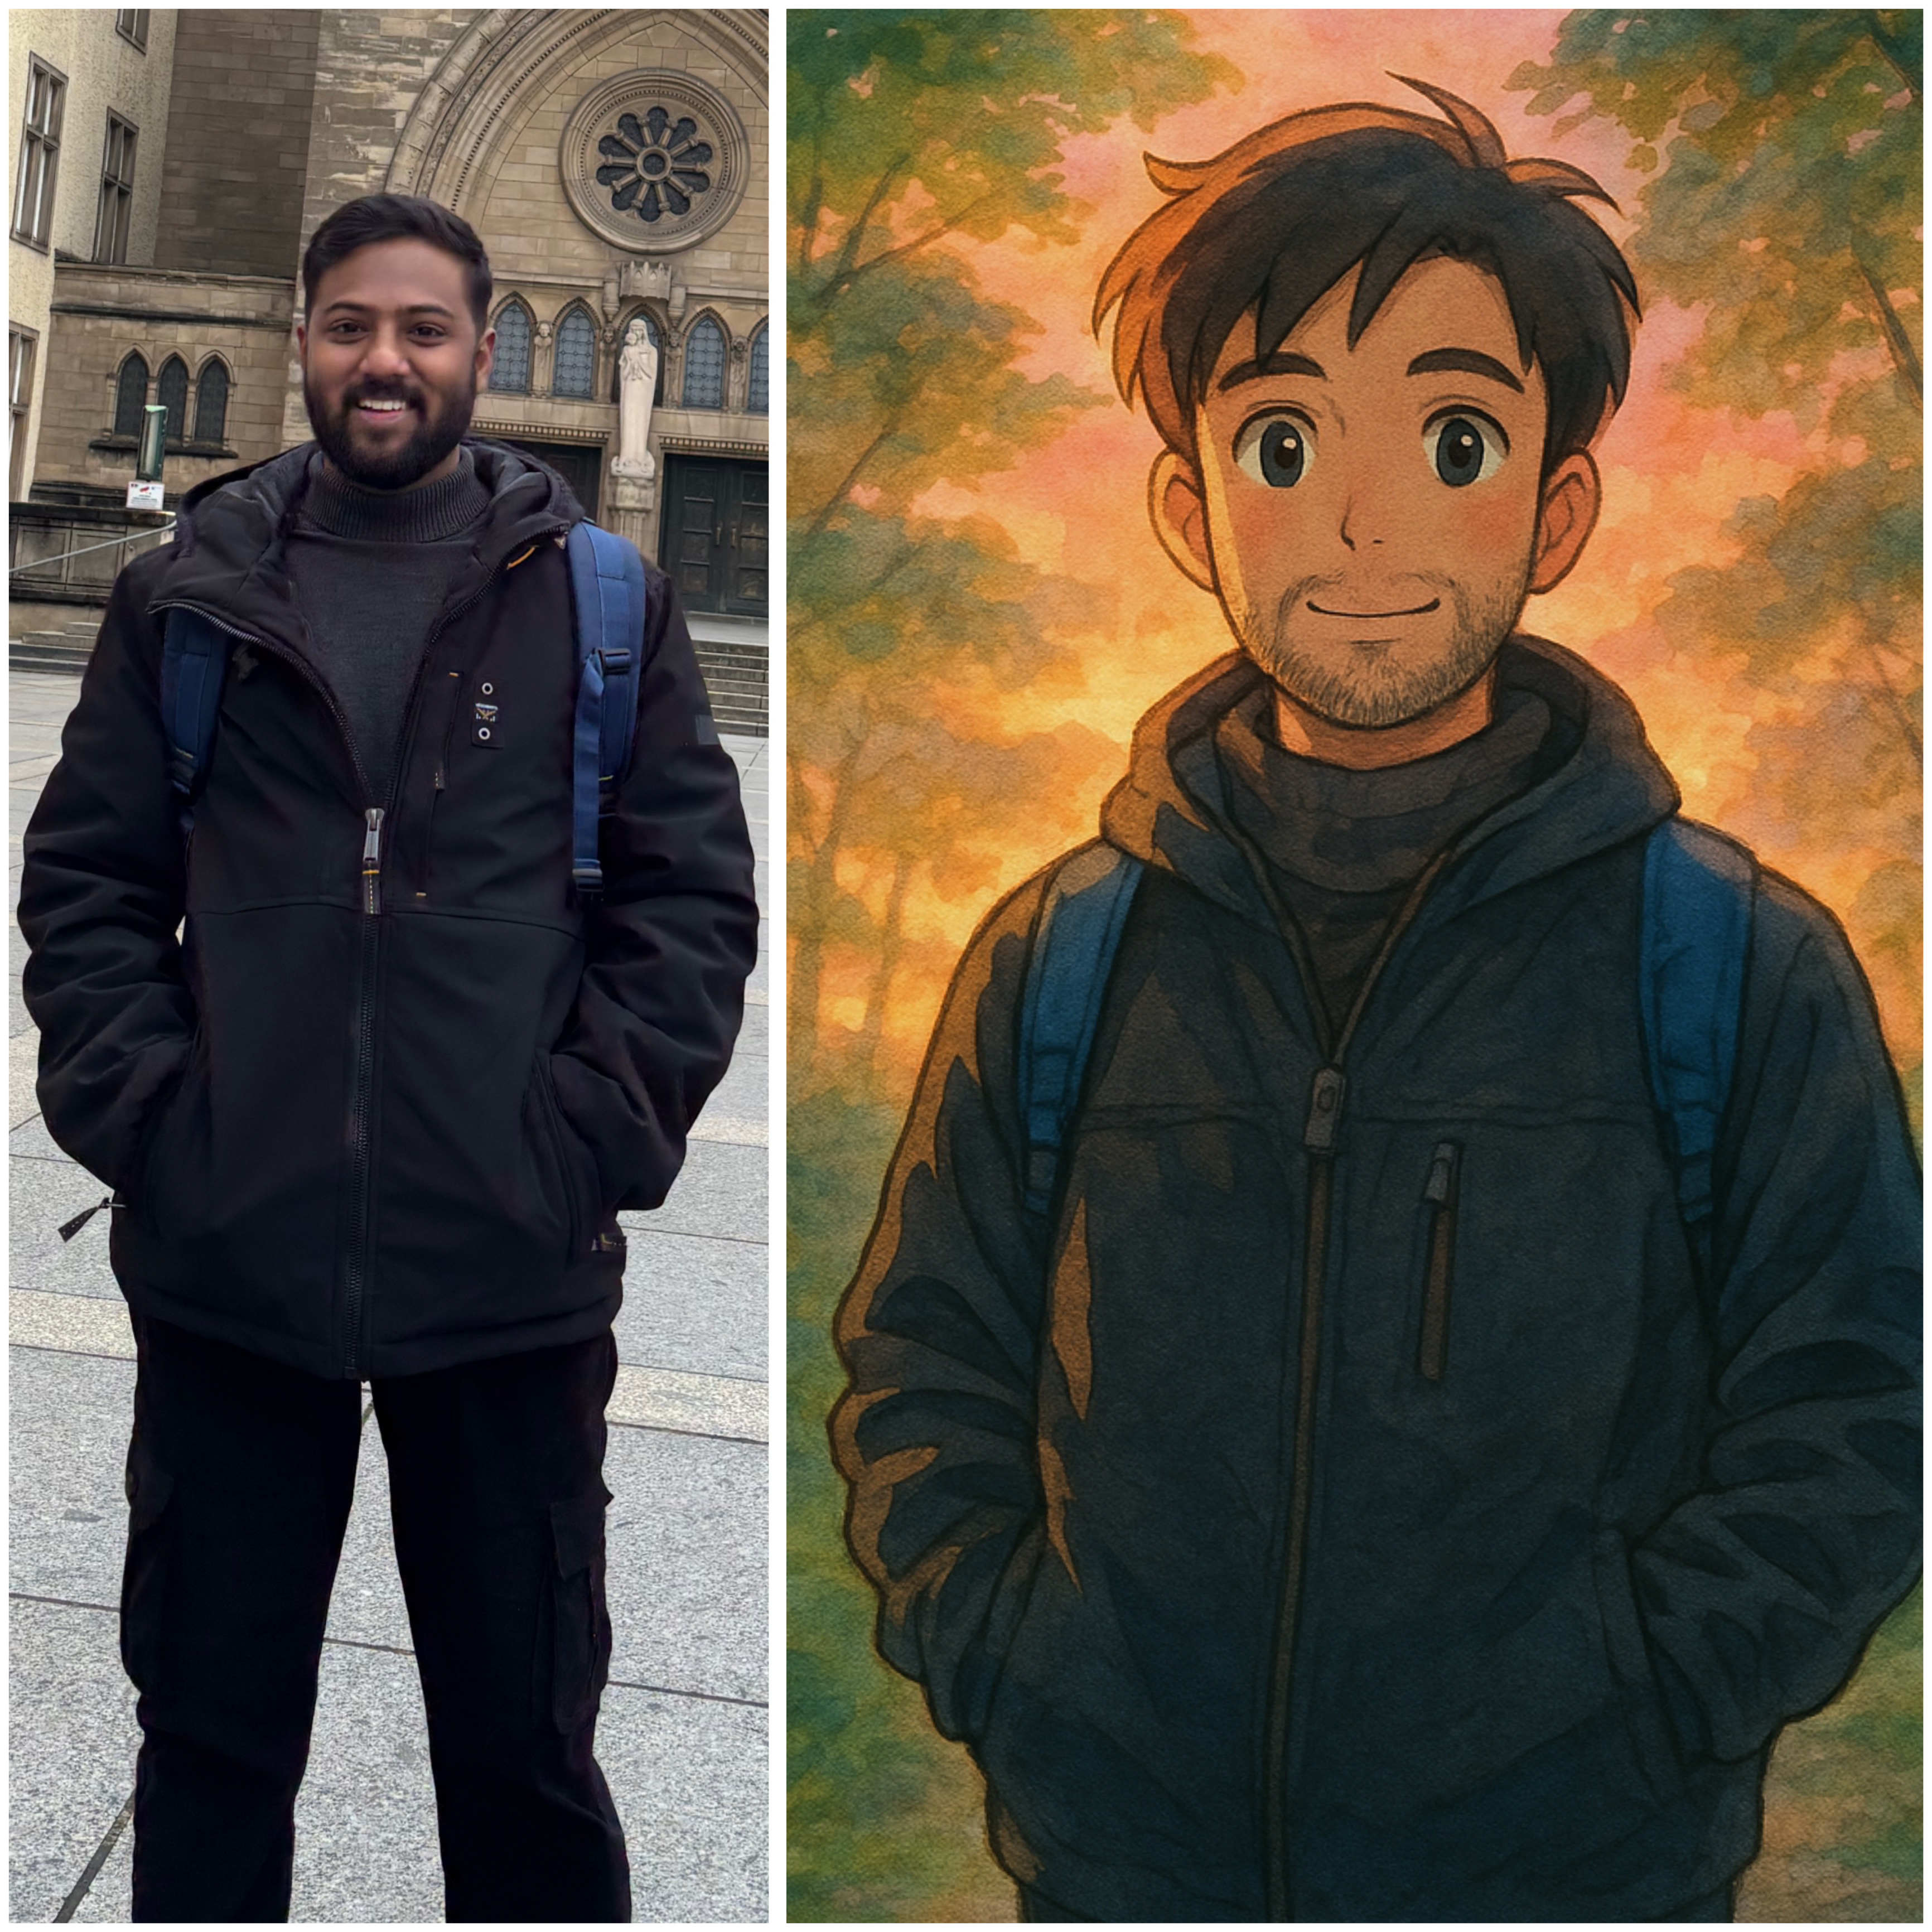
Or upload a real image (your selfie or photo) if you're using img2img
“Here’s what happens when I upload a simple standing image and give it this prompt:
‘ In Ghibli studio style illustrate a young man standing peacefully in a dreamy forest, soft anime face, glowing sunset light, pastel watercolor background, expressive anime eyes, gentle cinematic lighting, high-quality detailed clothing, magical atmosphere, watercolor textures, anime film still, calm mood, 2D animation aesthetic.’Result? Pure magic. ✨”

✍️ 2. Prompt Engineering (Manual or via ChatGPT)
Here, you shape your idea into a rich, descriptive natural language prompt.
Basic prompt:
“Anime girl”➡️ Output is vague, generic.
Improved prompt with ChatGPT:
“Studio Ghibli style anime girl walking in a glowing forest, soft watercolor textures, dreamy sunset lighting, magical vibes”➡️ Output is much more stylized and controlled.
🧠 ChatGPT’s Role:
ChatGPT can help:
Expand on your idea
Add stylistic keywords
Match tone to Ghibli aesthetics
This improves CLIP guidance for the model (explained next).
🧠 3. Text Encoder (CLIP / T5 / OpenCLIP)
Once your prompt is ready, it's passed into a text encoder.
This encoder:
Converts your text into a vector — a list of numbers representing its meaning.
This vector lives in a multi-dimensional space where similar concepts are grouped together.
Think of this like “translating your idea into something the AI can understand visually.”
🧩 Why this matters:
These vectors directly influence the image generation by conditioning the denoising steps in the diffusion model.
🌫️ 4. Diffusion Model (like Stable Diffusion) + Scheduler
This is the core engine of the whole system.
It starts with pure noise (TV static).
At each step, it slightly removes noise and adds structure — guided by the text vector from the encoder.
After 50–1000 steps, you get a final image.
📊 UNet is the neural network that predicts what noise to remove at each step.
🔄 The Scheduler controls how aggressive or subtle each denoising step is. Common ones: DDIM, DPM, LMS, etc.
It's like sculpting a marble block — each step refines the image.
📸 With img2img, this process doesn’t start from noise — it starts from your photo + some noise, and gradually morphs it into a stylized version.
🖼️ 5. Image Output: Ghibli-Style Illustration
After the final denoising step, you get a fully generated image.
The result reflects:
The semantic meaning of your prompt
The style tokens you embedded (e.g., “Ghibli”, “watercolor”, “anime”)
The guidance strength (how much your prompt controls the image)
You can now:
Save it
Upscale it
Remix it
Share it on Instagram and blow people’s minds 😄
🛠️ 6. Tools to Create Your Own Ghibli-Style AI Art
Ready to try it yourself? Here are some powerful (and mostly free) tools you can use to generate Ghibli-style art from your prompts or photos:
| Tool | What It Does | Free? | Link |
| Mage.Space | Text-to-image and img2img using Stable Diffusion, no setup needed | ✅ Yes | mage.space |
| Bing Image Creator | Uses DALL·E 3 for text-to-image generation | ✅ Yes | bing.com/images/create |
| Runway ML | Easy-to-use image/video generation (great UI) | 🟡 Limited Free | runwayml.com |
| Hugging Face Spaces | Run Ghibli-style models in-browser | ✅ Yes | huggingface.co/spaces |
| AUTOMATIC1111 Web UI | Full Stable Diffusion control with img2img, LoRAs, custom models | 🧠 Advanced Setup | GitHub Repo |
💡 Tip: For photo-based results like the one shown earlier, look for tools with “img2img” support and LoRA or anime checkpoints.
✨ Bonus Tool: ChatGPT (for Prompt Engineering)
| Tool | What It Does | Free? | Link |
| ChatGPT (with GPT-4) | Helps craft highly descriptive prompts for art generation | ✅ Free (GPT-3.5) / 🔒 Pro (GPT-4 + DALL·E 3) | chat.openai.com |
📌 If you're using ChatGPT Pro, you can also generate images using DALL·E 3 right inside the chat!
🔖 Optional Note (Mini Box):
Want zero setup? Start with mage.space it supports text-to-image and image-to-image right from your browser.
Ready to try it? Use any tool above, craft your own prompt, and create your Ghibli moment.
Coming next: "How Diffusion Models Actually Work (with Math, Visuals & Intuition)" — follow the blog to get it first.
Subscribe to my newsletter
Read articles from Rohit Ahire directly inside your inbox. Subscribe to the newsletter, and don't miss out.
Written by
