Ultimate Guide: Securing Your Linux Server Like a Pro
 Oshaba Samson
In this tutorial I will be discussing how to secure a linux(ubuntu) server. The server can be vps, cloud server, droplet etc. But in this tutorial we will be using a vps
Prerequisite
A computer
Internet connection
A linux(ubuntu) server
Objectives
- Secure linux(ubuntu) server
In order to secure a linux(ubuntu) server. The first thing we need to do is to create a new user because using root for all your operation is risky. It is not advisable
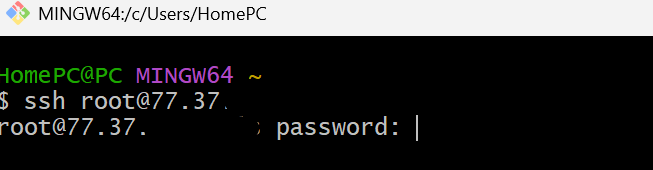
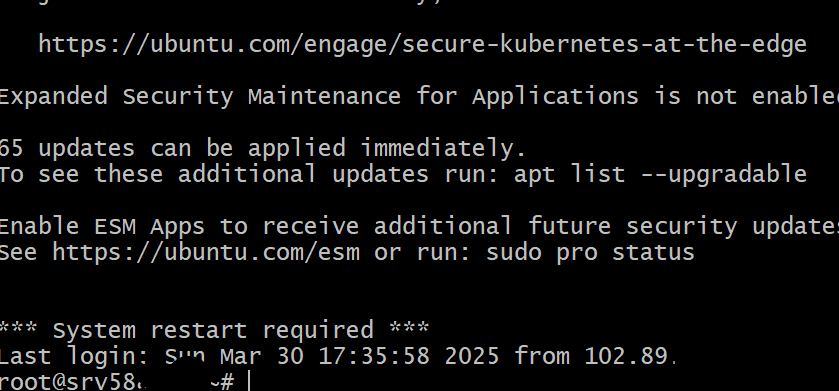
- Login into server using root
ssh root@ip-address
you will be prompted with password enter the root password.
- Create a new user
adduser linuxserver
You will be prompted with a password. Enter new password and Reenter the password.

Follow the prompt to create a new user. Type Yes

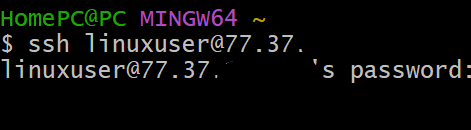
- Login as the new user
ssh linuxuser@ip-address
Then enter the password you used when you were creating a password

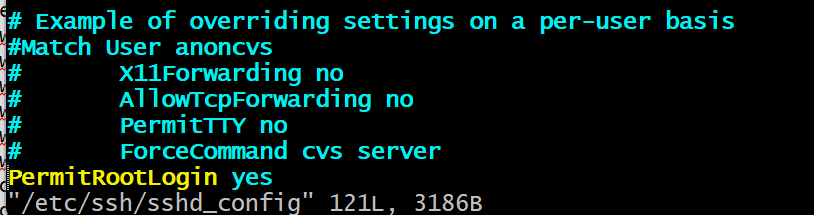
- To disable password-based login for the root user.
I need to switch to root user then open up sshd_config
sudo su -
vi /etc/ssh/sshd_config
look for PermitRootLogin and this PasswordAuthentication then uncomment it and set them to no
switch to linuxuser
exit
- Blocking of port
For this we will use application called ufw this comes by default on ubuntu server. You don’t need to install it.
To check the status of ufw
sudo ufw status

To list the app allowed on ufw
sudo ufw app list
To allow open SSH and Nginx
sudo ufw allow OpenSSH
sudo ufw allow "Nginx Full"
To enable ufw
sudo ufw enable
To check status in more details
sudo ufw status verbose
Fail2Ban
Fail2Ban is a log-based intrusion prevention system that protects Linux servers from brute-force attacks and unauthorized access attempts by blocking IP addresses that show suspicious behavior.
- To install Fail2Ban
sudo apt install fail2ban
To see Fail2Ban file configuration
sudo vi jail.conf
But it is not advisable to make configuration changes on this file instead create a new file jail.local then make your changes there.
[DEFAULT]
# Email action configuration
destemail = your-email@example.com
sender = fail2ban@example.com
mta = sendmail
action = %(action_mwl)s  # This ensures sending emails with logs

# Fail2Ban settings
bantime = 600  # Ban for 10 minutes
findtime = 600  # Time window for counting failures (in seconds)
maxretry = 3    # Max attempts before banning (set to 3 retries)

# Enable the SSH jail (if you're configuring for SSH)
[sshd]
enabled = true
port = ssh
filter = sshd
logpath = /var/log/auth.log
maxretry = 3
You can copy and paste the above confiration but the most important ones are maxretry, enabled and bantime.
To see an overview of Fail2Ban, including all active "jails"
sudo fail2ban-client status
To see the status of ssh_d
sudo fail2ban-client status sshd
- To unban an ip
sudo fail2ban-client set sshd unbanip ip-address
I am logged in as linuxuser
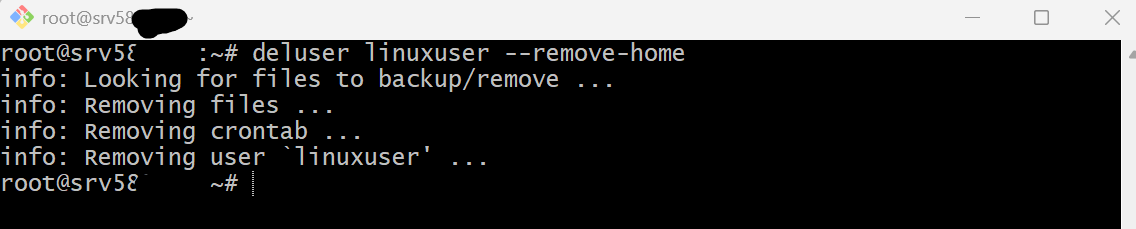
- To delete user linuxuser
I have to switch to root user then delete the user
sudo su -
deluser linuxuser --remove-home
Server icons
Thanks for Reading
Subscribe to my newsletter
Read articles from Oshaba Samson directly inside your inbox. Subscribe to the newsletter, and don't miss out.
Written by
Oshaba Samson
Oshaba Samson
I am a software developer with 5 years + experience. I have working on web apps ecommerce, e-learning, hrm web applications and many others