KUBERNETES (K8s)
 Adekunle Fatunde
WHAT IS KUBERNETES?
An open-source platform called Kubernetes, or K8s for short, was created to automate the deployment, scaling, and administration of containerised applications. It enables programmers to execute their apps across a cluster of computers in containers, which combine an application with its dependencies, guaranteeing efficiency, flexibility, and dependability.
KEY FEATURES OF KUBERNETES:
Container orchestration: It ensures that containers operate as intended by managing their lifespan.
Scaling: Depending on demand, Kubernetes may automatically scale apps up or down.
Load Balancing: To prevent any one container from becoming overloaded, load balancing divides traffic among them.
Self-Healing: Kubernetes has the ability to automatically restart or swap out containers in the event that one fails.
Service Discovery: It facilitates containers' ability to locate and connect with one another.
Modern cloud-native applications frequently use it, and major cloud providers like AWS, Azure, and Google Cloud support it.
LABORATORY 1
Step 1: Install Prerequisites
Install Docker Desktop:
- Download and install the latest release of Docker Desktop from the official site.
Install Minikube:
- Download and install the Minikube installer from the Minikube releases page.
Install Visual Studio Code:
Download and install Visual Studio Code from the official website.
Note that command prompt or PowerShell on windows can be used instead. But for this documentation, Visual Studio Code is our option.
Step 2: Start Minikube
Ensure your Docker Desktop is active
Open a command prompt or PowerShell as an administrator.
Start Minikube with the following command:
minikube start
This command starts a local Kubernetes cluster using Docker.


Step 3: Create an Nginx Deployment
Create a deployment using Kubectl:
kubectl create deployment nginx --image=nginx

Expose the deployment to create a service:
kubectl expose deployment nginx --type=NodePort --port=80

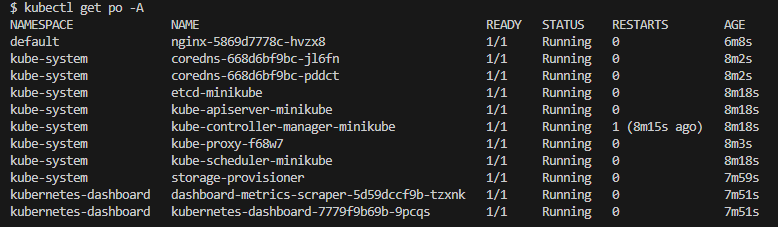
List all the pods in every namespace within your Kubernetes cluster and their status:
kubectl get po -A
Step 4: View the Deployment in a Browser
Get the URL for the service:
minikube service nginx --url
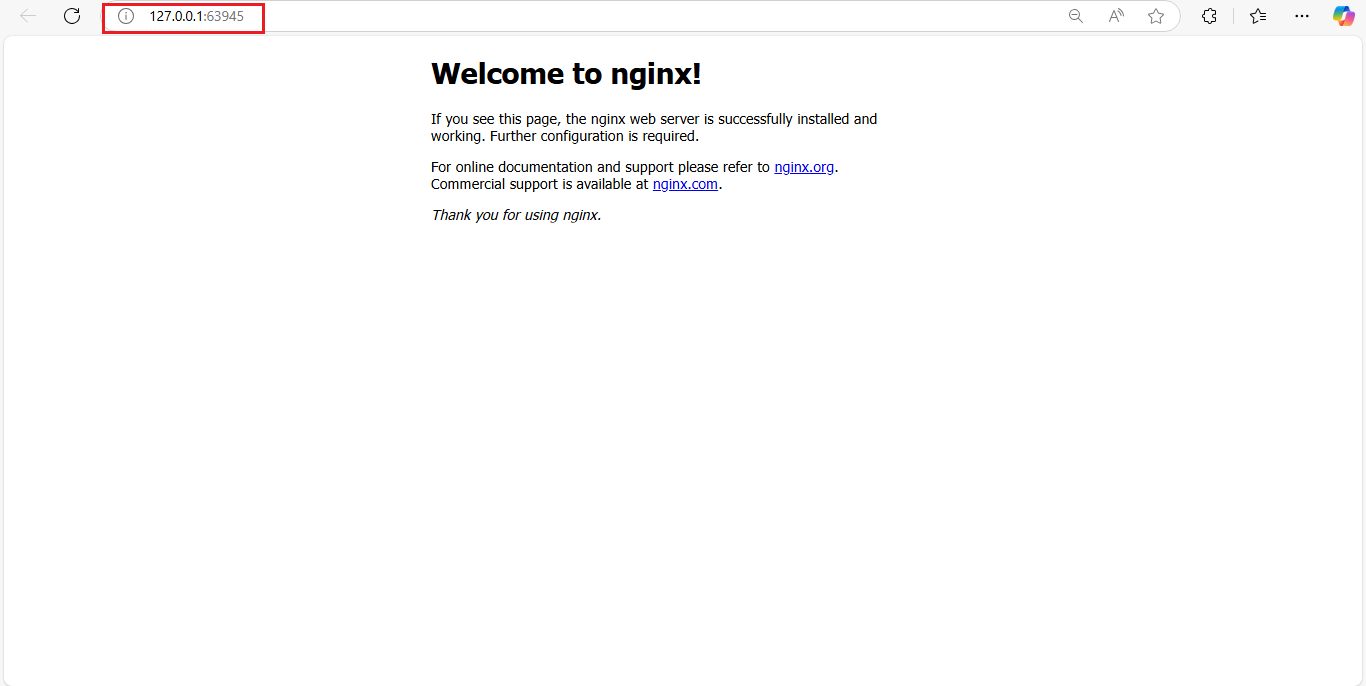
Retrieve code, copy url, paste in a browser

If you see “Welcome to nginx“, then your deployment is a success.
LABORATORY 2
Configuring Custom Nginx Configuration, Setting up a Persistent Volume, and Creating a LoadBalancer Service
Great! Let’s build on the Nginx lab by adding more advanced features such as configuring a custom Nginx configuration, setting up a persistent volume, and creating a LoadBalancer service.
Step 1: Create a Custom Nginx Configuration
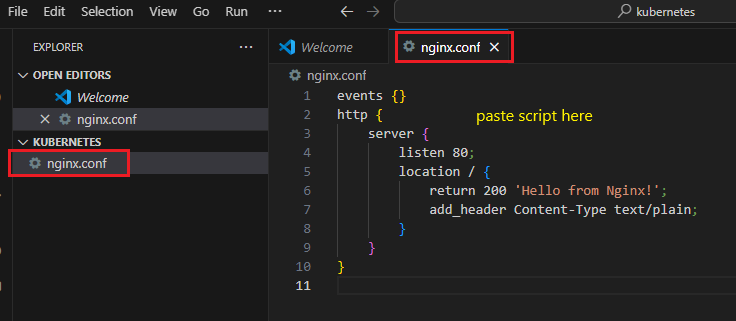
nginx.conf script:
events {}
http {
server {
listen 80;
location / {
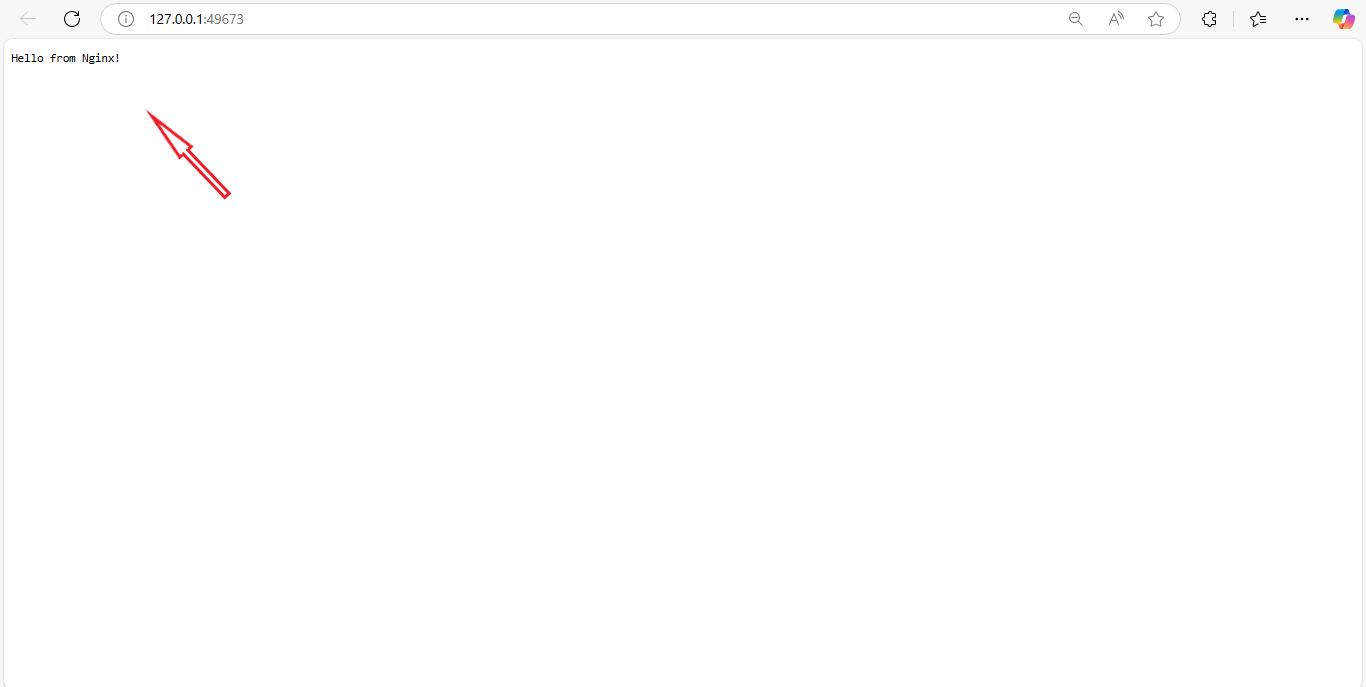
return 200 'Hello from Nginx!';
add_header Content-Type text/plain;
}
}
}
On the left pane of your window, in your workspace folder, create a file and name it nginx.conf. Copy the script above and paste it in the text area to create a custom nginx configuration. Then save using ctrl + s
Step 2: Create a ConfigMap for the Nginx Configuration
Create a ConfigMap from the nginx.conf file:
kubectl create configmap nginx-config --from-file=nginx.conf

Step 3: Create a Persistent Volume and Persistent Volume Claim
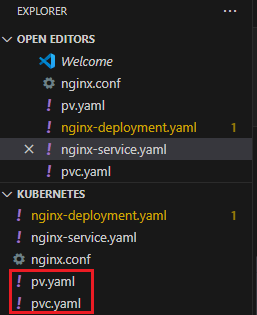
Create a Persistent Volume (PV) definition file named pv.yaml:
apiVersion: v1
kind: PersistentVolume
metadata:
  name: nginx-pv
spec:
  capacity:
    storage: 1Gi
  accessModes:
    - ReadWriteOnce
  hostPath:
    path: "/mnt/data"
Follow the same method used to create nginx.conf to create pv.yaml
Apply the script using kubectl apply -f pv.yaml

Create a Persistent Volume Claim (PVC) definition file named pvc.yaml:
apiVersion: v1
kind: PersistentVolumeClaim
metadata:
  name: nginx-pvc
spec:
  accessModes:
    - ReadWriteOnce
  resources:
    requests:
      storage: 1Gi
Apply the script using kubectl apply -f pvc.yaml

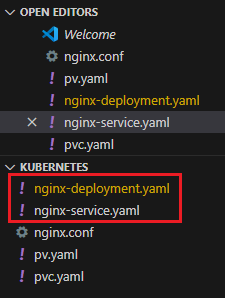
Create a deployment definition file named nginx-deployment.yaml:
apiVersion: apps/v1
kind: Deployment
metadata:
  name: nginx
spec:
  replicas: 1
  selector:
    matchLabels:
      app: nginx
  template:
    metadata:
      labels:
        app: nginx
    spec:
      containers:
      - name: nginx
        image: nginx
        volumeMounts:
        - name: nginx-persistent-storage
          mountPath: /usr/share/nginx/html
      volumes:
      - name: nginx-persistent-storage
        persistentVolumeClaim:
          claimName: nginx-pvc
kubectl apply -f nginx-deployment.yaml

Create a service definition file named nginx-service.yaml:
apiVersion: v1
kind: Service
metadata:
  name: nginx
spec:
  type: LoadBalancer
  ports:
  - port: 80
    targetPort: 80
  selector:
    app: nginx
kubectl apply -f nginx-service.yaml

Step 6: View the Deployment in a Browser
Get the URL for the service:
minikube service nginx --url
Retrieve code, copy url, paste in a browser

LABORATORY 3
Verify the Persistent Volume Contents
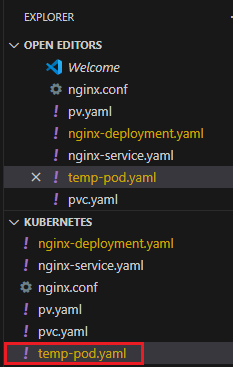
Step 1: Verify the Persistent Volume Contents
Create a Temporary Pod to inspect the contents of the persistent volume: temp-pod.yaml
apiVersion: v1
kind: Pod
metadata:
  name: temp-pod
spec:
  containers:
  - name: busybox
    image: busybox
    command: ['sh', '-c', 'sleep 3600']
    volumeMounts:
    - name: nginx-persistent-storage
      mountPath: /usr/share/nginx/html
  volumes:
  - name: nginx-persistent-storage
    persistentVolumeClaim:
      claimName: nginx-pvc
Apply the temporary pod configuration:
kubectl apply -f temp-pod.yaml

Open a shell to the temporary pod:
kubectl exec -it temp-pod -- sh

Navigate to the directory used for the persistent volume:
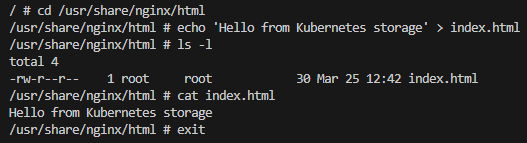
cd /usr/share/nginx/html
echo 'Hello from Kubernetes storage' > index.html
Verify the contents of the directory: ls -l
Check the contents of the index.html file: cat index.html
You should see the output: Hello from Kubernetes storage.
Exit the shell and delete the temporary pod: exit
kubectl delete pod temp-pod

Step 2: Ensure Nginx is Serving the Correct Directory
Update the Nginx Deployment to ensure it is correctly configured to serve files from the persistent volume:
Apply the updated deployment configuration:
kubectl apply -f nginx-deployment.yaml

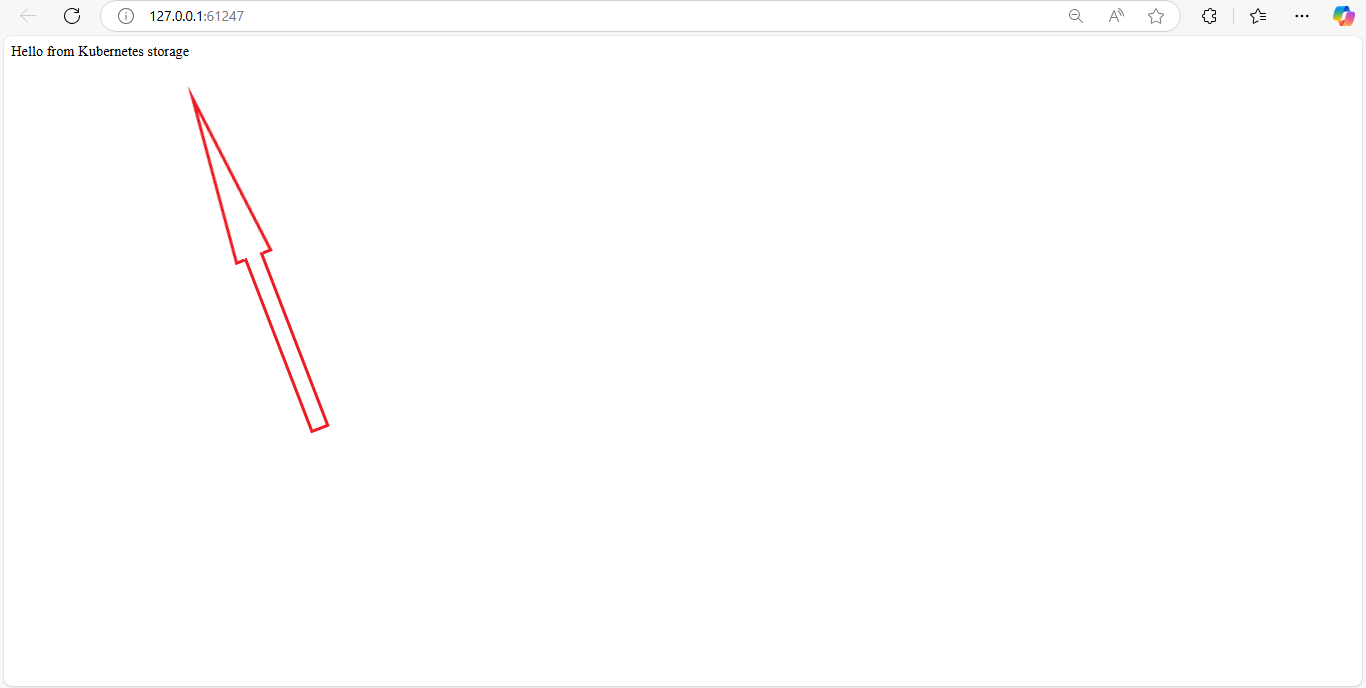
Step 3: Access the Test File via Nginx
Get the URL for the service:
minikube service nginx --url
Retrieve code, copy url, paste in a browser

Open the provided URL in your web browser. You should see the content of the index.html file, which is Hello from Kubernetes storage.
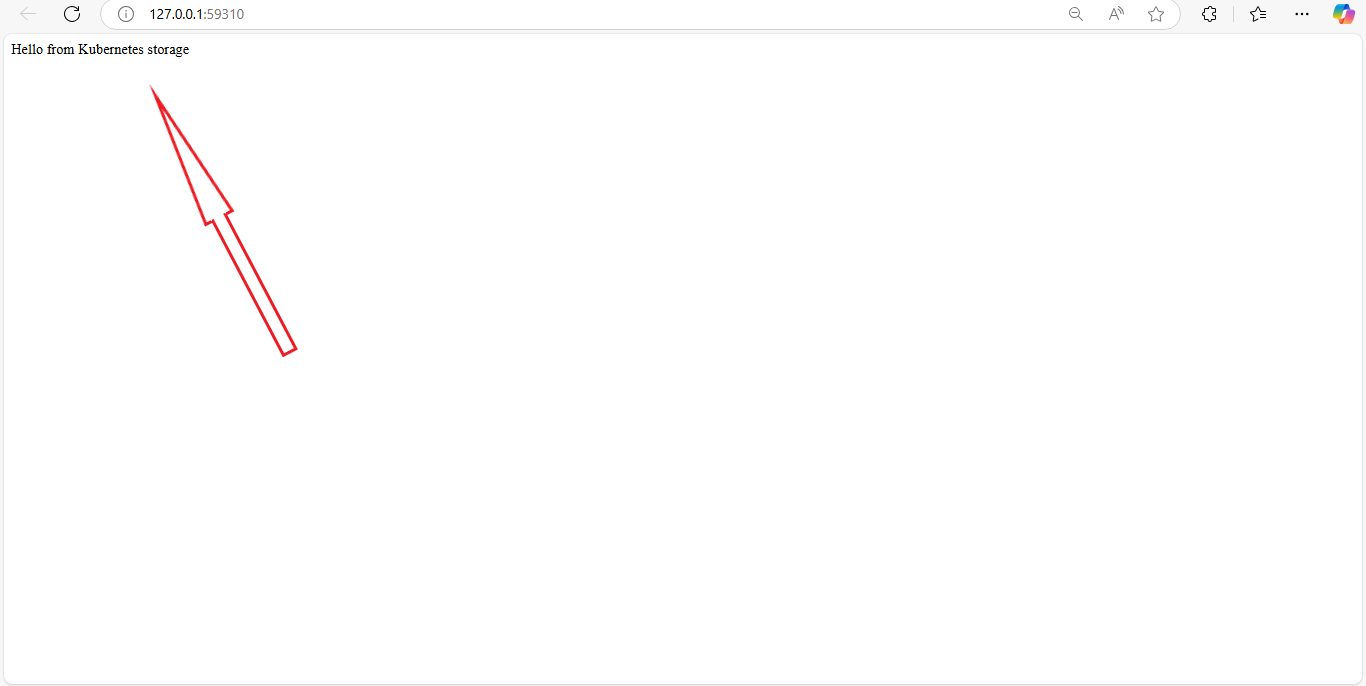
Step 4: Verify the Persistent Storage
Delete the Nginx pod to simulate a restart:
kubectl delete pod -l app=nginx
Wait for the pod to be recreated and then access the Nginx service URL again. You should still see the content of the index.html file, confirming that the data is persisted.
This should help you verify that the persistent storage is working correctly.

Get the URL for the service:
minikube service nginx --url

Open the provided URL in your web browser. You should see the content of the index.html file, which is Hello from Kubernetes storage.
Use the command “kubectl get pod“ to check that the service is persistent. This is the self healing feature of Kubernetes.

Clean Up
Delete the deployment, service, PV, and PVC:
kubectl delete service nginx
kubectl delete deployment nginx
kubectl delete pvc nginx-pvc
kubectl delete pv nginx-pv
kubectl delete configmap nginx-config
Subscribe to my newsletter
Read articles from Adekunle Fatunde directly inside your inbox. Subscribe to the newsletter, and don't miss out.
Written by