RabbitMQ: Delayed Message Exchanges
 Shivam Dubey
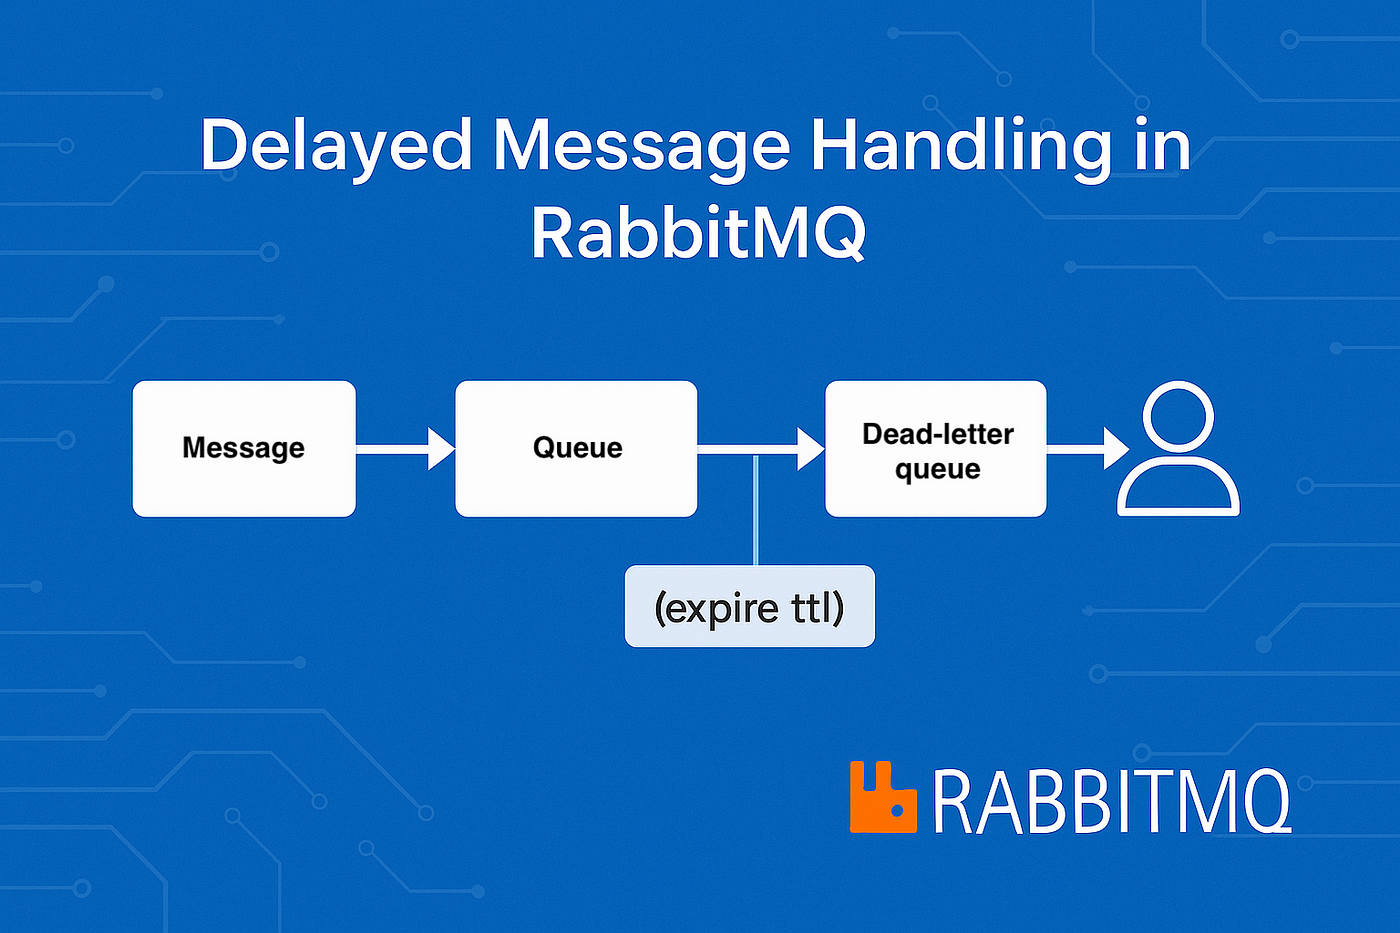
In many messaging systems, there are scenarios where you need to delay the processing of messages for a certain amount of time before they are consumed by a consumer. This can be useful for situations such as retrying failed operations, managing time-sensitive data, or scheduling tasks to run at a later time. RabbitMQ provides a feature for delayed message processing, though this is not natively supported by RabbitMQ out of the box. However, you can achieve delayed message delivery using Delayed Message Exchanges (DMX) in RabbitMQ.
This article will explain:
What are Delayed Message Exchanges in RabbitMQ?
How do delayed messages work?
How to implement delayed message exchanges in RabbitMQ.
Example code and detailed explanation.
Flowchart for better understanding.
🧑💻 What are Delayed Message Exchanges (DMX)?
A Delayed Message Exchange (DMX) allows you to send a message that will be delayed for a specified period of time before it reaches the queue. RabbitMQ doesn’t support delayed messages natively, but you can achieve this feature by using a plugin called RabbitMQ Delayed Message Plugin.
When a message is sent to an exchange, the delay mechanism ensures that the message will be placed on the queue only after a specified time interval. This can be useful in scenarios like:
Task scheduling: For example, processing messages after a delay to avoid overloading the system.
Retry mechanisms: Delaying retries for a task that failed earlier.
Timeout management: Delaying messages so that they are consumed at specific intervals.
🏗 How Delayed Messages Work
In RabbitMQ, delayed messages are typically handled using a custom exchange type, x-delayed-message, and this functionality requires the RabbitMQ Delayed Message Plugin.
Here’s a simple flow of how delayed messages work:
       +-------------------+
       |    Producer       |
       +-------------------+
                |
                | Publish Message
                ↓
        +------------------------+
        |   Delayed Message      |
        |   Exchange (x-delayed) |
        +------------------------+
                |
                | Wait for specified delay
                ↓
       +-------------------+
       |       Queue       |
       +-------------------+
                |
                | Consumer Fetches Message
                ↓
        +-----------------+
        |   Consumer      |
        +-----------------+
Steps:
Producer sends a message to a Delayed Message Exchange.
The exchange ensures that the message is delayed for a specified period (for example, 5 seconds).
After the delay is over, the message is placed into the corresponding queue.
The consumer fetches the message when it becomes available.
📦 How to Implement Delayed Message Exchanges in RabbitMQ
To implement delayed message exchanges in RabbitMQ, follow these steps:
1. Install the RabbitMQ Delayed Message Plugin
You first need to install the RabbitMQ Delayed Message Plugin since it is not part of the default RabbitMQ installation. This plugin enables the creation of a custom exchange type that supports delayed message delivery.
To install the plugin:
rabbitmq-plugins enable rabbitmq_delayed_message_exchange
This will enable the necessary exchange type (x-delayed-message) that supports message delays.
2. Declare a Delayed Message Exchange
Once the plugin is installed, you can declare an x-delayed-message exchange. This exchange type allows you to specify a delay time for each message.
Here’s how to declare a delayed exchange and a queue to bind to it:
package main

import (
    "log"
    "github.com/streadway/amqp"
)

func main() {
    // Step 1: Connect to RabbitMQ server
    conn, err := amqp.Dial("amqp://guest:guest@localhost:5672/")
    if err != nil {
        log.Fatal(err)
    }
    defer conn.Close()

    // Step 2: Create a channel
    ch, err := conn.Channel()
    if err != nil {
        log.Fatal(err)
    }
    defer ch.Close()

    // Step 3: Declare a delayed exchange
    err = ch.ExchangeDeclare(
        "x-delayed-exchange", // Exchange name
        "x-delayed-message",  // Exchange type
        true,                 // Durable
        false,                // Auto-delete
        false,                // Internal
        false,                // No wait
        amqp.Table{
            "x-delayed-type": "direct", // Underlying exchange type
        },
    )
    if err != nil {
        log.Fatal(err)
    }

    // Step 4: Declare a queue
    q, err := ch.QueueDeclare(
        "delayed_queue", // Queue name
        false,           // Durable
        false,           // Delete when unused
        false,           // Exclusive
        false,           // No wait
        nil,             // Arguments
    )
    if err != nil {
        log.Fatal(err)
    }

    // Step 5: Bind the queue to the exchange
    err = ch.QueueBind(
        q.Name,                 // Queue name
        "",                     // Routing key (empty for fanout-like behavior)
        "x-delayed-exchange",   // Exchange name
        false,                  // No wait
        nil,                    // Arguments
    )
    if err != nil {
        log.Fatal(err)
    }

    // Step 6: Publish a delayed message
    err = ch.Publish(
        "x-delayed-exchange",   // Exchange name
        "",                     // Routing key
        false,                  // Mandatory
        false,                  // Immediate
        amqp.Publishing{
            Headers: amqp.Table{
                "x-delay": int32(5000), // Delay for 5 seconds (5000 ms)
            },
            ContentType: "text/plain",
            Body:        []byte("Delayed Message!"),
        },
    )
    if err != nil {
        log.Fatal(err)
    }
    log.Println("Sent delayed message")
}
Code Explanation:
Connect to RabbitMQ Server: We start by connecting to the RabbitMQ server using default credentials (
guest:guest).Create a Channel: A channel is a virtual connection to RabbitMQ where we will declare exchanges, queues, and publish messages.
Declare Delayed Exchange: We declare an exchange of type
x-delayed-message, which allows us to delay messages by setting thex-delayheader when publishing a message.Declare a Queue: A queue is declared where the delayed message will be routed after the delay.
Bind the Queue to the Exchange: The queue is bound to the
x-delayed-exchange, allowing messages published to this exchange to be routed to the queue.Publish a Delayed Message: A message is published with a
x-delayheader set to5000milliseconds (5 seconds). This delay ensures that the message stays in the exchange for 5 seconds before being placed on the queue.
🧑💻 Consumer Code
Here’s how you can consume the delayed message after the delay period.
package main

import (
    "log"
    "github.com/streadway/amqp"
)

func main() {
    // Connect to RabbitMQ server
    conn, err := amqp.Dial("amqp://guest:guest@localhost:5672/")
    if err != nil {
        log.Fatal(err)
    }
    defer conn.Close()

    // Open a channel
    ch, err := conn.Channel()
    if err != nil {
        log.Fatal(err)
    }
    defer ch.Close()

    // Declare the same queue for consumption
    q, err := ch.QueueDeclare(
        "delayed_queue", // Queue name
        false,           // Durable
        false,           // Delete when unused
        false,           // Exclusive
        false,           // No wait
        nil,             // Arguments
    )
    if err != nil {
        log.Fatal(err)
    }

    // Consume messages from the queue
    msgs, err := ch.Consume(
        q.Name,  // Queue name
        "",      // Consumer name (auto-generated)
        true,    // Auto-acknowledge (true for automatic acknowledgment)
        false,   // Exclusive
        false,   // No local
        false,   // No wait
        nil,     // Additional arguments
    )
    if err != nil {
        log.Fatal(err)
    }

    // Process messages
    for msg := range msgs {
        log.Printf("Received: %s", msg.Body)
    }
}
Explanation:
Connect to RabbitMQ and Open a Channel: As in the producer code, we connect to RabbitMQ and create a channel.
Declare the Queue: We declare the same queue (
delayed_queue) for consuming messages.Consume Messages: The consumer consumes messages from the queue and processes them as they arrive.
🔄 Key Takeaways
Delayed Message Exchange is a powerful feature to delay message consumption for specific use cases such as retries or time-sensitive tasks.
You can implement delayed messages using the RabbitMQ Delayed Message Plugin, which introduces the x-delayed-message exchange.
A message is delayed by setting the
x-delayheader during publishing. Once the delay expires, the message is moved to the queue for consumption.This technique allows you to handle delayed tasks without writing complex logic yourself.
By utilizing Delayed Message Exchanges in RabbitMQ, you can easily implement delayed message processing, enhancing your system's flexibility in handling time-sensitive data or retrying operations that previously failed.
Subscribe to my newsletter
Read articles from Shivam Dubey directly inside your inbox. Subscribe to the newsletter, and don't miss out.
Written by