Setting Up a LAMP Stack on AWS EC2 (Ubuntu 24.04 LTS)
 Chigozie Ozoemena
Table of contents
Here’s a step-by-step guide on how to set up a LAMP stack (Linux, Apache, MySQL, PHP) on an AWS EC2 t2.micro instance with Ubuntu 24.04 LTS for a DevOps project.
Prerequisites:
AWS account
SSH key pair for EC2 access (created during the EC2 instance setup)
Terminal
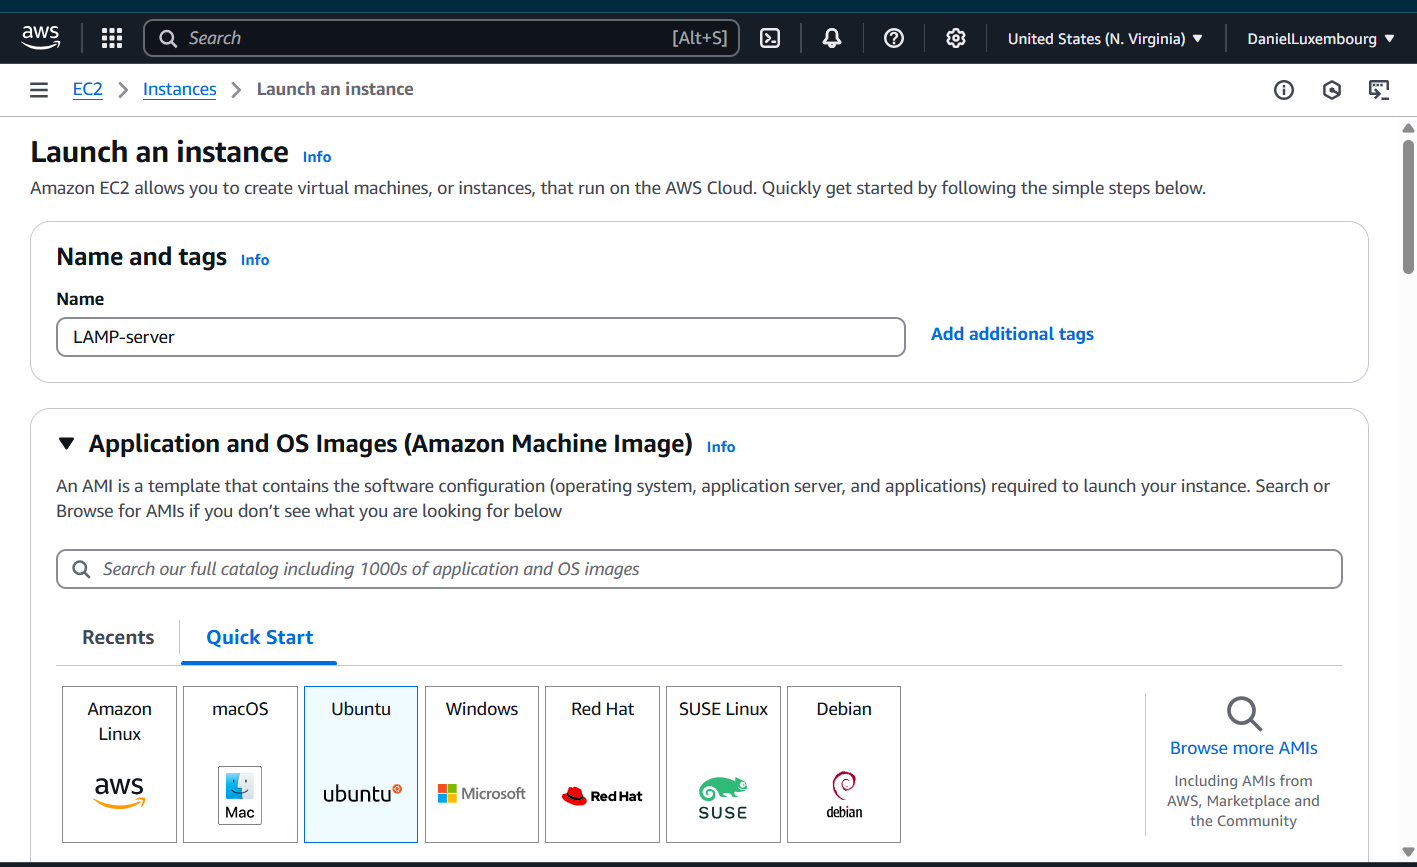
Step 1: Launch an EC2 Instance
Sign in to AWS Management Console and go to the EC2 Dashboard.
Click on Launch Instance.
Configure instance:
Name: Give your instance a name (e.g., "LAMP Server").
AMI: Select Ubuntu 24.04 LTS HVM (64-bit architecture).
Instance type: Choose t2.micro (eligible for free tier).
Key pair: If you have one, choose it. Otherwise, create a new key pair and download the
.pemfile.Security group: Create a new security group or use an existing one. Ensure that the following ports are allowed:
SSH (port 22) – for remote access
HTTP (port 80) – for web traffic
HTTPS (port 443) – for secure web traffic (optional)
Launch the instance.
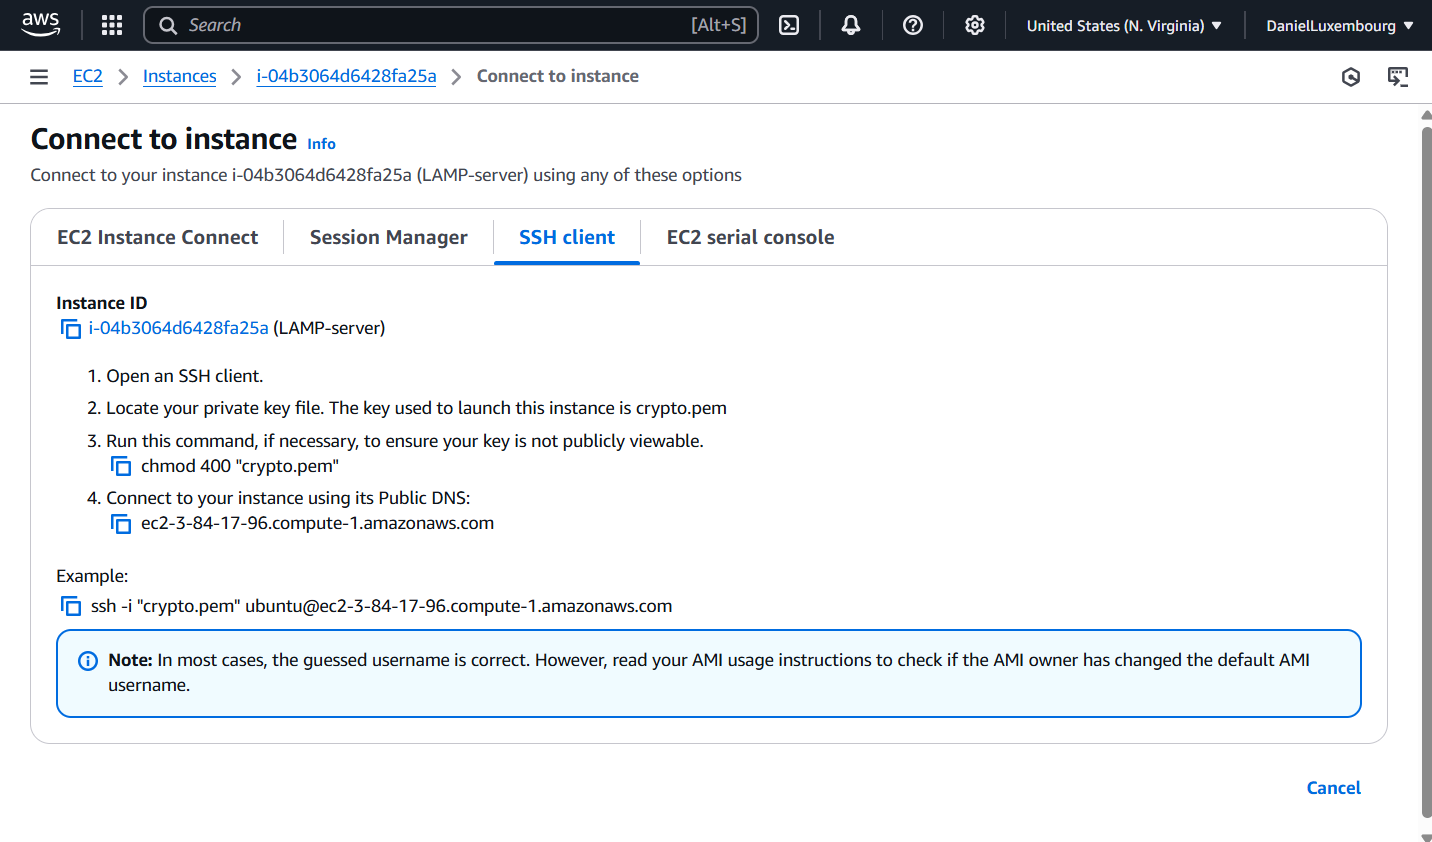
Step 2: Connect to the EC2 Instance
Open a terminal (or use VSCode Terminal if preferred).
Connect to your instance using SSH:
cd /path/to/your-key.pemssh -i your-key.pem ubuntu@<your-ec2-public-ip>Replace
/path/to/your-key.pemwith the actual path to your key pair and<your-ec2-public-ip>with the EC2 instance public IP.
Error:
I used the default Security Group that is yet to open Port 22 for SSH connection.

Solution:
I editted the inbound rule to allow all traffic, which includes port 22, 80, 443 etc, and connection from anywhere. (You could specify the specific ports instead of allowing all traffic.)

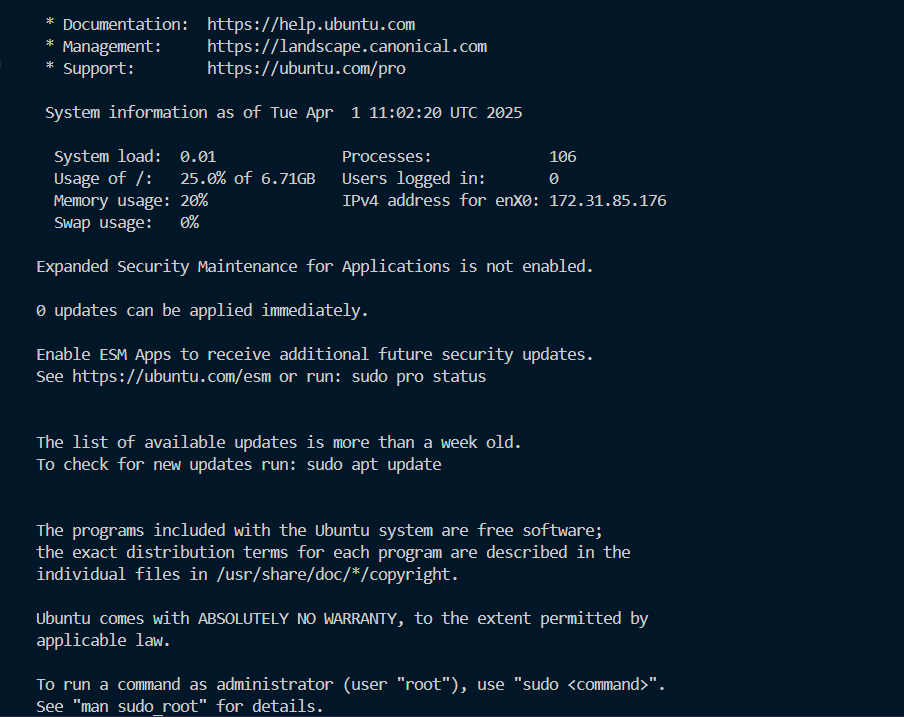
Now we are able to successfully connect to the instance.

Step 3: Update the Server
Run the following commands to update your server:
sudo apt update
sudo apt upgrade -y
Step 4: Install Apache
Install Apache:
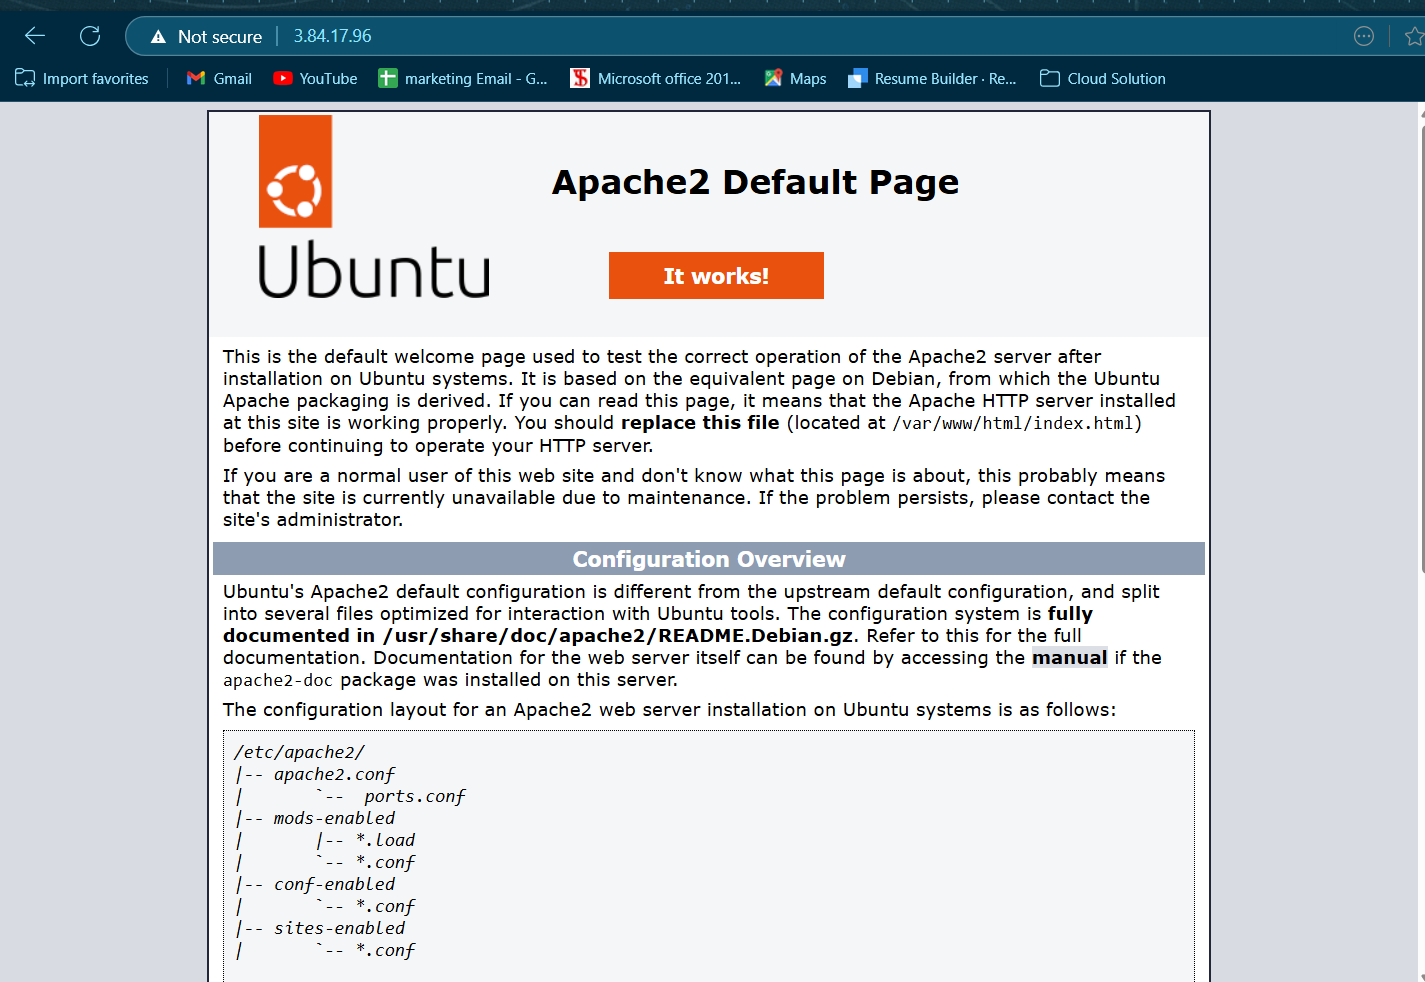
sudo apt install apache2 -yVerify Apache is running:
sudo systemctl status apache2

Open your browser and navigate to your EC2 public IP. You should see the Apache default page. Or curl http://localhost:80

Step 5: Install MySQL
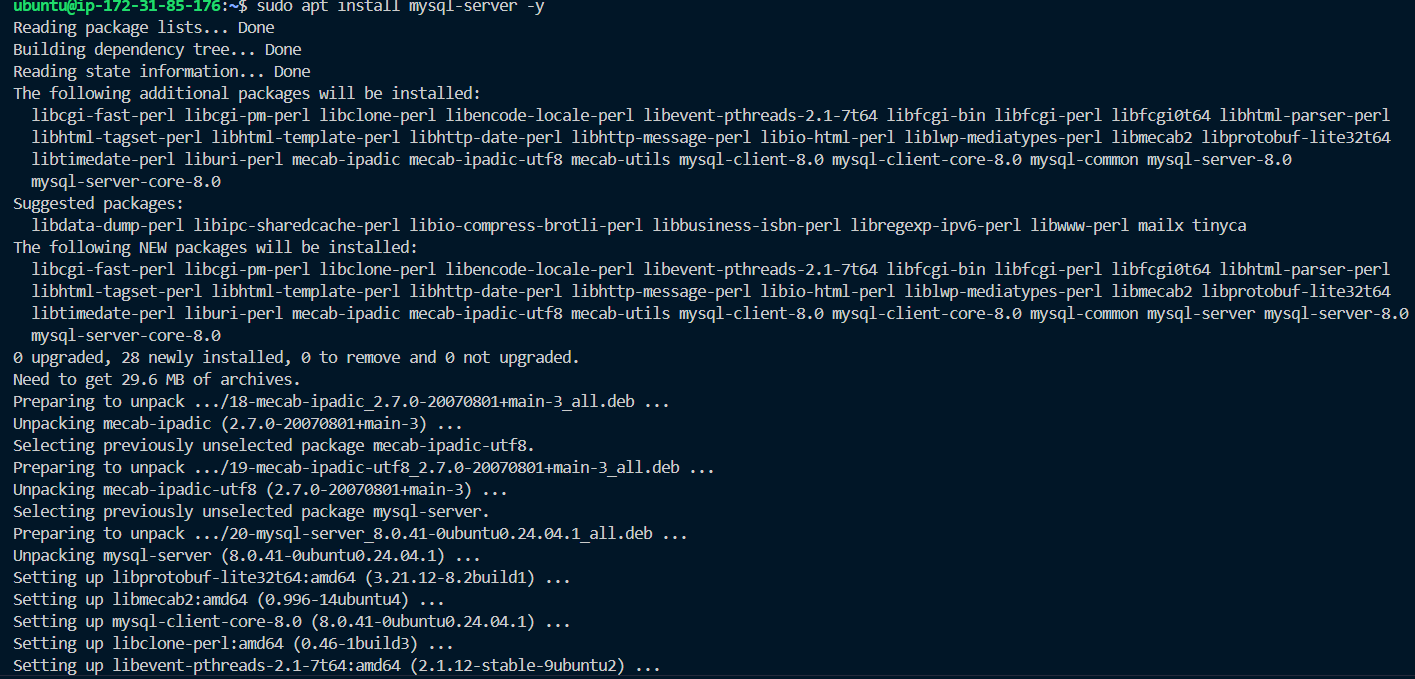
Install MySQL:
sudo apt install mysql-server -y
Secure MySQL installation:
sudo mysql

Follow the prompts to set up the root password, remove anonymous users, disallow remote root login, and more.
ALTER USER 'root'@'localhost' IDENTIFIED WITH mysql_native_password BY 'PassWord.1';
sudo mysql_secure_installation
Log in to MySQL to ensure it works:
sudo mysql -pEnter the root password you created, and you should have access to the MySQL shell.

Step 6: Install PHP
Install PHP and necessary PHP extensions for Apache and MySQL:
sudo apt install php libapache2-mod-php php-mysql php-cli -y

Check PHP Version
php -v

Restart Apache to load PHP:
sudo systemctl restart apache2
Step 7: Set Up Virtual Hosts
Create a new directory for your website:
sudo mkdir /var/www/lampprojectsudo chown -R $USER:$USER /var/www/lampproject
Create a new virtual host file:
sudo nano /etc/apache2/sites-available/lampproject.confAdd the following content to configure the virtual host:
 <VirtualHost *:80>
     ServerName lampproject
     ServerAlias www.lampproject
     ServerAdmin webmaster@localhost
     DocumentRoot /var/www/lampproject
     ErrorLog ${APACHE_LOG_DIR}/error.log
     CustomLog ${APACHE_LOG_DIR}/access.log combined
 </VirtualHost>

Enable the virtual host:
 sudo a2ensite lampproject
 sudo a2dissite 000-default
 sudo apache2ctl configtest

sudo systemctl reload apache2

Step 8: Test with HTML scripts
Navigate to the project path
cd /var/www/lampprojectCreate an index.html file
touch index.htmlOpen and edit the file, then paste the html contents below.
nano index.html<!DOCTYPE html> <html lang="en"> <head> <meta charset="UTF-8"> <meta name="viewport" content="width=device-width, initial-scale=1.0"> <title>Test Page</title> </head> <body> <h1>Welcome to Your Test Page</h1> <p>This is a simple HTML file for testing purposes.</p> </body> </html>To view the index.html file contents.
cat index.html

Open the browser to view http://34.239.0.90/ http://ec2-34-239-0-90.compute-1.amazonaws.com/:80


Step 9: Enable PHP on the website
sudo nano /etc/apache2/mods-enabled/dir.conf
<IfModule mod_dir.c>
    DirectoryIndex index.html index.cgi index.pl index.php index.xhtml index.htm
</IfModule>
sudo systemctl reload apache2

Step 10: Test PHP Installation
Create a PHP test file:
nano /var/www/lampproject/index.phpAdd the following content:
 <?php
 phpinfo();
 ?>
Save and exit (
Ctrl+X,Y, thenEnter).In your browser, go to
http://<your-ec2-public-ip>/info.php. You should see a PHP information page.Remove PHP info page: For security reasons, delete the PHP info page after testing:
rm index.php


Subscribe to my newsletter
Read articles from Chigozie Ozoemena directly inside your inbox. Subscribe to the newsletter, and don't miss out.
Written by
Chigozie Ozoemena
Chigozie Ozoemena
Hi there! 👋 I'm Daniel Ozoemena, a passionate Cloud Solution Architect and DevOps Engineer dedicated to building scalable, secure, and innovative cloud solutions. With hands-on experience in Azure, AWS, and Google Cloud Platform, I specialize in deploying infrastructure as code, automating workflows, and optimizing system reliability. Driven by a love for problem-solving, I constantly explore new technologies and best practices to deliver impactful results. Beyond the cloud, I enjoy mentoring, blogging about tech insights, and contributing to open-source projects. When I'm not automating deployments or creating secure virtual networks, you can find me playing chess, learning about AI, or brainstorming solutions to real-world challenges. Let’s connect and grow together on this tech journey! 🚀